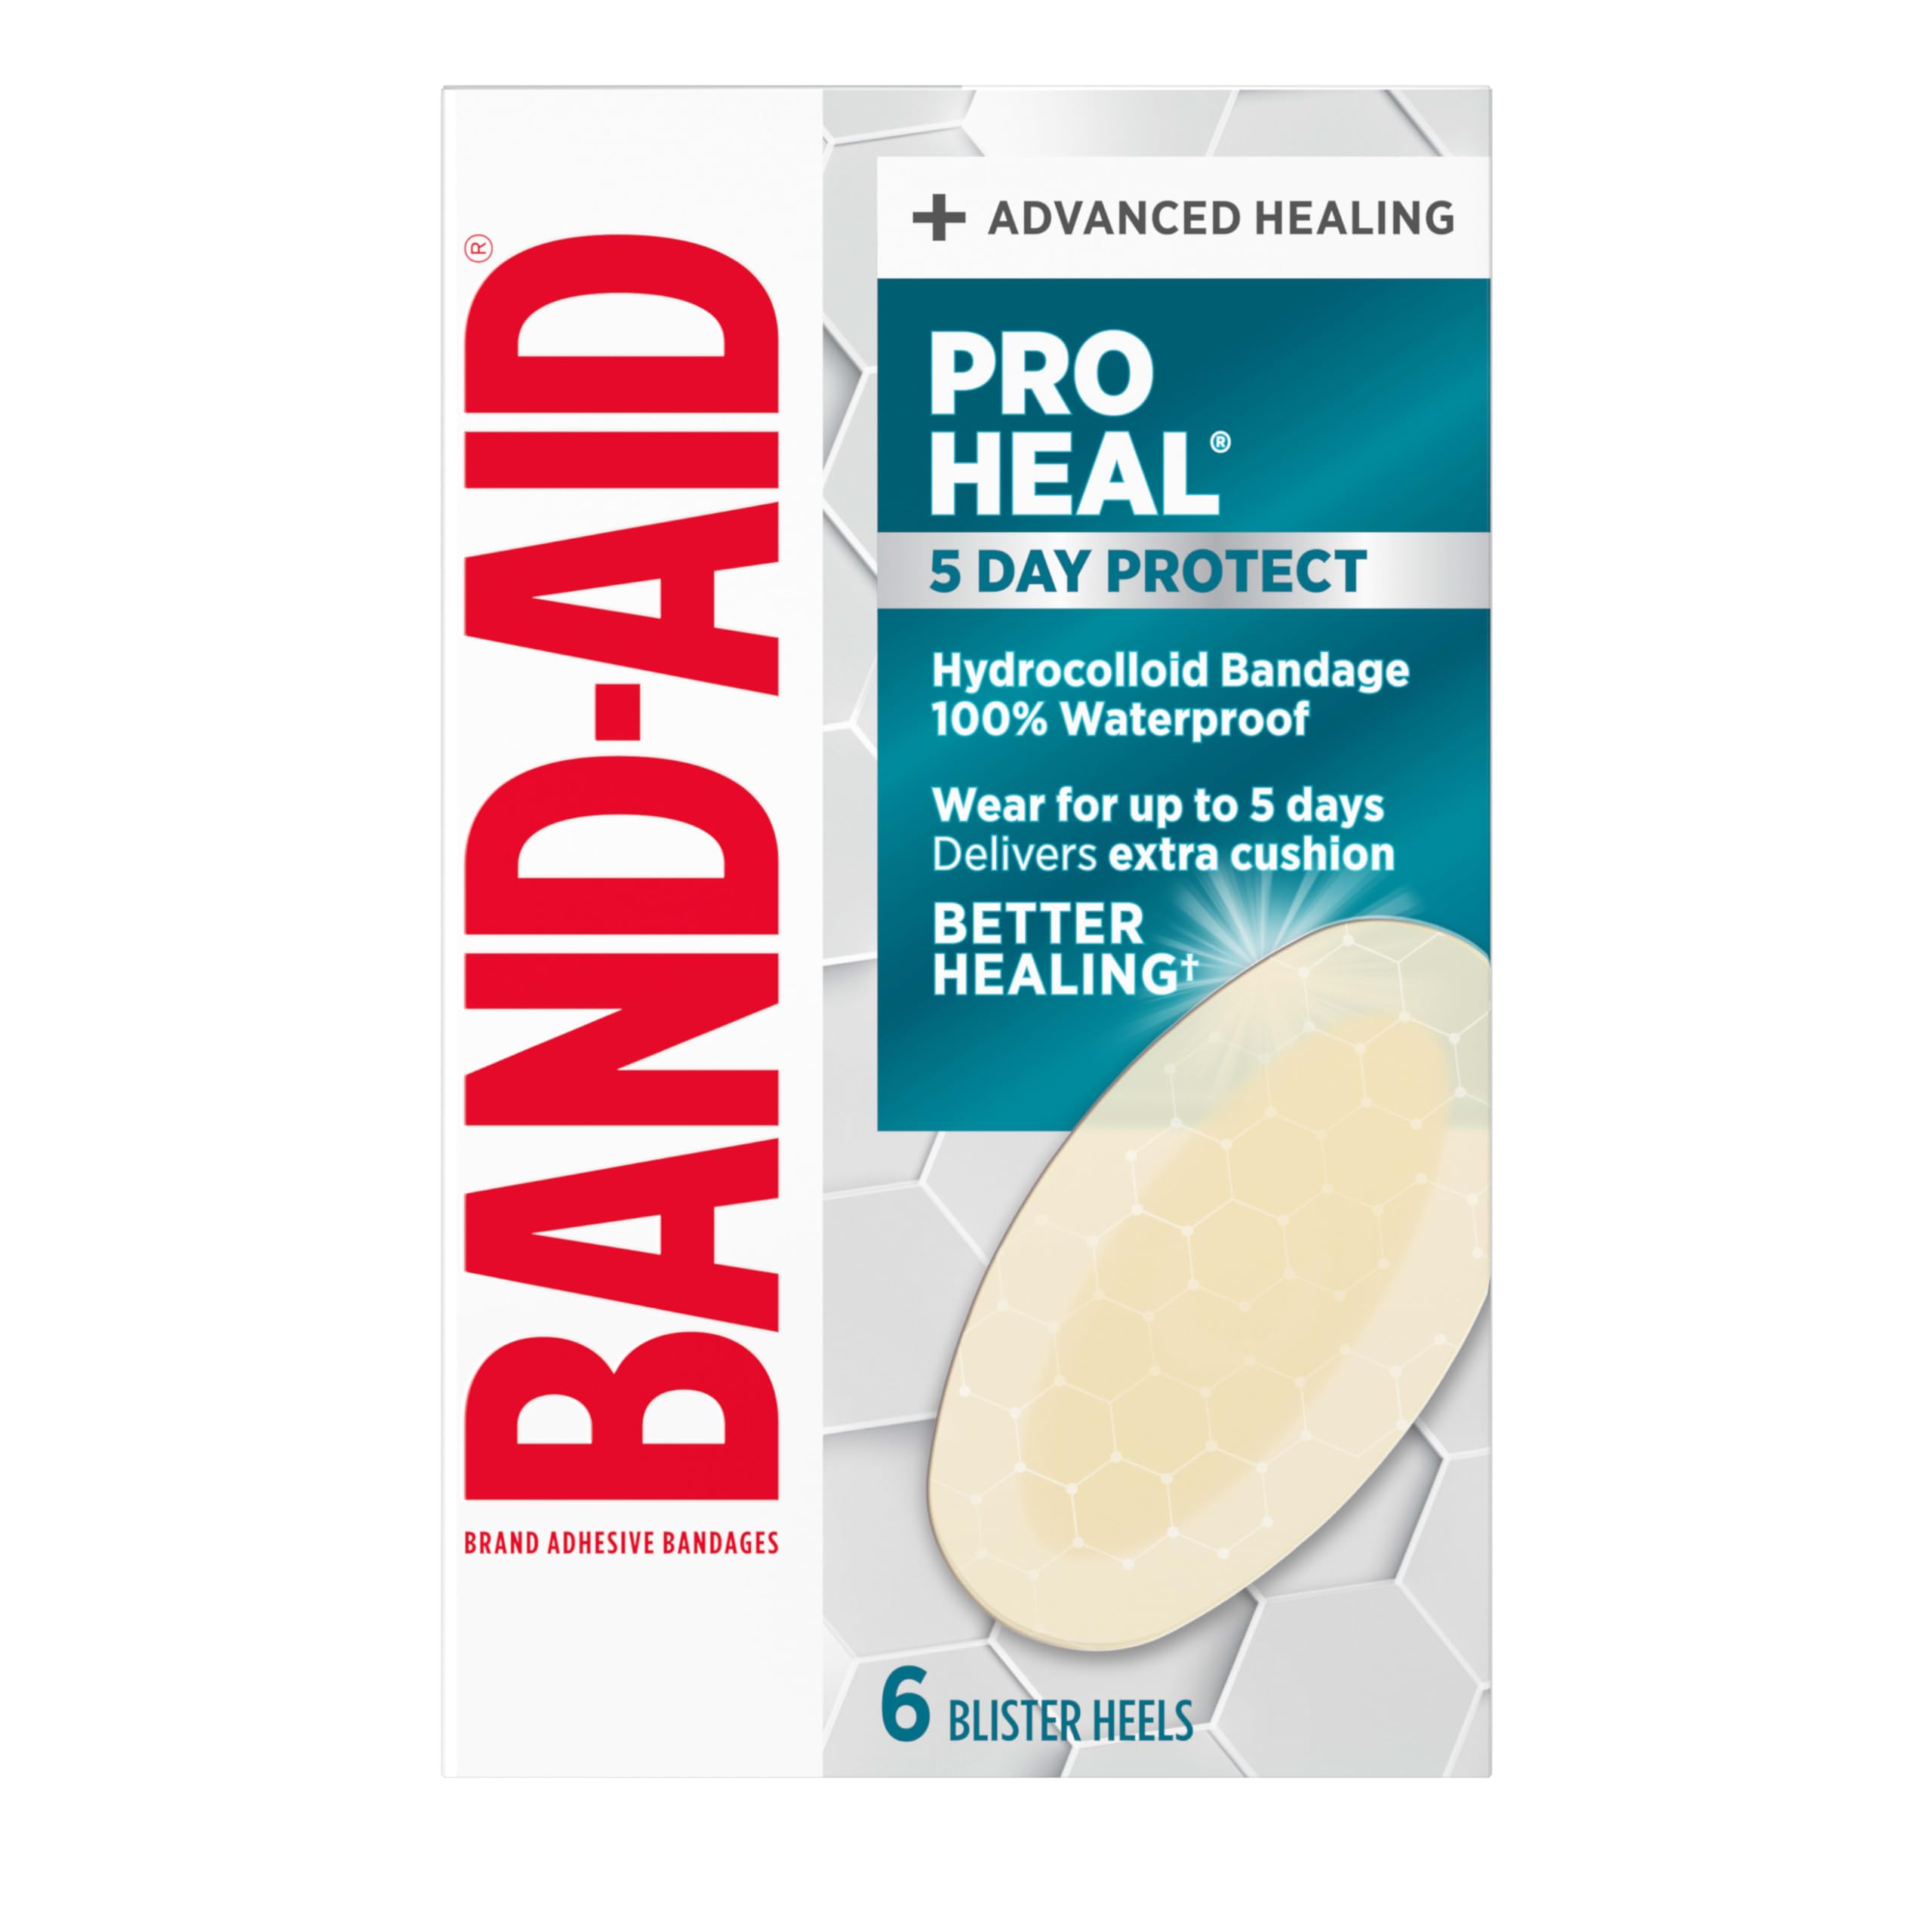
Band-Aid Hydro Seal Blister Bandages
Ideal for fresh hiking blisters—stays on through sweat and trails.
$6.99
Band-Aid Hydro Seal Blister Bandages Forms a waterproof gel seal that cushions and promotes healing without changing daily.
Get the App
Better experience on mobile
Master quick blister treatment on trails to stay pain-free and finish your hike comfortably with simple adhesive bandage steps.
Blisters from hiking can turn an exciting adventure into a painful ordeal, forcing you to limp home early. As a beginner hiker, knowing how to properly use adhesive bandages for blisters means you can treat them on the spot, prevent worsening, and keep exploring without worry.
In this guide, you'll learn a foolproof step-by-step process to clean, pad, and protect blisters using adhesive bandages. It's beginner-friendly, takes just minutes, and relies on items you can carry in a basic first-aid kit. No advanced skills needed—just follow along for immediate relief.
Expect 5-10 minutes per blister, with results like reduced friction, cushioned protection, and lower infection risk, letting you hike confidently.
Estimated Time: 5-10 minutes per blister Difficulty: beginner
Find a safe spot to sit or stand off-trail. Remove your shoe, sock, and inspect the blister. Note if it's intact (roof unbroken), torn, or drained.
Why it matters: Assessment prevents popping intact blisters unnecessarily, which raises infection risk. Success looks like identifying the size, location (e.g., heel, toe), and redness level—no deeper damage.
Expect mild throbbing; if pus or feverish feeling, seek pro help.
💡 Tips:
⚠️ Warnings:
Use an antiseptic wipe or hand sanitizer on your hands. If unavailable, wash with soap and clean water from your bottle.
Why it matters: Dirty hands introduce bacteria, leading to infection. Success: Hands feel clean and dry, no visible dirt.
💡 Tips:
⚠️ Warnings:
Gently wipe the blister and surrounding skin with an antiseptic wipe. For intact blisters, pat lightly; for drained ones, clean inside gently without scrubbing.
Why it matters: Removes dirt, sweat, and bacteria from trails. Success: Skin looks clean, no debris, slight tingle from antiseptic.
Pat dry with a clean cloth or let air-dry 30 seconds.
💡 Tips:
⚠️ Warnings:
Ensure the area is completely dry. If needed, trim loose skin on popped blisters with sterilized scissors.
Why it matters: Moisture causes bandages to slip off. Success: Skin dry to touch, no shiny wetness.
💡 Tips:
⚠️ Warnings:
Cut moleskin or foam padding into a donut shape (hole in center for blister). Place over intact blister or directly on drained one to cushion.
Why it matters: Reduces friction from rubbing shoes/socks. Success: Padding fits snugly, blister centered in hole.
💡 Tips:
⚠️ Warnings:
Peel adhesive bandage (blister plaster ideal) and center it over the padding/blister. Press firmly from center outward for 30 seconds.
Why it matters: Seals moisture in/out, protects from dirt. Success: Bandage adheres fully, no wrinkles or lifting edges.
💡 Tips:
⚠️ Warnings:
Add medical tape over edges if loose. Put sock and shoe back on, walk 10 steps to test.
Why it matters: Ensures it stays during hike. Success: No slipping, pain reduced by 50-80%.
💡 Tips:
⚠️ Warnings:
Check bandage hourly initially. Change if wet/dirty. At camp, clean and re-bandage.
Why it matters: Prevents complications. Success: Comfortable hiking, blister stable.
💡 Tips:
Problem: Bandage keeps peeling off
Solution: Dry skin thoroughly, use tape borders, or switch to Leukotape. Avoid sweaty reapplication.
Problem: Increased pain or redness
Solution: Remove bandage, clean, check for infection (pus, heat). Rest foot; see doctor if swelling.
Problem: Blister drained and raw
Solution: Apply antibiotic ointment under hydrocolloid pad, cover securely. Change daily.
Problem: No supplies mid-hike
Solution: Use clean sock as temp padding, tape with duct tape. Finish hike slowly.
Forms a waterproof gel seal that cushions and promotes healing without changing daily.
Best for: Ideal for fresh hiking blisters—stays on through sweat and trails.
Price Range: $6.99
Hydrocolloid tech relieves pain instantly and prevents rubbing; thin for sock fit.
Best for: Perfect for toes/heels on long hikes—multi-day wear.
Price Range: $8.99-$12
Ultra-sticky, non-stretch tape for securing padding; weatherproof.
Best for: Over other bandages in rain or high-friction areas.
Price Range: $11.99
Adhesive-backed foam for donut padding; soft and reusable.
Best for: Budget base layer under bandages for friction relief.
Price Range: $4.99
Ideal for fresh hiking blisters—stays on through sweat and trails.
Band-Aid Hydro Seal Blister Bandages Forms a waterproof gel seal that cushions and promotes healing without changing daily.
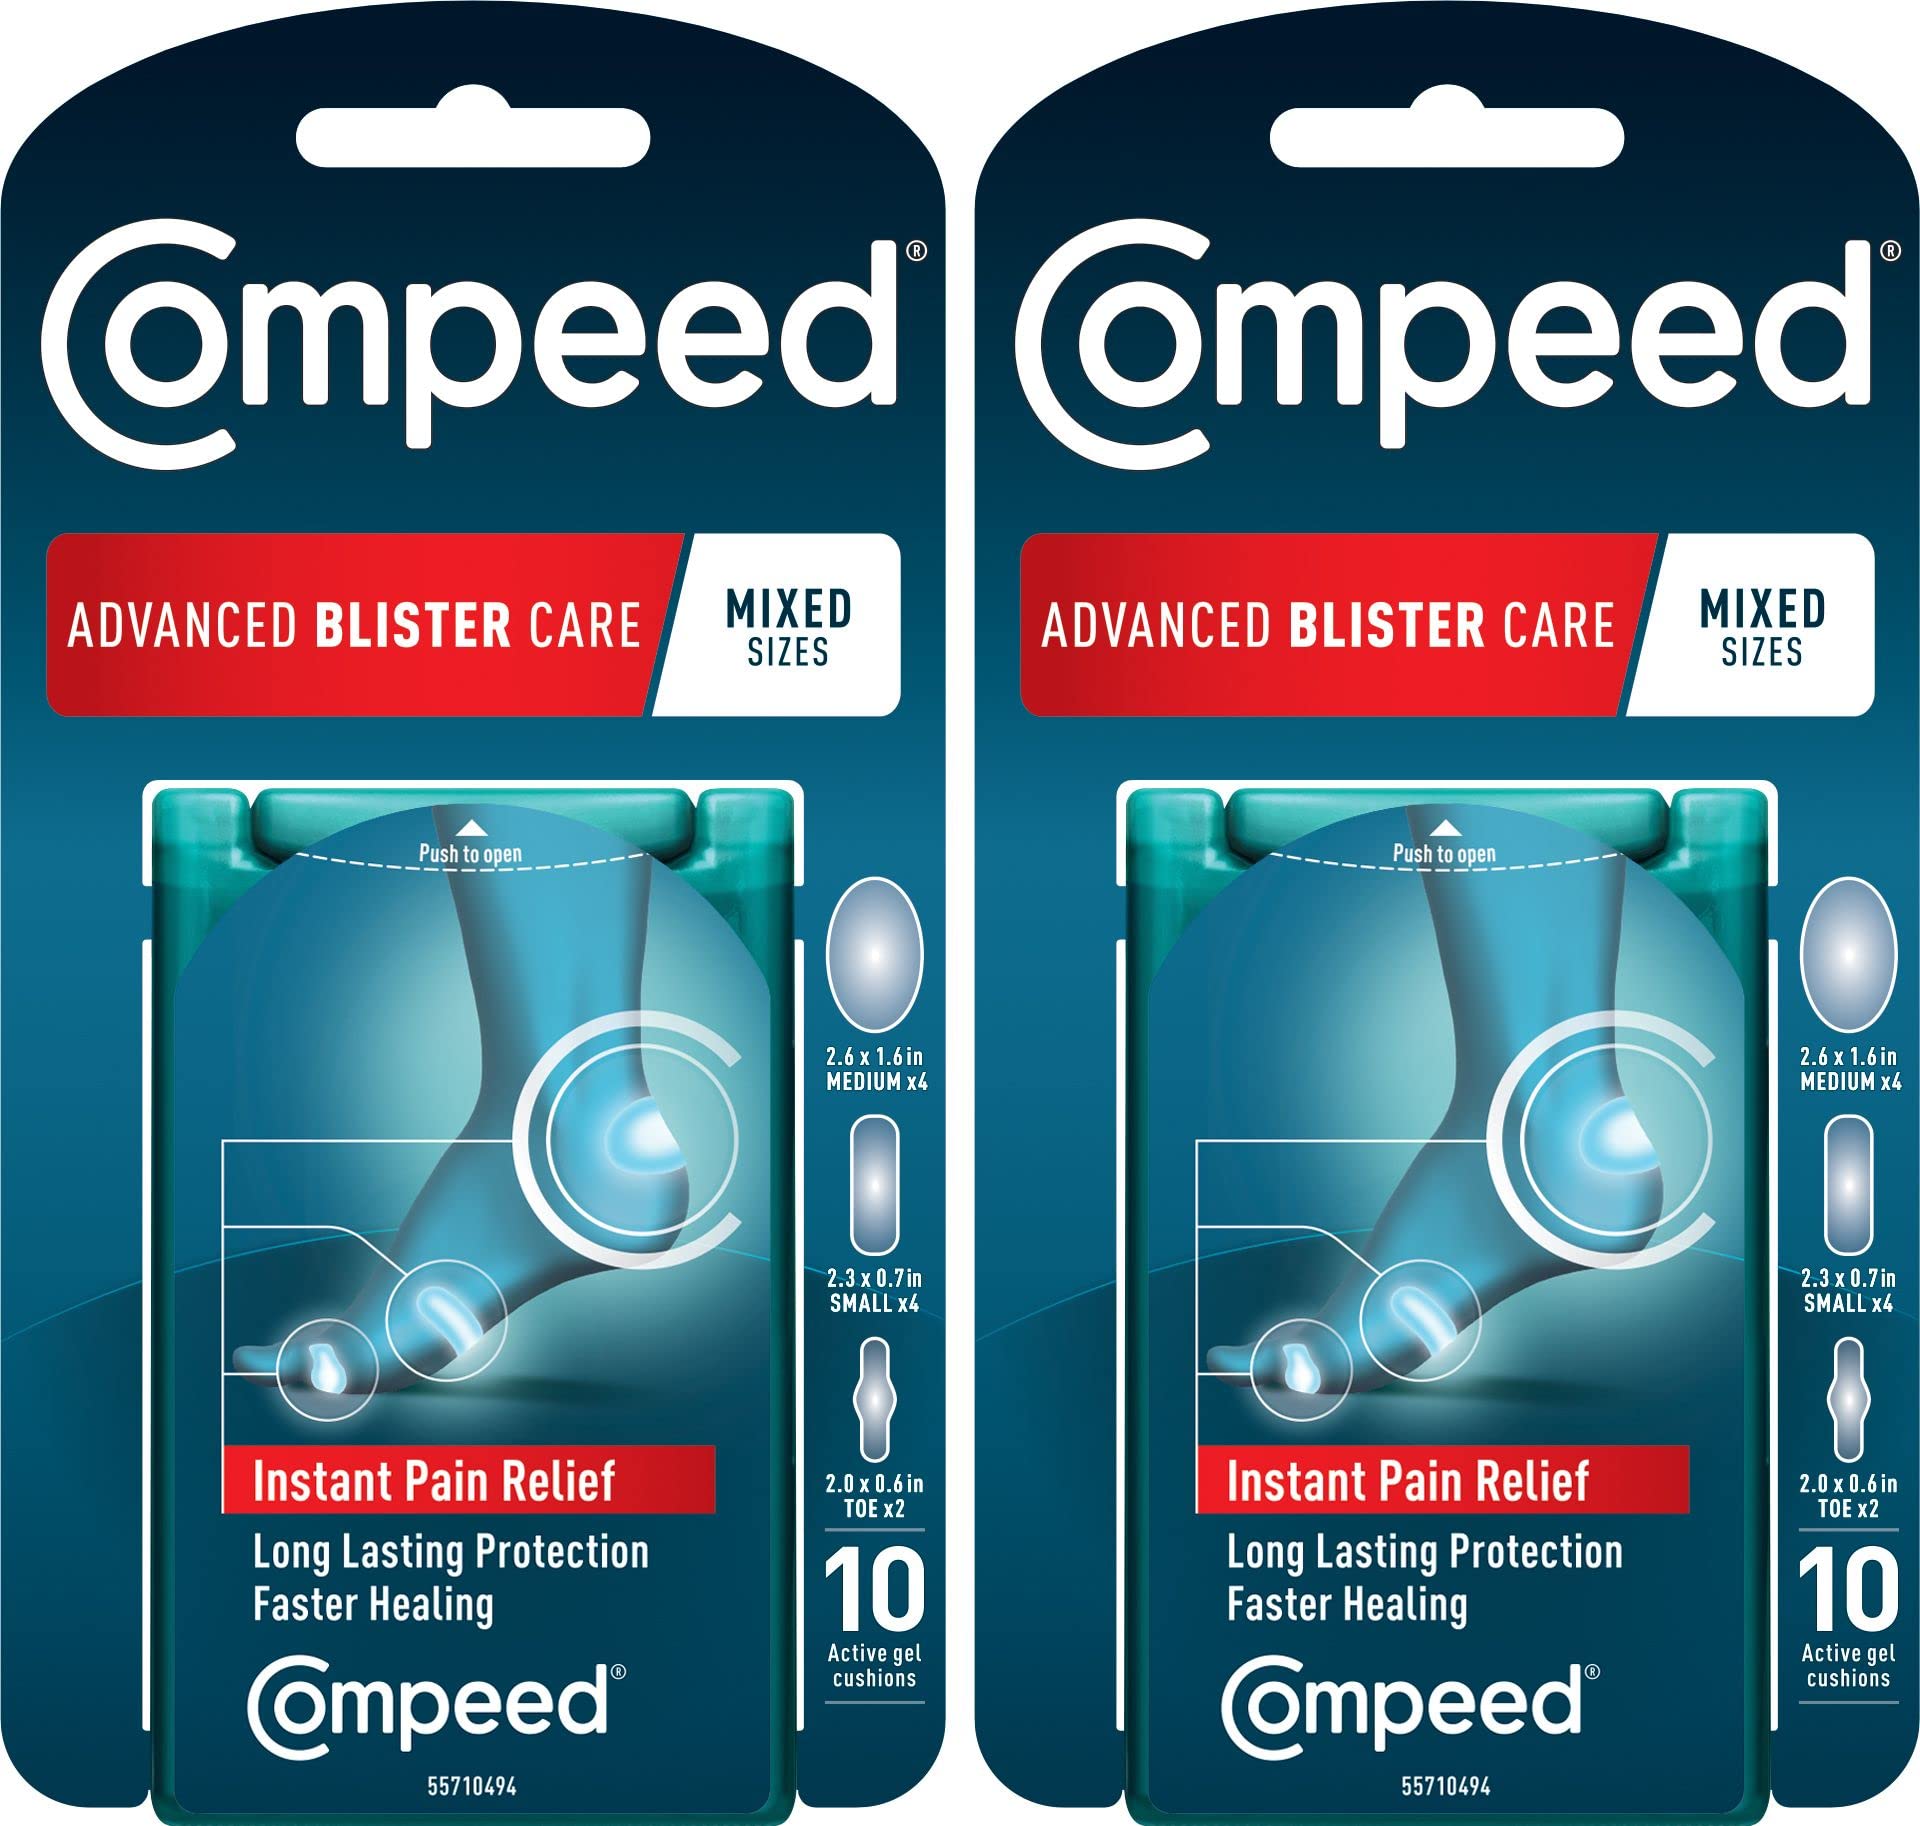
Perfect for toes/heels on long hikes—multi-day wear.
Compeed Blister Plasters Hydrocolloid tech relieves pain instantly and prevents rubbing; thin for sock fit.
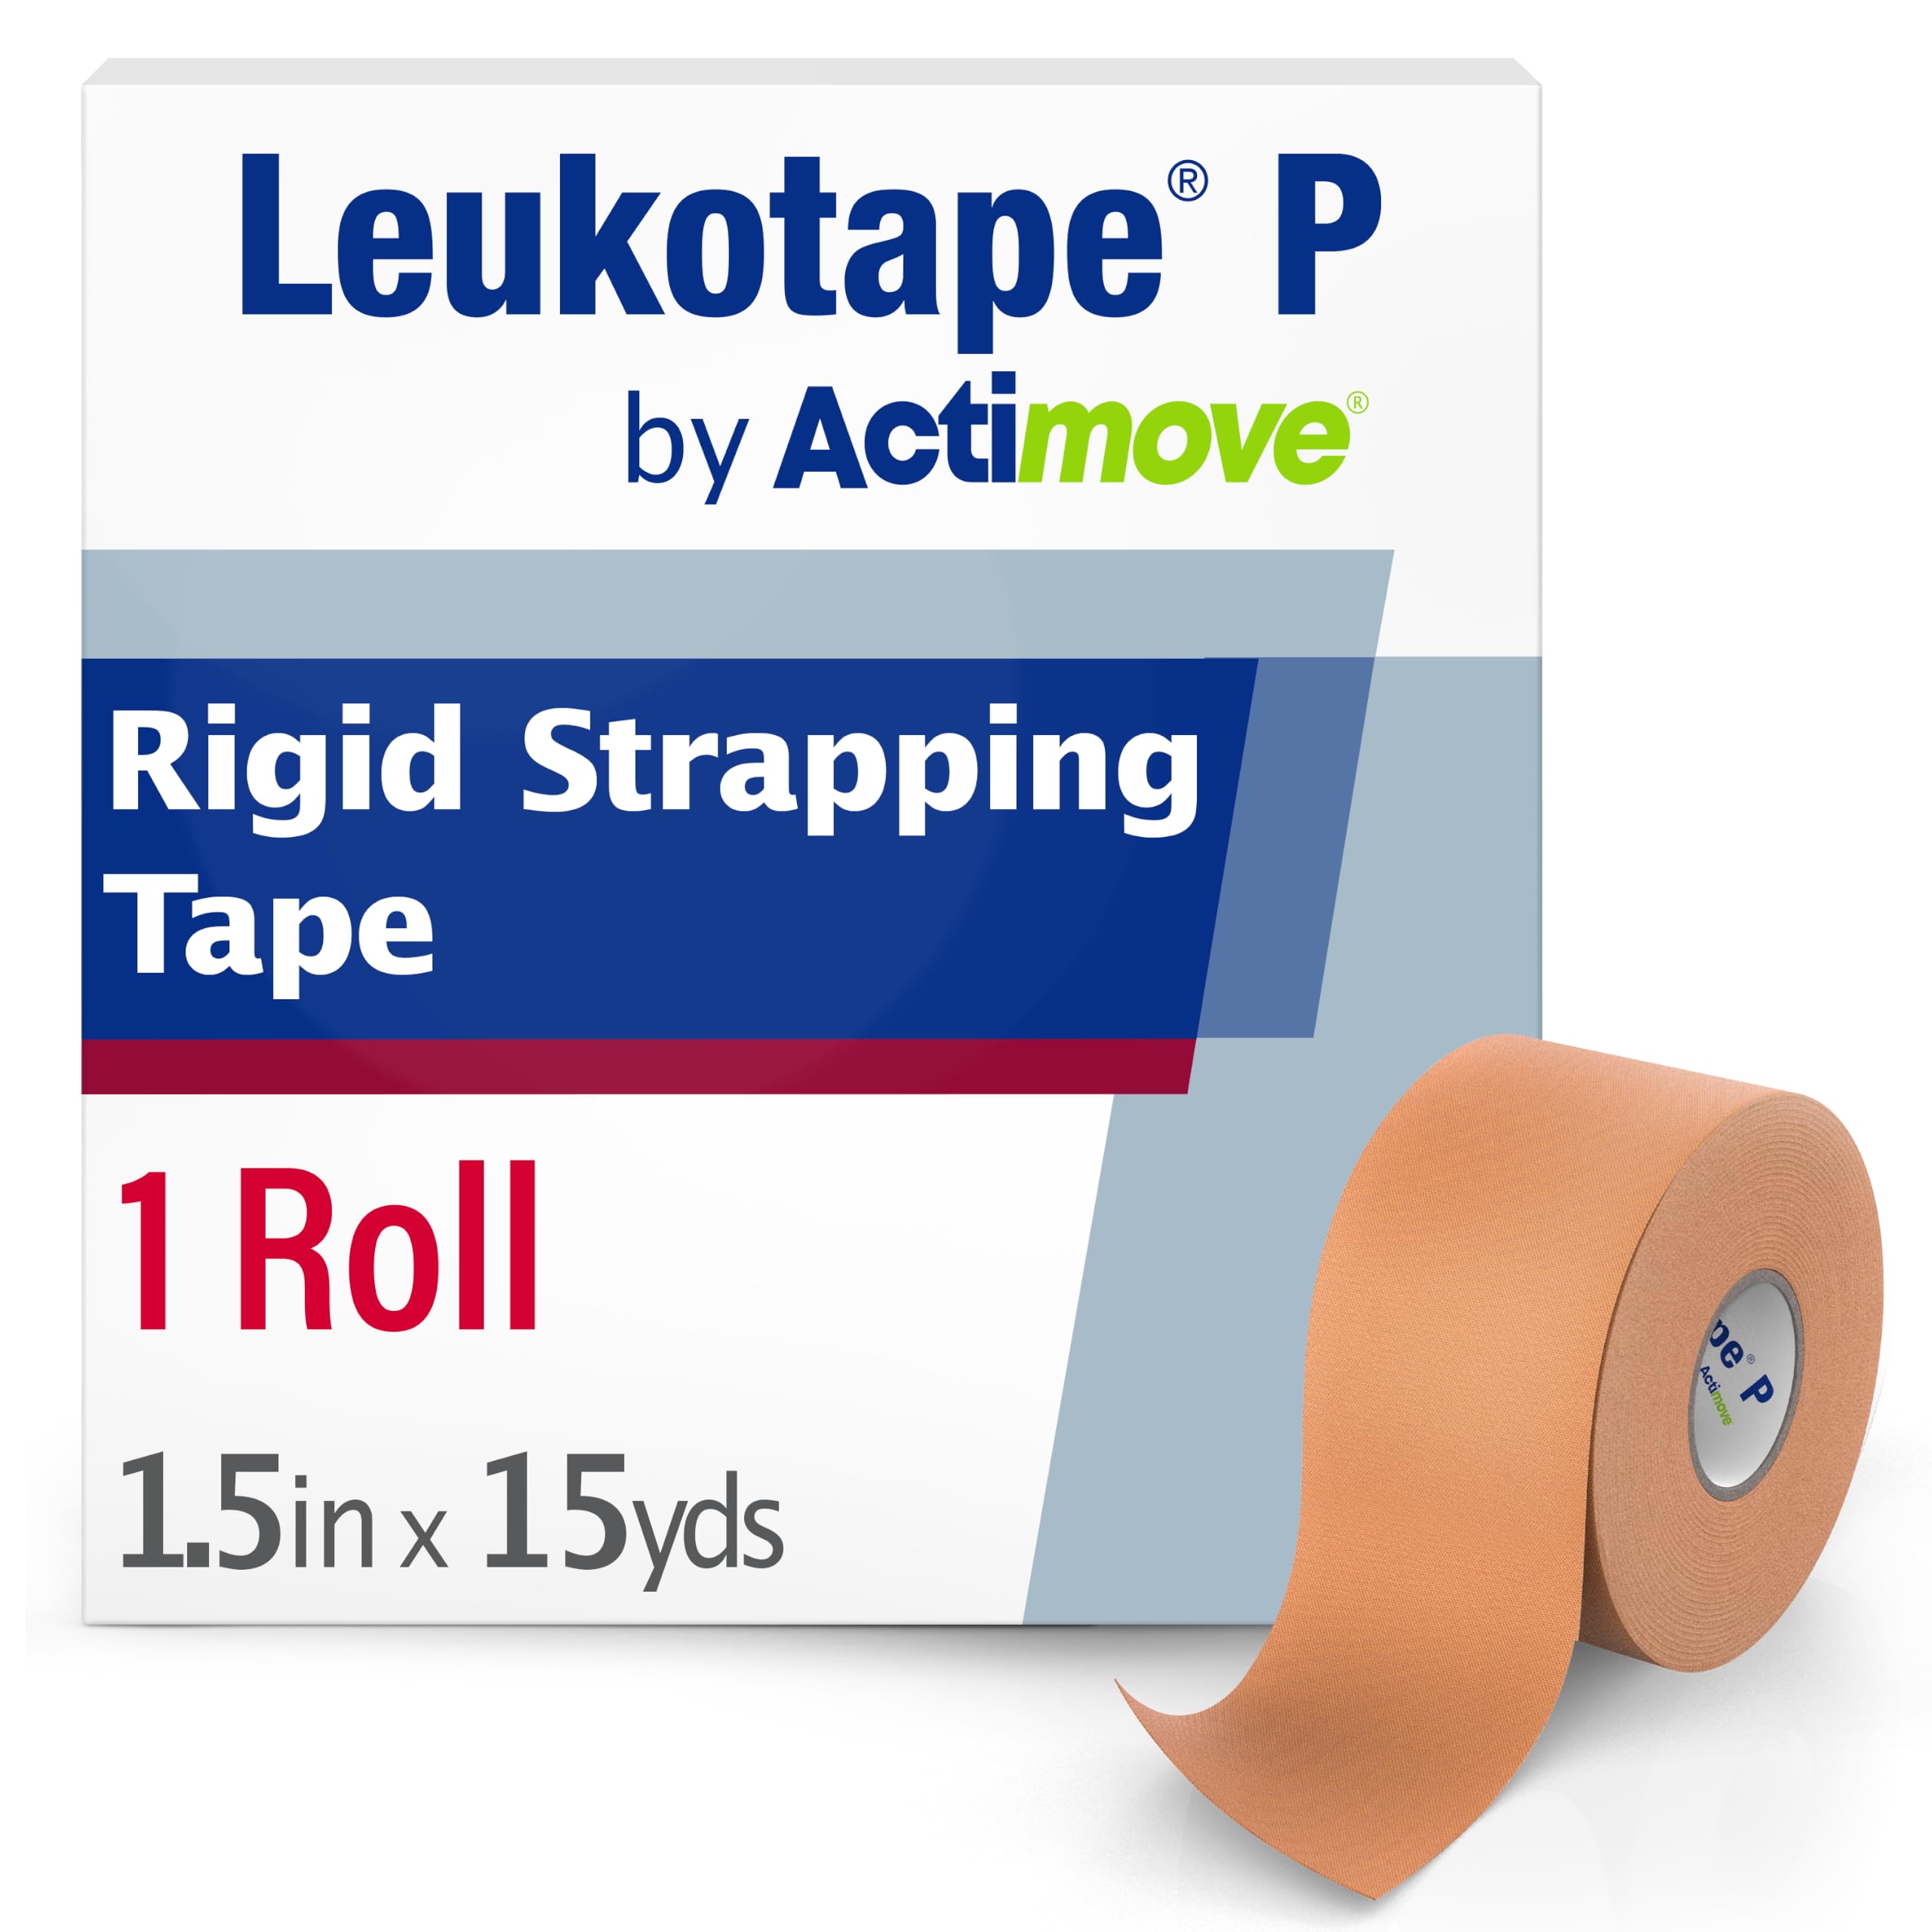
Over other bandages in rain or high-friction areas.
Leukotape P Sports Tape Ultra-sticky, non-stretch tape for securing padding; weatherproof.
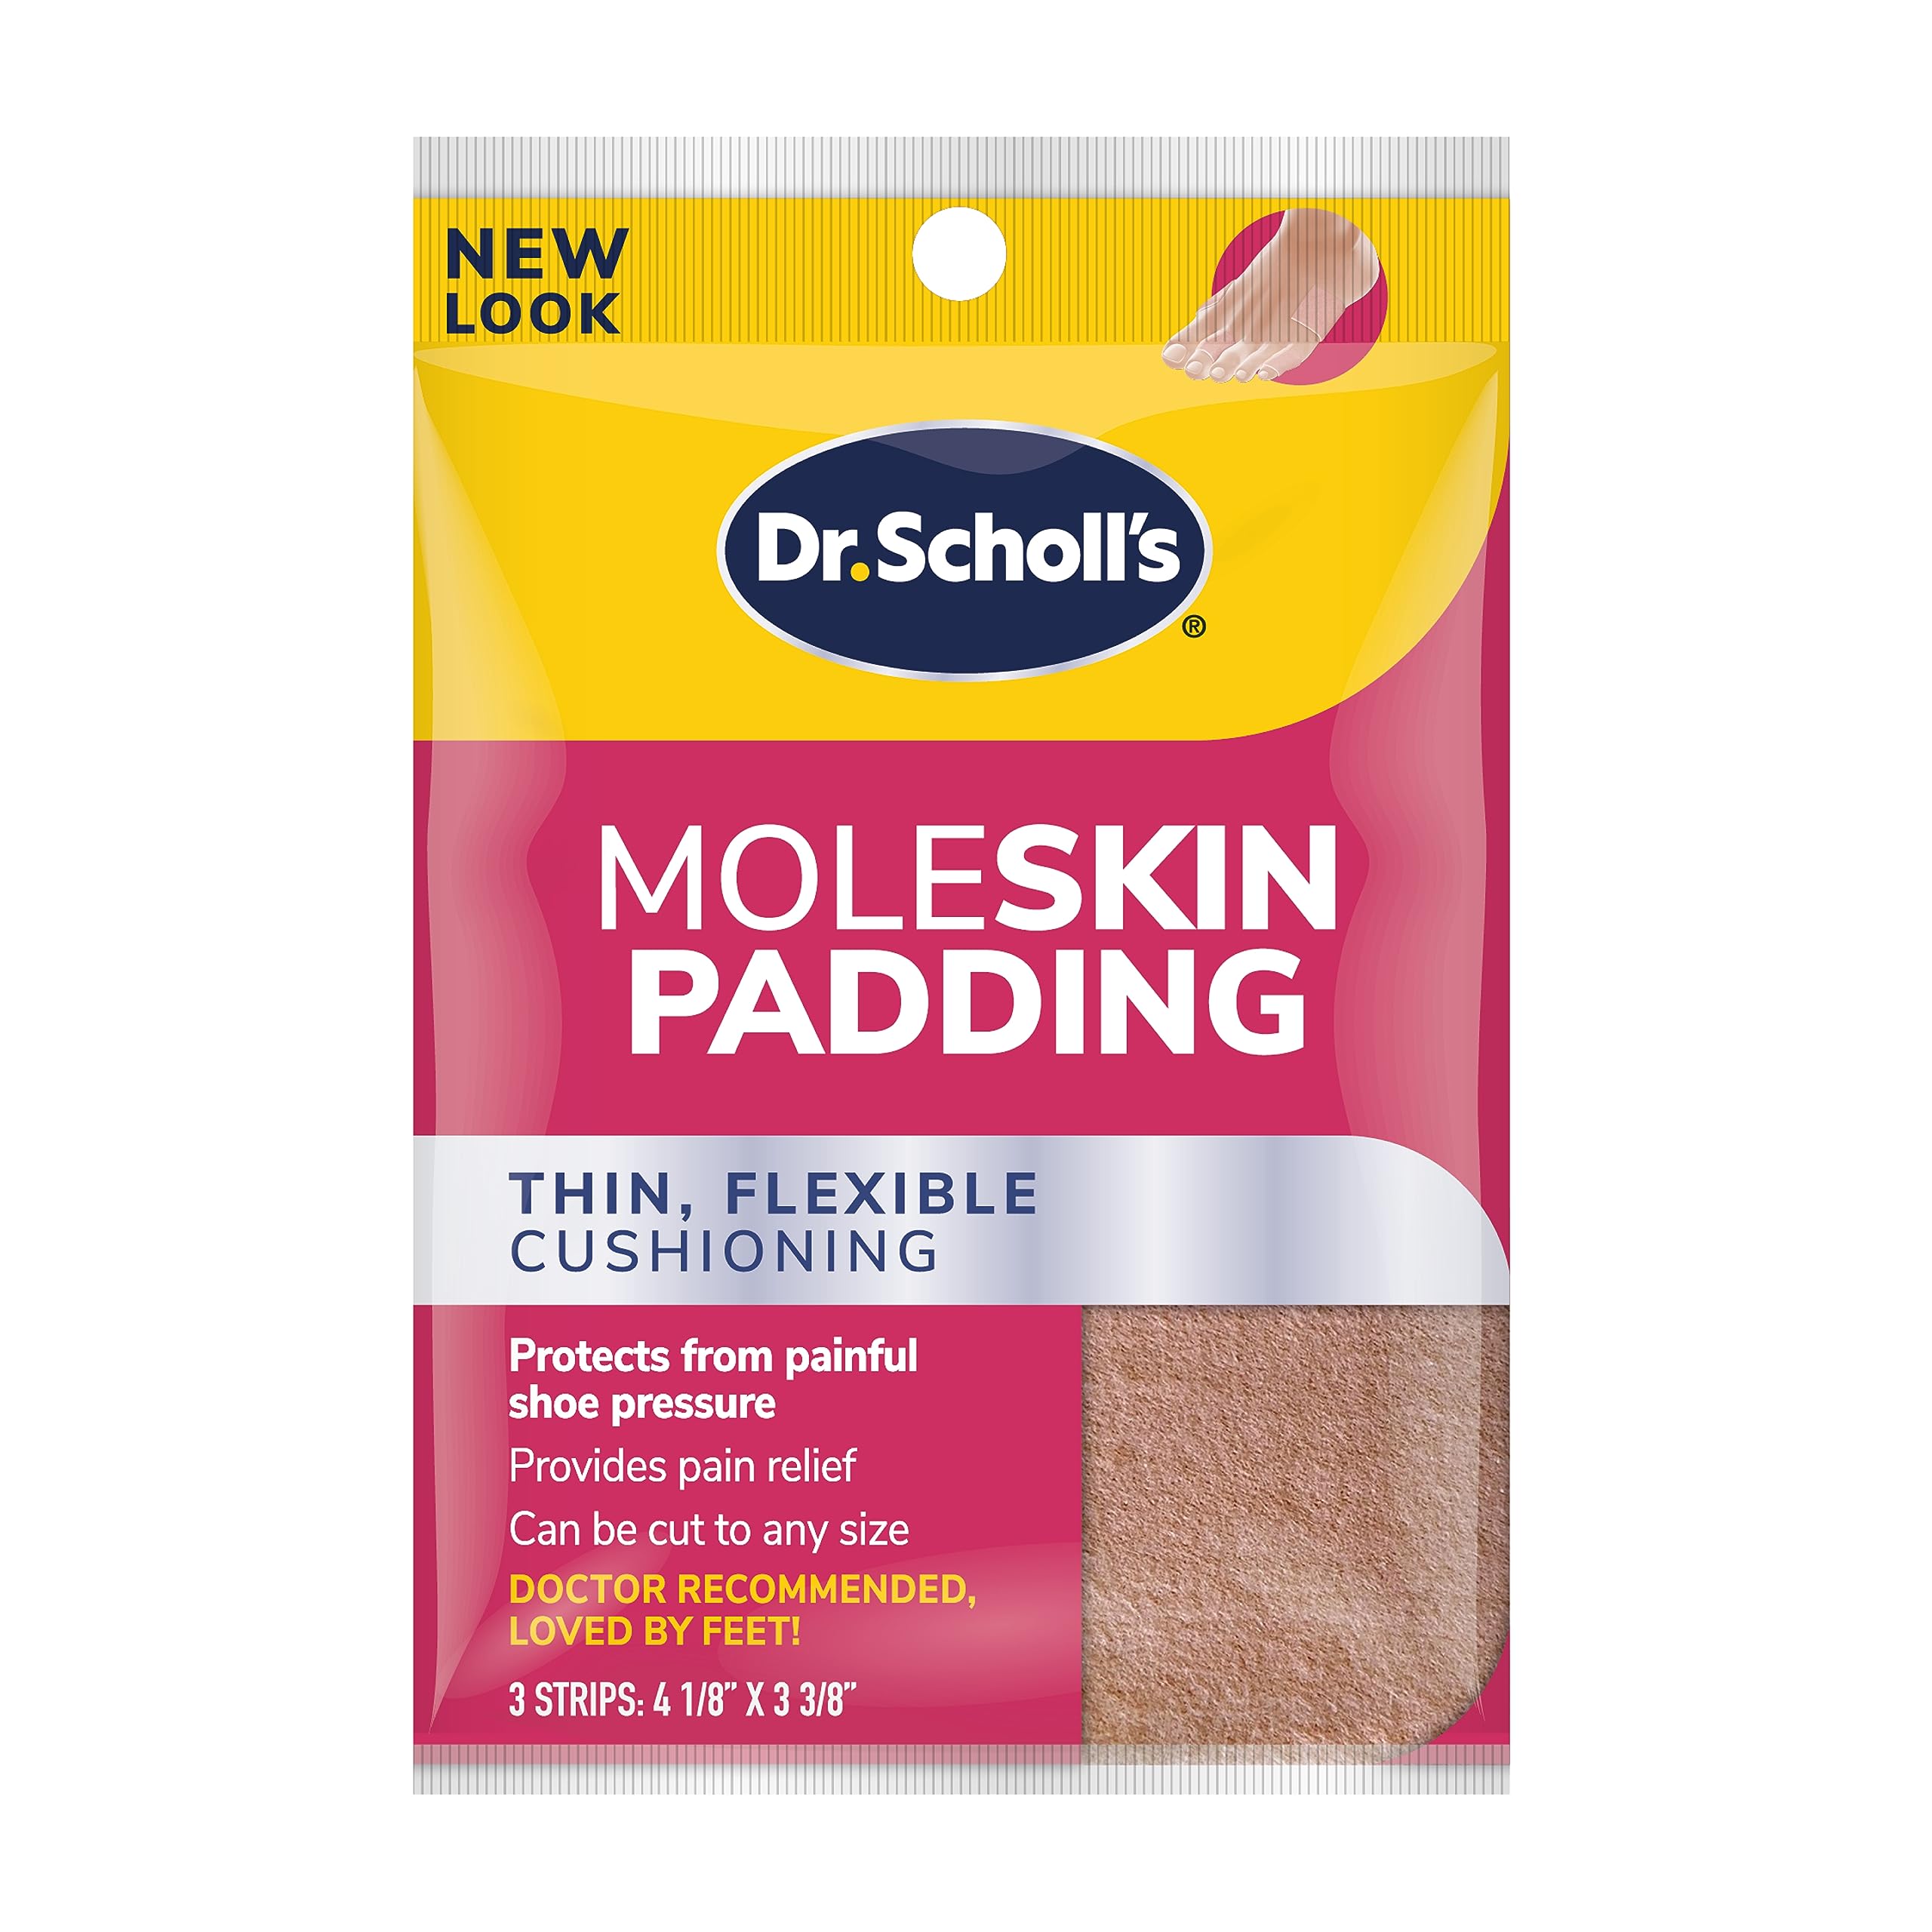
Budget base layer under bandages for friction relief.
Dr. Scholl's Moleskin Plus Padding Adhesive-backed foam for donut padding; soft and reusable.