
Creality Ender 3 V3 SE 3D Printer
High-volume functional prototypes under $300.
$219-$259
Creality Ender 3 V3 SE 3D Printer Reliable CoreXY speed (250mm/s) with auto-leveling, ideal for advanced prototyping iterations.
Get the App
Better experience on mobile
Learn advanced techniques to design, print, and test functional prototypes using FDM 3D printing, accelerating your product development cycle.
In fast-paced engineering and product design, traditional prototyping methods like CNC machining or injection molding can take weeks and cost thousands. Additive manufacturing, particularly Fused Deposition Modeling (FDM), revolutionizes this by enabling rapid iterations in hours or days, directly from digital designs.
This guide teaches you a complete workflow for prototyping a functional mechanical bracket—think a custom mount for robotics or automotive parts. You'll go from requirements definition to a tested prototype, incorporating advanced optimization for strength and printability. Expect to leverage CAD expertise, slicing parameters, and post-processing for professional results.
The process takes 6-10 hours total (mostly print time), assuming advanced skills in CAD and basic printer operation. By the end, you'll have a durable prototype ready for assembly or further refinement.
Estimated Time: 6-10 hours (1-2 hours design/slicing, 4-6 hours printing, 1 hour post-processing/testing) Difficulty: advanced
Start by outlining the bracket's specs: dimensions (e.g., 100x50x10mm base), load-bearing capacity (e.g., 50kg shear force), mounting holes (M4 threads), and environmental factors (temperature, vibration).
Why it matters: This prevents redesigns. Sketch 2D views and calculate stresses using FEA tools in CAD.
Success looks like: A one-page spec sheet with tolerances (±0.2mm) and failure criteria.
💡 Tips:
⚠️ Warnings:
Open Fusion 360 or SolidWorks. Model the bracket with thick walls (3-4mm min), fillets (2mm radii) for strength, and chamfers on edges.
Add features: Bosses for holes, ribs for stiffness. Run FEA simulation to verify under 1.5x safety factor.
What to expect: A parametric model ready for export. Iterate if stresses exceed limits.
💡 Tips:
⚠️ Warnings:
Review for printability: Ensure wall thickness >1.2mm (nozzle width), add alignment keys for multi-part assemblies, and orient for minimal supports (Z-up for flat base).
Scale tolerances: +0.1-0.2mm clearance for moving parts. Generate STL at 0.01mm resolution.
Success: Model passes slicer preview without excessive supports.
💡 Tips:
Import STL into Cura/PrusaSlicer. Set profile: 0.2mm layer height, 50mm/s speed, 230°C nozzle/80°C bed for PETG, 20% infill (gyroid), 3 walls/perimeters.
Generate supports (tree or organic), brim (8mm) for adhesion. Preview layer view for issues.
Why: Optimized settings balance speed, strength. Export G-code.
💡 Tips:
⚠️ Warnings:
Level bed (auto if CoreXY), load dry filament, heat up. Transfer G-code via USB/SD.
Run first layer test: Wipe nozzle, ensure adhesion.
Expect: Homogeneous extrusion, no warping in first 10 layers.
💡 Tips:
Initiate print (4-6 hours). Check hourly: adhesion, bridging, cooling fan at 100% post-layer 5.
Pause if needed for tweaks.
Success: 100% complete without failures.
💡 Tips:
⚠️ Warnings:
Cool fully, remove supports with pliers/knife. Sand progressively (200->1000 grit), vapor smooth ABS with acetone if needed.
Drill/ tap holes, inspect with calipers (±0.1mm tolerance).
Result: Smooth, dimensionally accurate part.
💡 Tips:
Assemble into mockup, load-test (weights/pull gauge). Measure deflection, compare to FEA.
Document failures, tweak CAD (e.g., thicker ribs), reprint.
Success: Meets 90% specs; iterate 1-2x.
💡 Tips:
⚠️ Warnings:
Problem: Layer shifts or ghosting
Solution: Tighten belts, lower acceleration to 3000mm/s², check X/Y steps/mm.
Problem: Stringing or oozing
Solution: Increase retraction (6mm at 40mm/s), dry filament, set Z-hop 0.2mm.
Problem: Warping or poor adhesion
Solution: Clean bed with IPA, use PEI sheet, enclosure >30°C ambient.
Problem: Brittle parts
Solution: Switch to PETG/ABS, increase infill to 30%, anneal post-print.
Problem: Inaccurate dimensions
Solution: Calibrate flow/XY scaling, use 0.4mm nozzle for precision.
Reliable CoreXY speed (250mm/s) with auto-leveling, ideal for advanced prototyping iterations.
Best for: High-volume functional prototypes under $300.
Price Range: $219-$259
Tough, low-warp material with excellent layer adhesion for load-bearing prototypes.
Best for: Mechanical parts needing impact resistance over PLA.
Price Range: $20-$25
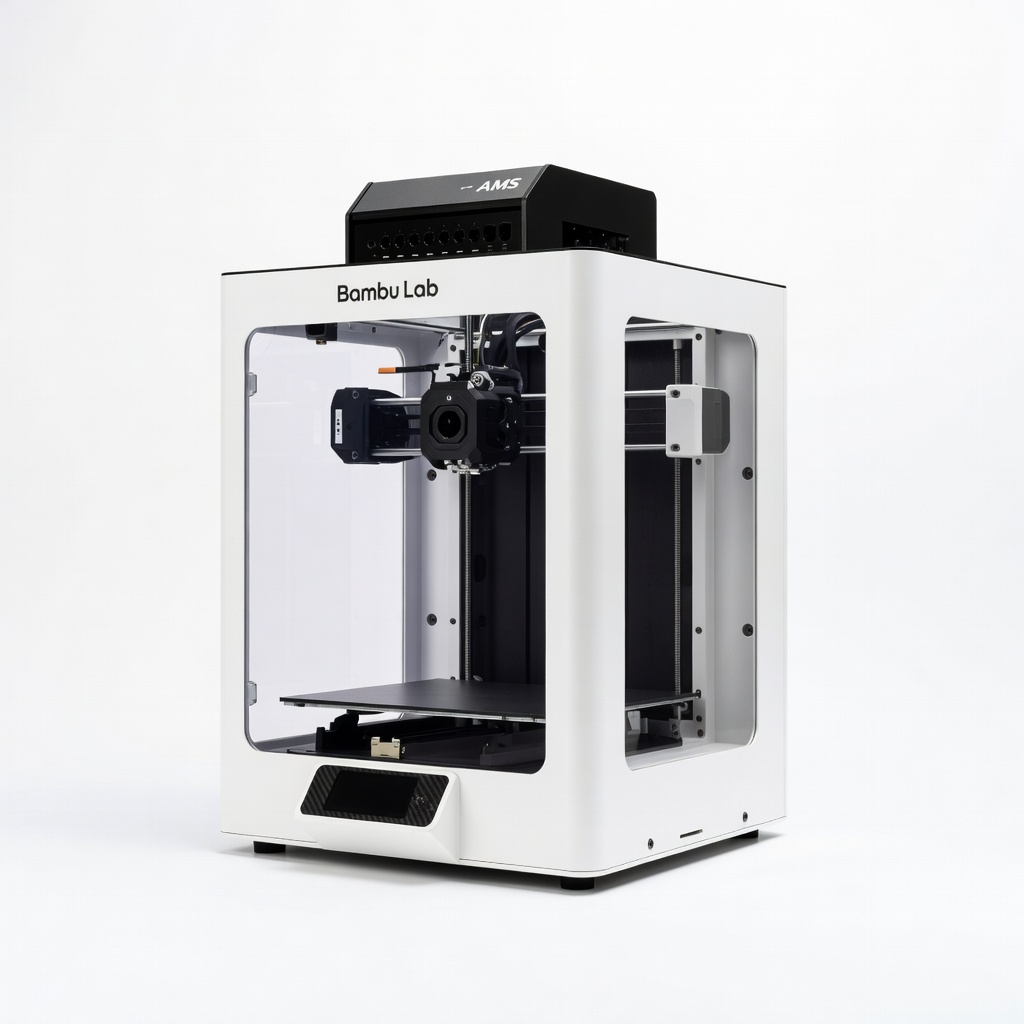
Enclosed, multi-material AMS for ABS/PA prototypes with LIDAR failure detection.
Best for: Professional engineering prototypes requiring high strength/precision.
Price Range: $1,200-$1,500
0.01mm accuracy essential for validating prototype tolerances.
Best for: Precision measurement post-print.
Price Range: $130-$150
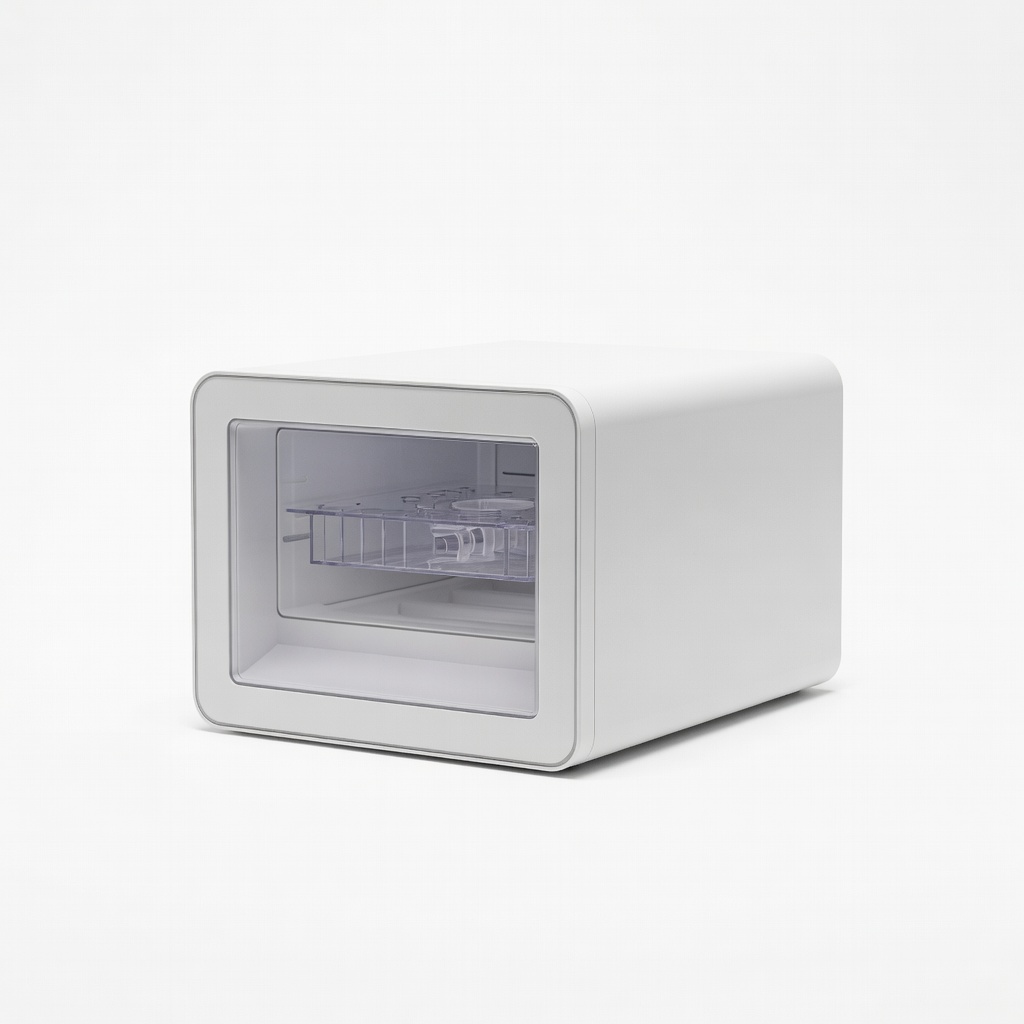
Prevents moisture issues in hygroscopic filaments like PETG/Nylon.
Best for: Consistent prints in humid environments.
Price Range: $40-$60
High-volume functional prototypes under $300.
Creality Ender 3 V3 SE 3D Printer Reliable CoreXY speed (250mm/s) with auto-leveling, ideal for advanced prototyping iterations.

Mechanical parts needing impact resistance over PLA.
OVERTURE PETG Filament 1.75mm Black 1kg Tough, low-warp material with excellent layer adhesion for load-bearing prototypes.
Professional engineering prototypes requiring high strength/precision.
Bambu Lab X1-Carbon Combo 3D Printer Enclosed, multi-material AMS for ABS/PA prototypes with LIDAR failure detection.

Precision measurement post-print.
Mitutoyo Digital Caliper 6" 0.01mm accuracy essential for validating prototype tolerances.
Consistent prints in humid environments.
Sunlu Filament Dryer Box Prevents moisture issues in hygroscopic filaments like PETG/Nylon.