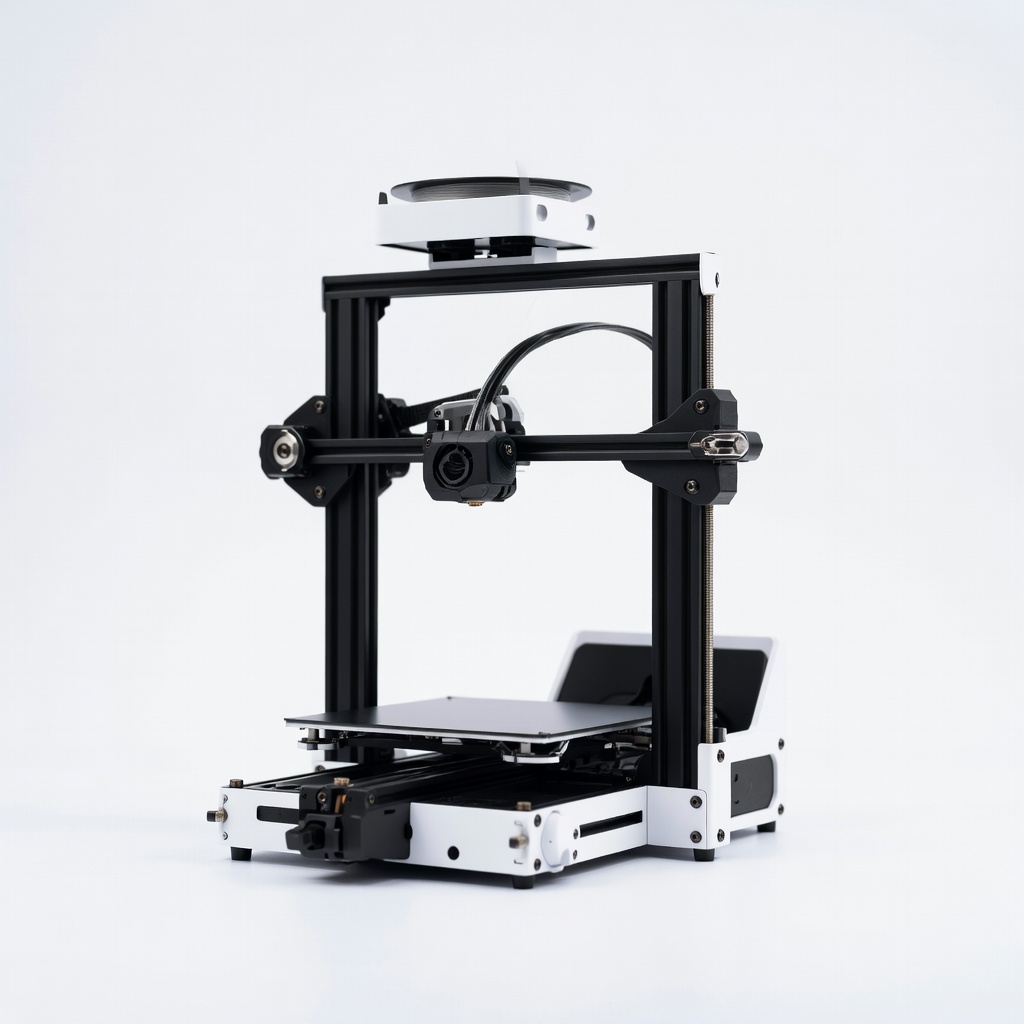
Bambu Lab A1 3D Printer
Desktop prototyping of functional parts up to 256x256x256mm.
$399
Bambu Lab A1 3D Printer High-speed FDM with auto-leveling and multi-color for rapid prototyping iterations.
Get the App
Better experience on mobile
Learn advanced techniques to design, print, and iterate functional prototypes using FDM, SLA, and SLS for faster product development.
In product design and engineering, traditional prototyping methods like CNC machining or injection molding can take weeks and cost thousands. Additive manufacturing (AM), or 3D printing, slashes that to hours or days, enabling rapid iterations and functional testing. For advanced users, mastering AM prototyping means optimizing for mechanical properties, tolerances, and multi-material builds.
This guide walks you through the complete workflow: from requirements definition to validated prototypes. You'll achieve production-like prototypes ready for user testing or investor demos. Expect 4-12 hours total, depending on print complexity and machine speed—ideal for engineers with CAD and slicing experience.
We'll cover technology selection, design optimization, printing, post-processing, and iteration, with pro tips for high-fidelity results.
Estimated Time: 4-12 hours (design: 1-2h, slicing/print: 2-8h, post-process/test: 1-2h) Difficulty: advanced
Start by outlining functional specs: dimensions, load-bearing needs, tolerances (±0.1mm for fits), environmental exposure (heat, chemicals), and iteration goals.
Why it matters: Mismatched specs lead to redesigns. For advanced prototyping, include simulation inputs like FEA for stress analysis.
Document in a spec sheet: e.g., 'Tensile strength >50MPa, IP65 sealing'. Expect a 30-60min brainstorm yielding a clear brief.
💡 Tips:
⚠️ Warnings:
Choose based on needs: FDM for cost-effective rigid parts (PLA/PETG), SLA for high-detail/smooth surfaces (resins), SLS for strong, isotropic nylon prototypes.
Advanced consideration: Match material properties—e.g., PA12 for SLS flex durability. Review datasheets for HDT, elongation.
Success: Tech/material combo aligns with specs (e.g., SLA for 0.05mm tolerances).
💡 Tips:
Import/create model in CAD. Apply DfAM: 45° overhangs max, uniform wall thickness (1.2-2mm), escape holes for powder (SLS).
Run simulations (FEA, CFD) for validation. Export as STL/STEP at 0.01mm tolerance.
Expect: Watertight mesh, <5% volume for supports.
💡 Tips:
⚠️ Warnings:
Import STL to slicer. Set params: layer height 0.1-0.2mm (FDM), 0.05mm (SLA); infill 20-40%; supports where needed.
Advanced: Variable layer height, gyroid infill, brim/raft for adhesion.
Preview build time/cost; iterate slices.
Success: Slice time <5min, no errors.
💡 Tips:
Load material, level bed (auto for advanced printers), start print. Monitor first layers.
FDM: Enclosure for ABS warping. SLA: Level resin vat.
Expect: 1-6h print; check for stringing, warping via timelapse.
💡 Tips:
⚠️ Warnings:
Remove supports (flush cutters/pliers). Wash resin in IPA (10min ultrasonic). Cure UV (5-10min).
Smooth: Sand progressively, vapor smooth ABS, dye for SLS.
Success: Surface Ra <10µm, dimensions ±0.2mm.
💡 Tips:
Measure with calipers/CMM. Test: compression, fit, thermal cycle.
Compare to specs; log deviations.
Expect: Pass/fail report for iteration.
💡 Tips:
⚠️ Warnings:
Analyze failures, tweak design/slice, reprint. Version control in CAD.
Document full cycle for portfolio.
Success: 2-3 iterations converging to validated prototype.
💡 Tips:
Problem: Print fails mid-way (warping/stringing)
Solution: Increase bed temp +5°C, add brim/raft, dry material, check Z-offset.
Problem: Poor tolerances (>0.3mm off)
Solution: Calibrate steps/mm, use 0.1mm layers, measure hot vs. cold.
Problem: Brittle parts post-cure
Solution: Flexible resin/additive, longer cure, avoid overexposure.
Problem: Resin vat damage
Solution: FEP release spray, level properly, filter resin.
Problem: When to seek help: Complex SLS/multi-jet fusion
Solution: Outsource to services like Xometry or Protolabs.
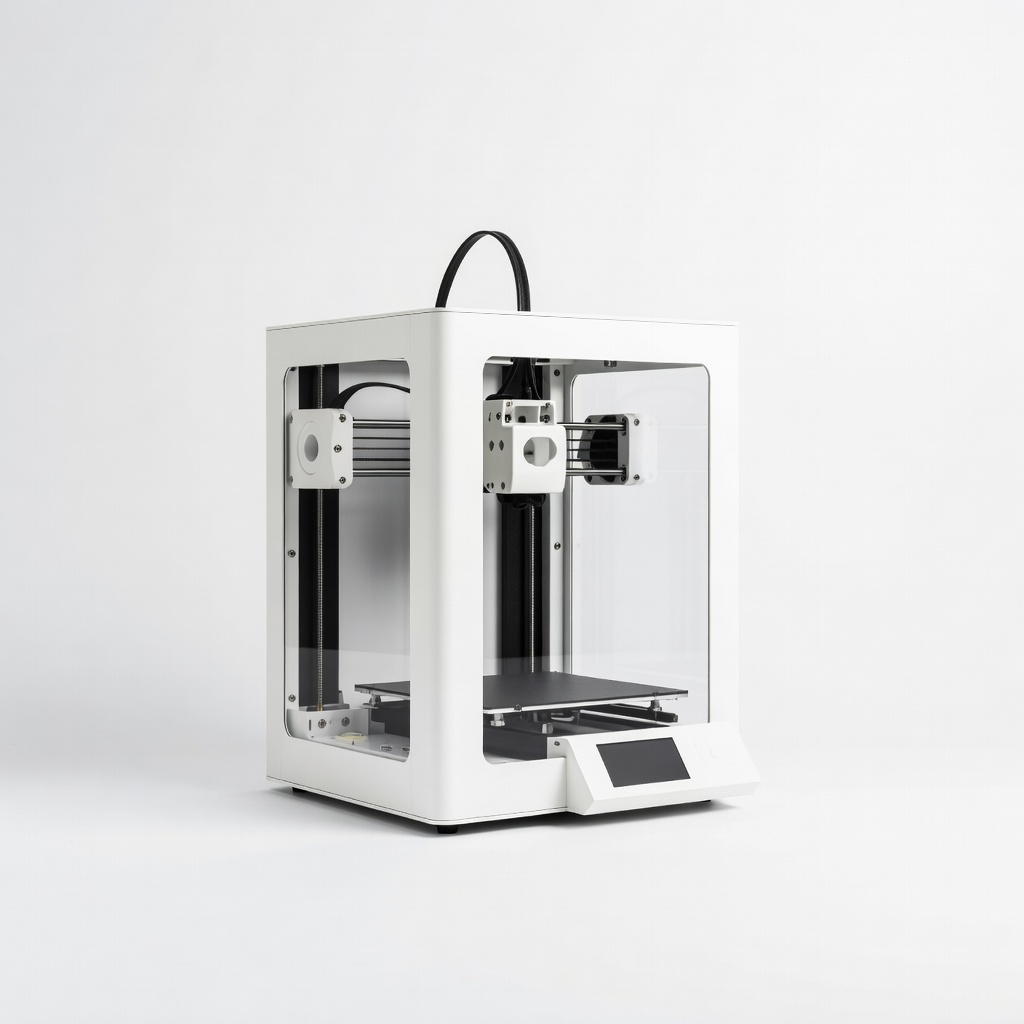
High-speed FDM with auto-leveling and multi-color for rapid prototyping iterations.
Best for: Desktop prototyping of functional parts up to 256x256x256mm.
Price Range: $399
9K resolution for ultra-fine details and smooth surfaces in prototypes.
Best for: High-detail models like enclosures or medical prototypes.
Price Range: $300-$320
Tough, low-warp PLA for reliable functional prototypes.
Best for: General mechanical testing parts.
Price Range: $28.99
High toughness and temp resistance mimicking ABS for load-bearing prototypes.
Best for: Engineering parts needing impact strength.
Price Range: $40-$50
Affordable, upgraded FDM for entry-advanced prototyping with Klipper firmware.
Best for: Budget iterations before scaling.
Price Range: $199
Desktop prototyping of functional parts up to 256x256x256mm.
Bambu Lab A1 3D Printer High-speed FDM with auto-leveling and multi-color for rapid prototyping iterations.
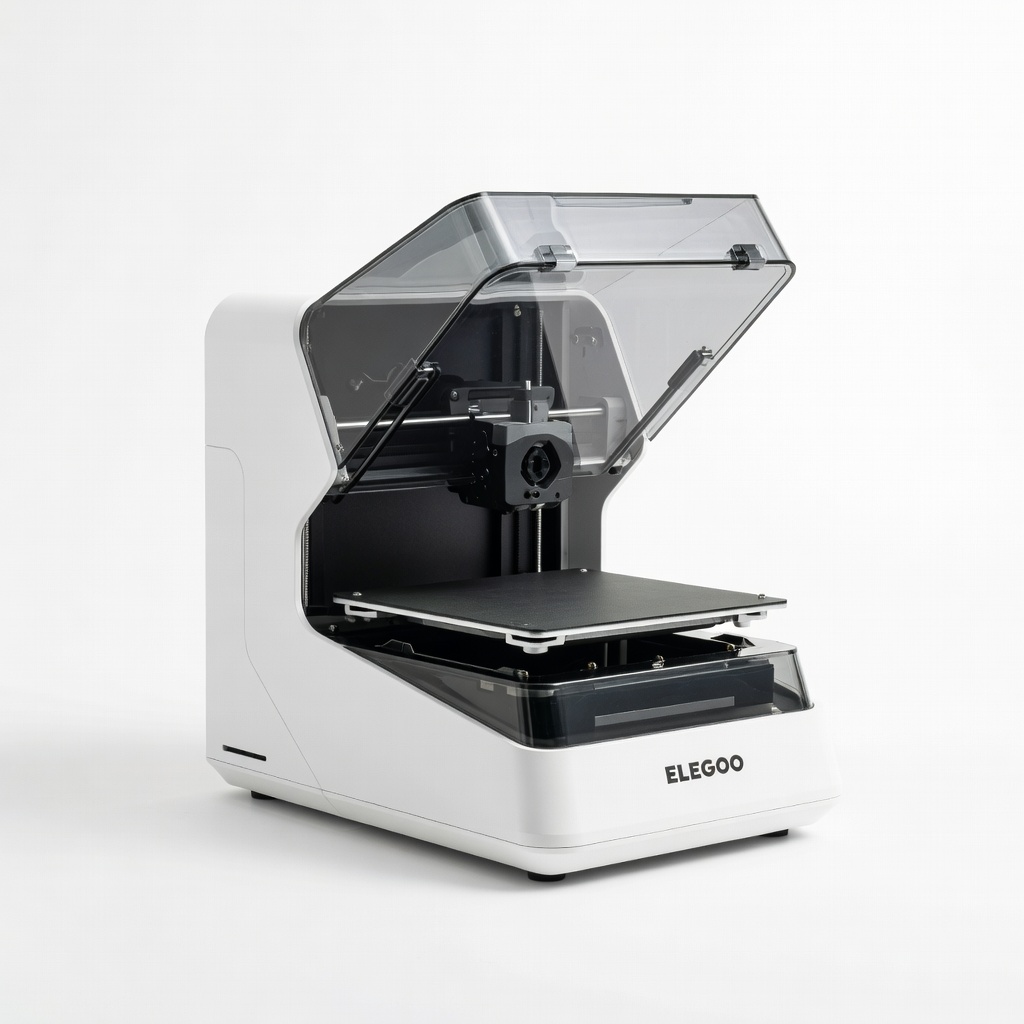
High-detail models like enclosures or medical prototypes.
ELEGOO Mars 5 Ultra Resin 3D Printer 9K resolution for ultra-fine details and smooth surfaces in prototypes.
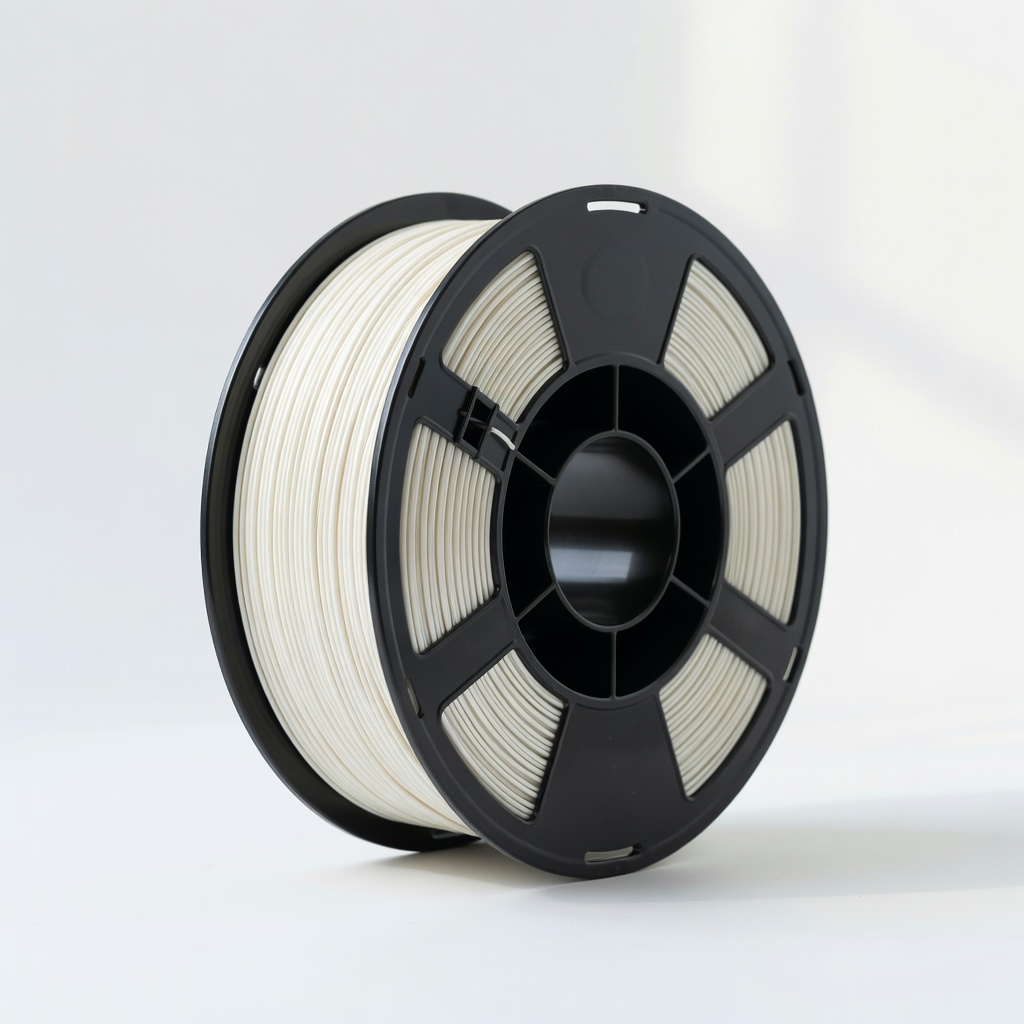
General mechanical testing parts.
Overture PLA+ Filament 1.75mm 2kg Tough, low-warp PLA for reliable functional prototypes.
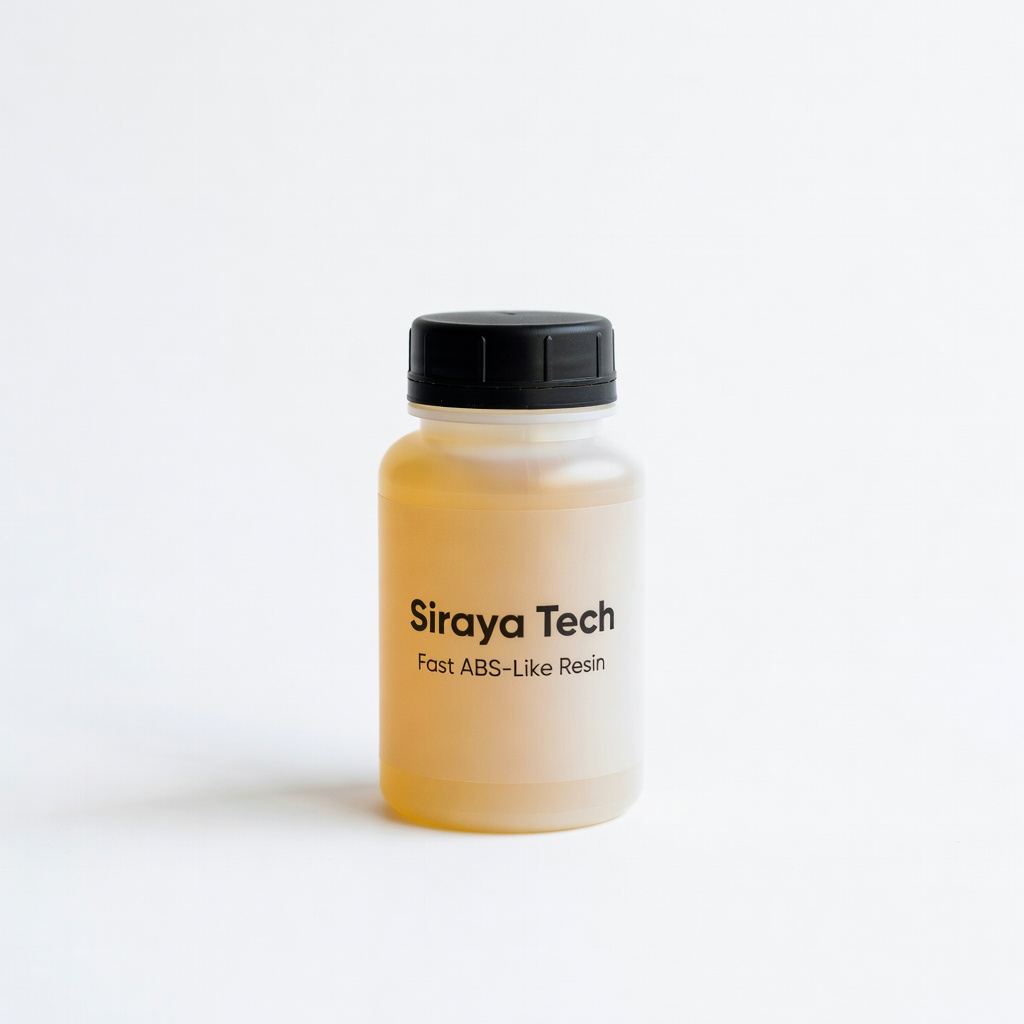
Engineering parts needing impact strength.
Siraya Tech Fast ABS-Like Resin High toughness and temp resistance mimicking ABS for load-bearing prototypes.
Budget iterations before scaling.
Creality Ender 3 V3 SE Affordable, upgraded FDM for entry-advanced prototyping with Klipper firmware.