Struggling with acrylic nails that crack, lift, or look uneven? Many intermediate nail enthusiasts face issues due to improper acrylic liquid use, leading to weak extensions or messy applications. This guide solves that by teaching you the precise techniques for handling acrylic liquid (monomer) with powder for flawless results.
You'll master preparation, mixing ratios, application, and finishing—everything needed for professional-looking extensions. Expect to spend 45-60 minutes per full set, perfect for intermediate DIYers with basic nail skills.
The process involves prepping nails, creating the ideal bead consistency, layering acrylic, shaping, and sealing. Follow these steps closely for extensions that withstand daily wear.
▸What You'll Need
- •Acrylic liquid monomer (4-8 oz bottle, professional grade)
- •Acrylic powder (clear or colored, matching set)
- •Kolinsky acrylic brush (size 8-12)
- •Dappen dishes (glass or plastic, 2 per session)
- •Nail tips or forms
- •Nail dehydrator/primer
- •150/180 grit files
- •Buffer block (180/240 grit)
- •Dust brush
- •UV/LED top coat and base coat
- •Cotton swabs and liquid wipe (99% isopropyl alcohol)
- •Optional: Nail form wedges, cuticle pusher
Estimated Time: 45-60 minutes for a full set of 10 nails
Difficulty: intermediate
▸Step-by-Step Instructions
Step 1: Prepare Your Workspace and Client's Nails
Set up a clean, well-lit area with good ventilation to avoid monomer fumes. Sanitize all tools and lay out products. Start nail prep: gently push back cuticles with a pusher, file natural nails to roughen the surface (180 grit), and clean with a dehydrator or alcohol wipe.
Apply acid-free primer to enhance adhesion—let it dry tacky. This step removes oils for better bonding, preventing lifts.
Success looks like: Clean, matte nails ready for tips, no shine or debris.
💡 Tips:
- •Work in sections (e.g., 4 nails at a time) to keep acrylic workable.
- •Use a manicure bowl for soapy water soaks if cuticles need softening.
⚠️ Warnings:
- •Avoid over-filing; it weakens natural nails.
Step 2: Size and Apply Nail Tips or Forms
Select tips matching nail width (0.5mm overhang). Blend tip seam with a file for seamless look. Secure with tip adhesive or glue, pressing firmly for 10-15 seconds.
For forms, wedge under free edge, shape a curve mimicking natural nail.
Success looks like: Secure extension base aligned with cuticle, no gaps.
💡 Tips:
- •File tips shorter before gluing for easier sizing.
⚠️ Warnings:
- •Don't glue too close to cuticle—leave 1mm gap.
Step 3: Pour Products into Dappen Dishes
Fill one dappen dish 1/3 with acrylic liquid monomer. Pour acrylic powder into the second dish. Keep monomer away from sunlight to prevent polymerization.
This setup allows quick access and prevents contamination.
Success looks like: Fresh, bubble-free liquid and fluffy powder.
💡 Tips:
- •Change monomer every 30 mins to avoid inhibitors breaking down.
⚠️ Warnings:
- •Never mix powder into liquid dish—always build beads.
Step 4: Dip Brush and Pick Up Powder for Bead
Dip brush fully in monomer, press sides against dish to saturate, then wipe on a lint-free cloth to remove excess—brush should be shiny but not dripping.
Pat brush 2-3 times in powder center to pick up a medium pea-sized bead (wet consistency: shines, doesn't spread).
Success looks like: Glossy bead that holds shape, no strings.
💡 Tips:
- •Rotate brush for even saturation.
- •Aim for 9:1 powder-to-liquid ratio.
⚠️ Warnings:
- •Over-wet bead runs; dry bead cracks.
Step 5: Mix Bead on Dappen Dish
Place bead on dish edge, swirl gently 5-10 seconds until it reaches 'oily' consistency (smooth, marbles off brush).
Too wet? Add tiny powder pinch. This ensures strong polymerization.
Success looks like: Smooth, non-sticky bead ready to apply.
💡 Tips:
- •Time it: 7-10 seconds max to avoid drying.
⚠️ Warnings:
- •Don't overwork—heat speeds curing.
Step 6: Apply Acrylic to Nail Apex
Hold nail at 45° angle. Place bead near cuticle (1mm away), pat down, then push toward apex with brush belly. Build stress area thickest.
Smooth sides. Work fast—bead cures in 30-60 seconds.
Success looks like: Even layer, strong curve at stress point.
💡 Tips:
- •Use body heat: cup nail to speed cure.
⚠️ Warnings:
- •Flood cuticle—causes lifting.
Step 7: Build and Shape Full Extension
Apply 2-3 thin beads: one for body, one for free edge. Shape with brush while wet, feathering edges.
Let cure fully (dull, hard).
Success looks like: Balanced length, C-curve, no bubbles.
💡 Tips:
- •Alternate hands to prevent fatigue.
⚠️ Warnings:
- •Thick layers crack; thin ones weak.
Step 8: File, Buff, and Finish
File to shape (180 grit), blend junctions, buff smooth (240 grit). Remove dust, apply base/top coat, cure under UV/LED 60 seconds.
Oil cuticles.
Success looks like: Glossy, durable nails.
💡 Tips:
- •File from coarse to fine grit.
⚠️ Warnings:
- •Over-buffing thins acrylic.
▸Pro Tips
- •Store monomer in cool, dark place to extend shelf life.
- •Practice beads on glass tile before nails.
- •Use monomer's viscosity for control—thinner for art, thicker for strength.
- •Clean brush immediately after each nail in monomer, then soap.
- •Humidity affects cure: dry environments need less liquid.
- •For speed, pre-size all tips.
- •Test bead consistency every session.
▸Common Mistakes to Avoid
- •Using too much liquid: Causes runny, weak acrylic—fix with drier mix.
- •Contaminated brush: Leads to fisheyes—wipe thoroughly each dip.
- •Applying too close to cuticle: Results in lifting—maintain 1mm gap.
- •Over-filing apex: Weakens structure—build thick stress area.
- •Skipping primer: Poor adhesion—always dehydrate first.
▸Troubleshooting
Problem: Bubbles in acrylic
Solution: Tap out air before applying; use fresh products. Avoid stirring vigorously.
Problem: Cracking after 1-2 days
Solution: Check mix ratio—too dry. Ensure proper apex strength.
Problem: Yellowing over time
Solution: Use UV-protectant monomer; avoid cheap brands.
Problem: Lifting at cuticle
Solution: Better prep: dehydrate/primer. Don't flood cuticles.
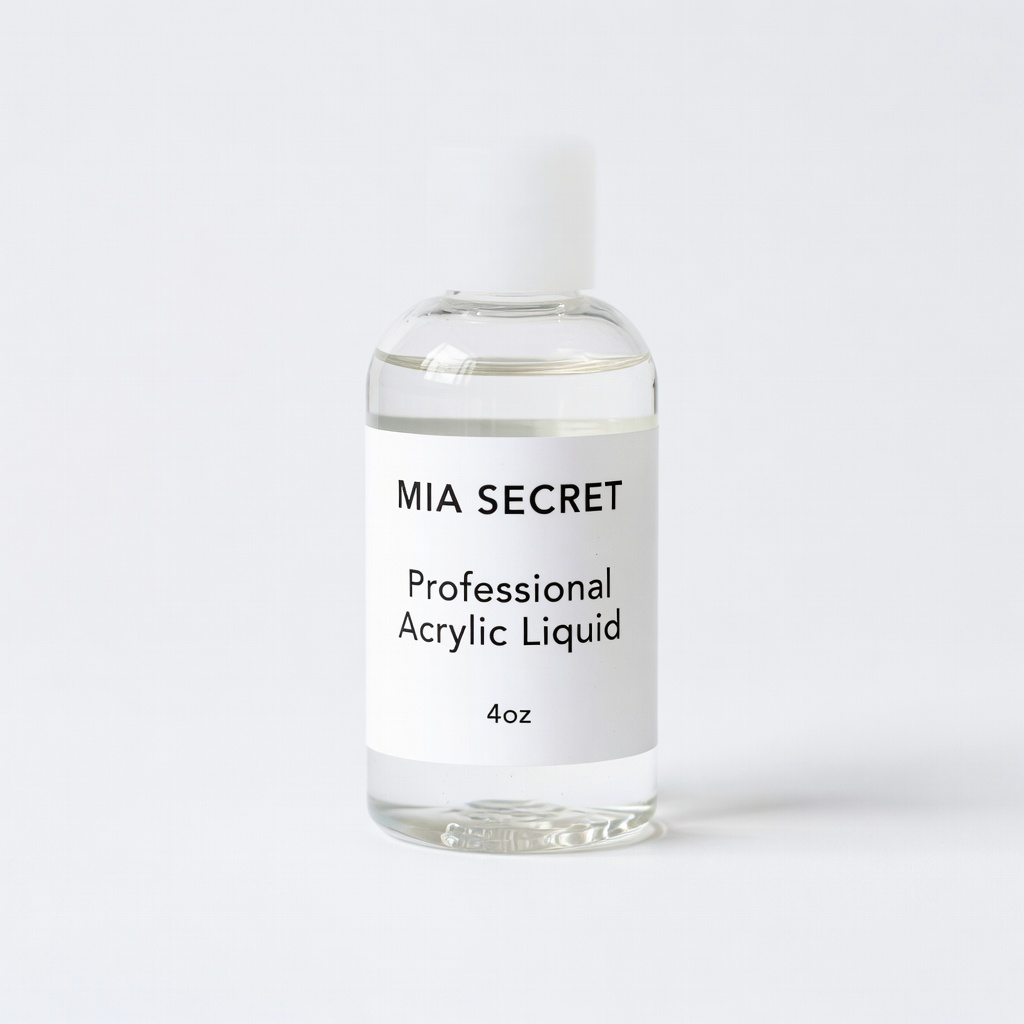
MIA SECRET Professional Acrylic Liquid 4oz
Low-odor, non-yellowing formula with optimal viscosity for intermediate users—consistent beads every time.
Best for: Full sets or fills; pairs perfectly with most powders.
Price Range: $9.99
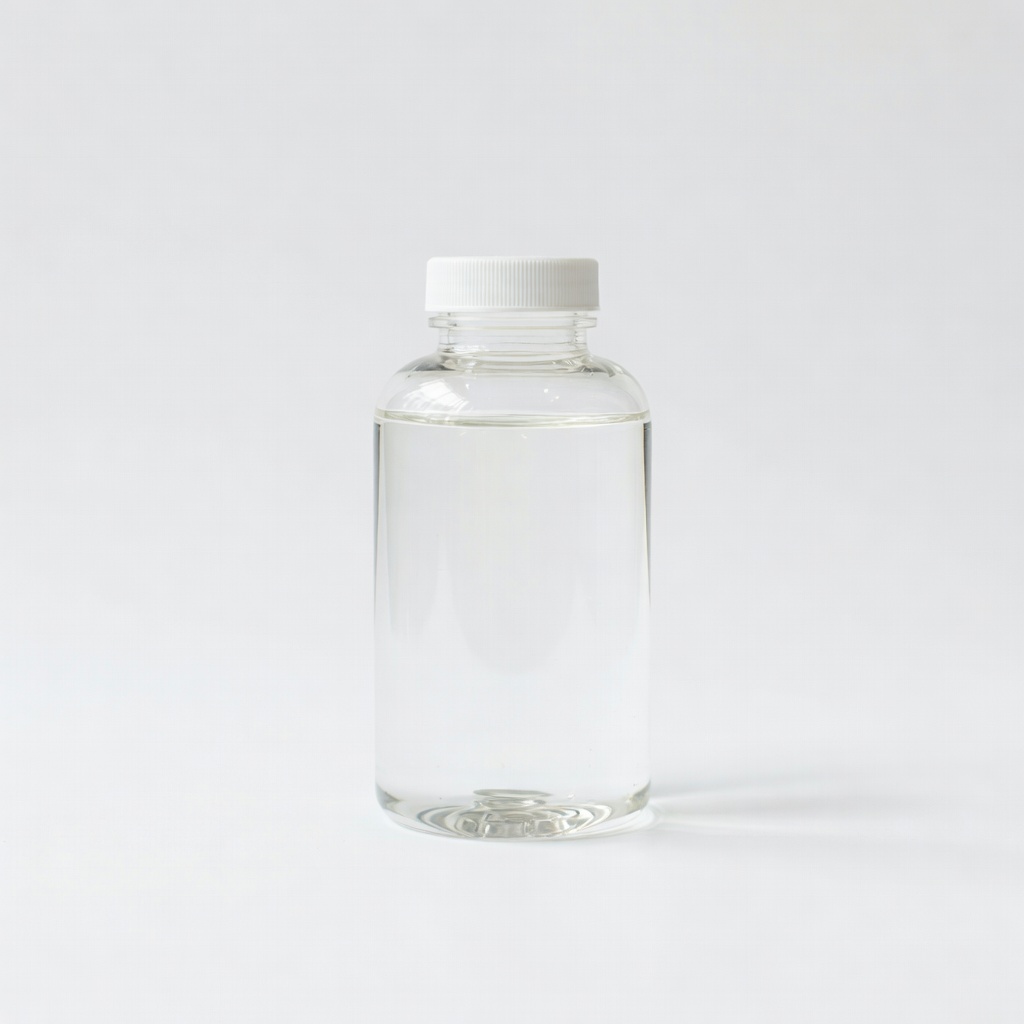
Modelones Acrylic Liquid Monomer 4oz
Affordable, professional-grade with HEMA-free option to reduce allergies; smooth polymerization.
Best for: Beginner-to-intermediate extensions on sensitive nails.
Price Range: $10.99
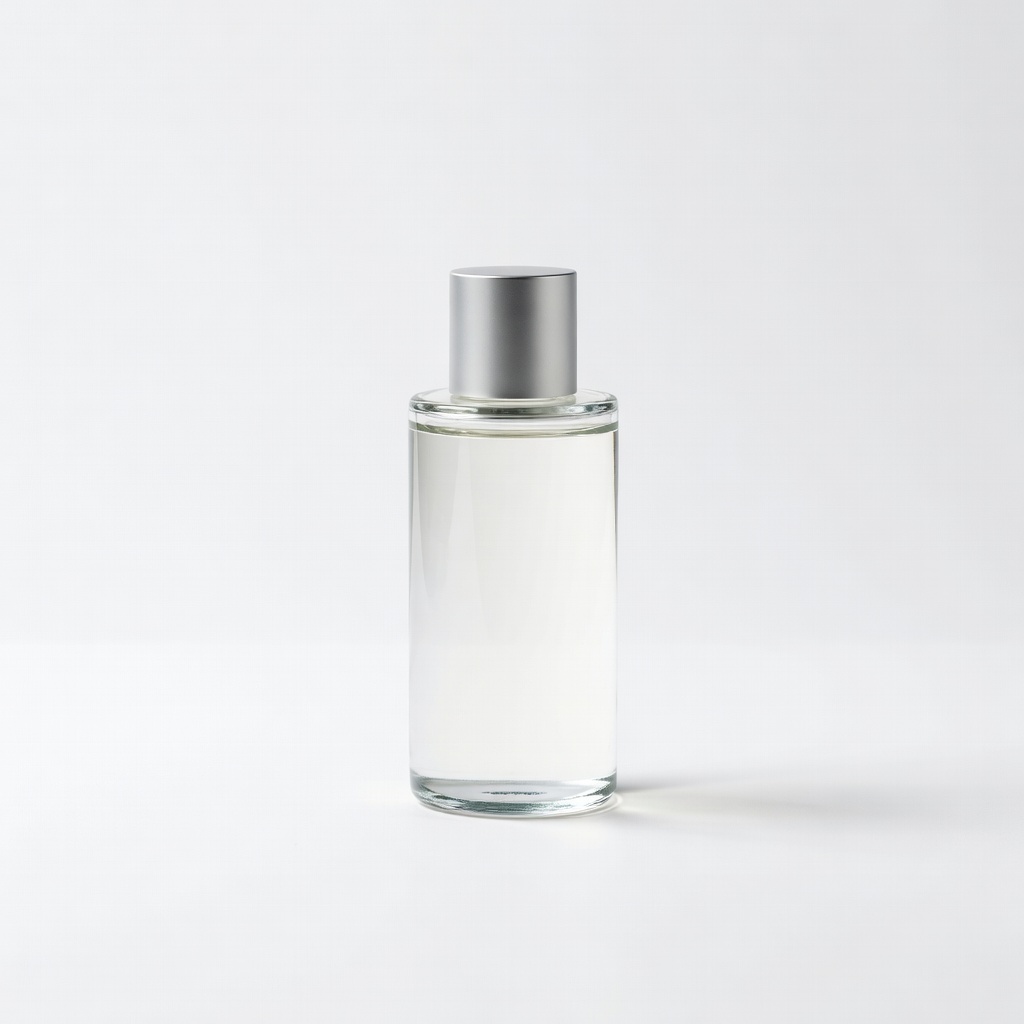
Young Nails Protein Bond Dehydrator
Enhances adhesion when used before monomer—prevents 90% of lifts.
Best for: Prep step for all acrylic applications.
Price Range: $12.95
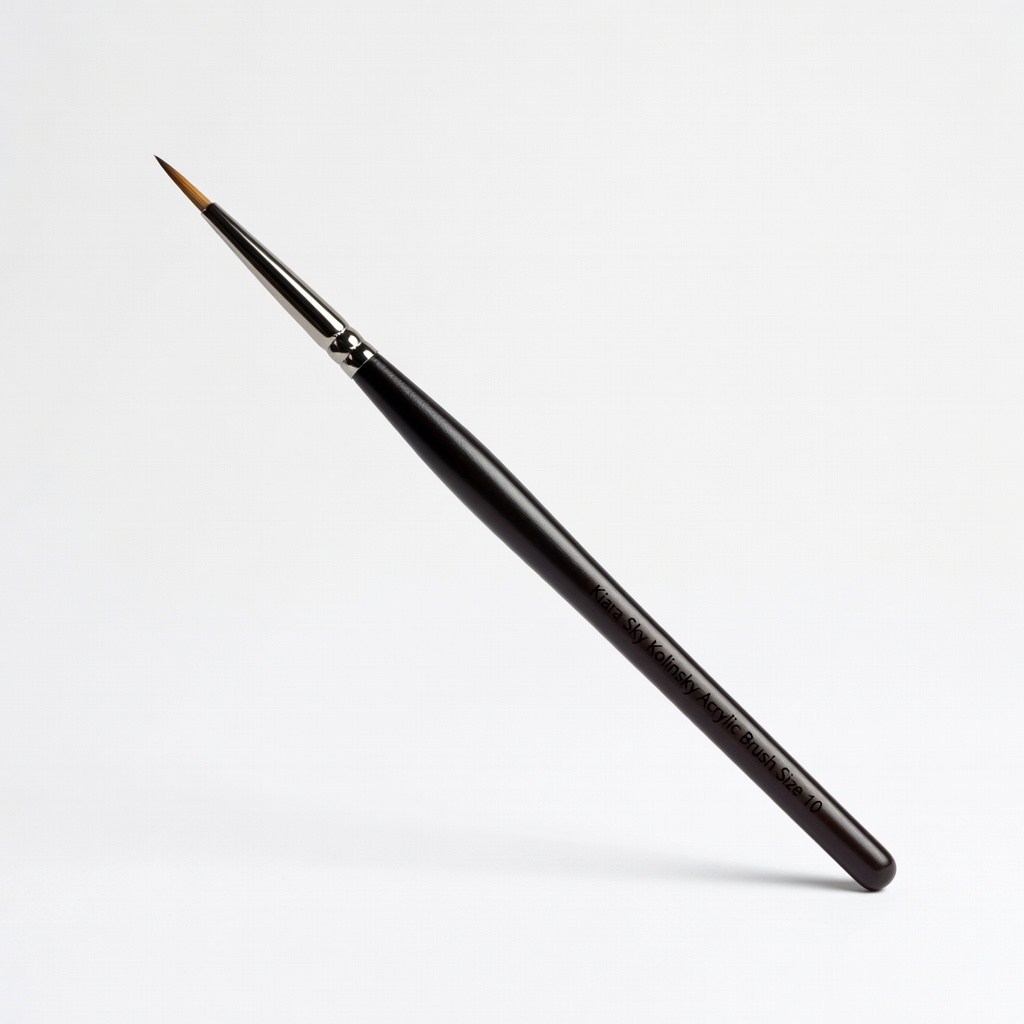
Kiara Sky Kolinsky Acrylic Brush Size 10
Premium sable hair for precise control and easy clean-up in monomer.
Best for: Accurate bead pickup and shaping.
Price Range: $24.99
Apex Pro Non-Wipe Top Coat
Seals acrylic shine without dust attraction; LED/UV compatible.
Best for: Final finish for longevity.
Price Range: $14.99