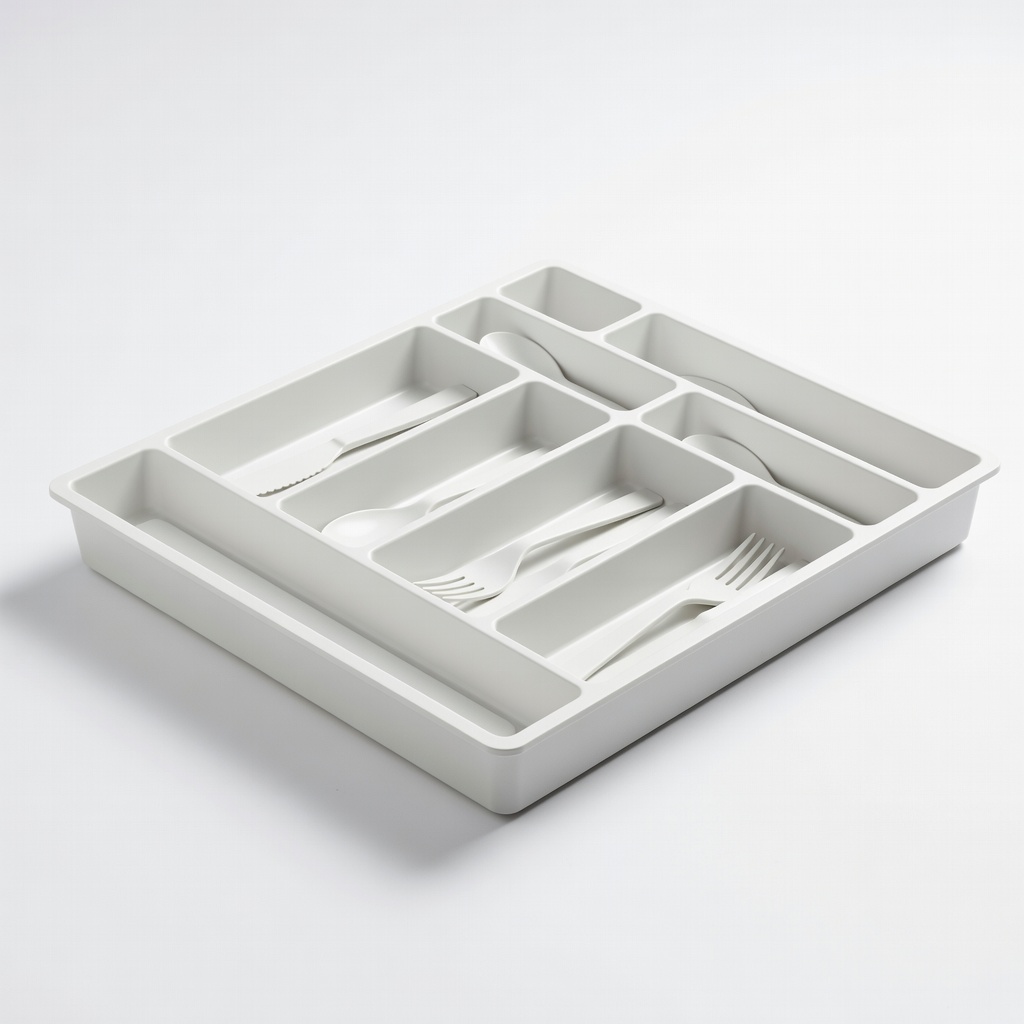
Camco 43503 Cutlery Tray Organizer
Ideal for main cutlery drawer in small RVs.
$9.99
Camco 43503 Cutlery Tray Organizer Compact, durable plastic tray perfect for RV drawers; separates utensils without tools.
Get the App
Better experience on mobile
Maximize your tiny RV kitchen space with accessory organizers for easy access to utensils, spices, and pantry items while camping.
RV kitchens are notoriously cramped, making meal prep a frustrating game of Tetris with pots, pans, and spices tumbling everywhere. If you've ever struggled to find a spoon amid the chaos or watched your drawer contents spill during a bumpy drive, accessory organizers are your solution. They transform disorder into efficiency, saving time and reducing stress on the road.
In this beginner-friendly guide, you'll learn step-by-step how to select, install, and use RV kitchen organizers effectively. Whether it's drawer dividers, cabinet shelves, or door racks, we'll cover everything to create a clutter-free setup. Expect to spend 30-45 minutes total—quick wins with lasting impact.
By the end, your RV galley will feel spacious and functional, letting you focus on cooking up camp meals instead of fighting clutter.
Estimated Time: 30-45 minutes Difficulty: beginner
Start by emptying all drawers, cabinets, and shelves in your RV kitchen. Take measurements of each area: drawer widths, cabinet depths, and shelf heights. Note high-use items like utensils, spices, cans, and plates.
This step matters because RV spaces vary wildly—organizers must fit perfectly to avoid frustration. Expect to spend 5-10 minutes here; jot down notes like 'main drawer: 18x12 inches' for shopping.
Success looks like: A clear list of space dimensions and item categories ready for organizing.
💡 Tips:
⚠️ Warnings:
Based on your measurements, select organizers: adjustable drawer dividers for utensils, pull-out shelves for deep cabinets, trays for cutlery, and hanging racks for doors.
Why it matters: Tailored choices prevent overhangs or wasted space. For RVs, opt for lightweight, non-slip, durable plastic or bamboo to handle vibrations.
Success looks like: Organizers that match your specs, like a 12-18" divider set.
💡 Tips:
Wipe down all surfaces with all-purpose cleaner and dry thoroughly. Remove any residue that could cause slipping.
This ensures organizers adhere or sit stably—grime leads to shifts during travel. Takes 5 minutes.
Success looks like: Sparkling, dry surfaces ready for installation.
⚠️ Warnings:
Place tension rod shelves or adhesive racks in cabinets. For example, insert expandable wire shelves at mid-height for stacked access.
Why: Deep RV cabinets hide items; this brings everything forward. Press firmly for adhesive types.
Success looks like: Stable shelves holding pots without wobbling.
💡 Tips:
Cut or adjust dividers to fit, then place utensils in sections: spoons left, forks right, etc. Stack trays if needed.
Matters for quick grabs without digging. Group by use (cooking vs. eating).
Success looks like: Neat, separated compartments easy to scan.
⚠️ Warnings:
Attach over-door racks for spices/pans or magnetic strips for knives. Use non-slip mats on counters.
Maximizes vertical space in tight RVs. Secure with hooks or magnets.
Success looks like: Doors closing smoothly with hanging items accessible.
💡 Tips:
Add labels to sections. Load fully, then simulate travel: bump gently, open/close drawers.
Adjust as needed for perfect fit. Why: Ensures longevity on roads.
Success looks like: Everything stays put, easy to use.
Problem: Organizers shift during drive
Solution: Add non-slip mats or double-sided tape; check load balance.
Problem: Doesn't fit after purchase
Solution: Opt for adjustable models; return non-fits via Amazon.
Problem: Adhesive fails
Solution: Clean surface with alcohol; use stronger command strips.
Compact, durable plastic tray perfect for RV drawers; separates utensils without tools.
Best for: Ideal for main cutlery drawer in small RVs.
Price Range: $9.99
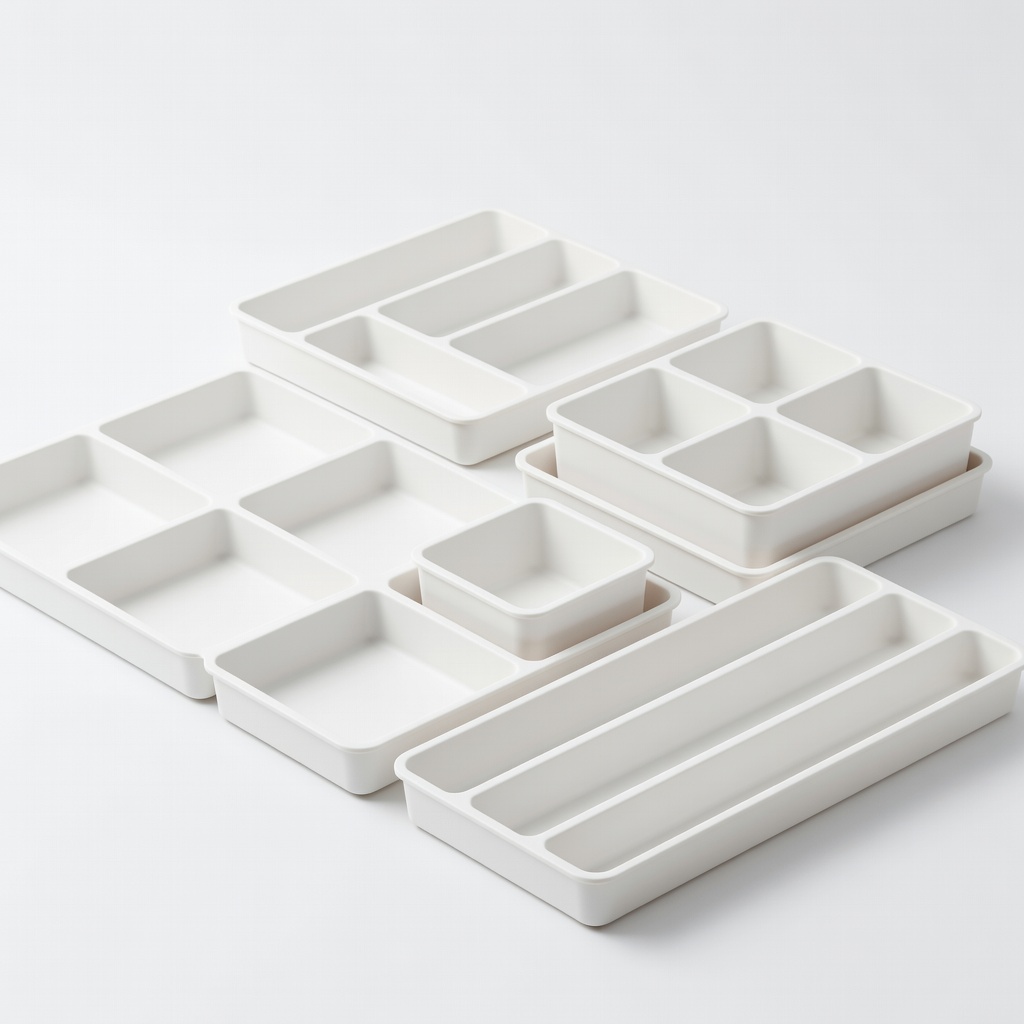
Adjustable dividers customize to any RV drawer size; BPA-free and stackable.
Best for: Organizing gadgets, spices in shallow drawers.
Price Range: $13.99
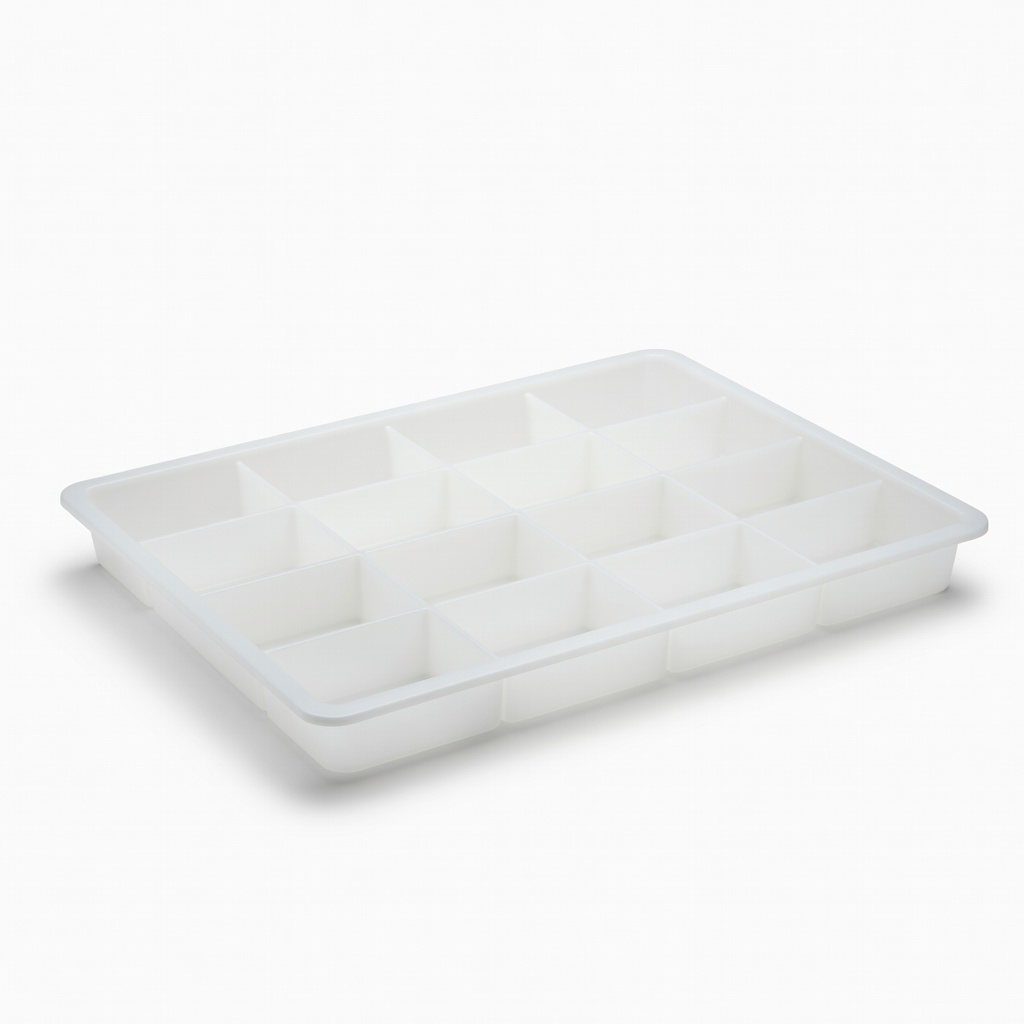
Slim profile fits tight RV cabinets; clear view prevents forgetting items.
Best for: Pantry cans, bottles in deep storage.
Price Range: $14.99
Tension-based, no-drill install; adds shelf in cabinets without permanent changes.
Best for: Doubling space for plates/pots in overhead cabinets.
Price Range: $24.99
Ideal for main cutlery drawer in small RVs.
Camco 43503 Cutlery Tray Organizer Compact, durable plastic tray perfect for RV drawers; separates utensils without tools.
Organizing gadgets, spices in shallow drawers.
SimpleHouseware Drawer Organizer Tray Set Adjustable dividers customize to any RV drawer size; BPA-free and stackable.
Pantry cans, bottles in deep storage.
mDesign Wide Plastic Kitchen Cabinet Organizer Tray Slim profile fits tight RV cabinets; clear view prevents forgetting items.

Doubling space for plates/pots in overhead cabinets.
ShelfAgain Expandable Closet Shelf Organizer Tension-based, no-drill install; adds shelf in cabinets without permanent changes.