
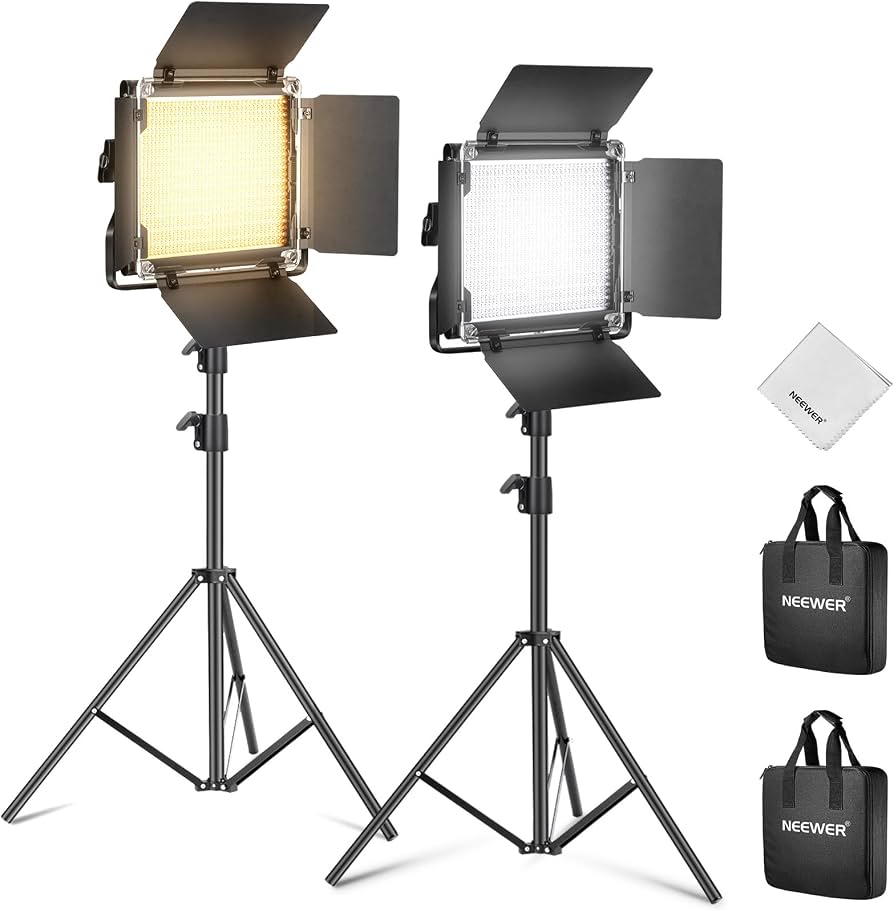
Neewer 2-Pack 660 LED Video Light Kit
Indoor interviews or vlogs needing key/fill lighting.
$89.99
Neewer 2-Pack 660 LED Video Light Kit Affordable, adjustable bi-color lights perfect for kit setups with dimmable panels and sturdy stands.
Get the App
Better experience on mobile
Elevate your DSLR video production with step-by-step setup of accessory kits for stable shots, pro audio, and perfect lighting in under 45 minutes.
Struggling with shaky footage, muffled audio, or poorly lit videos on your DSLR? Accessory kits solve these pain points by bundling essentials like tripods, microphones, lights, and rigs into one efficient package, turning amateur clips into professional-grade content.
In this guide, you'll learn to unbox, assemble, and optimize a typical DSLR accessory kit for video recording. Whether you're vlogging, filming interviews, or creating YouTube content, these steps ensure seamless integration. Expect intermediate-level tasks involving basic camera handling and cable management—no advanced skills required.
The process takes 30-45 minutes for initial setup, with tweaks as needed. By the end, you'll have a fully rigged DSLR ready for high-quality video.
Estimated Time: 30-45 minutes Difficulty: intermediate
Open the accessory kit box carefully and lay out all components on a clean surface. Typical kits include a tripod with head, external microphone (shotgun or lavalier), 1-2 LED light panels with stands, camera cage or shoulder rig, mounting screws, cables (3.5mm audio, HDMI), and carrying bag.
Check the user manual for a component list and verify nothing is missing or damaged. Why it matters: Missing parts halt setup; inventory ensures you're ready.
Success looks like: All items accounted for, organized by category (mounts, audio, lights).
💡 Tips:
⚠️ Warnings:
Extend the tripod legs to shoulder height and lock them securely. Attach the fluid head or ball head to the center column if detachable. Place your DSLR on the quick-release plate, secure with the 1/4-inch screw, and lock it onto the head.
Why it matters: A stable tripod eliminates shake for smooth video pans and shots. Expect firm locks—no wobble when nudged.
Success: Camera balanced, level (use built-in bubble level), ready to pan smoothly.
💡 Tips:
Slide or clamp the camera cage around your DSLR body, aligning mounting points. Tighten knobs or screws to secure without scratching the camera. Add handles or rods if included for ergonomic control.
This creates a modular base for accessories. Why: Protects camera and enables pro rigging. Expect snug fit; test by gently shaking.
Success: Cage firm, camera operational, extra mounts exposed.
⚠️ Warnings:
Mount the shotgun mic to the cage's top hot shoe or side rod. If wireless lav, clip transmitter to cage and receiver to mic input. Plug the 3.5mm cable into your DSLR's mic jack (enable external mic in menu).
Why: Built-in mics are poor; externals capture clear audio. Test levels in camera audio menu.
Success: Mic secure, audio meters peaking without clipping.
💡 Tips:
Assemble light stands, mount LED panels, and position at 45-degree angles to subject (key light front-left, fill light right). Adjust color temperature (3200K-5600K) and brightness to match ambient light.
Power via AC or batteries. Why: Even lighting avoids shadows for pro video. Expect soft, flicker-free illumination.
Success: Subject well-lit without hotspots; use light meter app if available.
⚠️ Warnings:
If kit includes HDMI monitor, connect to DSLR's HDMI out and mount on cage. Route all cables with ties to prevent snags. Enable clean HDMI output in camera settings.
Why: Real-time monitoring catches issues. Success: Live view on monitor, no cable rattle noise.
💡 Tips:
Switch to video mode, set resolution (4K/1080p), frame rate (24/30/60fps), ISO low, aperture wide for depth. Enable external mic input and zebras for exposure.
Why: Optimizes for kit use. Test record 10 seconds.
Success: Clean footage with good exposure/audio.
Record a 30-second test clip: speak, pan, check lighting. Playback on camera/LCD: adjust mic gain, light positions, balance.
Why: Catches issues pre-shoot. Iterate until perfect.
Success: Pro-level test footage ready for production.
💡 Tips:
Problem: No external audio detected
Solution: Confirm mic jack enabled in menu, check cable connections, test mic on phone.
Problem: Shaky footage despite tripod
Solution: Tighten all leg/head locks, use remote shutter or self-timer.
Problem: Flickering lights
Solution: Switch to matching frame rate refresh (50/60Hz), use DC power.
Problem: HDMI monitor black screen
Solution: Enable clean HDMI output; disable recording overlay.
Affordable, adjustable bi-color lights perfect for kit setups with dimmable panels and sturdy stands.
Best for: Indoor interviews or vlogs needing key/fill lighting.
Price Range: $89.99
Ultra-light, plug-and-play mic with superior noise rejection for DSLR kits.
Best for: Run-and-gun video where built-in audio fails.
Price Range: $59.00
Modular aluminum cage expands any DSLR kit with mounts for mics, lights, handles.
Best for: Building custom rigs for handheld or tripod video.
Price Range: $79.99
Smooth pan/tilt head ideal for video kits, load capacity up to 17.6 lbs.
Best for: Stable base for heavy DSLR + lens setups.
Price Range: $129.99
Complete starter kit with ring light, softboxes for even illumination.
Best for: Beauty shots or product videos on a budget.
Price Range: $99.99
Indoor interviews or vlogs needing key/fill lighting.
Neewer 2-Pack 660 LED Video Light Kit Affordable, adjustable bi-color lights perfect for kit setups with dimmable panels and sturdy stands.
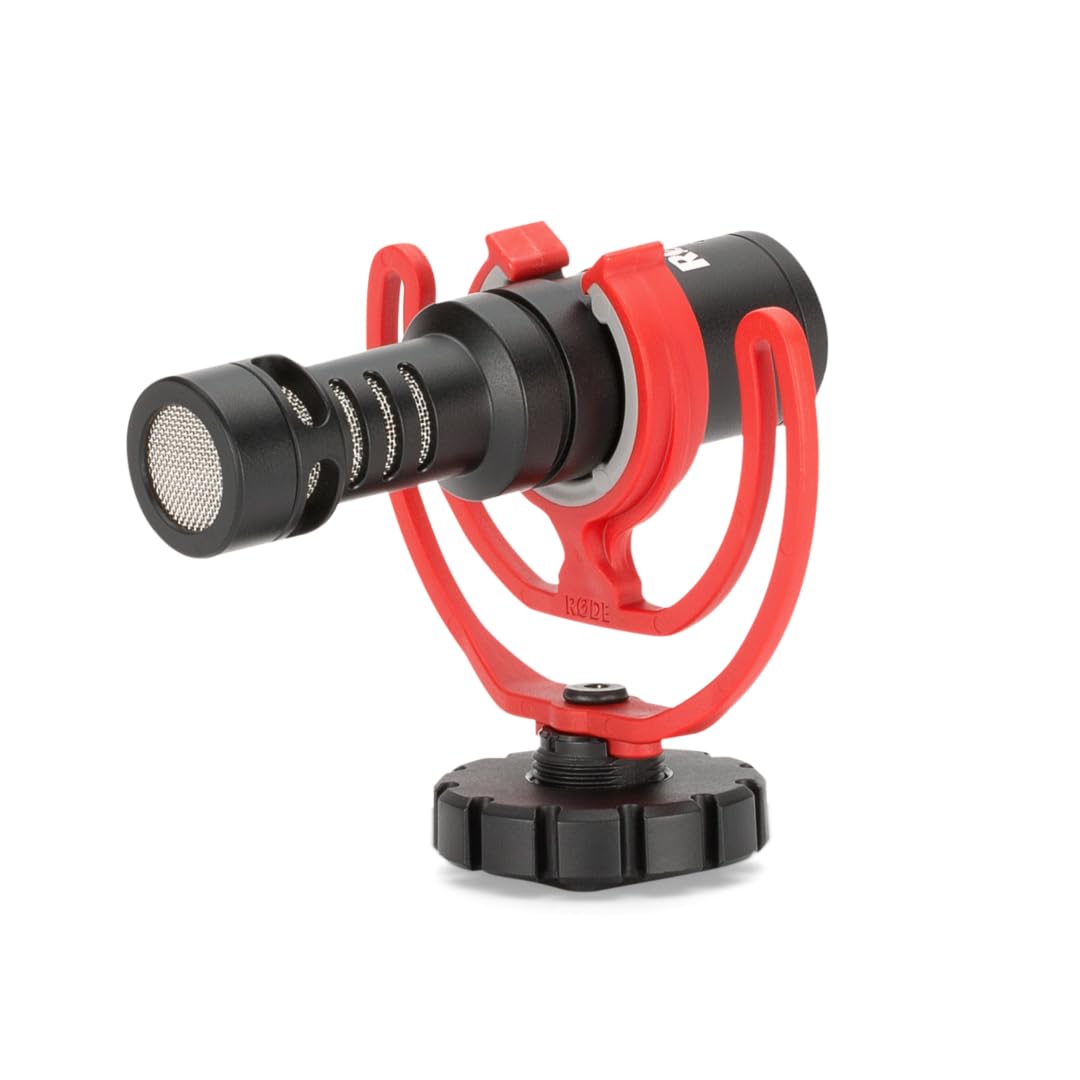
Run-and-gun video where built-in audio fails.
Rode VideoMicro Compact Shotgun Microphone Ultra-light, plug-and-play mic with superior noise rejection for DSLR kits.
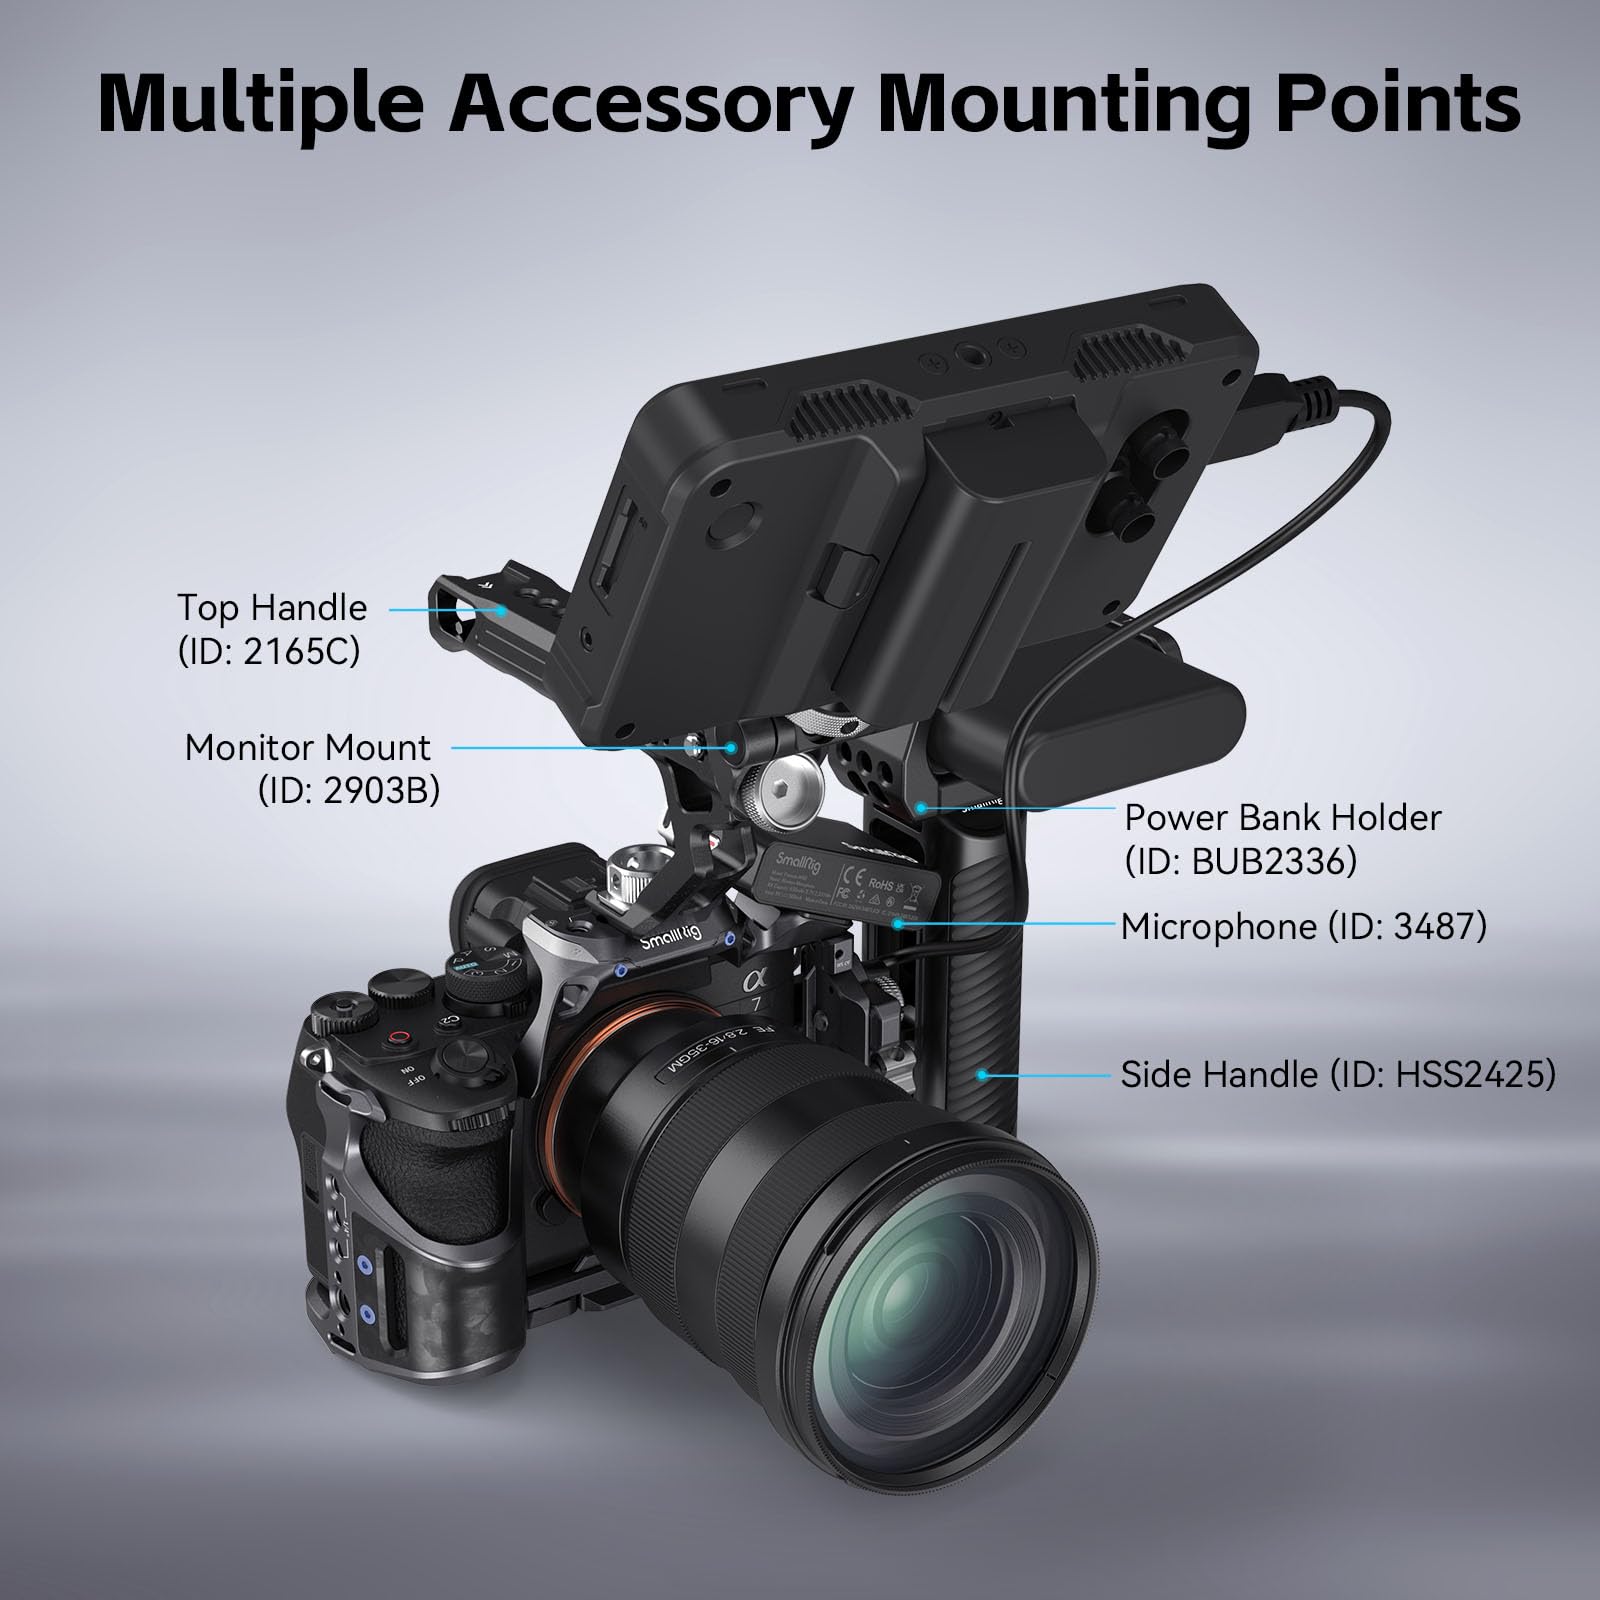
Building custom rigs for handheld or tripod video.
SmallRig DSLR Camera Cage Kit Modular aluminum cage expands any DSLR kit with mounts for mics, lights, handles.
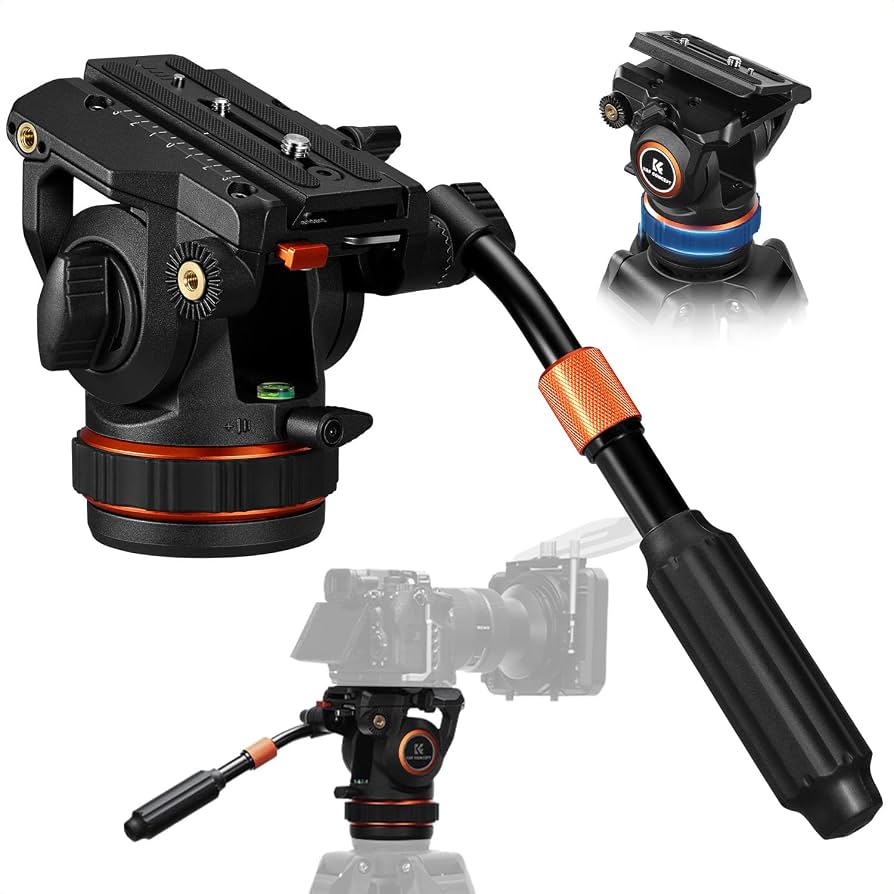
Stable base for heavy DSLR + lens setups.
K&F Concept 77-Inch Video Tripod with Fluid Head Smooth pan/tilt head ideal for video kits, load capacity up to 17.6 lbs.
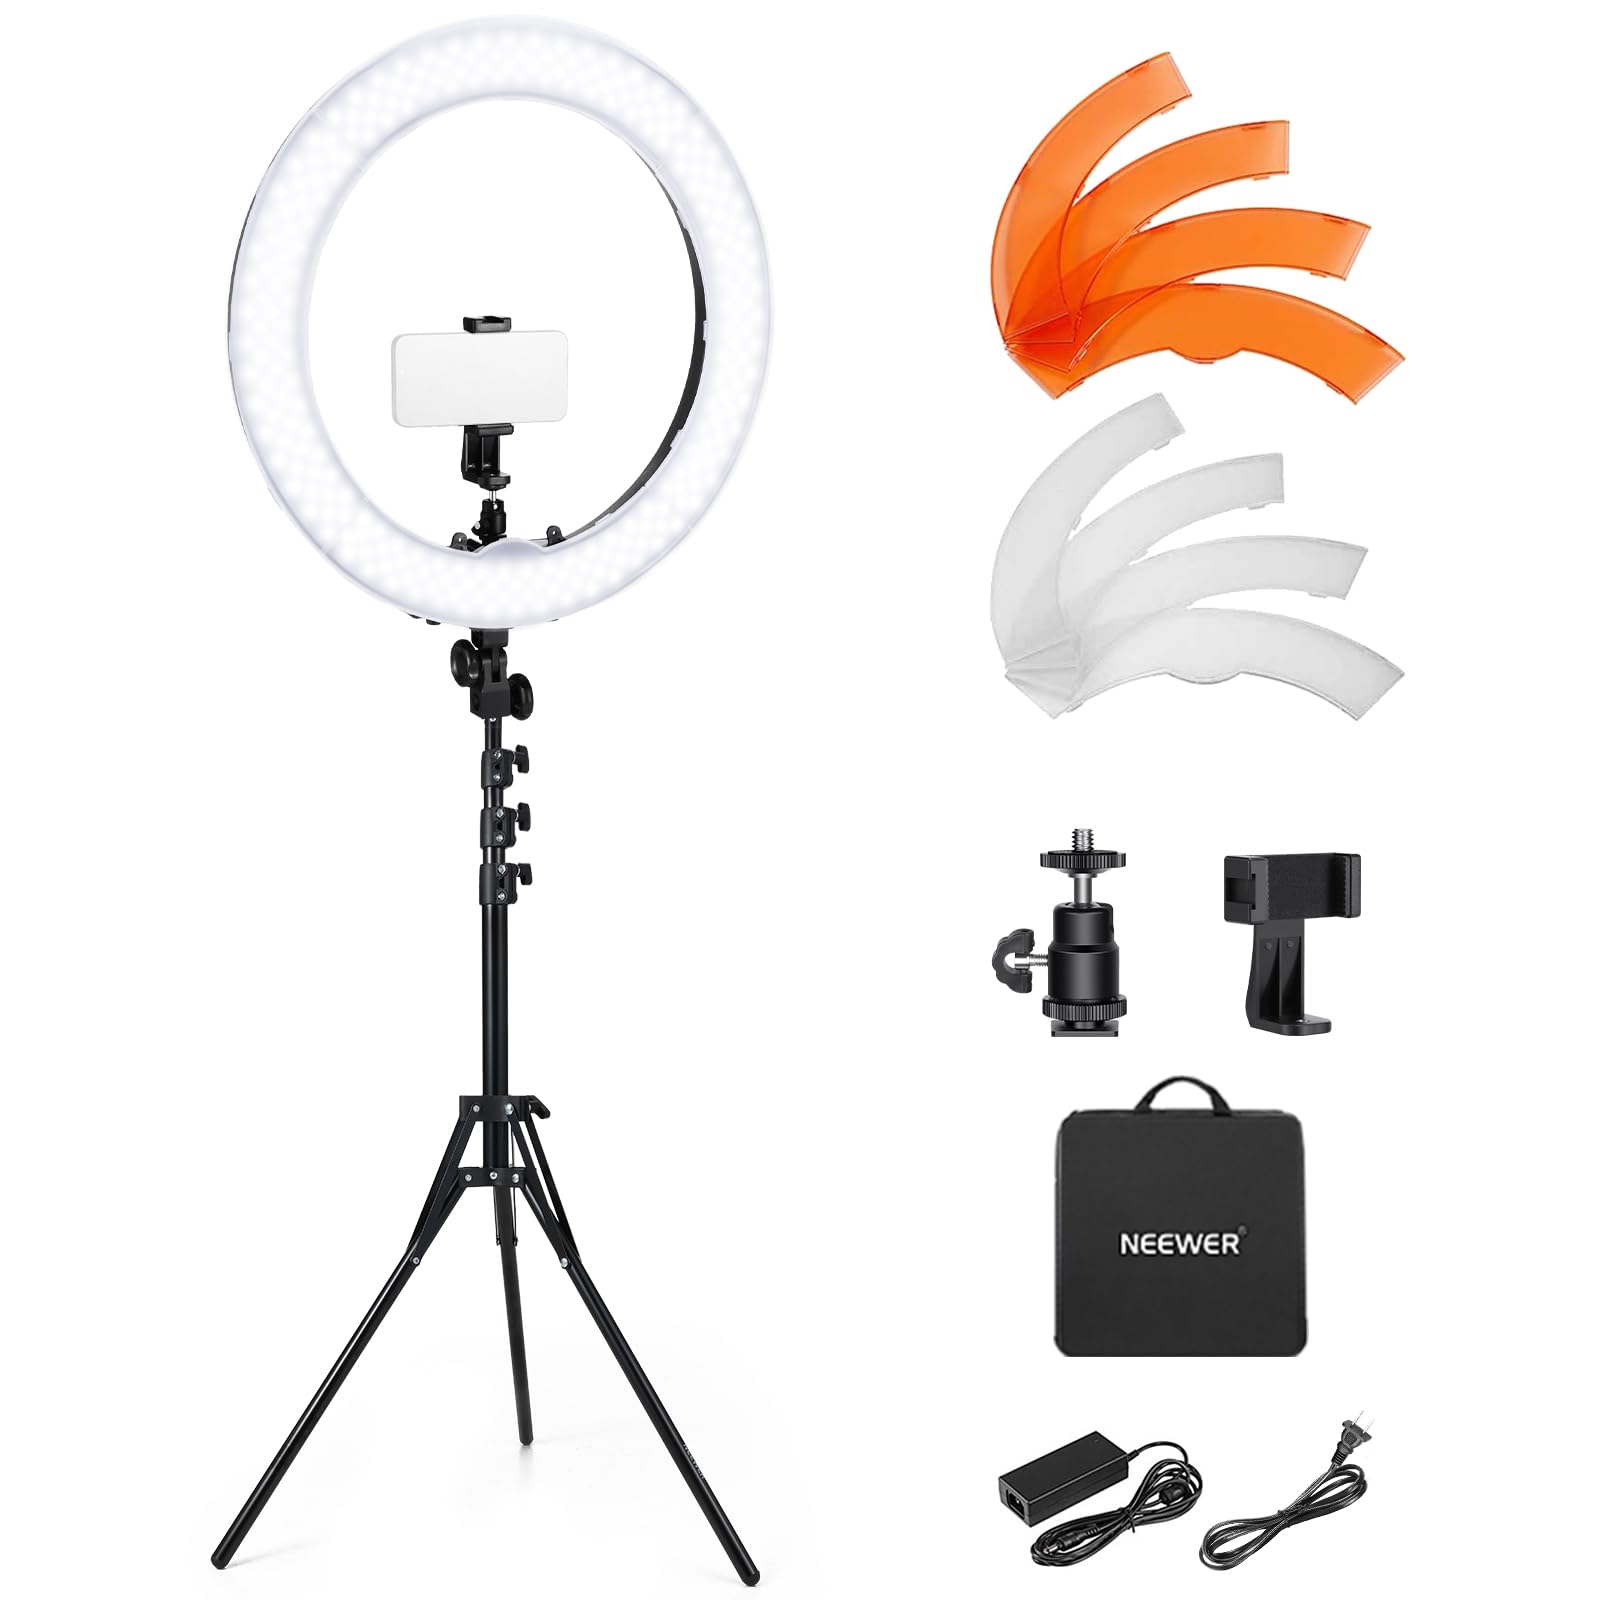
Beauty shots or product videos on a budget.
Neewer Full Photography Lighting Kit (18" Ring Light + Stands) Complete starter kit with ring light, softboxes for even illumination.