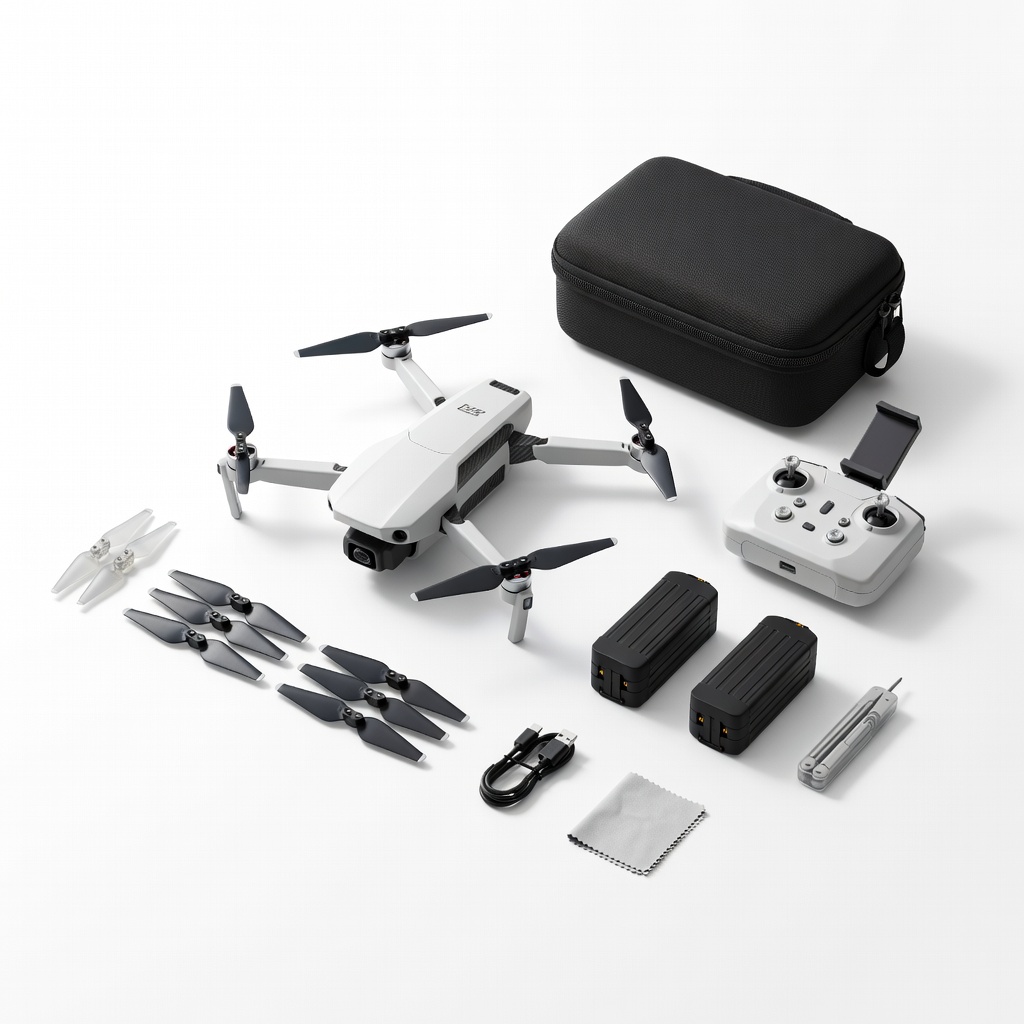
Holy Stone HS175D Accessories Combo Kit
Ideal for propeller and battery repairs on beginner-intermediate drones.
$19.99
Holy Stone HS175D Accessories Combo Kit Complete set with props, batteries, and screws tailored for popular mini-drones.
Get the App
Better experience on mobile
Fix your drone quickly and safely with step-by-step instructions using accessory kits, saving time and money on common repairs.
Drones are thrilling for aerial photography, racing, and fun, but crashes and wear-and-tear are inevitable. Without the right tools, repairs can be frustrating and costly, leading to discarded drones or expensive replacements. This guide shows intermediate drone enthusiasts how to use accessory kits to handle repairs like propeller swaps, motor fixes, and frame patches effectively.
You'll learn to assess damage, select the right kit, and execute repairs with confidence. The process is straightforward, focusing on safety and precision. Expect 30-60 minutes per repair, depending on complexity—no advanced soldering required for most kits.
By the end, your drone will fly like new, extending its life and enhancing your flying experience.
Estimated Time: 30-60 minutes per repair Difficulty: intermediate
Inspect your drone thoroughly after a crash or malfunction. Power it off completely and remove the battery. Check propellers for cracks, motors for wobbling, arms for bends, and cameras for scratches. Use your drone's manual to identify part numbers.
This step ensures you order the correct accessory kit. Success looks like a clear list of damaged components—no guesswork.
Image description: Close-up of a disassembled drone with highlighted damaged propeller and motor.
💡 Tips:
⚠️ Warnings:
Match your drone model (e.g., DJI Mini 2, Holy Stone HS175) to a compatible kit. Kits typically include propellers, screws, clips, motors, and adhesives. Order from reputable sellers if not already owned.
Why it matters: Incompatible parts lead to poor fits or flight issues. Expect kits arriving in organized compartments.
Image description: Array of drone accessory kits with labels for different models.
💡 Tips:
Set up a static-free mat on a flat table with bright lighting. Lay out tools and kit contents. Wear the anti-static strap. Organize parts in labeled bowls.
A clean setup prevents lost screws and contamination. Success: All items accessible, workspace clutter-free.
⚠️ Warnings:
Remove propellers counterclockwise with pliers if needed. Unscrew arms or body panels using the precision set. Gently disconnect cables—note their positions.
This exposes damaged parts safely. Expect 5-10 minutes; drone should be in pieces without broken clips.
💡 Tips:
Clean old propellers or motors with isopropyl alcohol. Unscrew or unclip faulty components. For motors, test continuity with multimeter if available.
Why: Ensures no debris affects new parts. Success: Clean, empty mounting points.
⚠️ Warnings:
Attach new propellers clockwise, motors with correct polarity, and secure screws to spec torque (usually hand-tight). Apply adhesives if included for frames.
Precision here restores balance. Expect smooth, snug fits without wobble.
💡 Tips:
Reconnect cables, screw panels, reinstall battery. Power on and run motor tests without props. Spin props briefly, then hover test outdoors.
Final check confirms success: Stable hover, no vibrations.
⚠️ Warnings:
Use the app to recalibrate compass/IMU. Fly short tests. Log any issues.
Ensures optimal performance post-repair.
💡 Tips:
Problem: Drone won't arm after repair
Solution: Check prop installation and battery connections; recalibrate IMU.
Problem: Motor spins wrong direction
Solution: Swap two motor wires or check ESC settings in app.
Problem: Vibrations during hover
Solution: Rebalance props or check arm tightness; replace if bent.
Problem: Parts don't fit
Solution: Verify model compatibility; contact seller for exchange.
Complete set with props, batteries, and screws tailored for popular mini-drones.
Best for: Ideal for propeller and battery repairs on beginner-intermediate drones.
Price Range: $19.99
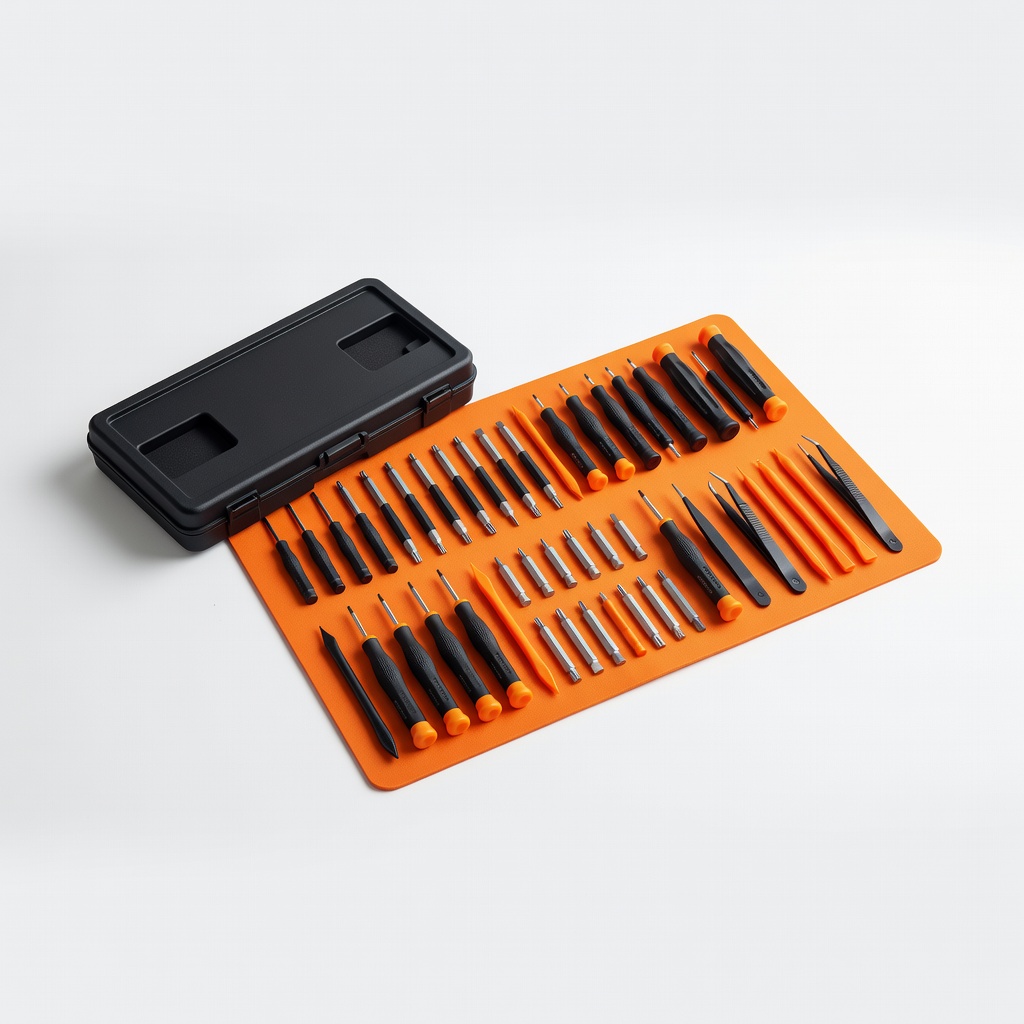
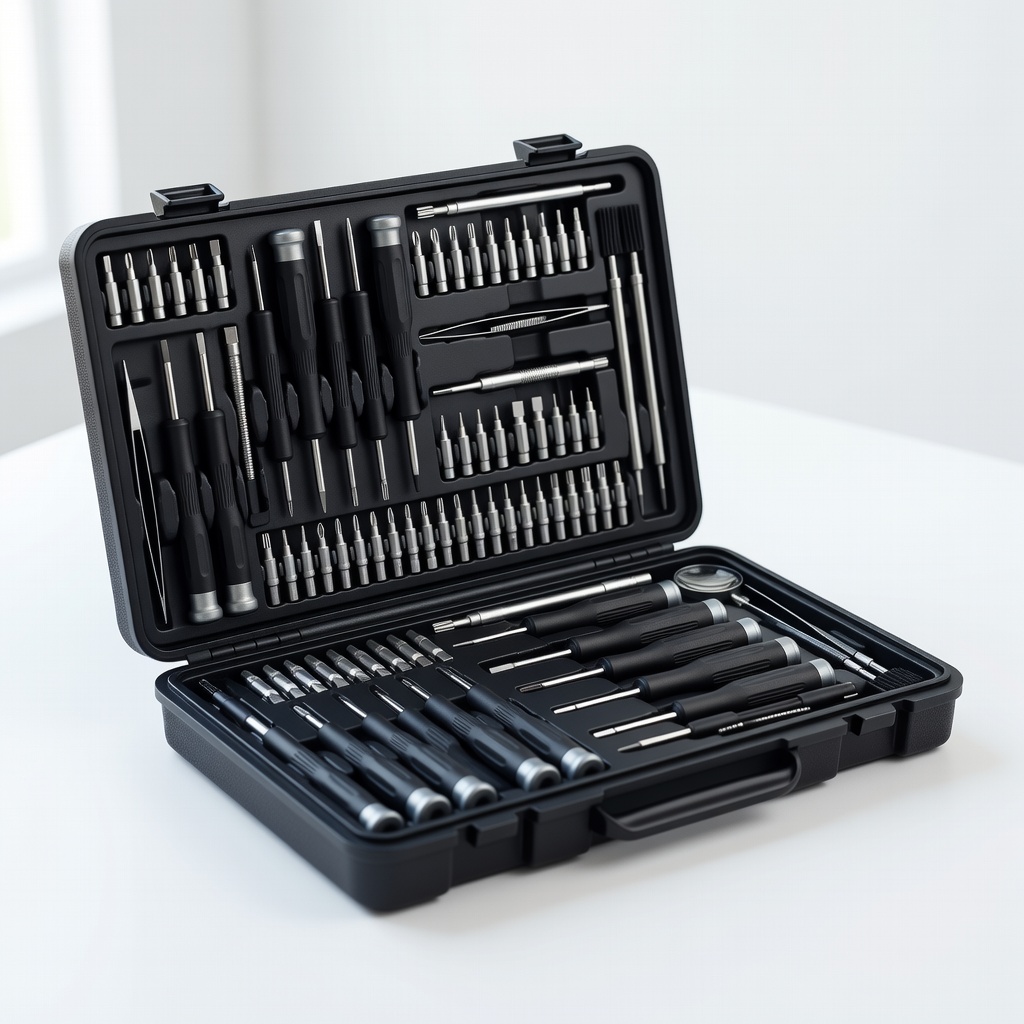
Precision drivers perfect for drone screws; durable and magnetic.
Best for: Essential for disassembly in any repair kit use.
Price Range: $74.95
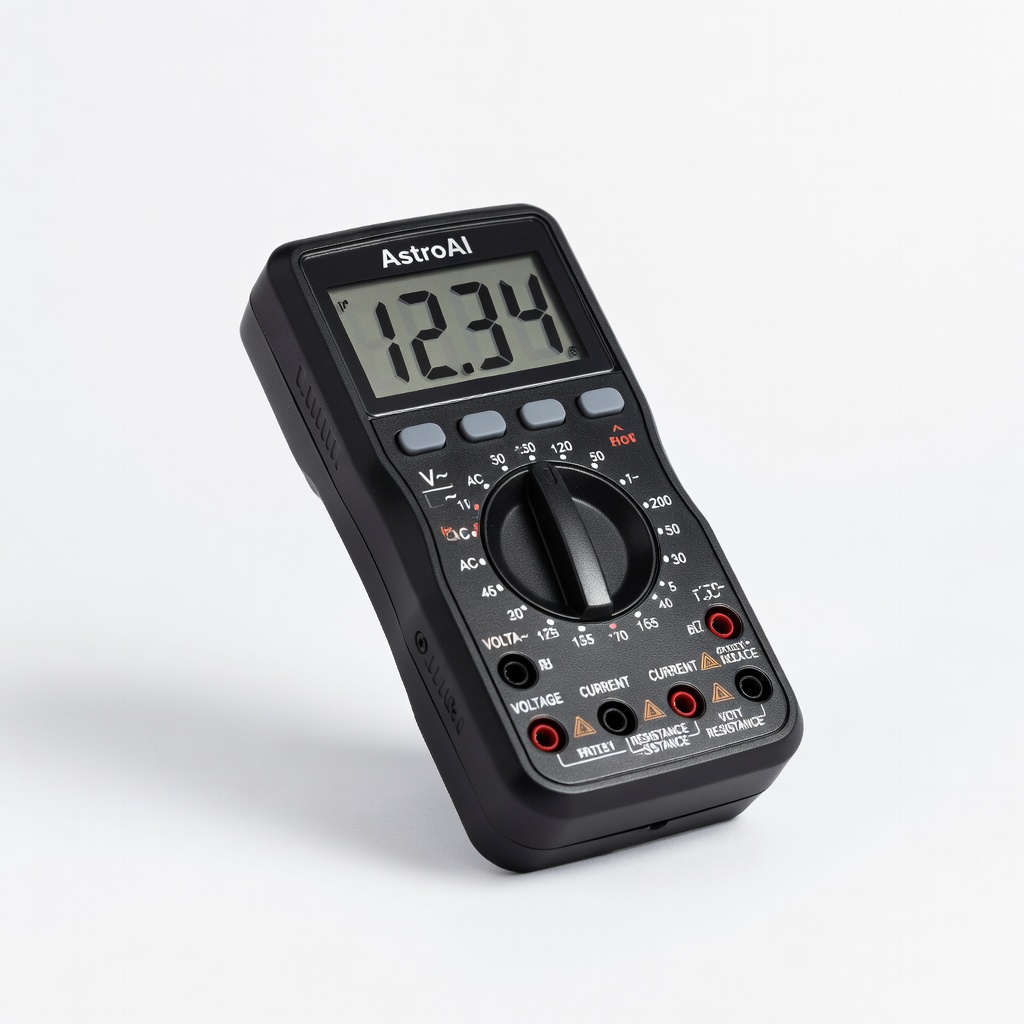
Accurate for testing motor continuity without complexity.
Best for: Electrical diagnostics during motor or ESC repairs.
Price Range: $12.99
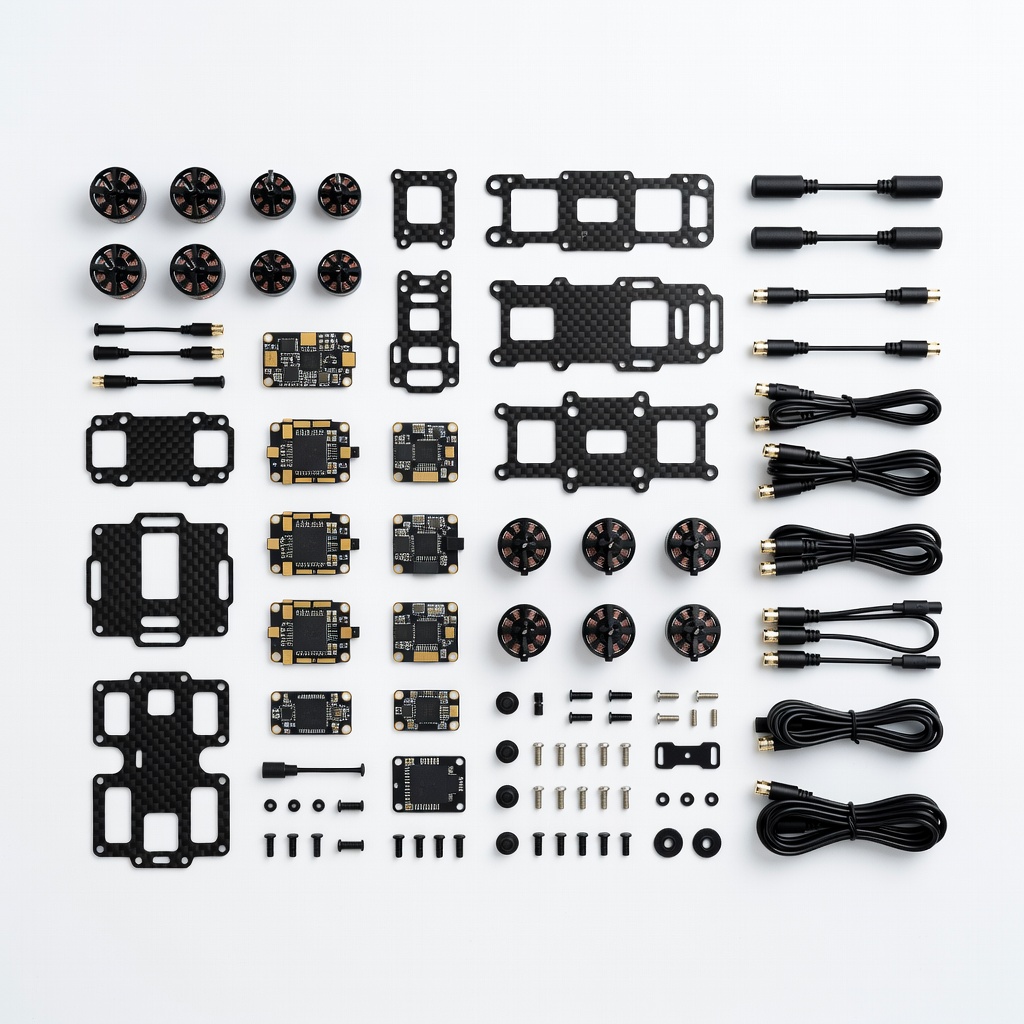
Versatile for racing drones with props, antennas, and frames.
Best for: Advanced intermediate repairs on FPV models.
Price Range: $24.99
Affordable alternative with drone-specific bits.
Best for: Budget-friendly for frequent repairs.
Price Range: $19.99
Ideal for propeller and battery repairs on beginner-intermediate drones.
Holy Stone HS175D Accessories Combo Kit Complete set with props, batteries, and screws tailored for popular mini-drones.
Essential for disassembly in any repair kit use.
iFixit Pro Tech Toolkit Precision drivers perfect for drone screws; durable and magnetic.
Electrical diagnostics during motor or ESC repairs.
AstroAI Digital Multimeter Accurate for testing motor continuity without complexity.
Advanced intermediate repairs on FPV models.
Happymodel ELRS FPV Drone Spare Parts Kit Versatile for racing drones with props, antennas, and frames.
Budget-friendly for frequent repairs.
Jakemy Precision Screwdriver Kit 120pcs Affordable alternative with drone-specific bits.