As an intermediate drone pilot, you've nailed basic flights, but your photos still lack that pro polish—washed-out skies, shaky footage, or unsafe takeoffs in windy conditions. Accessory kits solve these pain points by providing ND filters for light control, landing pads for visibility, and protective gear to safeguard your drone.
In this guide, you'll learn to unpack, install, and use a typical drone accessory kit step-by-step, tailored for photography setups like DJI Mini 3 Pro or Mavic series. Expect crystal-clear instructions, from filter attachment to in-flight testing, transforming your hobby into stunning portfolio-worthy images.
The process takes 45-60 minutes for initial setup and testing. It's intermediate-level, assuming you know basic drone controls and app usage—no prior accessory experience needed.
▸What You'll Need
- •Compatible drone (e.g., DJI Mini 3 Pro, Mavic 3, or similar photography drone)
- •Drone accessory kit (ND filters, CPL, landing pad, carrying case, prop guards)
- •Drone controller and smartphone with DJI Fly app (or equivalent)
- •Open outdoor space (park or field, 50x50 ft minimum)
- •Optional: Screwdriver set for prop guards, microfiber cloth for cleaning
Estimated Time: 45-60 minutes
Difficulty: intermediate
▸Step-by-Step Instructions
Step 1: Unpack and Inventory Your Accessory Kit
Start by carefully opening the accessory kit packaging in a clean, well-lit area. Lay out all components on a flat surface to inspect them.
Typical kits include ND filters (e.g., ND8, ND16, ND32 for light reduction), CPL (circular polarizer) for glare reduction, UV filter for protection, a landing pad (2-5m diameter), prop guards, carrying case, and sometimes a gimbal protector or lens hood. Match each item against the kit's manual or checklist.
Success looks like: All parts accounted for, no damage or missing pieces. This prevents mid-shoot surprises.
💡 Tips:
- •Photograph the inventory for your records.
- •Read the kit manual first for model-specific notes.
⚠️ Warnings:
- •Avoid forcing parts; check compatibility with your drone model.
Step 2: Clean and Prepare Your Drone
Power off your drone and remove the battery. Use a microfiber cloth to gently clean the camera lens and gimbal arms. Inspect props for damage.
Why it matters: Dust or smudges on the lens will ruin photos, especially with filters amplifying imperfections.
Success looks like: Spotless lens reflecting clearly, no debris on sensors.
💡 Tips:
- •Blow off dust with compressed air if available.
⚠️ Warnings:
- •Never use liquids on electronics; stick to dry microfiber.
Step 3: Attach ND and CPL Filters
Select the appropriate filter based on conditions: ND8/16 for bright sun (reduces light by 3-4 stops), CPL for reflective surfaces like water.
Snap or screw the filter onto the lens (magnetic kits are easiest). Ensure it's secure but not overtightened. Test gimbal tilt in the app—no binding.
Why it matters: Filters enable cinematic motion blur and balanced exposures for pro photos.
Success looks like: Filter rotates smoothly, camera feed looks natural in app preview.
💡 Tips:
- •Stack ND + CPL for versatile shots.
- •Mark filters for quick swaps.
⚠️ Warnings:
- •Wrong filter causes over/underexposure; test in manual mode.
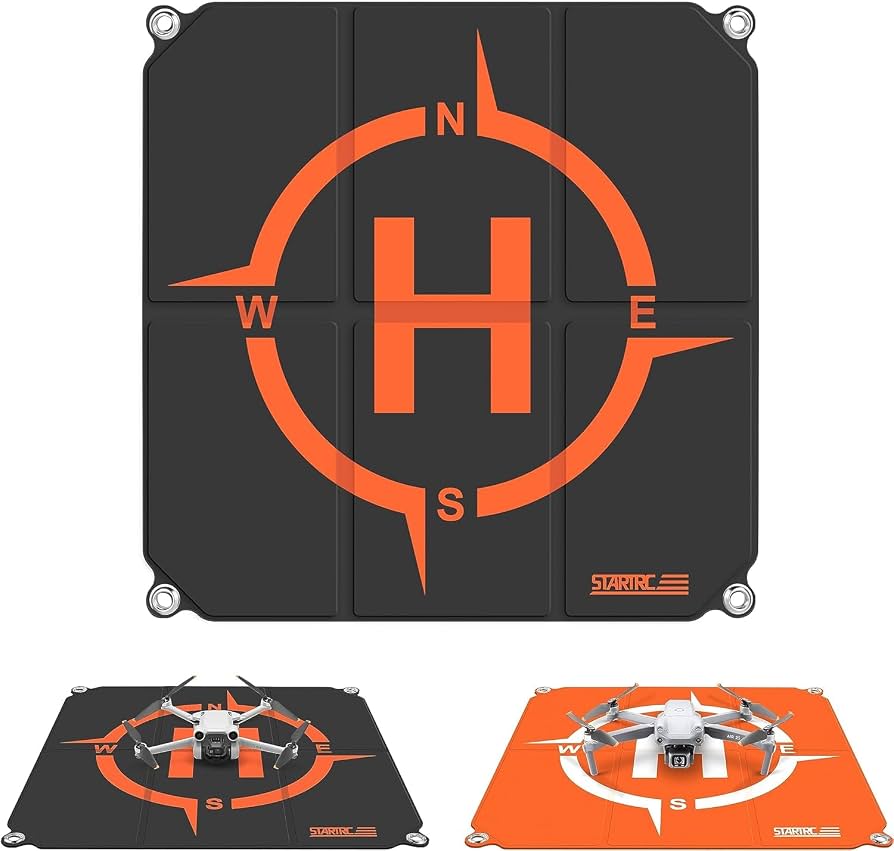
Step 4: Set Up the Landing Pad
Unroll the landing pad in your flight area, securing edges with stakes or weights if windy. Center it for takeoff/landing.
Position 10-20m from obstacles, facing into the wind for stability.
Success looks like: Bright, visible pad contrasting grass/dirt, drone centered on takeoff.
💡 Tips:
- •Choose reversible pads for wind direction indication.
Step 5: Install Prop Guards and Gimbal Protector
Snap prop guards onto arms (if kit provides and legal for your drone). Add gimbal protector if shooting in dusty/windy spots.
Why it matters: Protects during low-altitude photography flights.
Success looks like: Guards spin freely, no prop wobble; gimbal moves unhindered.
⚠️ Warnings:
- •Prop guards reduce speed/range; remove for open-area pro shots.
Step 6: Calibrate Gimbal and Camera Settings
Power on drone/controller/app. Go to camera settings: Enable A-Log or D-Log for post-editing, adjust ISO/shutter for filter used.
Recalibrate gimbal via app.
Success looks like: Smooth gimbal pan/tilt, exposure meter balanced.
💡 Tips:
- •Use histogram for perfect exposure.
Step 7: Perform a Test Flight
Take off from pad, hover at 10m. Pan/tilt camera, capture test photos/videos.
Check for vibrations, filter effectiveness (e.g., blurred clouds for motion).
Success looks like: Sharp, well-exposed aerial shots with natural motion blur.
💡 Tips:
- •Fly in manual mode for control.
⚠️ Warnings:
- •Stay under 120m altitude per regs.
Step 8: Review and Pack Up
Land safely, review footage on app/phone. Clean accessories, store in carrying case.
Success looks like: Portfolio-ready photos, gear organized for next flight.
💡 Tips:
- •Backup footage immediately.
▸Pro Tips
- •Match ND strength to shutter rule (1/50s for 24fps video).
- •Use CPL at 45° to subject for max glare cut.
- •Practice filter swaps on ground to save flight time.
- •Combine with hyperlapse mode for dynamic shots.
- •Windy day? Double-stake landing pad.
- •Log filter settings in a flight notebook.
- •Update drone firmware for accessory compatibility.
▸Common Mistakes to Avoid
- •Installing wrong filter size/model—double-check compatibility before buying.
- •Forgetting gimbal calibration—causes tilted horizons; always recalibrate post-install.
- •Over-relying on prop guards—reduces photo quality; use only when needed.
- •Not cleaning lens—filters highlight every speck.
- •Ignoring regulations—flying over people voids accessory protection.
▸Troubleshooting
Problem: Filter vignette (dark edges in photos)
Solution: Use thinner filters or correct in post (Lightroom lens profile); downsize if persistent.
Problem: Gimbal error after install
Solution: Remove accessories, restart, recalibrate; check for loose screws.
Problem: Poor landing pad visibility
Solution: Choose high-contrast color; add LED lights for low-light.
Problem: Battery drain faster
Solution: Carry extra batteries from kit; avoid props guards on long shoots.
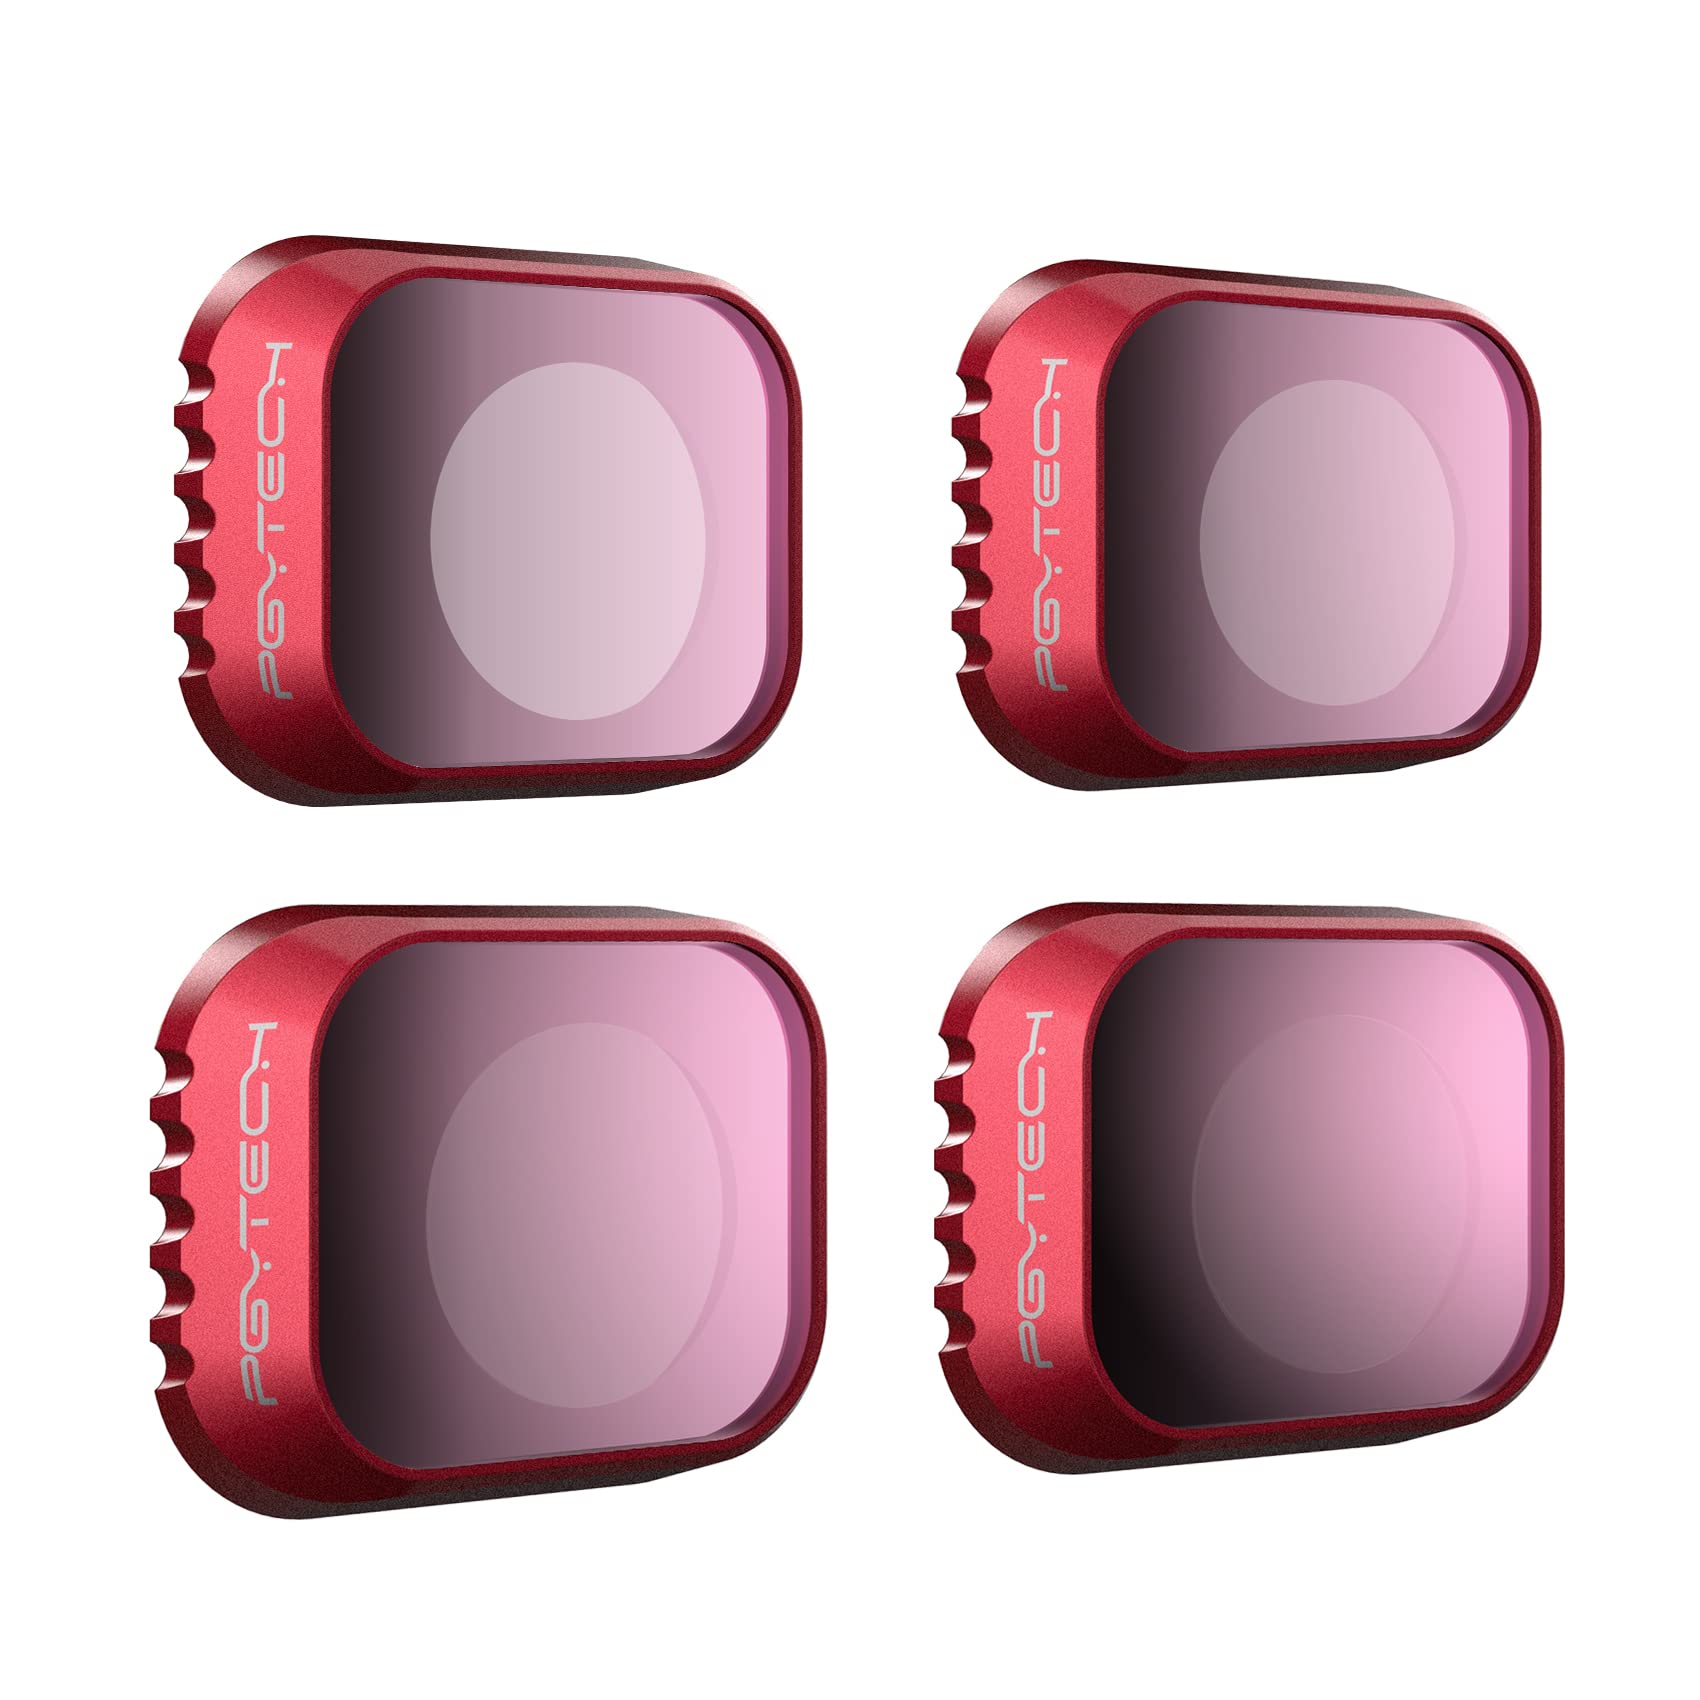
PGYTECH ND Filters & CPL Lens Filter Kit for DJI Mini 3 Pro
Magnetic snap-on design for quick changes; 5 filters cover all lighting for pro exposures.
Best for: Bright daylight photography to achieve cinematic blur.
Price Range: $39.99
SoloGood 55" Drone Landing Pad
Waterproof, foldable with glow-in-dark strips; visible in grass/dusk for safe ops.
Best for: Outdoor takeoffs in varied terrain.
Price Range: $29.99
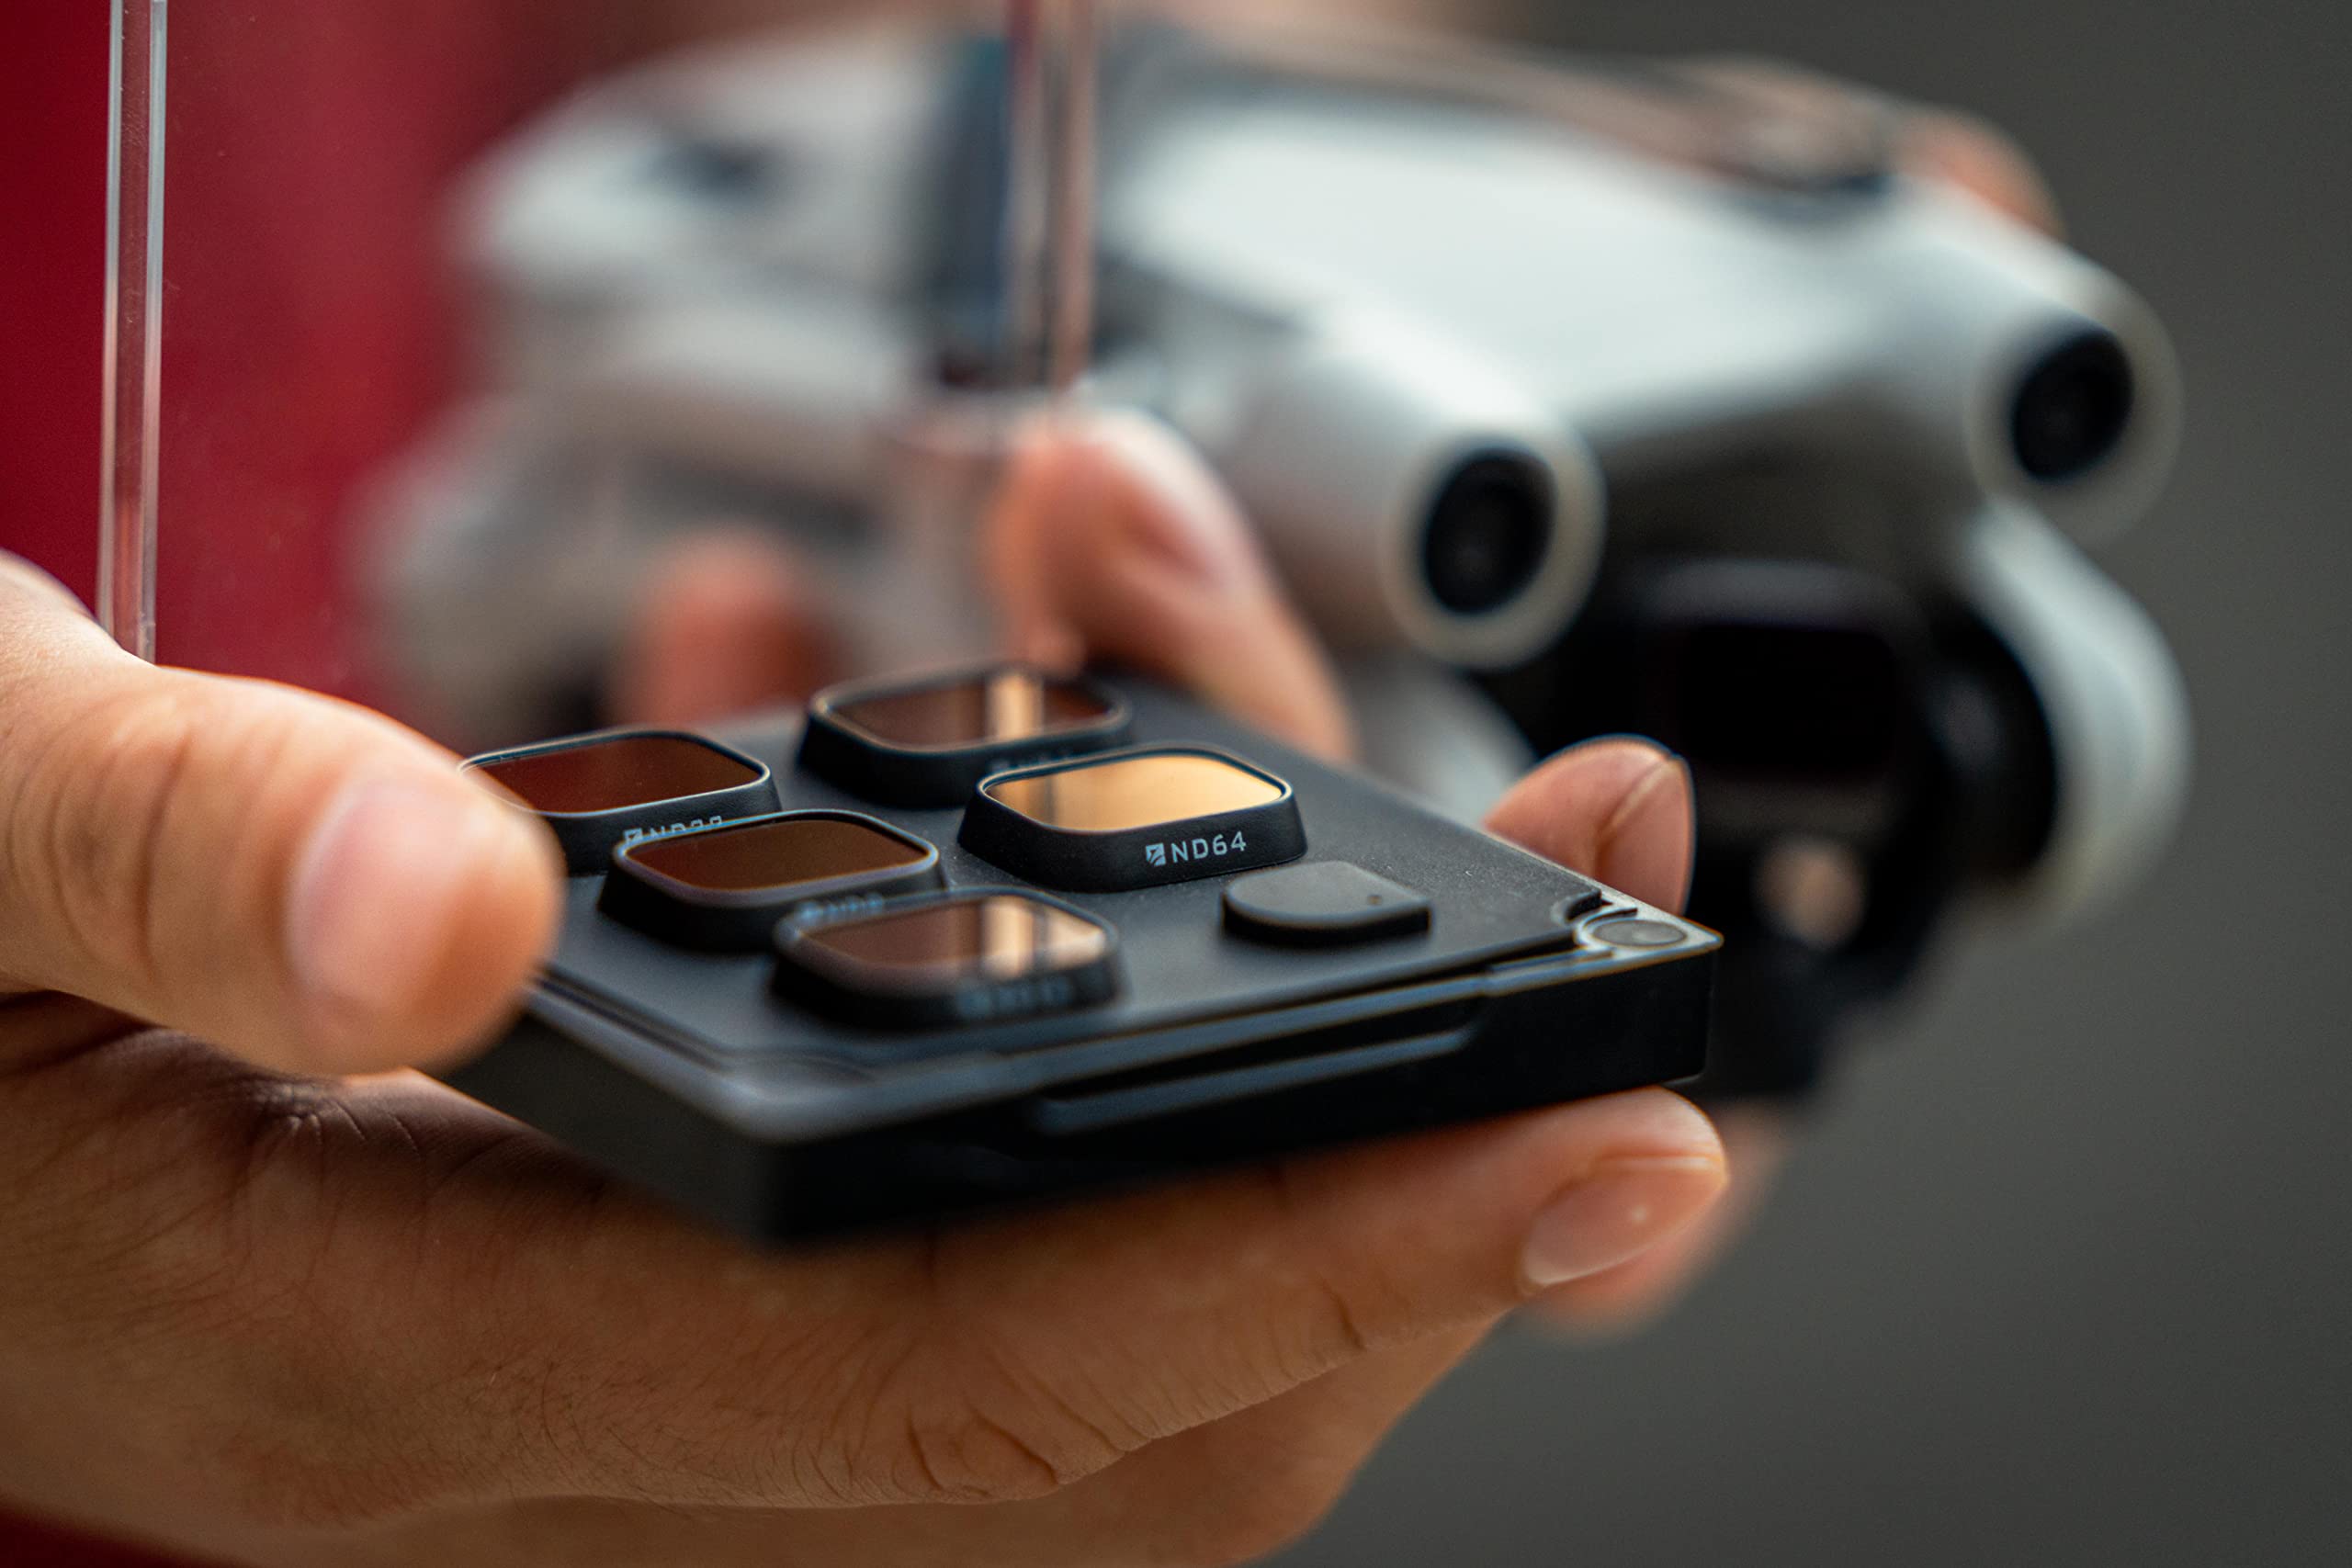
Freewell 6-Pack Magnetic Filters Kit for DJI Mini 3 Pro
Pro-grade ND64/128/256 + polarizers; lightweight without gimbal stress.
Best for: Golden hour or ND-heavy long exposures.
Price Range: $79.99
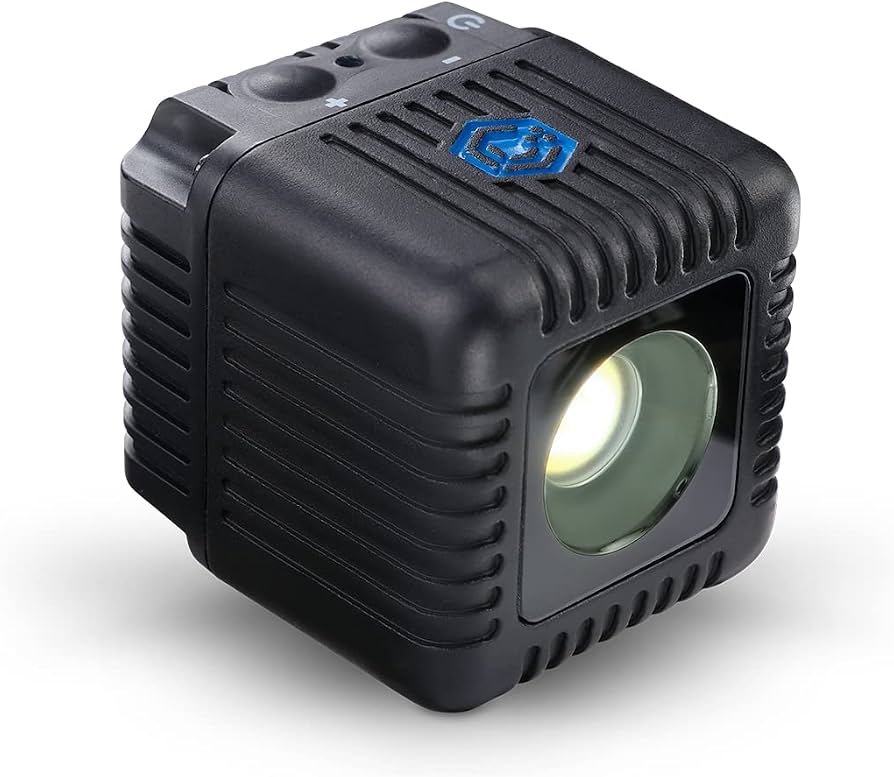
Lume Cube Drone Light Kit 2.0
Strobe/continuous lights mount easily; fills shadows in low-light photography.
Best for: Dawn/dusk shoots or night aerials.
Price Range: $99.99
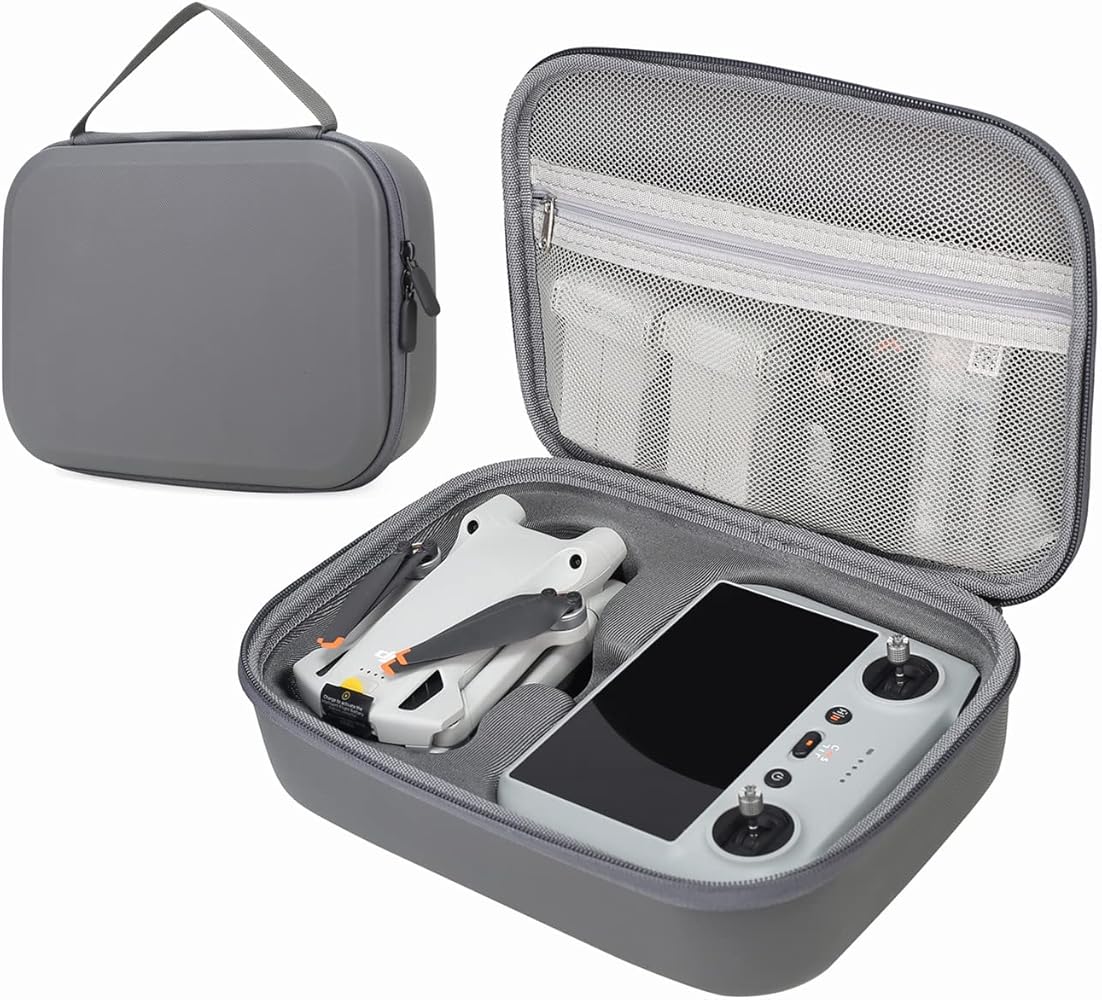
Hanatora Hard Carrying Case for DJI Mini 3 Pro
Custom foam protects full kit + drone; portable for travel shoots.
Best for: Transporting accessories safely.
Price Range: $25.99