Tired of rummaging through a jumbled camera bag during a shoot, risking scratches or damage to your expensive gear? Camera bag accessory kits solve this by providing modular dividers, pouches, straps, and rain covers to create a tailored fit for your DSLR, lenses, and accessories.
In this guide, you'll learn step-by-step how to unpack, install, and optimize an accessory kit for any compatible camera bag. Whether you're using a backpack, sling, or shoulder bag, these kits turn generic storage into pro-level organization. Expect a quick, intermediate-level process—no special tools needed.
By the end, your bag will securely hold gear in custom compartments, ready for travel or fieldwork, saving you time and stress on every outing.
▸What You'll Need
- •Compatible camera bag (e.g., backpack, sling, or shoulder bag with removable dividers)
- •Accessory kit (dividers, pouches, straps, rain cover)
- •Your camera gear for testing layout (DSLR/mirrorless, lenses, batteries)
- •Optional: Scissors or knife for trimming dividers, measuring tape for fit
Estimated Time: 20-30 minutes
Difficulty: intermediate
▸Step-by-Step Instructions
Step 1: Choose the Right Accessory Kit
Start by selecting a kit that matches your bag's size and your gear needs. Measure your bag's interior dimensions (width x height x depth) and compare to kit specs. Kits like divider sets work for most bags with velcro walls.
Why it matters: A mismatched kit leads to poor fit and wasted space. Expect to spend 2-3 minutes reviewing product descriptions—look for 'universal' or bag-specific compatibility.
Success: Kit components listed match your inventory needs (e.g., 4-6 dividers for a medium bag).
💡 Tips:
- •Check bag brand sites like Lowepro or Think Tank for model-specific kits.
- •Prioritize kits with adjustable velcro for flexibility.
⚠️ Warnings:
- •Avoid kits for vastly different bag types (e.g., don't use backpack dividers in a holster).
Step 2: Unpack and Inventory the Kit
Open the kit and lay out all components on a clean surface: padded dividers (rigid and flexible), pouches, straps, clips, and rain cover. Check against the included manual or packing list.
Why it matters: Ensures nothing's missing before starting. Most kits have 5-10 pieces; photograph the setup for reference.
Success: All items accounted for, no damage—ready to prep the bag.
💡 Tips:
- •Label pieces if unmarked for easier reinstallation later.
Step 3: Empty and Prepare Your Camera Bag
Remove all gear from the bag. Peel out any existing dividers or inserts by pulling velcro strips from the interior walls. Wipe the inside with a microfiber cloth to remove dust.
Why it matters: Clean slate prevents dirt transfer to new accessories. Takes 5 minutes.
Success: Bag interior fully exposed with bare velcro walls.
⚠️ Warnings:
- •Don't force stuck velcro—use a plastic card to loosen.
Step 4: Install Padded Dividers
Attach rigid dividers first to form main compartments (e.g., one for camera body, slots for lenses). Cut flexible dividers to size if needed, then press firmly onto velcro walls. Start from the bottom up for stability.
Why it matters: Creates protective barriers against bumps. Test fit by hand-pressing.
Success: Snug, non-shifting dividers forming 3-5 custom sections.
💡 Tips:
- •Overlap edges slightly for extra padding.
- •Use pencil marks for precise cuts.
Step 5: Add Pouches and Organizers
Clip or velcro small pouches into upper sections for SD cards, batteries, and cables. Secure them to avoid sliding during transport.
Why it matters: Keeps tiny items accessible without digging. Quick 3-minute step.
Success: Pouches integrated, contents rattle-free when shaken.
Step 6: Attach Straps and Clips
Wrap straps around handles or attach clips for tripod/monopod. Ensure they're taut but adjustable.
Why it matters: Enhances carrying comfort and quick access. Test tension.
Success: Secure attachments that don't interfere with zippers.
💡 Tips:
- •Pad strap contact points to prevent wear.
⚠️ Warnings:
- •Over-tighten clips to avoid scratching bag exterior.
Step 7: Install Rain Cover and Test Fit
Slip the rain cover over the bag and secure. Load your gear into compartments, zip up, and shake/test carry.
Why it matters: Verifies waterproofing and organization. Adjust as needed.
Success: Gear fits perfectly, no movement, bag balances well.
Step 8: Fine-Tune and Store Extras
Rearrange dividers for optimal gear access (e.g., most-used lens nearest top). Store unused pieces in a pouch.
Why it matters: Personalizes for your workflow. Done—bag ready for use.
Success: Intuitive layout for fast packing/unpacking.
💡 Tips:
- •Reconfigure monthly as gear changes.
▸Pro Tips
- •Measure gear dimensions before cutting dividers for perfect fits.
- •Use zip ties on straps for extra security on rough terrain.
- •Layer thin cloths between lenses for scratch protection.
- •Label compartments with tape for shared bags.
- •Test full load on a short walk before long trips.
- •Combine kits from different brands for hybrid setups.
- •Clean velcro monthly with a brush to maintain grip.
▸Common Mistakes to Avoid
- •Using oversized dividers—leaves gaps; measure twice.
- •Skipping inventory—leads to missing pieces mid-install; always check first.
- •Overloading compartments—strains velcro; balance weight.
- •Ignoring bag weight distribution—causes imbalance; test carry.
- •Not trimming flexible dividers—wastes space; cut precisely.
▸Troubleshooting
Problem: Dividers won't stick to velcro
Solution: Clean surfaces with alcohol wipe; replace worn velcro strips from kit extras.
Problem: Rain cover too tight/loose
Solution: Adjust elastic bands or elasticate edges with rubber bands; size up/down kit.
Problem: Gear shifts during carry
Solution: Add foam padding or extra dividers; tighten pouches.
Problem: Straps slipping off
Solution: Use kit's anti-slip pads or wrap with gaffer tape.
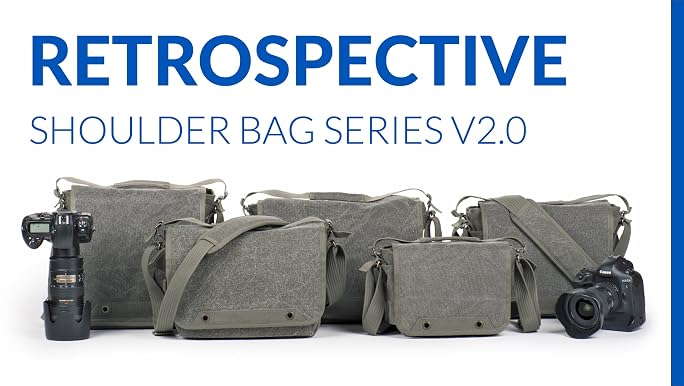
Think Tank Photo Medium Shoulder Bag V2.0 Divider Kit
Versatile velcro dividers fit most shoulder bags, with rigid/flexible options for pro organization.
Best for: Ideal for sling/shoulder bags holding 1-2 lenses + body.
Price Range: $29.75
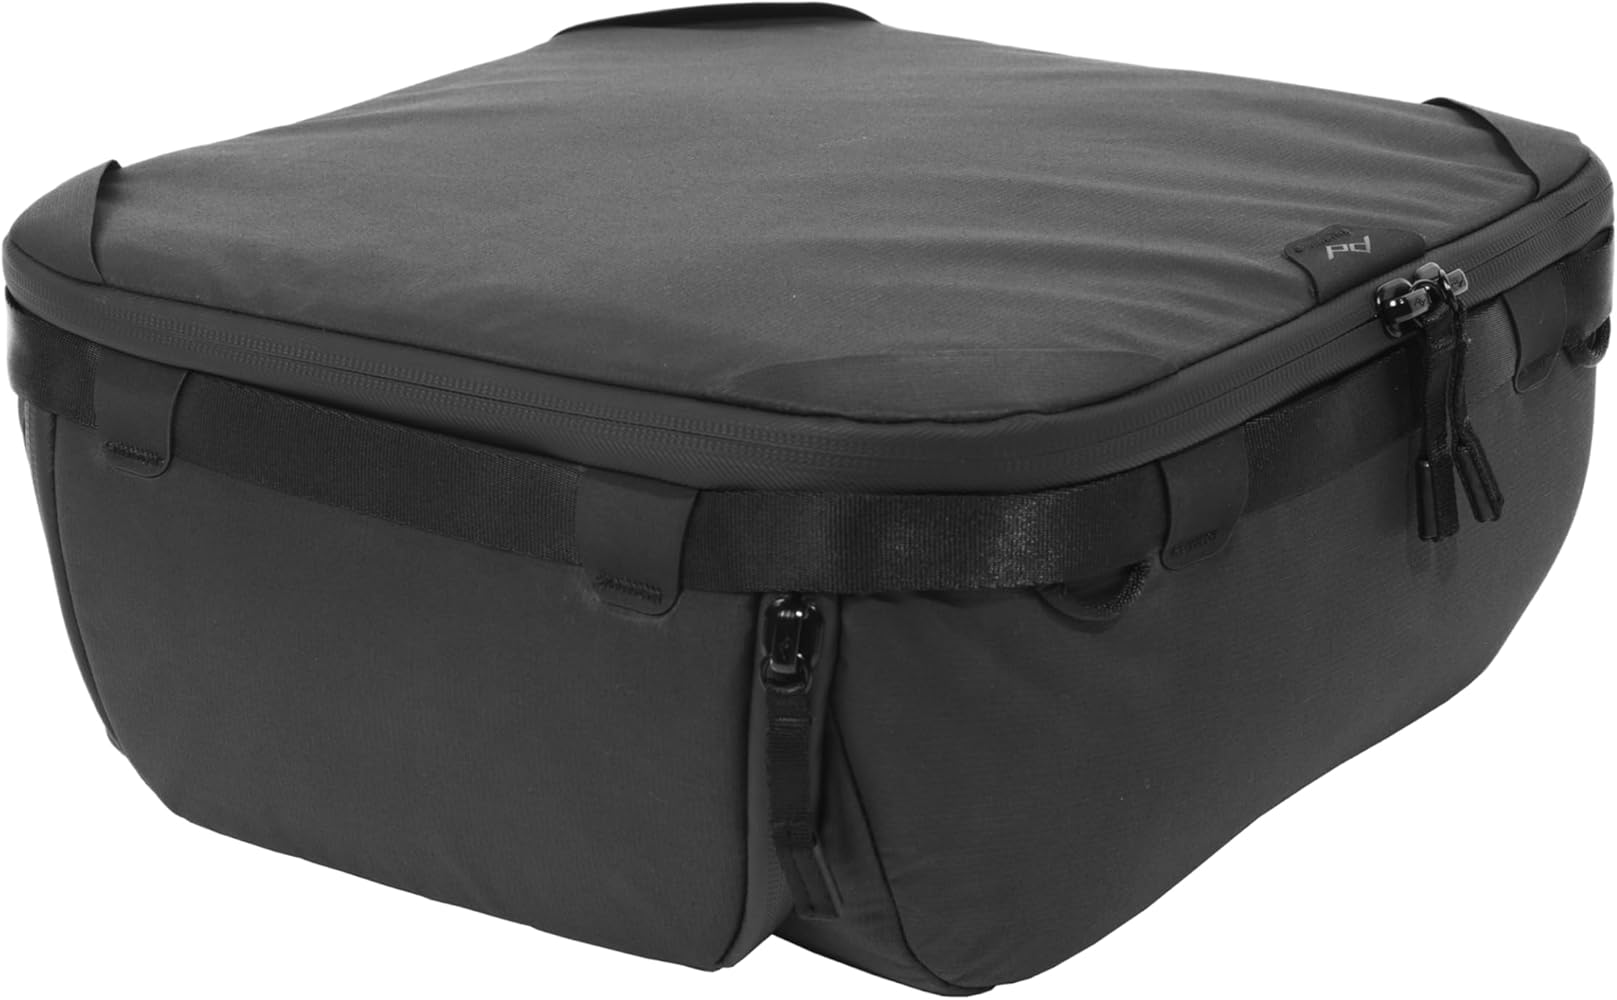
Peak Design Camera Cube V2 (Medium)
Modular insert with adjustable dividers, expands any backpack into camera-ready storage.
Best for: Backpack users needing deep compartments for multiple lenses.
Price Range: $59.95
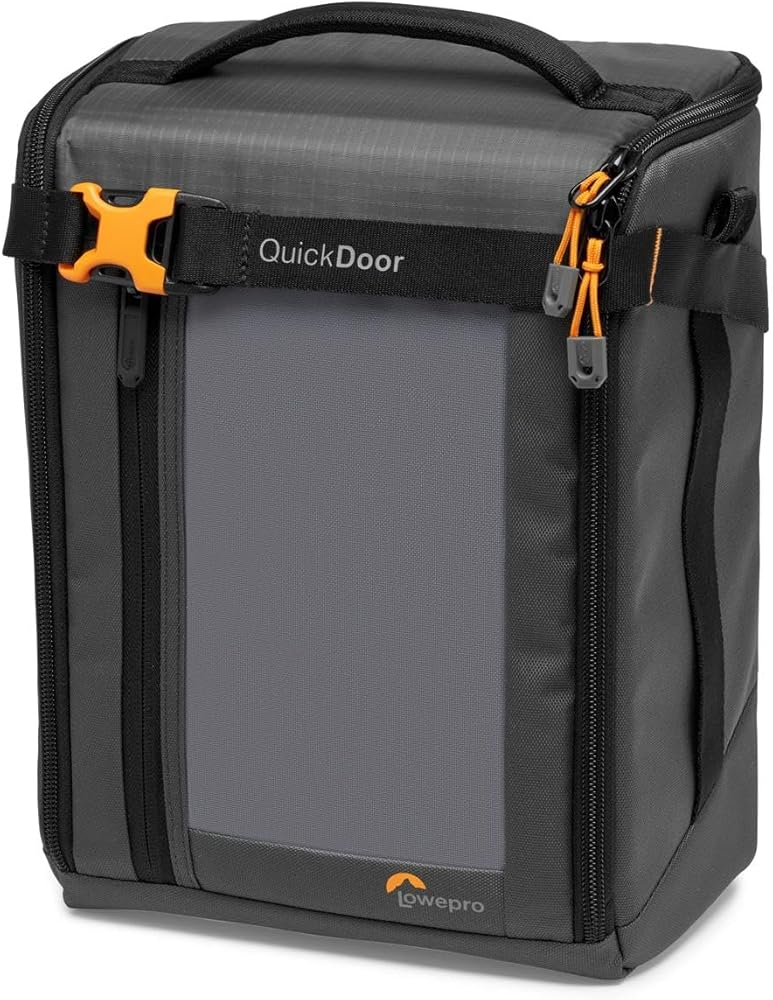
Lowepro GearUp Creator Box XL
Magnetic pouches and organizers for cables/batteries, complements divider kits.
Best for: Small accessories in any bag size.
Price Range: $49.99
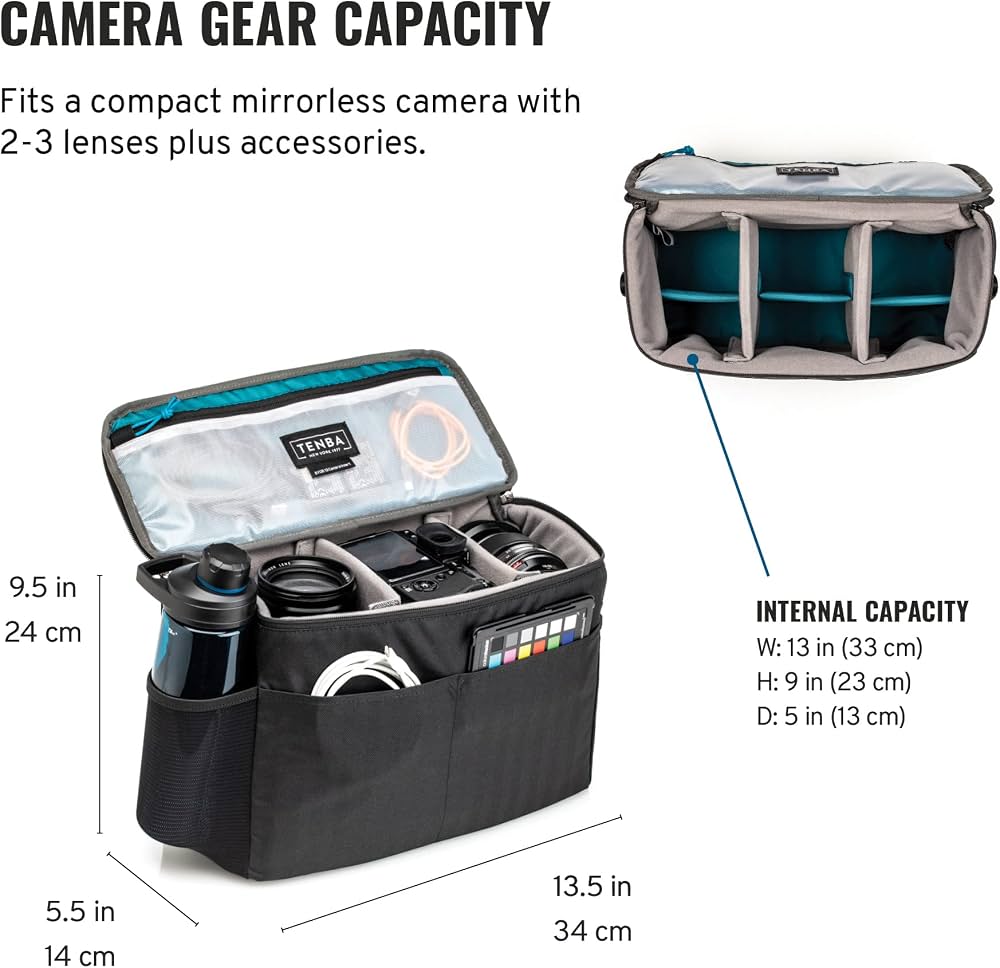
Tenba Tools BYOB 13 Camera Insert
Water-resistant insert turns any bag into a camera carrier with full dividers.
Best for: Budget universal fit for everyday bags.
Price Range: $24.95
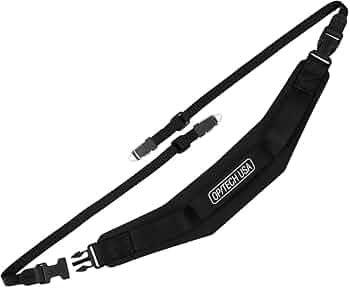
OP/TECH USA Professional Strap Wrap Kit
Neoprene wraps prevent strap slip and add padding.
Best for: Enhance comfort on long carries.
Price Range: $9.99