
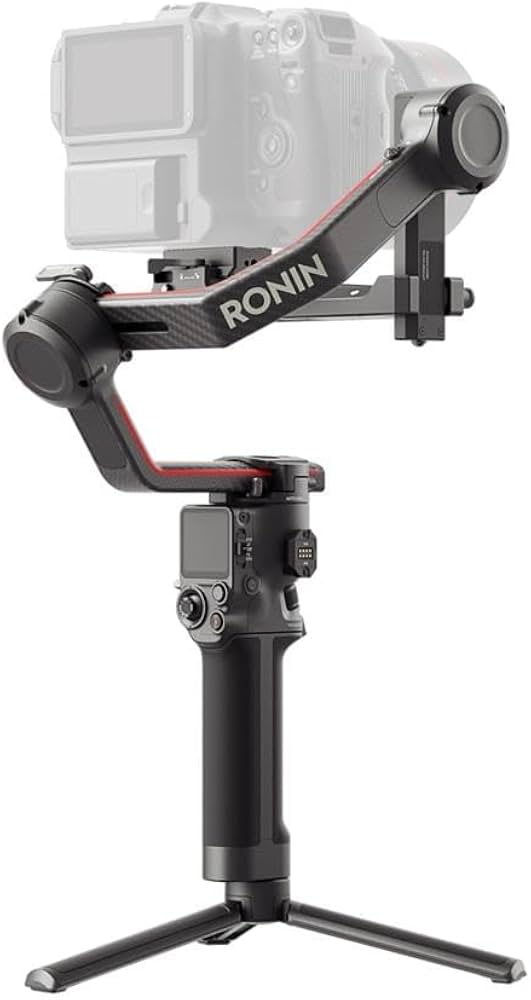
DJI RS 3 Gimbal Stabilizer
Handheld dynamic shots like walking interviews or action sequences.
$549
DJI RS 3 Gimbal Stabilizer Pro-level 3-axis stabilization for DSLRs up to 6.6 lbs with intuitive app control and long battery life.
Get the App
Better experience on mobile
Master smooth, professional video footage by learning to use tripods, gimbals, and rigs with your DSLR in simple steps.
Shaky, jittery video can ruin even the best-shot footage from your DSLR camera, making your content look amateurish instead of pro-level. Whether you're vlogging, filming events, or creating YouTube tutorials, stabilization accessories are game-changers that deliver buttery-smooth results without breaking the bank.
In this guide, you'll learn how to select, set up, and use key accessories like gimbals, tripods, and shoulder rigs for DSLR video stabilization. We'll cover step-by-step instructions tailored for intermediate users familiar with basic camera operation. Expect to spend 30-60 minutes on initial setup and testing, with ongoing practice for mastery.
By the end, you'll achieve steady handheld shots, fluid pans, and professional tracking—perfect for elevating your video production.
Estimated Time: 30-60 minutes for setup and first test Difficulty: intermediate
Before grabbing any accessory, evaluate your video style. For static shots like interviews, a tripod suffices. Handheld walking shots scream for a gimbal. Run-and-gun filming? Opt for a shoulder rig or monopod.
Why it matters: Mismatched gear leads to frustration and poor results. Success looks like a clear plan—e.g., 'gimbal for outdoor tracking shots.'
List your typical scenarios: low-light events, outdoor adventures, or studio work.
💡 Tips:
⚠️ Warnings:
Select based on assessment: gimbal for dynamic moves, tripod for locked-off shots. Unbox and charge all batteries.
Inspect components: camera plate, arms (for gimbals), legs (tripods), or harness (rigs). Attach any included counterweights if your setup is heavy.
Success: All parts accounted for, powered on, and familiar via quick manual skim.
💡 Tips:
For Tripod/Monopod: Slide the quick-release plate onto your camera's tripod socket (1/4-20 thread), tighten with screwdriver. Snap onto head.
For Gimbal: Loosen gimbal axis locks, mount camera plate, slide and lock camera. For rigs, attach cage first if using.
For Shoulder Rig: Bolt camera to baseplate, adjust handles/shoulder pad.
Why: Loose mounts cause slips and vibrations. Expect a rock-solid feel—no wobble when nudged.
💡 Tips:
⚠️ Warnings:
For gimbals: Power on, unlock axes one-by-one (roll, tilt, pan). Gently adjust camera position until each axis stays level when released. Add counterweights if nose-heavy.
For rigs: Distribute weight evenly across shoulder.
Tripods need no balancing but level with bubble indicator.
Success: Setup floats neutrally—no drifting. This reduces motor strain and enables smooth motors.
💡 Tips:
⚠️ Warnings:
Set DSLR to video mode: 24fps, 1/50 shutter (180° rule), low ISO. Disable IBIS if using gimbal (conflicts).
Gimbal app/mode: Sport for fast moves, Follow for pans. Tripod: Enable pan/tilt drag.
Why: Syncs mechanics with electronics. Expect preview screen stable.
💡 Tips:
Run accessory calibration (gimbal auto via app). Perform slow pans, tilts, walks.
Film 10-20 sec clips. Playback: Smooth? No jello or drift?
Adjust modes/speeds as needed.
💡 Tips:
⚠️ Warnings:
Import clips to computer/software (DaVinci Resolve free). Scrutinize for shake, horizon level.
Tweak: Rebalance, change modes, add ND filters for motion blur.
Success: Pro-smooth video ready for edit.
💡 Tips:
Problem: Gimbal drifts or vibrates
Solution: Rebalance axes precisely; recalibrate; check for loose screws. Update firmware.
Problem: Tripod wobbles on uneven ground
Solution: Extend middle leg for leveling; use spiked feet or weights.
Problem: Short battery life
Solution: Use external power banks; disable unused features like lights.
Problem: Jello effect in footage
Solution: Switch to faster shutter or stiffer lens; avoid electronic stabilization.
Pro-level 3-axis stabilization for DSLRs up to 6.6 lbs with intuitive app control and long battery life.
Best for: Handheld dynamic shots like walking interviews or action sequences.
Price Range: $549
Smooth pan/tilt drag and sturdy build for precise locked-off shots.
Best for: Interviews, product demos, or time-lapses needing reliability.
Price Range: $300-$350
Modular, lightweight rig with handles and pad for ergonomic extended shoots.
Best for: Documentary-style run-and-gun or shoulder-mounted narratives.
Price Range: $80-$100
Quick-deploy aluminum monopod with fluid head for mobile stability.
Best for: Crowd events or travel where tripods are bulky.
Price Range: $80
Adds mounting points for accessories and better grip/balance.
Best for: Any rig/gimbal setup to customize and protect your camera.
Price Range: $50
Handheld dynamic shots like walking interviews or action sequences.
DJI RS 3 Gimbal Stabilizer Pro-level 3-axis stabilization for DSLRs up to 6.6 lbs with intuitive app control and long battery life.
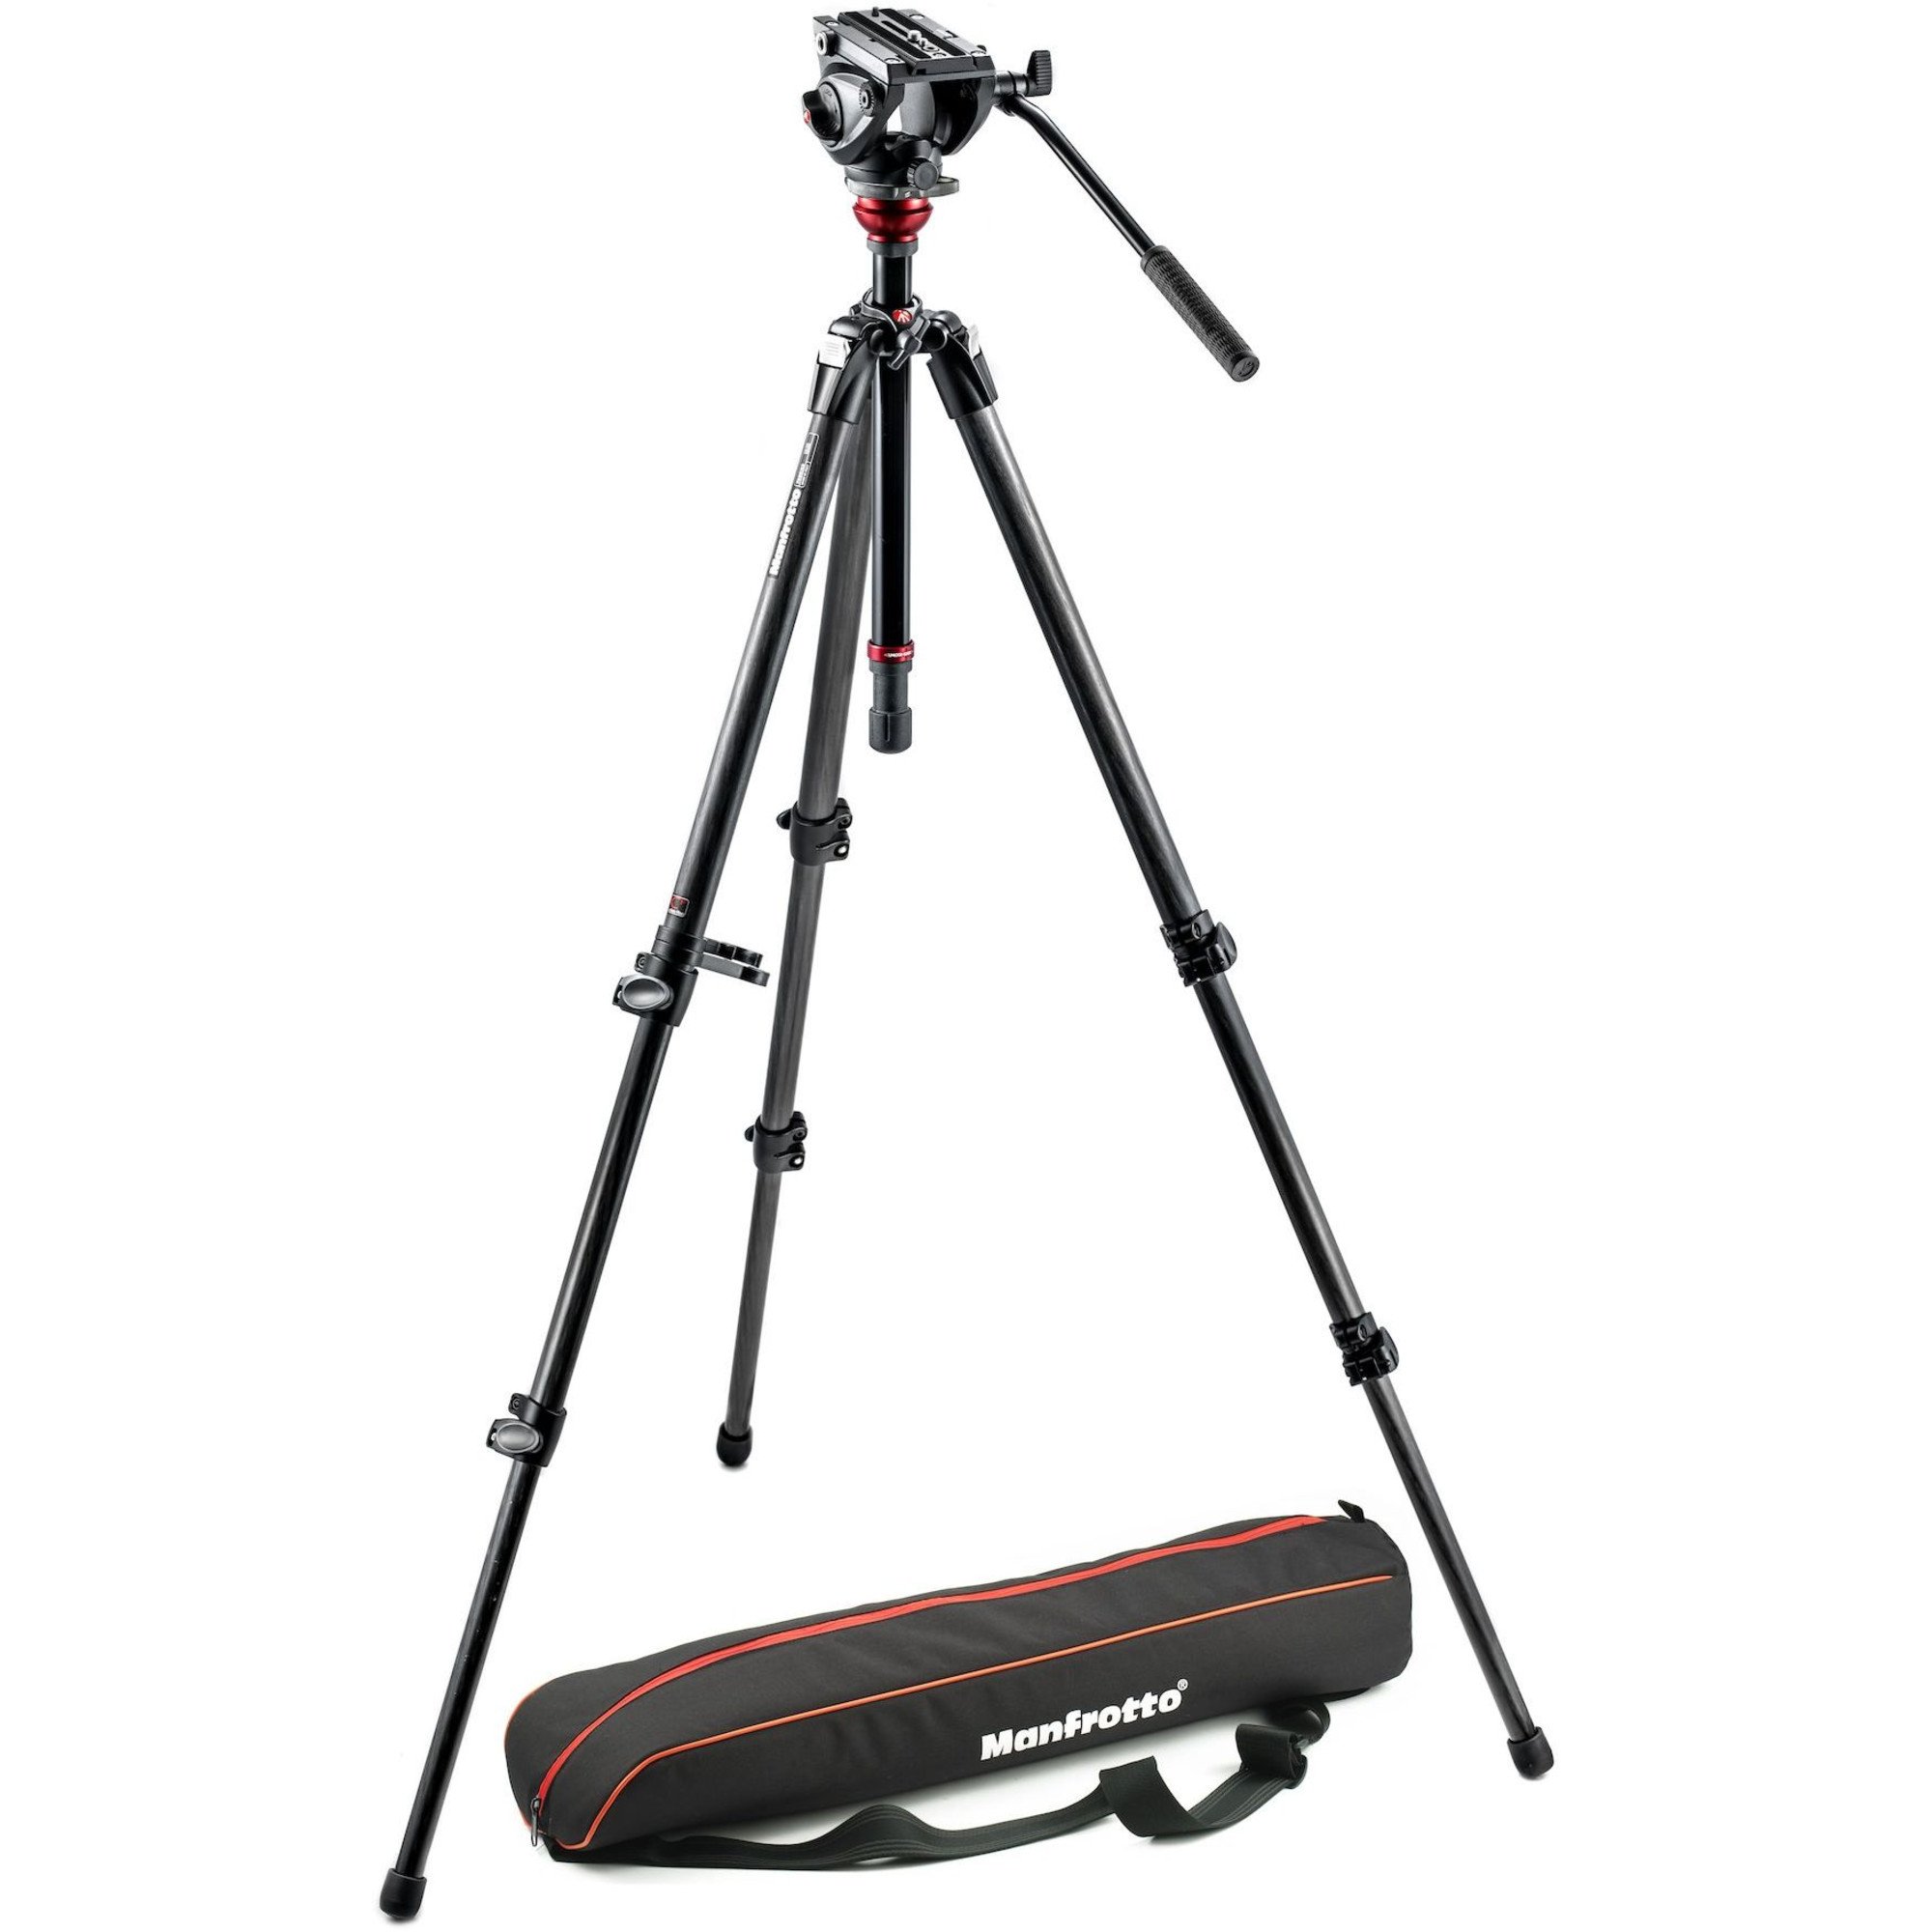
Interviews, product demos, or time-lapses needing reliability.
Manfrotto MVH500AH Fluid Video Head with MT055XPRO3 Legs Smooth pan/tilt drag and sturdy build for precise locked-off shots.
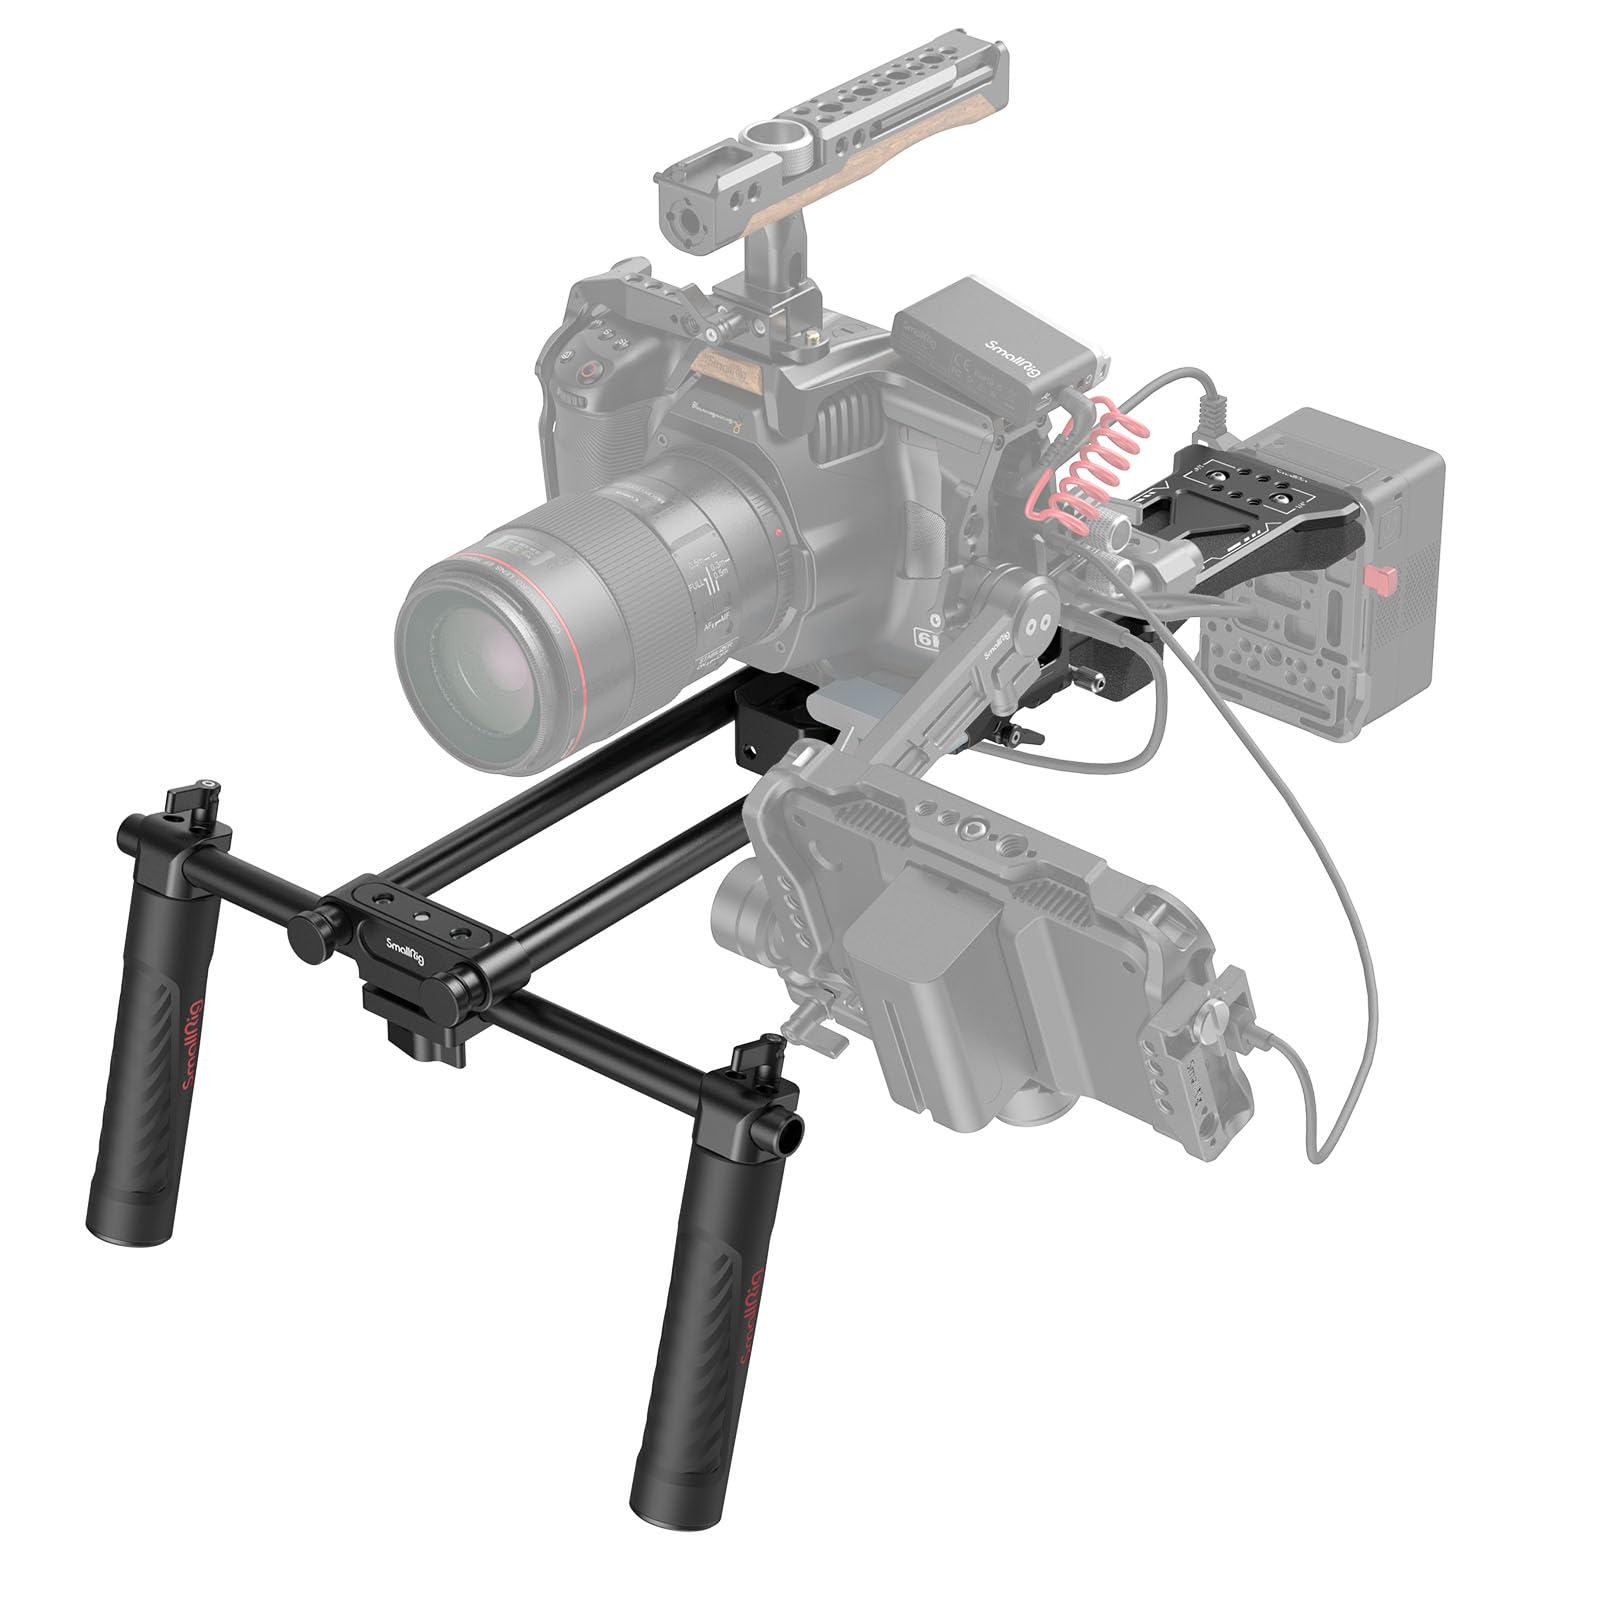
Documentary-style run-and-gun or shoulder-mounted narratives.
SmallRig DSLR Shoulder Rig Kit Modular, lightweight rig with handles and pad for ergonomic extended shoots.
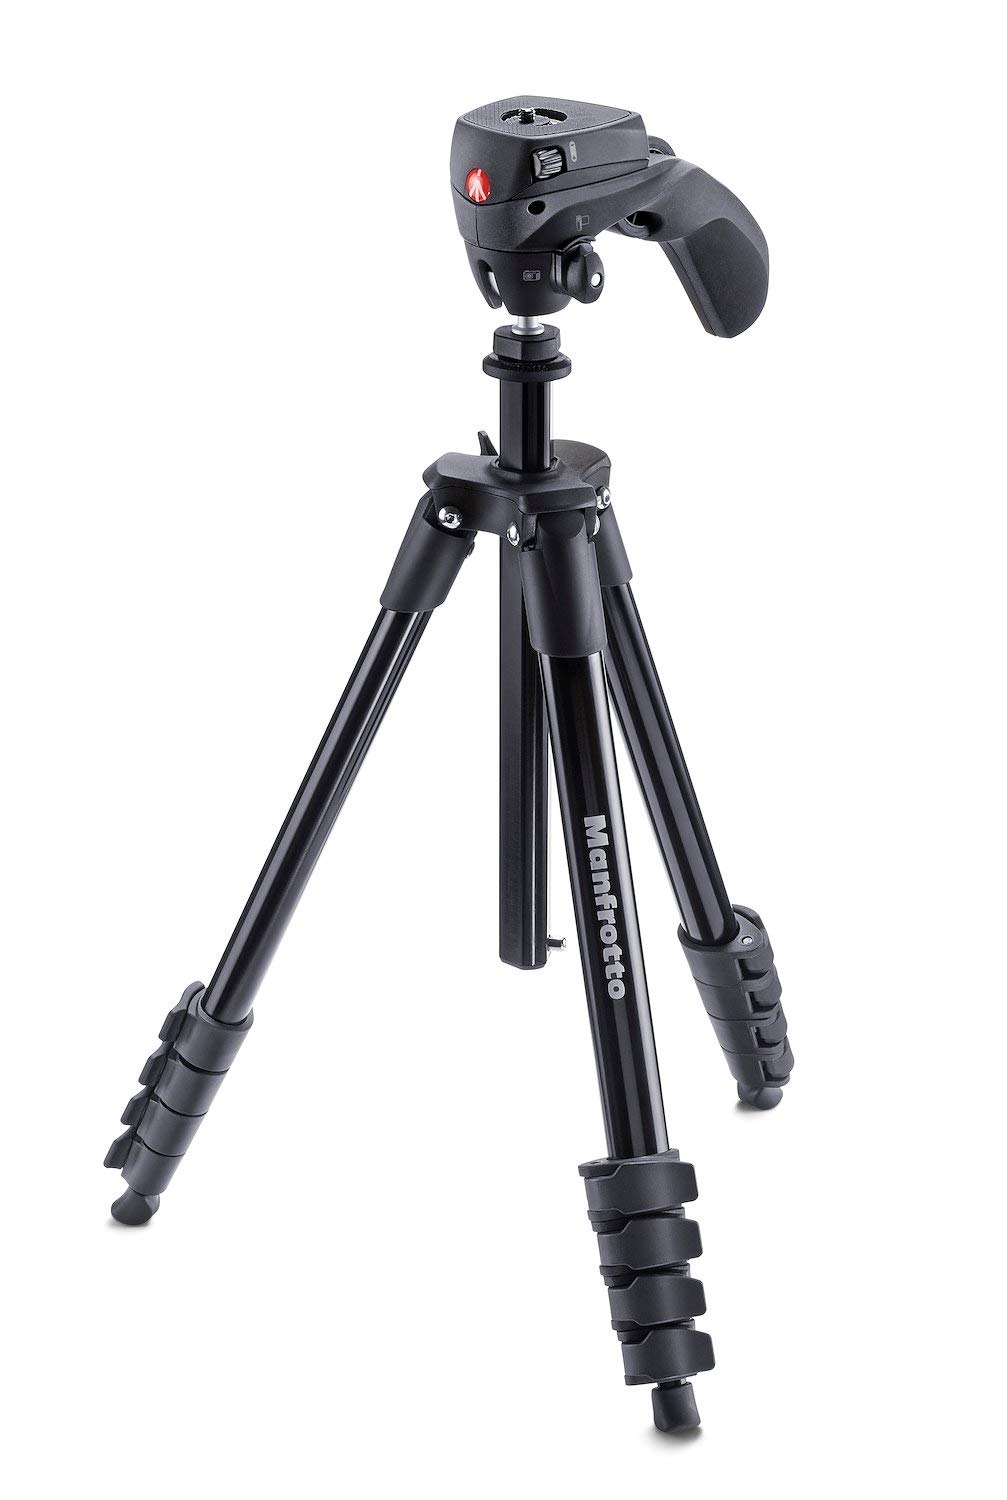
Crowd events or travel where tripods are bulky.
Manfrotto Compact Action Monopod Quick-deploy aluminum monopod with fluid head for mobile stability.
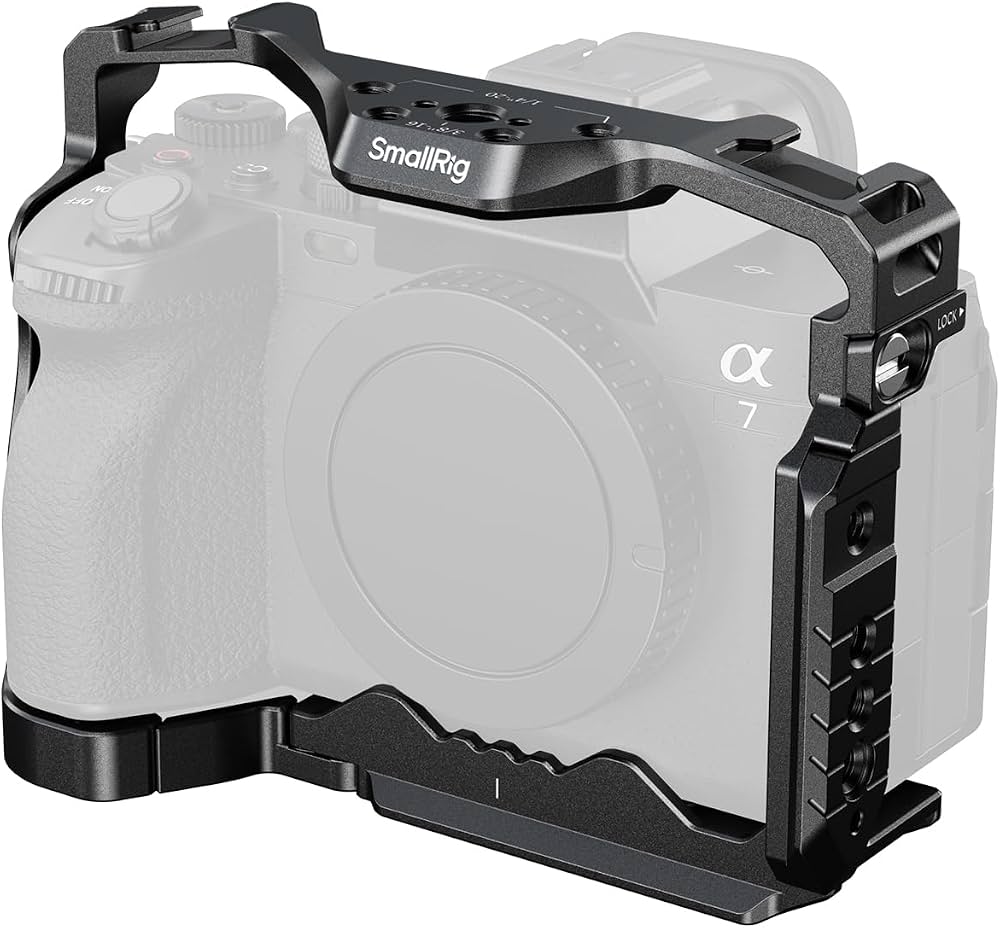
Any rig/gimbal setup to customize and protect your camera.
SmallRig Full Cage for DSLR Adds mounting points for accessories and better grip/balance.