Reviving a 3DO Interactive Multiplayer setup in 2024 is a passion project for retro enthusiasts, but many struggle with quirky accessories that demand precise connections and calibration. Without proper use, you'll miss out on unique experiences like light gun shooters or mouse-controlled adventures.
In this advanced guide, you'll learn to identify, connect, test, and optimize every major 3DO accessory—from standard pads to rare peripherals. Expect a logical process covering inspection, setup, calibration, and integration with modern displays. Total time: 30-45 minutes, assuming you have a working console.
Perfect for collectors with soldering experience or emulation knowledge transitioning to hardware authenticity.
▸What You'll Need
- •Working 3DO console (Panasonic FZ-10, GoldStar GDO-24, Sanyo Try, etc.)
- •3DO accessories: controller(s), light gun (e.g., for Gussun Oyoyo), mouse, keyboard, or multi-tap
- •Compatible cables: original AV/composite or upgraded component/RGB
- •Display: CRT TV, PVM, or modern TV/monitor with scaler (e.g., RetroTink)
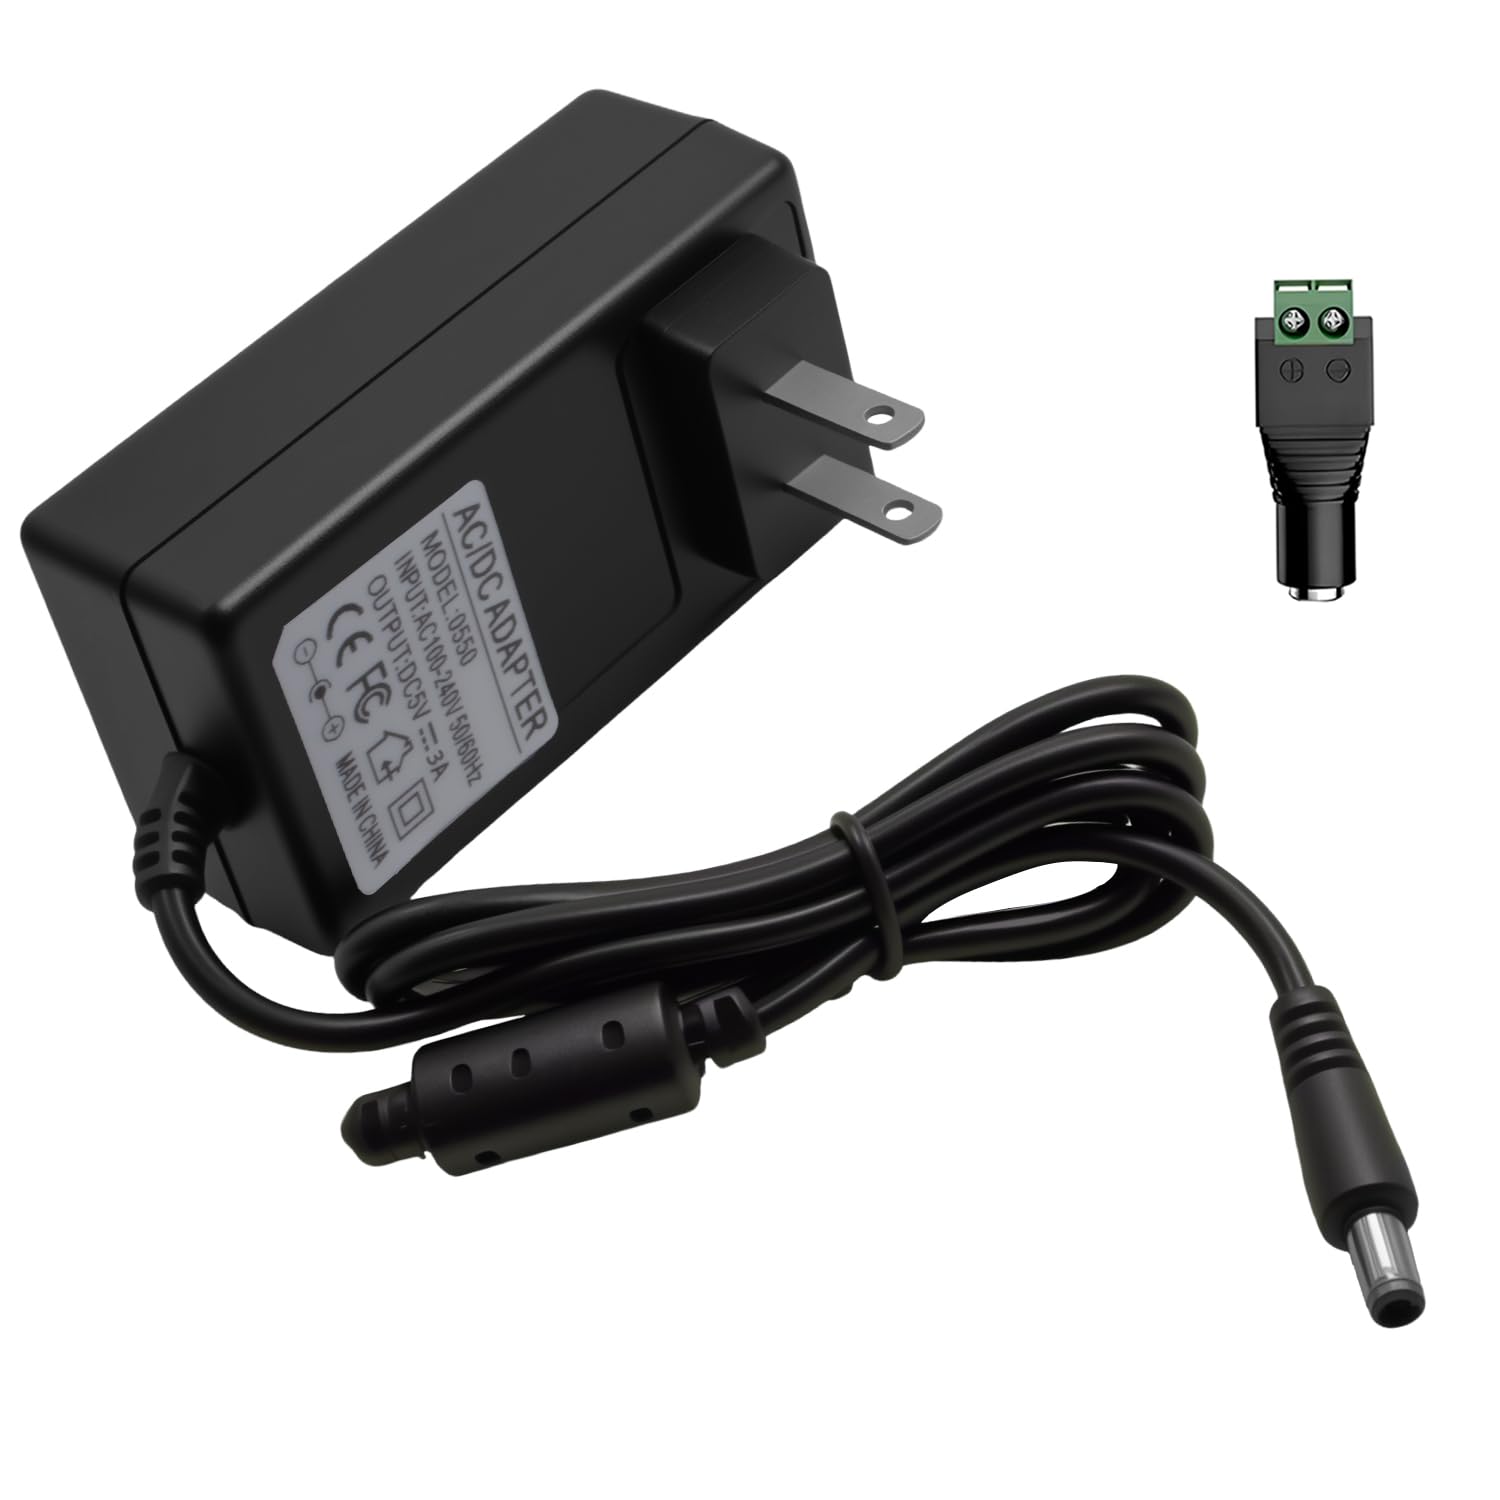
- •Power supply (original 5V DC 2.4A or replacement)
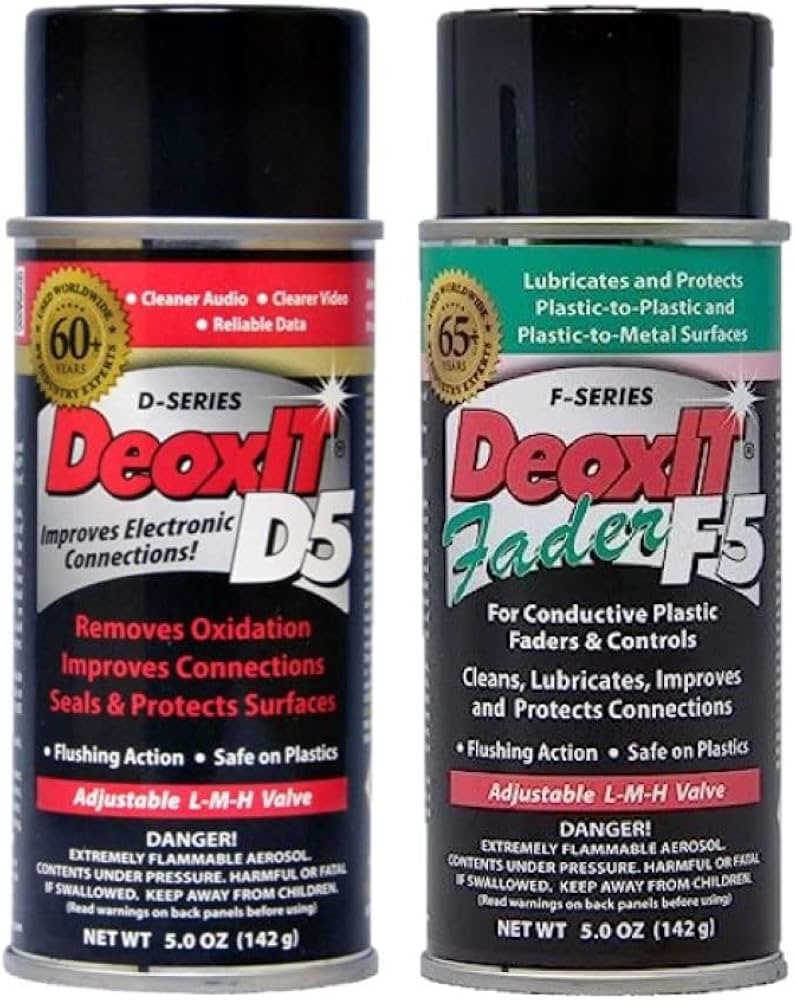
- •Optional: Isopropyl alcohol, cotton swabs for cleaning; DeoxIT for pins
- •3DO game discs that support the accessory (e.g., The Need for Speed for mouse)
Estimated Time: 30-45 minutes
Difficulty: advanced
▸Step-by-Step Instructions
Step 1: Inspect and Clean Accessories
Begin by gathering all 3DO accessories and visually inspecting for damage. Check controller shells for cracks, light gun sensors for dust, and mouse/keyboard cables for fraying. 3DO ports use a proprietary 19-pin connector—ensure pins are straight and free of corrosion.
Use isopropyl alcohol on cotton swabs to clean ports and contacts. For advanced users, apply DeoxIT D5 to controller plugs for reliable conductivity. Dry completely before proceeding.
Success looks like: Pristine, dust-free accessories ready for connection—no bent pins or residue.
💡 Tips:
- •Label cables if multiple controllers to avoid mix-ups.
- •Test buttons/membrane with multimeter for continuity if experienced.
⚠️ Warnings:
- •Avoid excessive force on pins—3DO plastics are brittle after 30 years.
Step 2: Set Up Console and Display Connection
Power on your 3DO console without accessories first. Connect via composite (yellow RCA) to a CRT or scaler-upconverted to HDMI for modern TVs. Boot to the main menu—FMV intro plays smoothly.
Why? Ensures baseline functionality before adding peripherals. Advanced tip: Use RGB/component mods or scalers to minimize input lag, critical for light guns.
Success looks like: Clean picture and responsive menu navigation with D-pad.
💡 Tips:
- •Bypass RF modulator—direct AV is sharper.
Step 3: Connect Standard Controller
Locate the controller port on the console's front (Player 1 default). Insert the 19-pin plug firmly until it clicks—3DO controllers have a unique locking mechanism.
Navigate to System Settings > Controller Config to verify detection. Test all buttons: shoulder triggers for acceleration, mode button for turbo.
Success looks like: Controller icon lights up in menu; inputs register instantly.
⚠️ Warnings:
- •Don't swap with player 2 port initially—some games lock to P1.
Step 4: Test Controller in a Game
Load a controller-heavy game like Road Rash or Killing Time. Map buttons if needed via in-game options. Play 5-10 minutes, checking analog stick (if flight yoke) and turbo functions.
Calibrate via console menu if drift occurs. For wireless controllers (rare Panasonic variant), ensure receiver is powered.
Success looks like: Fluid gameplay—no missed inputs or disconnects.
💡 Tips:
- •Use multi-tap for 2-4 players; plug into P1 port first.
Step 5: Connect and Calibrate Light Gun
Plug light gun into an available port (P2+). Boot calibration game (e.g., Gussun Oyoyo or light gun demo disc). Point at screen center, pull trigger to calibrate crosshair.
3DO light guns sync via IR/composite timing—needs direct CRT or zero-lag scaler. Recalibrate per TV geometry.
Success looks like: Accurate hits on targets; no screen-wide offset.
⚠️ Warnings:
- •LCD/LED TVs cause massive lag—use CRT or OSSC.
- •Avoid fluorescent lights—interfere with sensor.
Step 6: Set Up Mouse and Keyboard
Connect mouse (PS/2-like port on some models) or keyboard to rear expansion ports. Games like The Need for Speed auto-detect; others need config.
Test in FMV viewer or strategy games. Adjust sensitivity in System > Mouse Settings.
Success looks like: Smooth cursor movement; typing registers in text fields.
💡 Tips:
- •USB adapters don't work natively—use original PS/2 mouse.
Step 7: Configure Multiplayer and Multi-Tap
Insert multi-tap into P1 port, daisy-chain controllers. Set to 4-player mode in games like Speed Racer.
Balance audio/video cables to avoid interference.
Success looks like: All players input simultaneously without lag.
Step 8: Optimize and Store Accessories
Fine-tune with scalers for low-latency. Store in anti-static bags, away from humidity.
Run long sessions to burn-in connections.
Success looks like: Reliable setup for hours of play.
💡 Tips:
- •Document your config for quick reassembly.
▸Pro Tips
- •Always power off before swapping accessories to prevent shorts.
- •Use extension cables (19-pin) for couch co-op—keep under 10ft to avoid signal loss.
- •Pair with high-quality CD-R burns for accessory demos if originals scarce.
- •Mod controller shells with 3D-printed grips for comfort.
- •Integrate with MiSTer FPGA for hybrid testing before hardware.
- •Clean ports monthly with compressed air for longevity.
- •Label ports with player numbers using tape.
▸Common Mistakes to Avoid
- •Inserting controllers upside-down—causes no detection; align key notch.
- •Skipping calibration on light guns—leads to inaccurate aiming; recalibrate per session.
- •Using HDMI direct without scaler—introduces 100ms+ lag, ruining precision games.
- •Overlooking power draw with multi-tap—use dedicated PSU to avoid brownouts.
- •Storing in humid areas—corrodes pins; use silica packs.
▸Troubleshooting
Problem: Controller not detected
Solution: Reseat plug, clean pins, test on another port/console. Check fuse on controller PCB.
Problem: Light gun misses targets
Solution: Recalibrate on target screen, switch to CRT, disable TV post-processing.
Problem: Mouse jittery
Solution: Clean optical sensor, lower sensitivity, use non-reflective pad.
Problem: Multi-tap lag
Solution: Shorten cables, power cycle, ensure genuine hardware—not repros.
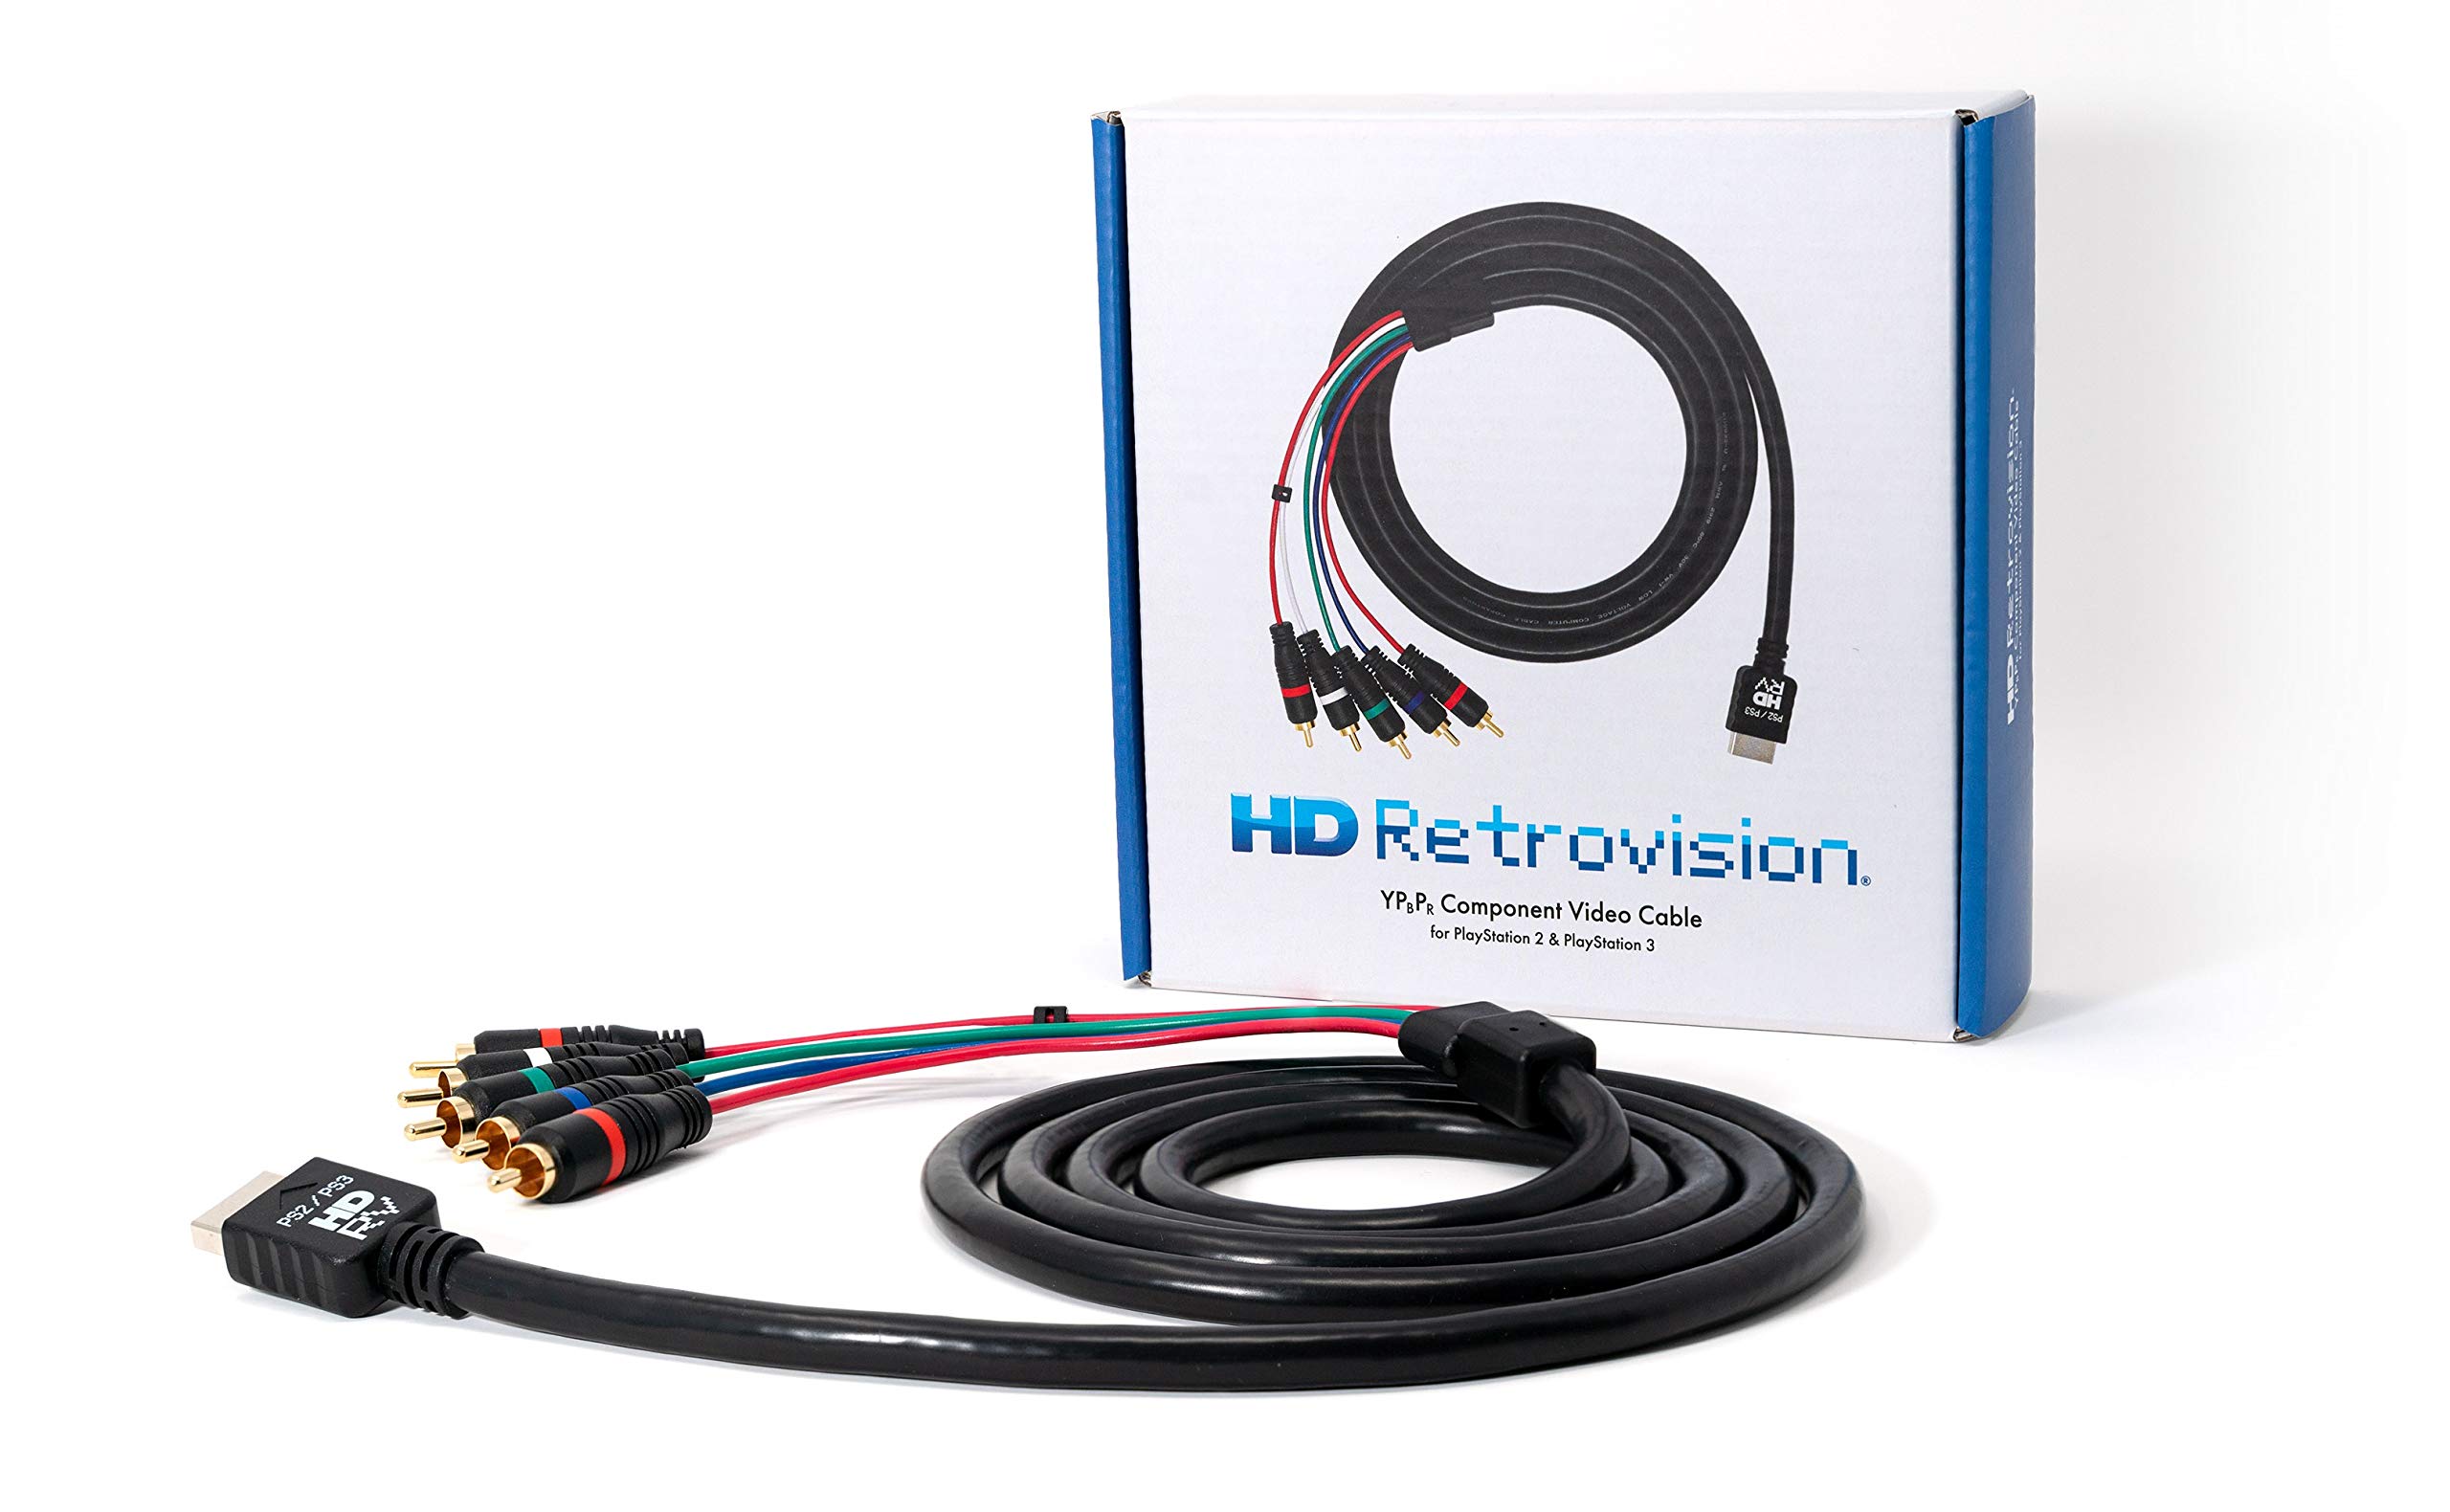
HD Retrovision Component Video Cables for 3DO
Provides sharp 240p component output, essential for precise accessory timing like light guns.
Best for: Connecting to upscaling scalers or component monitors for lag-free play.
Price Range: $79.99
RetroTink 2X Mini
Low-lag 2x scaler preserves accessory responsiveness on modern TVs.
Best for: HDMI output for light guns/controllers without CRT.
Price Range: $99.99
DeoxIT D5 Contact Cleaner
Revives corroded 19-pin connectors for reliable detection.
Best for: Cleaning ports before every setup session.
Price Range: $17.95
5V 3A DC Power Supply for 3DO
Stable power for console + multi-tap without voltage drops.
Best for: Replacements for dead original bricks.
Price Range: $14.99
3DO Controller Extension Cable
Extends reach for comfortable multiplayer without signal loss.
Best for: Living room setups with multi-tap.
Price Range: $19.99-$29.99