
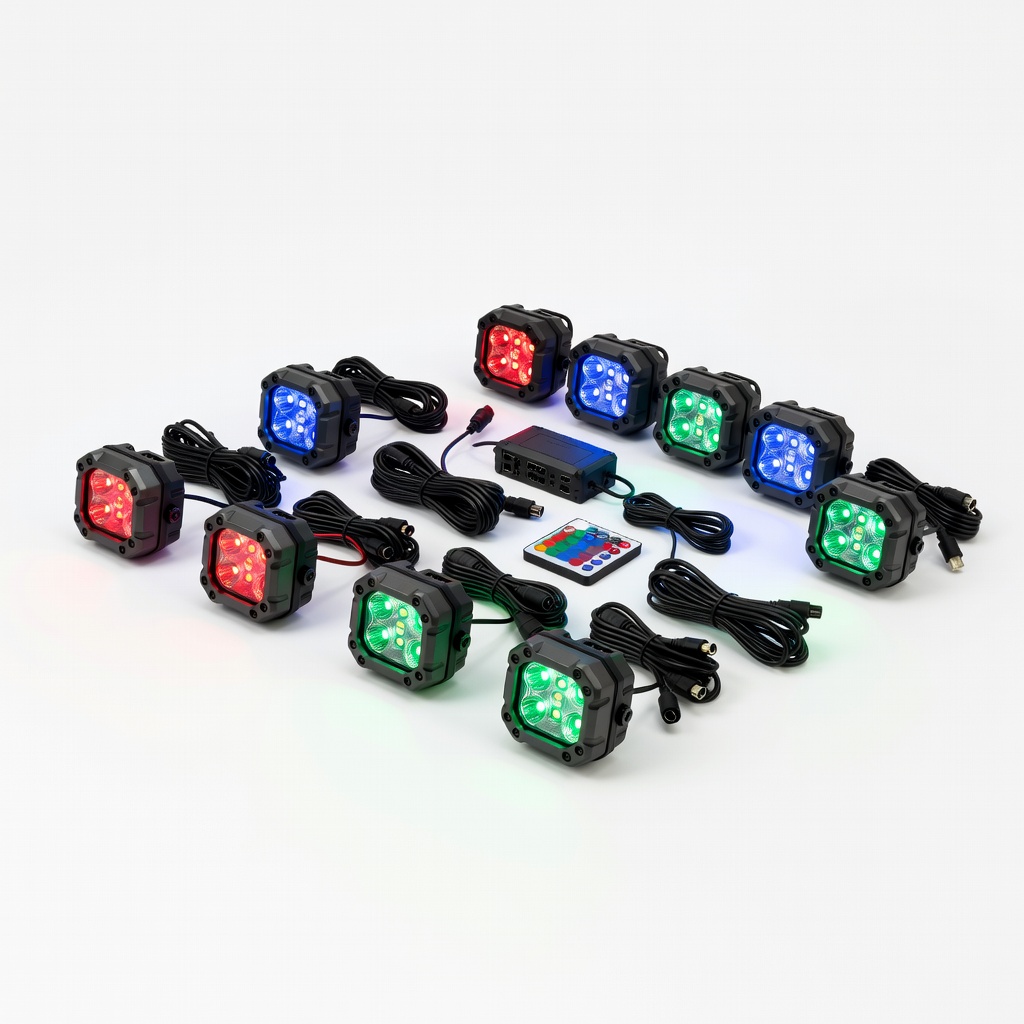
Nilight 8PCS RGB LED Rock Lights Kit
Wheel wells and underbody on Wrangler JL for trail visibility and style.
$45-$55
Nilight 8PCS RGB LED Rock Lights Kit IP68 waterproof, app-controlled colors for customizable accent glow.
Get the App
Better experience on mobile
Learn to safely install rock lights and light bars on your Jeep for epic off-road visibility and style in under 5 hours.
Off-roading at night without proper lighting is risky and limits your adventures. Many Jeep owners struggle with dim factory lights, leading to poor visibility and missed trails. Accent lighting adds a custom glow to wheel wells and underbody, while off-road lights provide powerful beams for trails.
This guide teaches intermediate Jeep enthusiasts how to install both types step-by-step. You'll achieve a professional setup with rock lights for aesthetics and pods/light bars for function. Expect 3-5 hours of work, basic wiring skills required, and tools like a drill.
We'll cover planning, mounting, wiring, and testing for Jeep models like Wrangler JL/JK or Gladiator—no prior electrical experience needed beyond basics.
Estimated Time: 3-5 hours Difficulty: intermediate
Start by parking your Jeep on a flat surface and identifying mount points. For accent lights, target wheel wells, underbody rails, and rocker panels. Off-road lights go on bumper, A-pillar, or roof rack.
Consult your Jeep's manual for fuse box location (under hood or dash) and battery access. Sketch a wiring path avoiding heat sources like exhaust. Why? Proper planning prevents shorts and ensures clean installs.
Success: Diagram ready with light positions marked using painter's tape.
💡 Tips:
⚠️ Warnings:
Unbox lights, test on a 12V battery or power supply first. Connect positive/negative wires—lights should illuminate brightly without flicker.
Inspect wiring harness for relay (clicks on power) and inline fuses. Why test? Catches DOA parts before install.
Success: All lights blink on steadily; switches toggle cleanly.
💡 Tips:
⚠️ Warnings:
Disconnect negative battery terminal to avoid shorts. Remove wheels if accessing wheel wells (use jack stands for safety).
Clean mount surfaces with isopropyl alcohol. Drill pilot holes if needed (use template from kit).
Success: Jeep prepped, battery safe, surfaces dry.
💡 Tips:
⚠️ Warnings:
Mount rock lights facing downward/outward in wheel wells and rockers using self-tapping screws or 3M VHB tape (for vibration resistance).
Route wires along frame towards battery, securing with zip ties every 12". Seal connections with heat shrink and grease.
Why accent first? Easier access before main lights. Success: Lights secured, wires tidy, no rattles.
💡 Tips:
⚠️ Warnings:
Bolt light bar/pods to bumper tabs, A-pillars, or roof using provided brackets. Torque to 10-15 ft-lbs.
Adjust aim: Horizontal for flood, slight down for spot. Tighten after test.
Success: Lights firm, aimed trail-ready (50-100 ft throw).
💡 Tips:
⚠️ Warnings:
Route harness from lights to battery: Power to relay input, relay output to lights, ground to chassis.
Splice switch wires into dash harness (use posi-taps). Install fuse near battery (15-30A).
Why relay? Handles high amps without melting dash wires. Success: Clean runs, no exposed wire.
💡 Tips:
⚠️ Warnings:
Mount switches in dash blank or overhead console. Label clearly (e.g., 'Rocks', 'Bar').
Reconnect battery, test circuits with multimeter.
Success: Switches click, power flows.
💡 Tips:
⚠️ Warnings:
Cycle lights at night: Check brightness, no flicker, heat after 10 min.
Fine-tune aim on wall 25 ft away. Silicone seal holes.
Success: Full beam pattern, waterproof ready for trails.
💡 Tips:
⚠️ Warnings:
Problem: Lights flicker or dim
Solution: Check ground connections and battery voltage; clean terminals or upgrade alternator.
Problem: No power to lights
Solution: Verify fuse/relay click; test switch continuity with multimeter.
Problem: One light out
Solution: Swap wires to isolate bad bulb; replace if DOA.
Problem: Overheating wires
Solution: Upsize gauge or add heat shielding; seek pro if smoking.
IP68 waterproof, app-controlled colors for customizable accent glow.
Best for: Wheel wells and underbody on Wrangler JL for trail visibility and style.
Price Range: $45-$55
5000 lumens spot/flood combo, durable aluminum housing for rough trails.
Best for: A-pillar or bumper mounts on JK/Gladiator for targeted off-road beams.
Price Range: $70-$90
Pre-wired, waterproof controls multiple lights cleanly.
Best for: Dash mount for rock lights, bar, and more without messy wiring.
Price Range: $25-$35
18,000 lumens curved design fits most Jeeps, easy bolt-on.
Best for: Windshield or roof mount for wide flood lighting on highways/trails.
Price Range: $150-$200
100ft spool with connectors prevents DIY wiring errors.
Best for: Custom runs for multi-light setups.
Price Range: $30-$40
Wheel wells and underbody on Wrangler JL for trail visibility and style.
Nilight 8PCS RGB LED Rock Lights Kit IP68 waterproof, app-controlled colors for customizable accent glow.
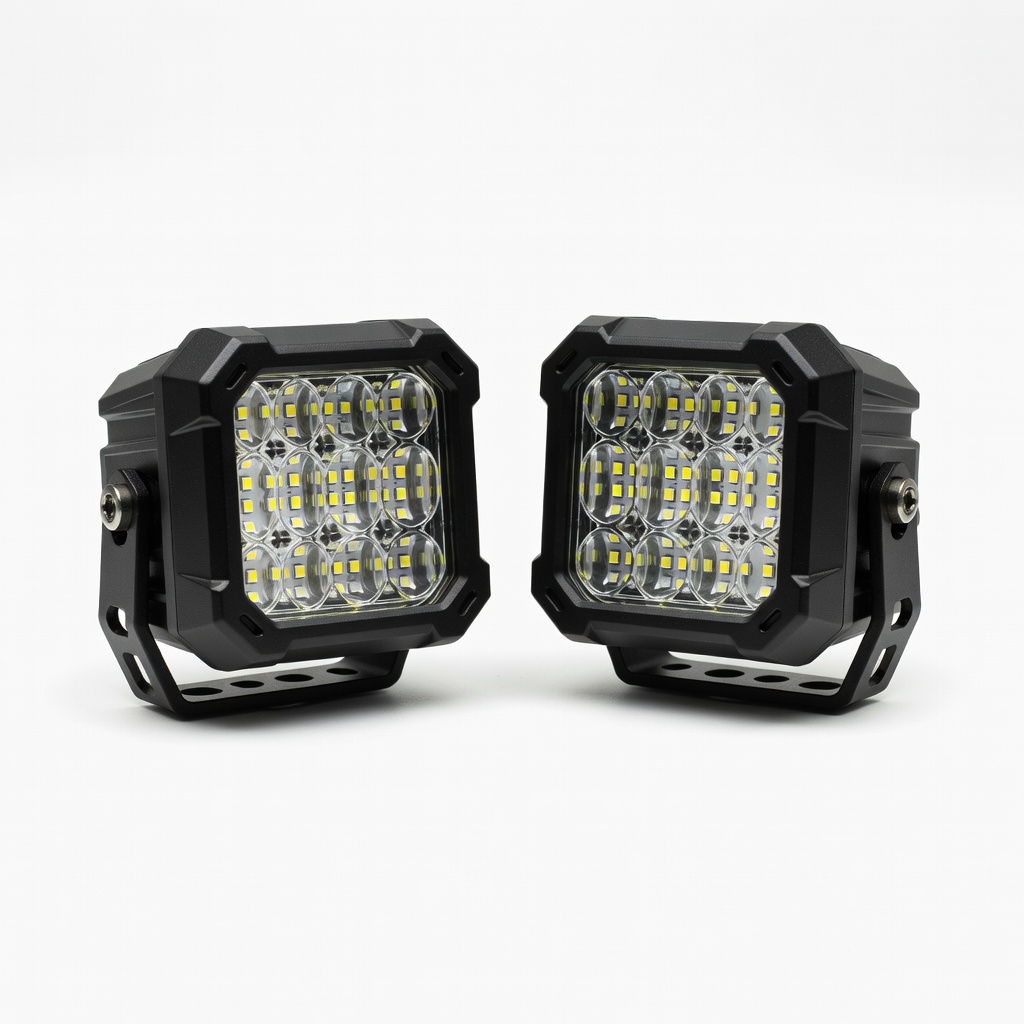
A-pillar or bumper mounts on JK/Gladiator for targeted off-road beams.
Rough Country 6" Black Series LED Cube Pods (Pair) 5000 lumens spot/flood combo, durable aluminum housing for rough trails.
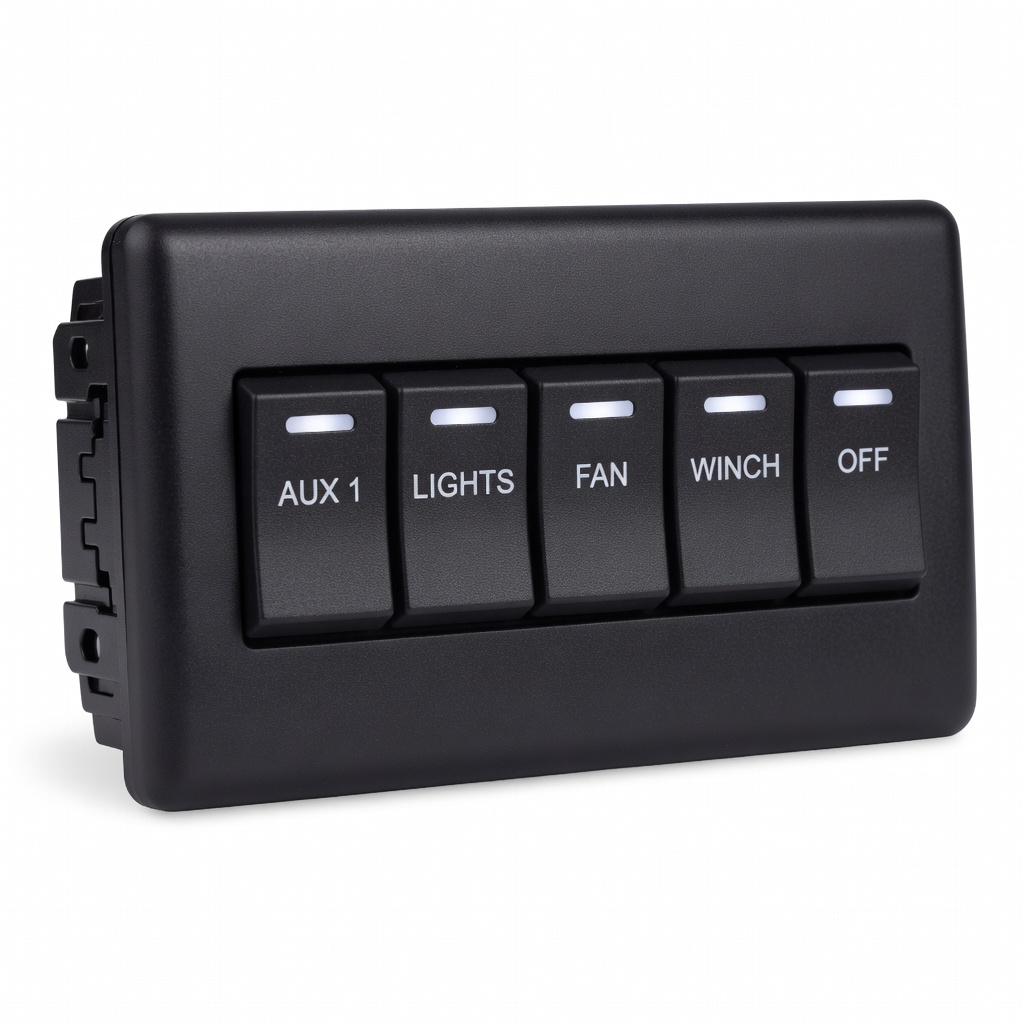
Dash mount for rock lights, bar, and more without messy wiring.
Nilight 5 Gang Switch Panel Pre-wired, waterproof controls multiple lights cleanly.
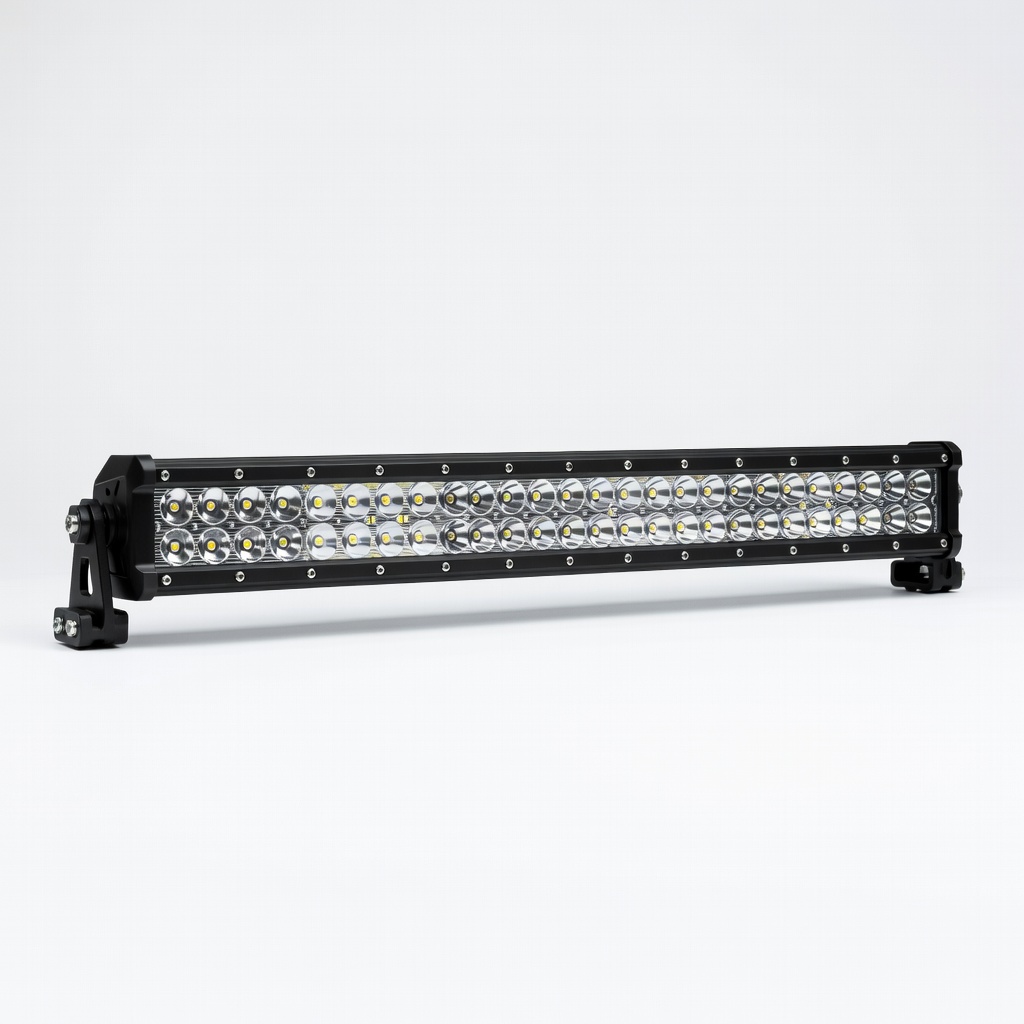
Windshield or roof mount for wide flood lighting on highways/trails.
Rough Country 30in Straight Black Series LED Light Bar 18,000 lumens curved design fits most Jeeps, easy bolt-on.
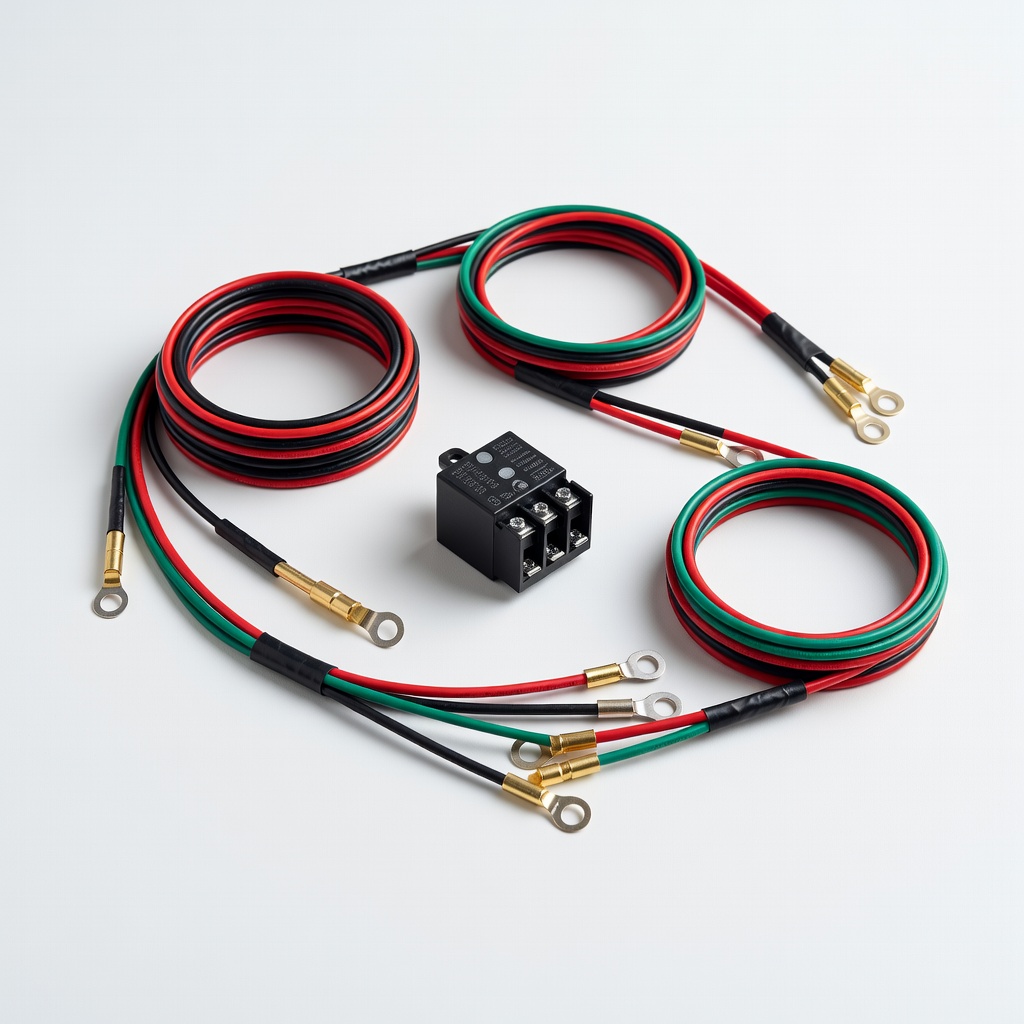
Custom runs for multi-light setups.
BayPower 16 Gauge Wiring Harness Kit with Relay 100ft spool with connectors prevents DIY wiring errors.