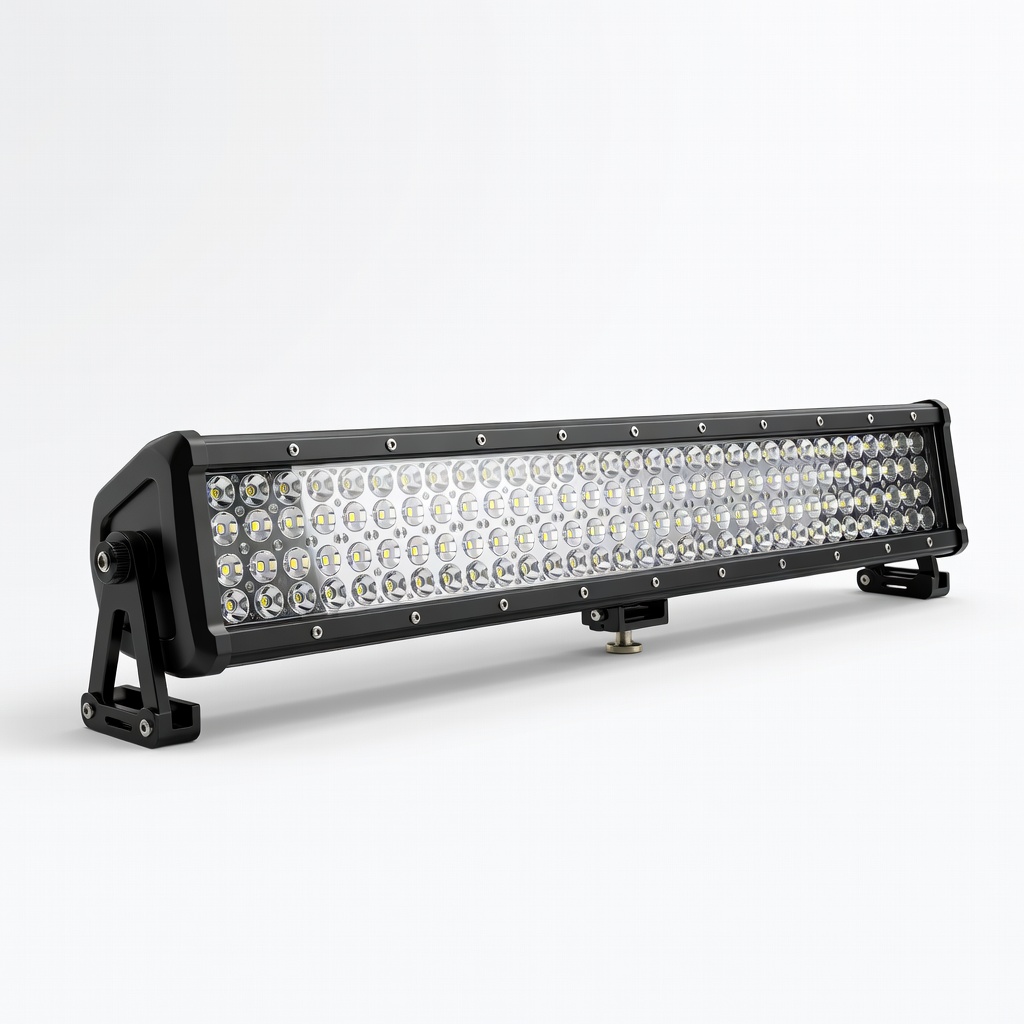
Nilight 42Inch 240W Curved LED Light Bar
Roof or bumper mount for trails.
$69.99
Nilight 42Inch 240W Curved LED Light Bar Powerful 22,000LM output with combo beam for spot/flood, IP67 waterproof—ideal main off-road light.
Get the App
Better experience on mobile
Boost your truck's nighttime visibility and style with this intermediate step-by-step guide to safely installing accent and off-road LED lights.
Off-road adventures or late-night drives can be risky with stock truck lights that barely cut through darkness. Accent and off-road lighting not only improves safety by illuminating trails and paths but also gives your rig a custom, aggressive look that turns heads.
In this guide, you'll learn how to plan, mount, wire, and test accent strips and powerful off-road bars or pods on your truck. Whether for bumpers, roofs, or grille accents, we'll cover everything for a professional install.
Expect 2-4 hours of work depending on your truck model and setup complexity. This is intermediate-level—no advanced electrical skills needed, but basic wiring knowledge helps.
Estimated Time: 2-4 hours Difficulty: intermediate
Start by deciding where to place your lights. For off-road bars, common spots are the roof rack, front bumper, or A-pillar. Accent lights work great along the grille, side steps, or bed rails. Sketch a diagram noting wire routes to avoid pinch points or heat sources.
Why it matters: Proper planning prevents rework and ensures even lighting coverage. Expect to spend 15-20 minutes here—measure twice for bracket fit.
Success looks like: A clear diagram with labeled locations and estimated wire lengths (add 20% extra).
💡 Tips:
⚠️ Warnings:
Park on a flat surface, disconnect the battery negative terminal for safety, and clean mounting areas with isopropyl alcohol. Remove any trim or panels needed for access.
This prevents shorts and ensures secure mounts. You'll feel the truck ready when surfaces are dry and tools are laid out nearby.
💡 Tips:
⚠️ Warnings:
Attach brackets to lights per manufacturer instructions, then secure to your chosen spot using bolts. For roof mounts, use adjustable clamps; for bumpers, drill pilot holes if needed and apply thread locker.
Tighten to spec (usually 10-15 ft-lbs). Success: Lights are rock-solid, aimed straight ahead (adjust angle later).
💡 Tips:
⚠️ Warnings:
Peel and stick accent strips along desired paths, securing with 3M tape and clips. For RGB, connect controller first. Route wires neatly under panels.
Accent lights add flair—test adhesion by tugging gently. Expect a sleek, glowing outline.
💡 Tips:
⚠️ Warnings:
Feed power/ground wires from lights to battery using included harness. Strip ends, crimp connectors, and solder/heat-shrink for durability. Use loom for protection.
Why: Clean wiring lasts longer off-road. Check continuity with multimeter.
💡 Tips:
⚠️ Warnings:
Mount relay near battery, connect high-current wires to light positives. Wire switch to ignition-switched power. Ground everything to chassis.
Relay protects circuits. Success: Clean, fused setup.
💡 Tips:
⚠️ Warnings:
Reattach battery, turn key on, flip switch. Aim lights (park 50ft from wall, adjust beam). Cycle on/off multiple times.
All lights bright, no flicker? You're set.
💡 Tips:
⚠️ Warnings:
Zip-tie all wires, apply dielectric grease to connectors, silicone around mounts. Drive test for rattles.
Final polish for durability.
💡 Tips:
Problem: Lights won't turn on
Solution: Check battery connection, fuses, relay click, and switch wiring. Use multimeter for 12V at light.
Problem: Dim or flickering
Solution: Inspect loose grounds/connections; upgrade wire gauge if voltage drop >0.5V.
Problem: One light out
Solution: Swap wires to isolate; check individual fuse or bulb.
Problem: Overheating
Solution: Verify amp draw matches relay; add heatsink if needed. Seek pro if wiring smells burnt.
Powerful 22,000LM output with combo beam for spot/flood, IP67 waterproof—ideal main off-road light.
Best for: Roof or bumper mount for trails.
Price Range: $69.99
Compact fog/spot pods with adjustable brackets, durable aluminum housing.
Best for: A-pillar or bumper sides for peripheral light.
Price Range: $39.99
Plug-and-play with 40A relay, fuses, and switch—handles up to 300W safely.
Best for: All truck lighting installs.
Price Range: $19.99
Waterproof, app-controlled colors for customizable accents.
Best for: Grille, steps, or cab outlines.
Price Range: $29.99
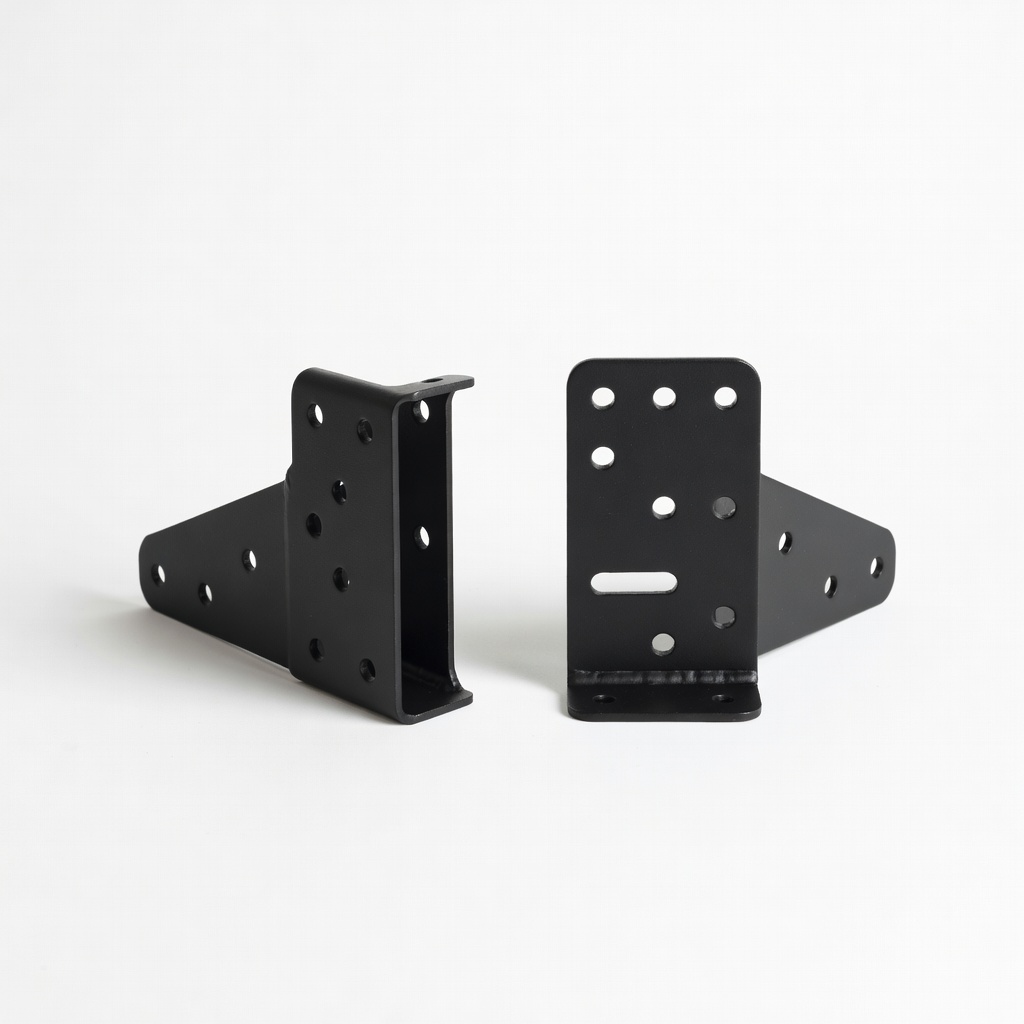
Heavy-duty steel brackets fit most bars/pods.
Best for: Secure mounting on any truck.
Price Range: $24.95
Roof or bumper mount for trails.
Nilight 42Inch 240W Curved LED Light Bar Powerful 22,000LM output with combo beam for spot/flood, IP67 waterproof—ideal main off-road light.
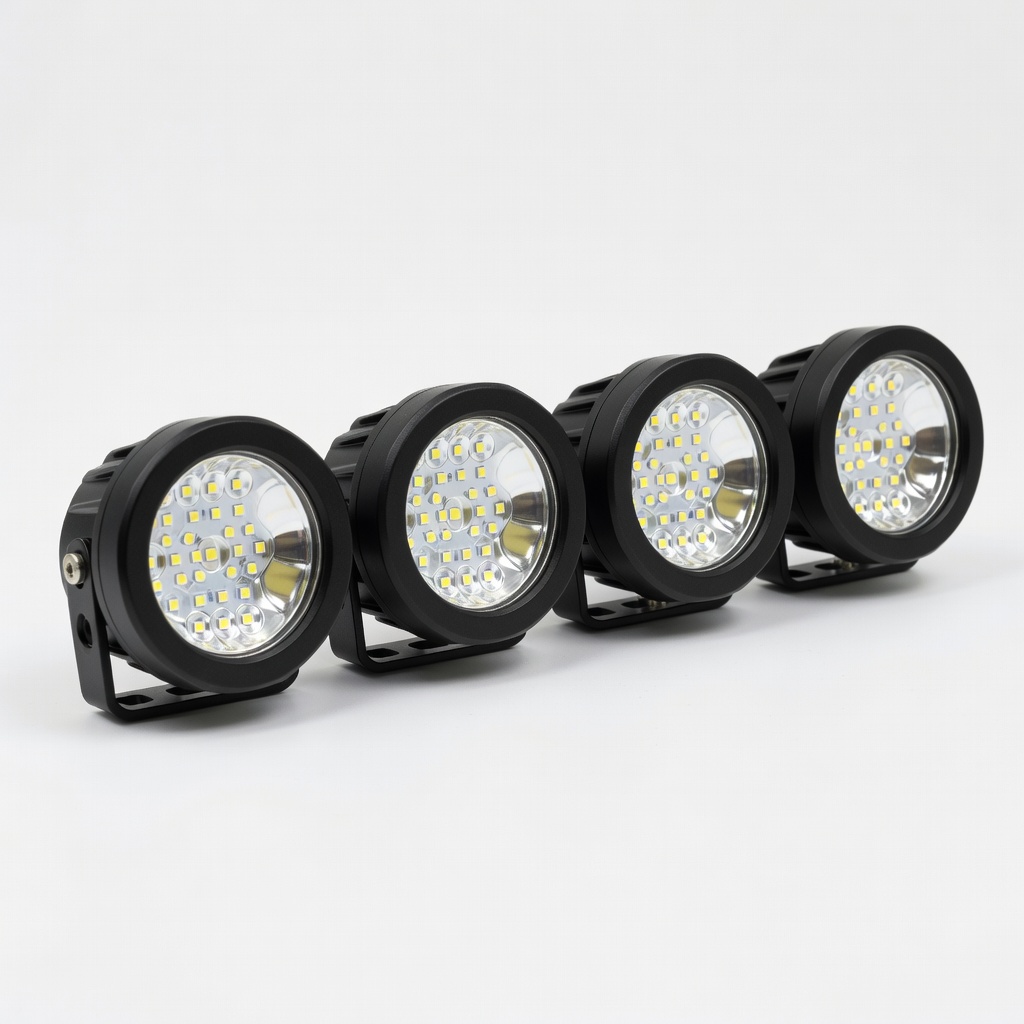
A-pillar or bumper sides for peripheral light.
Nilight 4PCS 18W 6Inch POD LED Lights Compact fog/spot pods with adjustable brackets, durable aluminum housing.
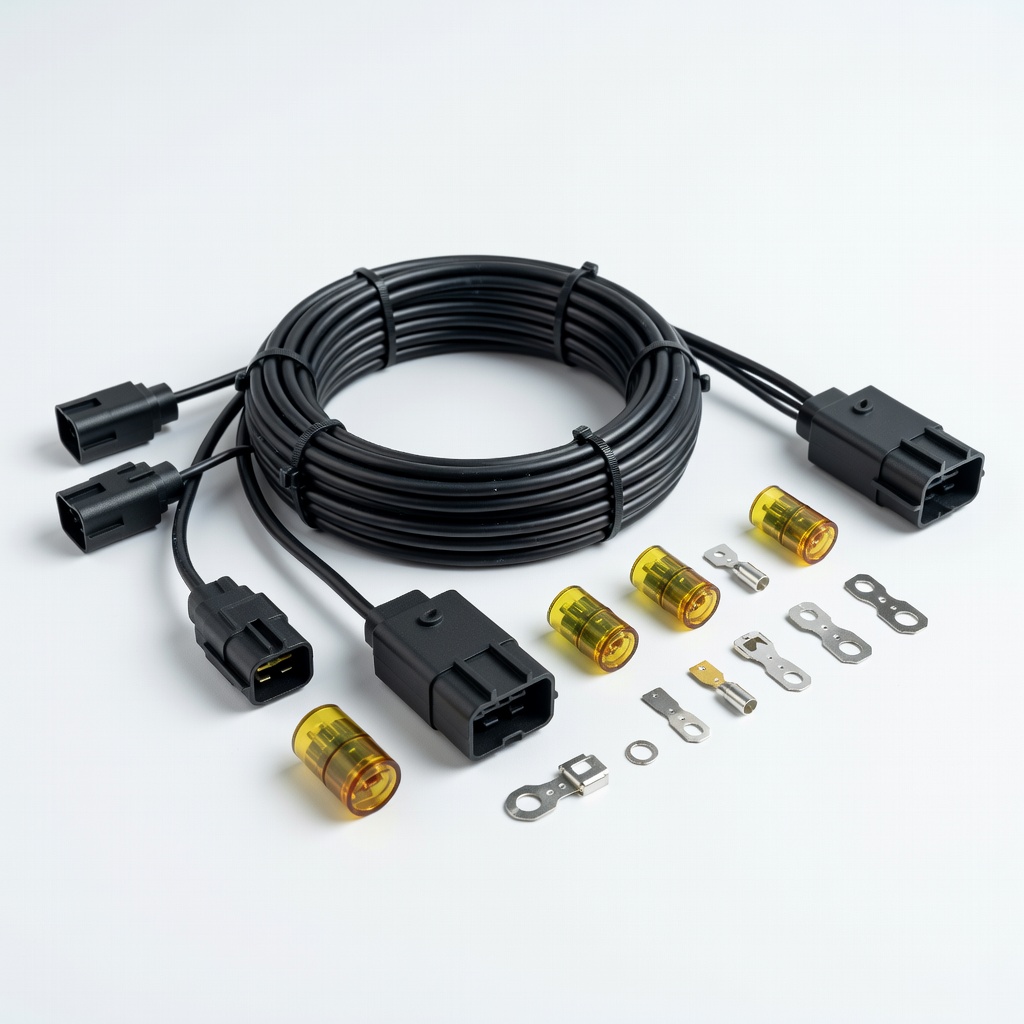
All truck lighting installs.
Nilight Universal Wiring Harness Kit Plug-and-play with 40A relay, fuses, and switch—handles up to 300W safely.
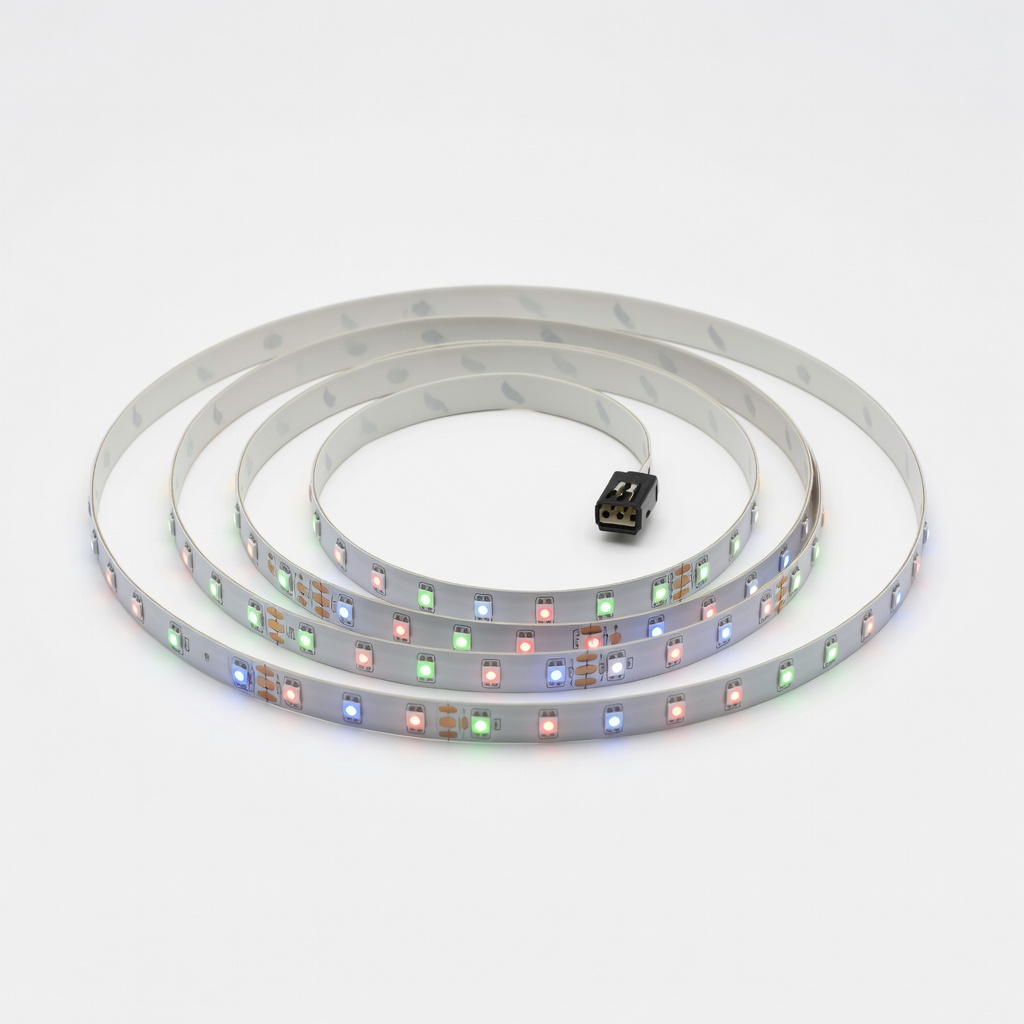
Grille, steps, or cab outlines.
HitLights RGB LED Accent Strip Lights 12V Waterproof, app-controlled colors for customizable accents.
Secure mounting on any truck.
Rough Country Universal Mounting Brackets Heavy-duty steel brackets fit most bars/pods.