Sanding plastic can quickly turn disastrous if friction generates too much heat, causing melting, warping, or a glossy ruined surface. Whether you're refinishing headlight lenses, smoothing 3D prints, or prepping plastic models, avoiding melt marks is crucial for professional results. This guide solves that pain point for intermediate DIYers and hobbyists.
You'll learn step-by-step how to select abrasives, use cooling techniques, and apply controlled pressure for flawless abrasion. By the end, you'll achieve a satin-smooth plastic surface ready for polishing—no melting in sight.
Expect 20-45 minutes per project depending on size, with intermediate skills like basic hand sanding required. No power tools needed unless scaling up.
▸What You'll Need
- •Wet/dry sandpaper (400-2000 grit assortment, required)
- •Distilled water or sanding lubricant (required for wet sanding)
- •Soft sanding block or foam pad (required for even pressure)
- •Microfiber cloths (required for cleaning)
- •Plastic workpiece (e.g., headlight lens or 3D print)
- •Plastic-safe polish like Novus #2 (optional for finishing)
- •Gloves and safety glasses (recommended)
Estimated Time: 20-45 minutes
Difficulty: intermediate
▸Step-by-Step Instructions
Step 1: Select the Right Abrasive Grit
Start with coarser grits like 400-600 for heavy scratches, then progress to 1000-2000 for finishing. Plastics like ABS or polycarbonate melt around 100-150°C, so use aluminum oxide or silicon carbide wet/dry papers designed for low heat buildup.
Why it matters: Wrong grit creates excessive friction. Test on scrap plastic first.
Success: Grit cuts smoothly without gumming up.
💡 Tips:
- •Match grit to scratch depth: coarser for deep, finer for light haze.
⚠️ Warnings:
- •Avoid diamond abrasives—they generate too much heat on plastic.
Step 2: Prepare Your Workspace
Set up in a well-ventilated area with a stable surface. Soak sandpaper in distilled water for 5 minutes if wet sanding. Secure the plastic with painter's tape to protect edges.
Why: Wet methods dissipate 70% more heat than dry sanding.
Success: Workspace ready, materials damp but not dripping.
💡 Tips:
- •Use a bucket for water changes to avoid clogging.
Step 3: Clean the Plastic Surface
Wipe the plastic with isopropyl alcohol (70%) and a microfiber cloth to remove oils, dirt, or residue. Let dry completely.
Why: Contaminants increase friction and heat.
Success: Surface feels smooth and tack-free to the touch.
⚠️ Warnings:
- •Skip this and you'll embed grit, worsening scratches.
Step 4: Apply Lubricant or Water
Generously wet the plastic and sandpaper with distilled water or a plastic-safe lubricant. Reapply every 30 seconds during sanding.
Why: Acts as a coolant, reducing temperature by 50°C+.
Success: Sanding area stays visibly wet and cool.
💡 Tips:
- •Add a drop of dish soap to water for better slip.
Step 5: Sand with Light Pressure
Attach sandpaper to a soft foam block. Use 1-2 PSI pressure (like holding a light book). Sand in small 2x2 inch circular motions at 60-90 RPM by hand.
Why: Heavy pressure = heat spikes.
Success: Even material removal without warmth.
⚠️ Warnings:
- •No power sanders—hand only for control.
Step 6: Work in Short Bursts
Sand for 20-30 seconds per section, then rinse with cool water and feel the surface—it should stay under 40°C (cool to touch).
Why: Prevents cumulative heat buildup.
Success: No shiny melt spots; surface dulls evenly.
Step 7: Progress to Finer Grits
After full coverage with current grit, rinse everything. Switch to next finer grit (e.g., 600 to 1000). Repeat steps 4-6.
Why: Builds a progressive finish.
Success: Scratches from prior grit disappear.
💡 Tips:
- •Each grit jump halves the scratches.
Step 8: Inspect and Dry
Rinse thoroughly, dry with compressed air or cloth. Inspect under light for haze or melts. If good, proceed to polish.
Why: Catches issues early.
Success: Uniform satin finish, no heat damage.
▸Pro Tips
- •Always wet sand plastics—dry only for final ultra-fine passes.
- •Use a flexible sanding block to follow contours and avoid pressure points.
- •Finger-test temperature every burst; thumb feels heat first.
- •Sand perpendicular to previous grit direction for even removal.
- •For large areas, divide into quadrants and tackle one at a time.
- •Distilled water prevents mineral deposits on clear plastics.
- •Practice on scrap to dial in pressure for your plastic type.
▸Common Mistakes to Avoid
- •Using dry sanding: Generates instant heat—always wet sand.
- •Excessive pressure: Melts in seconds—use block for distribution.
- •Skipping grits: Leaves deep scratches visible after polish.
- •Ignoring heat checks: Cumulative warmth warps subtly.
- •Power tools too soon: Orbital sanders overheat fast on plastic.
▸Troubleshooting
Problem: Plastic starts feeling warm or shiny
Solution: Stop immediately, cool with ice water for 5 mins, reduce pressure, increase lubricant.
Problem: Sandpaper clogs quickly
Solution: Rinse more often, use coarser start grit, or switch to cushioned abrasives.
Problem: Uneven sanding or gouges
Solution: Use softer block, lighter pressure, check for flat surface contact.
Problem: Hazy finish after sanding
Solution: Go to finer grits (2000+), then polish with compound.
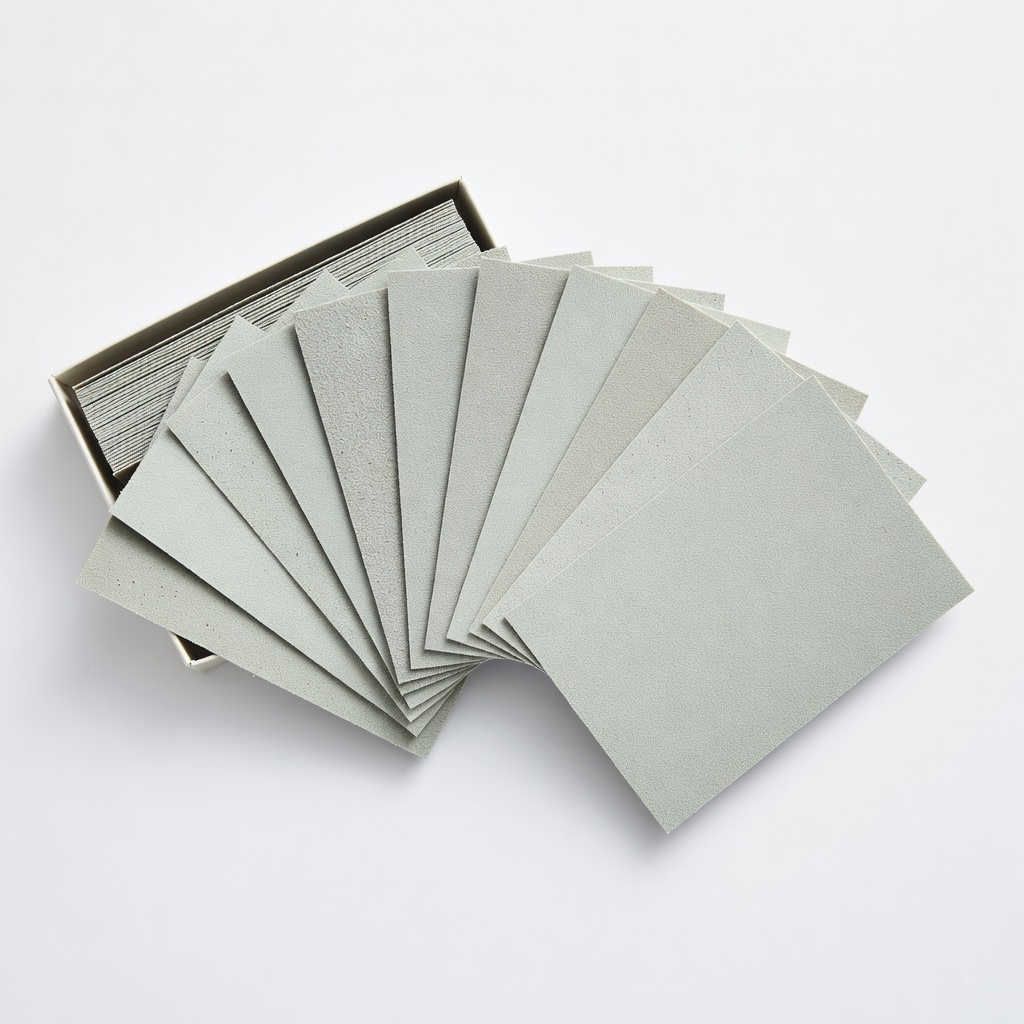
WEN 6001 Wet/Dry Sandpaper Assortment (12 Pack)
Versatile grit range (400-2000) perfect for progressive sanding on plastic without clogging.
Best for: Initial heavy scratches to final smoothing on 3D prints or lenses.
Price Range: $9.99
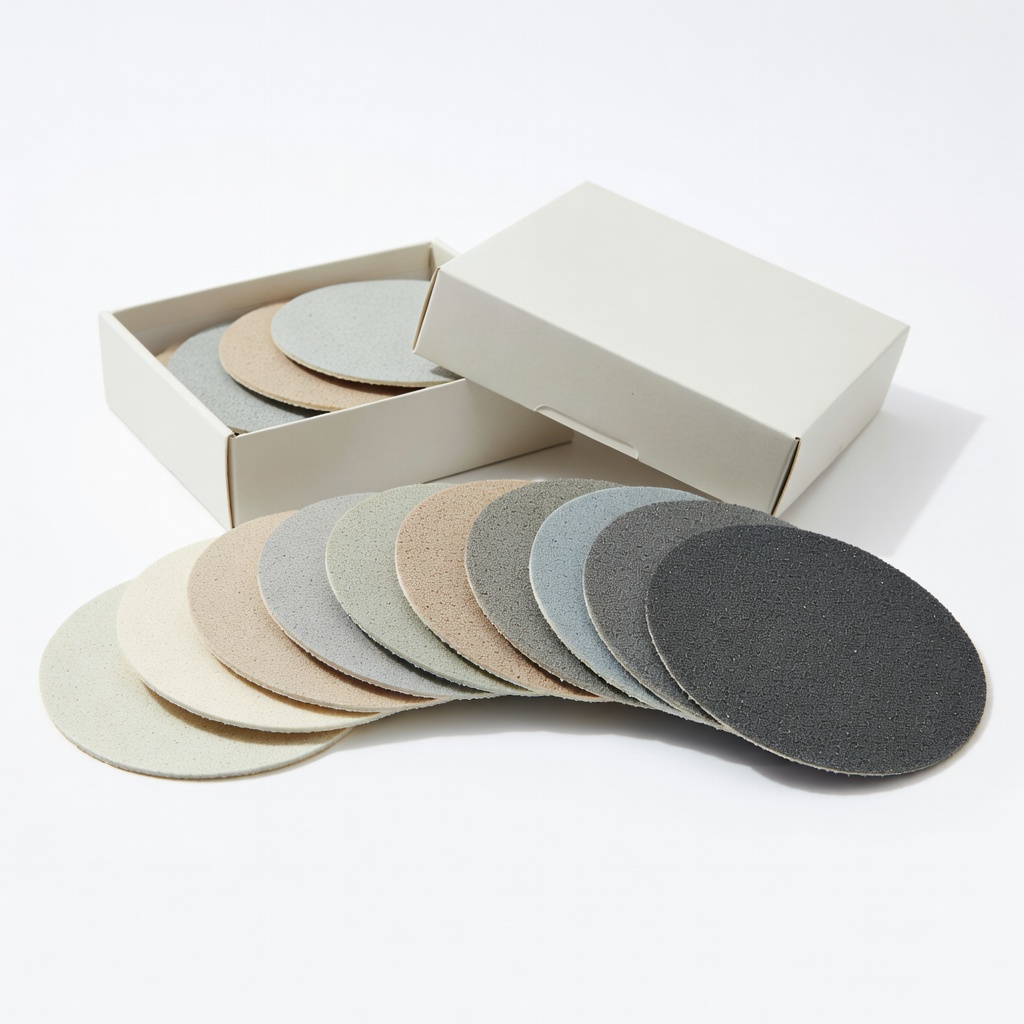
Micro-Mesh 6" Cushioned Abrasive Disc Kit
Ultra-fine cushioned abrasives minimize heat and pressure for delicate plastics.
Best for: Finishing clear plastics like headlights or models.
Price Range: $25-$35
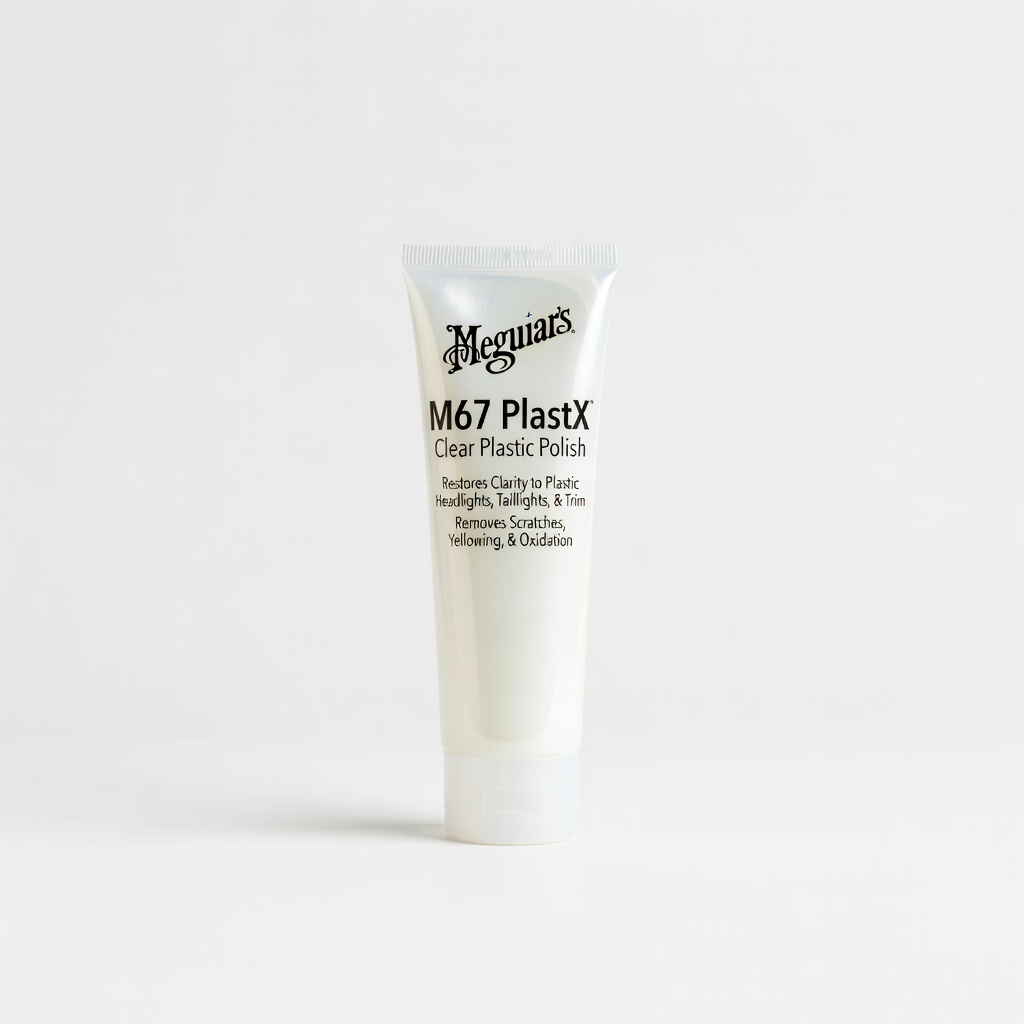
Meguiar's M67 PlastX Clear Plastic Polish
Mild abrasive polish restores clarity post-sanding without melting.
Best for: Final buffing on automotive plastics or displays.
Price Range: $9.99
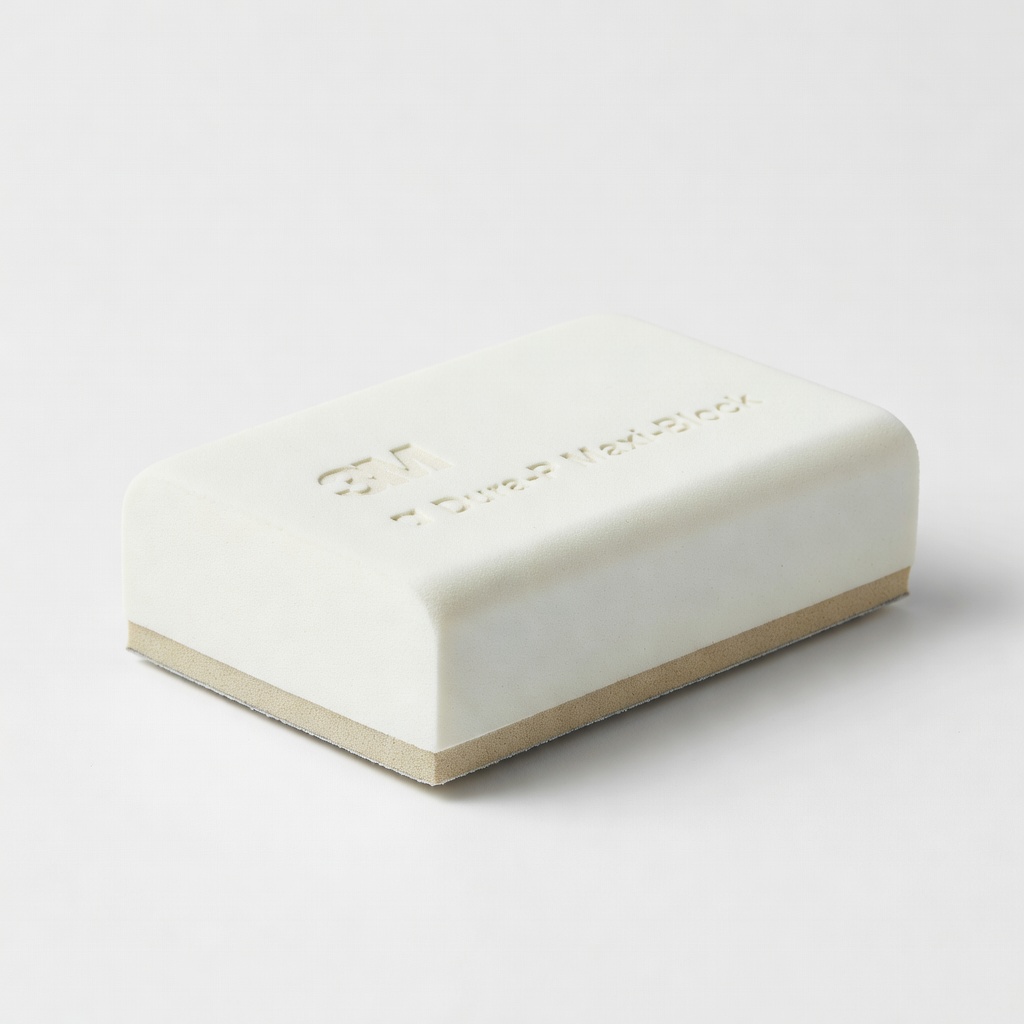
3M Dura-P Maxi-Block Sanding Block
Foam construction distributes even pressure, preventing hot spots.
Best for: Curved or contoured plastic surfaces.
Price Range: $15-$20
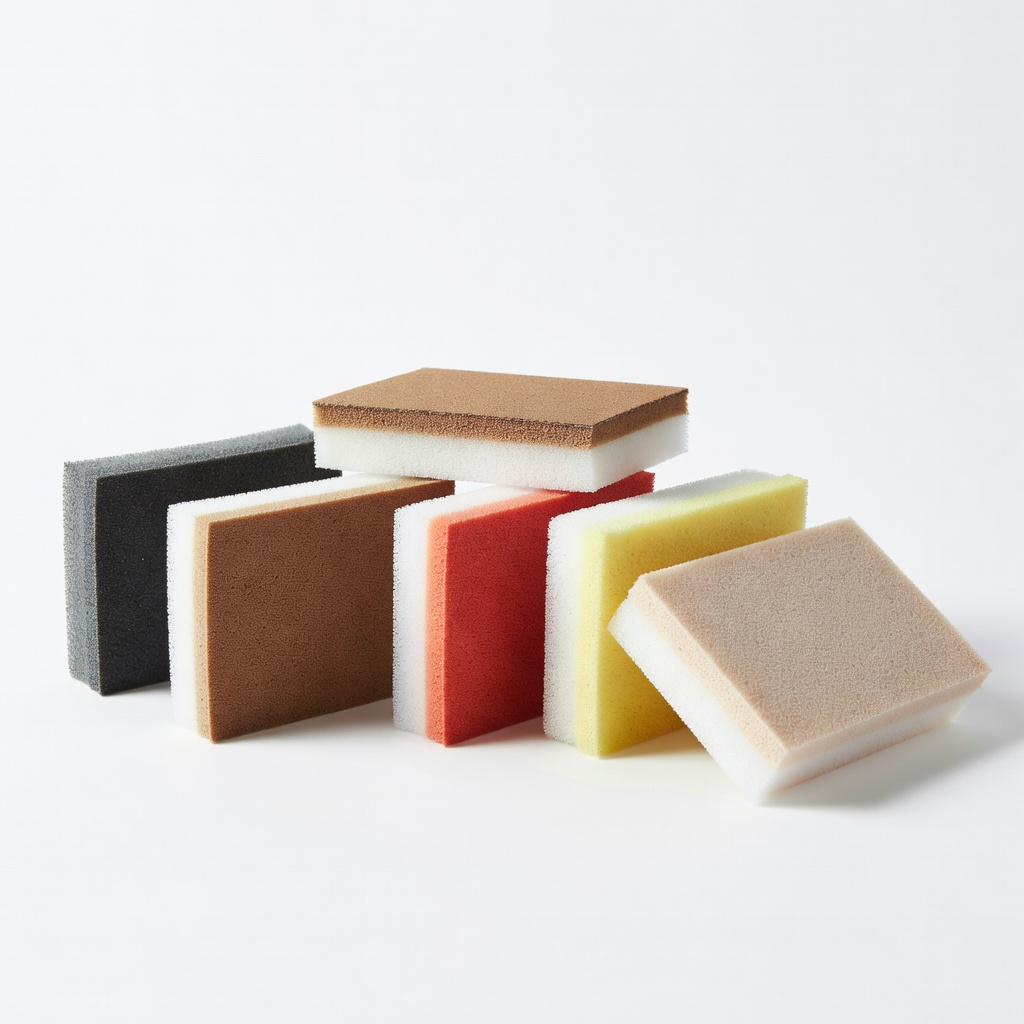
ColorTree Foam Sanding Sponge (Assorted Grits)
Flexible, low-heat option for hand sanding without blocks.
Best for: Tight spots or beginners needing control.
Price Range: $12.99