
Dremel 4000-2/30 Rotary Tool Kit
Main tool for all Dremel grinding tasks on metal.
$60-$70
Dremel 4000-2/30 Rotary Tool Kit Variable speed (5,000-35,000 RPM) ideal for precise control with mounted points; includes collets and case.
Get the App
Better experience on mobile
Learn to grind, shape, and deburr metal precisely with Dremel tools and abrasive points for clean, professional results in under 30 minutes.
Struggling with rough edges, welds, or shaping metal parts? Abrasive mounted points on a Dremel rotary tool offer pinpoint control for intermediate DIYers and hobbyists, turning tedious metalwork into efficient tasks. Whether you're customizing bike parts, restoring tools, or fabricating prototypes, mastering these accessories prevents material waste and ensures smooth finishes.
In this guide, you'll learn step-by-step how to safely select, install, and use abrasive mounted points on metal. We'll cover setup, techniques, and pro tips drawn from real-world metalworking experience. Expect a 20-30 minute process per project, suitable for intermediate users comfortable with power tools.
By the end, you'll achieve burr-free, contoured metal surfaces ready for polishing or painting—no more uneven grinds or tool damage.
Estimated Time: 20-30 minutes per project Difficulty: intermediate
Start by donning full PPE: goggles to shield eyes from sparks and debris, a dust mask to avoid inhaling metal particles, gloves for hand protection, and ear plugs if noise is a concern. Clear your workspace of flammables and ensure good ventilation—metal grinding produces fine dust and heat.
Why it matters: Metal grinding generates hazardous sparks (up to 2000°F) and respirable dust linked to health risks. A clean, lit area prevents slips and improves visibility.
Success looks like: You're suited up, workspace is clutter-free, and ready without distractions.
💡 Tips:
⚠️ Warnings:
Choose aluminum oxide points (orange/brown) for ferrous metals like steel or iron; silicon carbide (black/green) for non-ferrous like aluminum. Match shape to task: ball for contours, cylinder for flat grinding, cone for edges. Ensure 1/8-inch shank fits your Dremel collet.
Why it matters: Wrong grit (use 36-60 for heavy stock removal, 80+ for finishing) or material causes glazing, overheating, or poor results.
Success: Point grit/shape matches your metal and goal (e.g., 952 point for deburring).
💡 Tips:
⚠️ Warnings:
Unplug the Dremel, loosen the collet nut with the wrench, remove any accessory, insert the point shank fully (flush but not bottomed), and tighten securely. Double-check for wobble.
Why it matters: Loose installation causes vibration, point ejection, or breakage at high RPM.
Success: Point spins true when hand-tested—no shaking.
💡 Tips:
Clamp your metal securely in a vise with padded jaws to prevent slippage. Use scrap for initial tests if possible.
Why it matters: Unsecured metal leads to kickback, inaccurate cuts, or tool binding.
Success: Workpiece doesn't move when pushed firmly.
⚠️ Warnings:
Power on at low speed (15,000-20,000 RPM for most metals; check point packaging). Run free for 10-15 seconds to warm up and check for defects. Lightly touch scrap metal at 45° angle.
Why it matters: High speeds (25,000+ RPM) overheat points; low speeds glaze them.
Success: Smooth whine, no vibration, light grinding sparks on test.
💡 Tips:
Use light, even pressure at 10-30° angle. Move in sweeping motions—don't dwell in one spot. Let the tool do the work; pause every 10-15 seconds to cool.
Why it matters: Excessive pressure burns metal (discolors blue/black) or dulls the point.
Success: Steady metal removal, even surface, minimal heat buildup.
💡 Tips:
⚠️ Warnings:
Stop, feel the surface (smooth, no burrs?), and measure if needed. Switch to finer grit for polishing. Wipe tools/workpiece, store points dry.
Why it matters: Prevents contamination and extends tool life.
Success: Professional finish ready for next steps like painting.
💡 Tips:
Problem: Point glazing or not cutting
Solution: Increase speed slightly or dress point on scrap; switch grit.
Problem: Excessive vibration
Solution: Reinstall point tighter; check collet for wear.
Problem: Metal overheating/discoloring
Solution: Reduce pressure, add lubricant, take more pauses.
Problem: Sparks too intense or fire risk
Solution: Lower RPM, ensure ventilation; stop if near flammables.
Variable speed (5,000-35,000 RPM) ideal for precise control with mounted points; includes collets and case.
Best for: Main tool for all Dremel grinding tasks on metal.
Price Range: $60-$70
Perfect for steel/stainless deburring; durable for intermediate use.
Best for: Heavy stock removal on flat or curved metal surfaces.
Price Range: $3-$5
Variety of shapes for different metal tasks; cost-effective pack.
Best for: Shaping, engraving, and contouring various metals.
Price Range: $15-$20
Clear, anti-fog ANSI-rated protection from metal sparks.
Best for: Essential eyewear for all grinding sessions.
Price Range: $12-$15
Reduces friction/heat on stainless steel for smoother grinds.
Best for: Apply sparingly during tough metal work.
Price Range: $8-$12
Main tool for all Dremel grinding tasks on metal.
Dremel 4000-2/30 Rotary Tool Kit Variable speed (5,000-35,000 RPM) ideal for precise control with mounted points; includes collets and case.
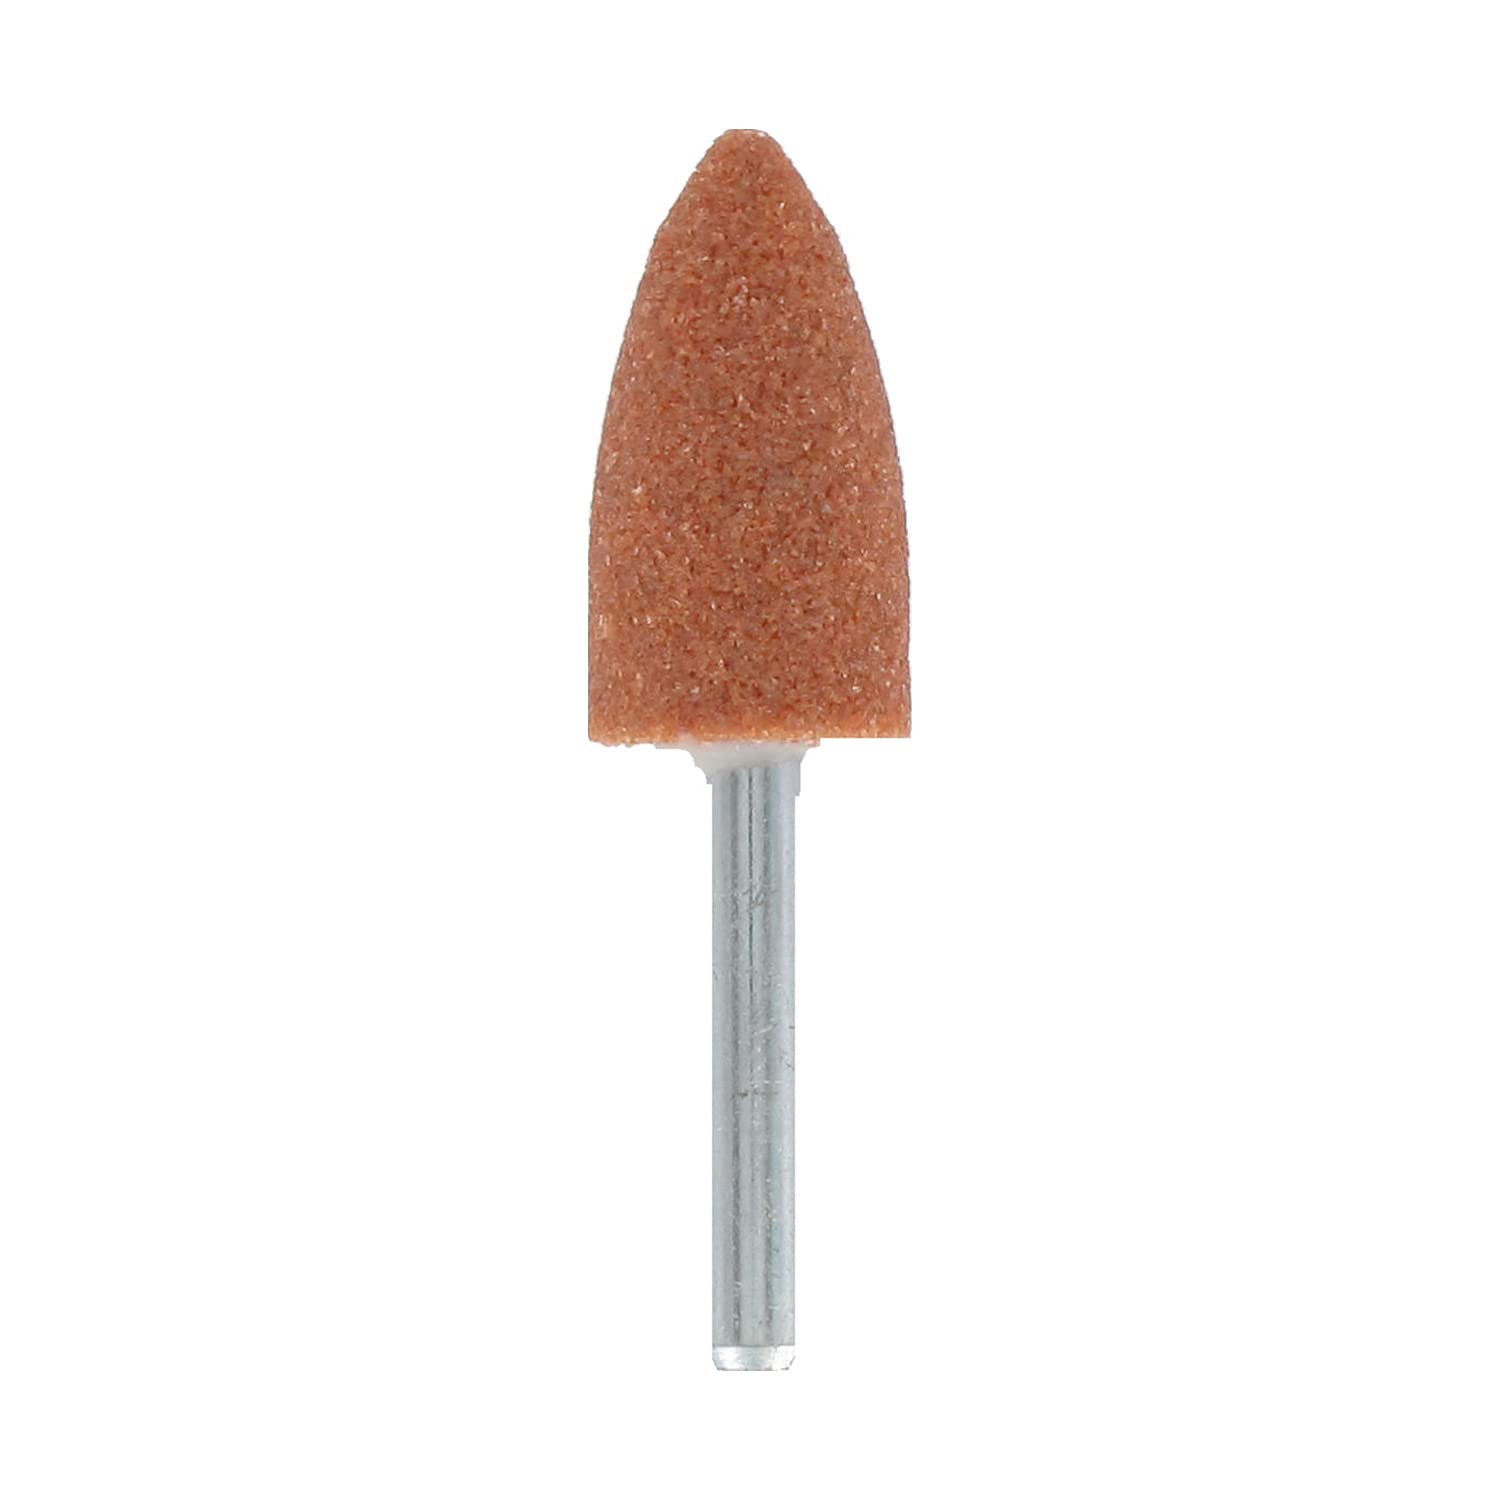
Heavy stock removal on flat or curved metal surfaces.
Dremel 952 Aluminum Oxide Grinding Point (1/4") Perfect for steel/stainless deburring; durable for intermediate use.
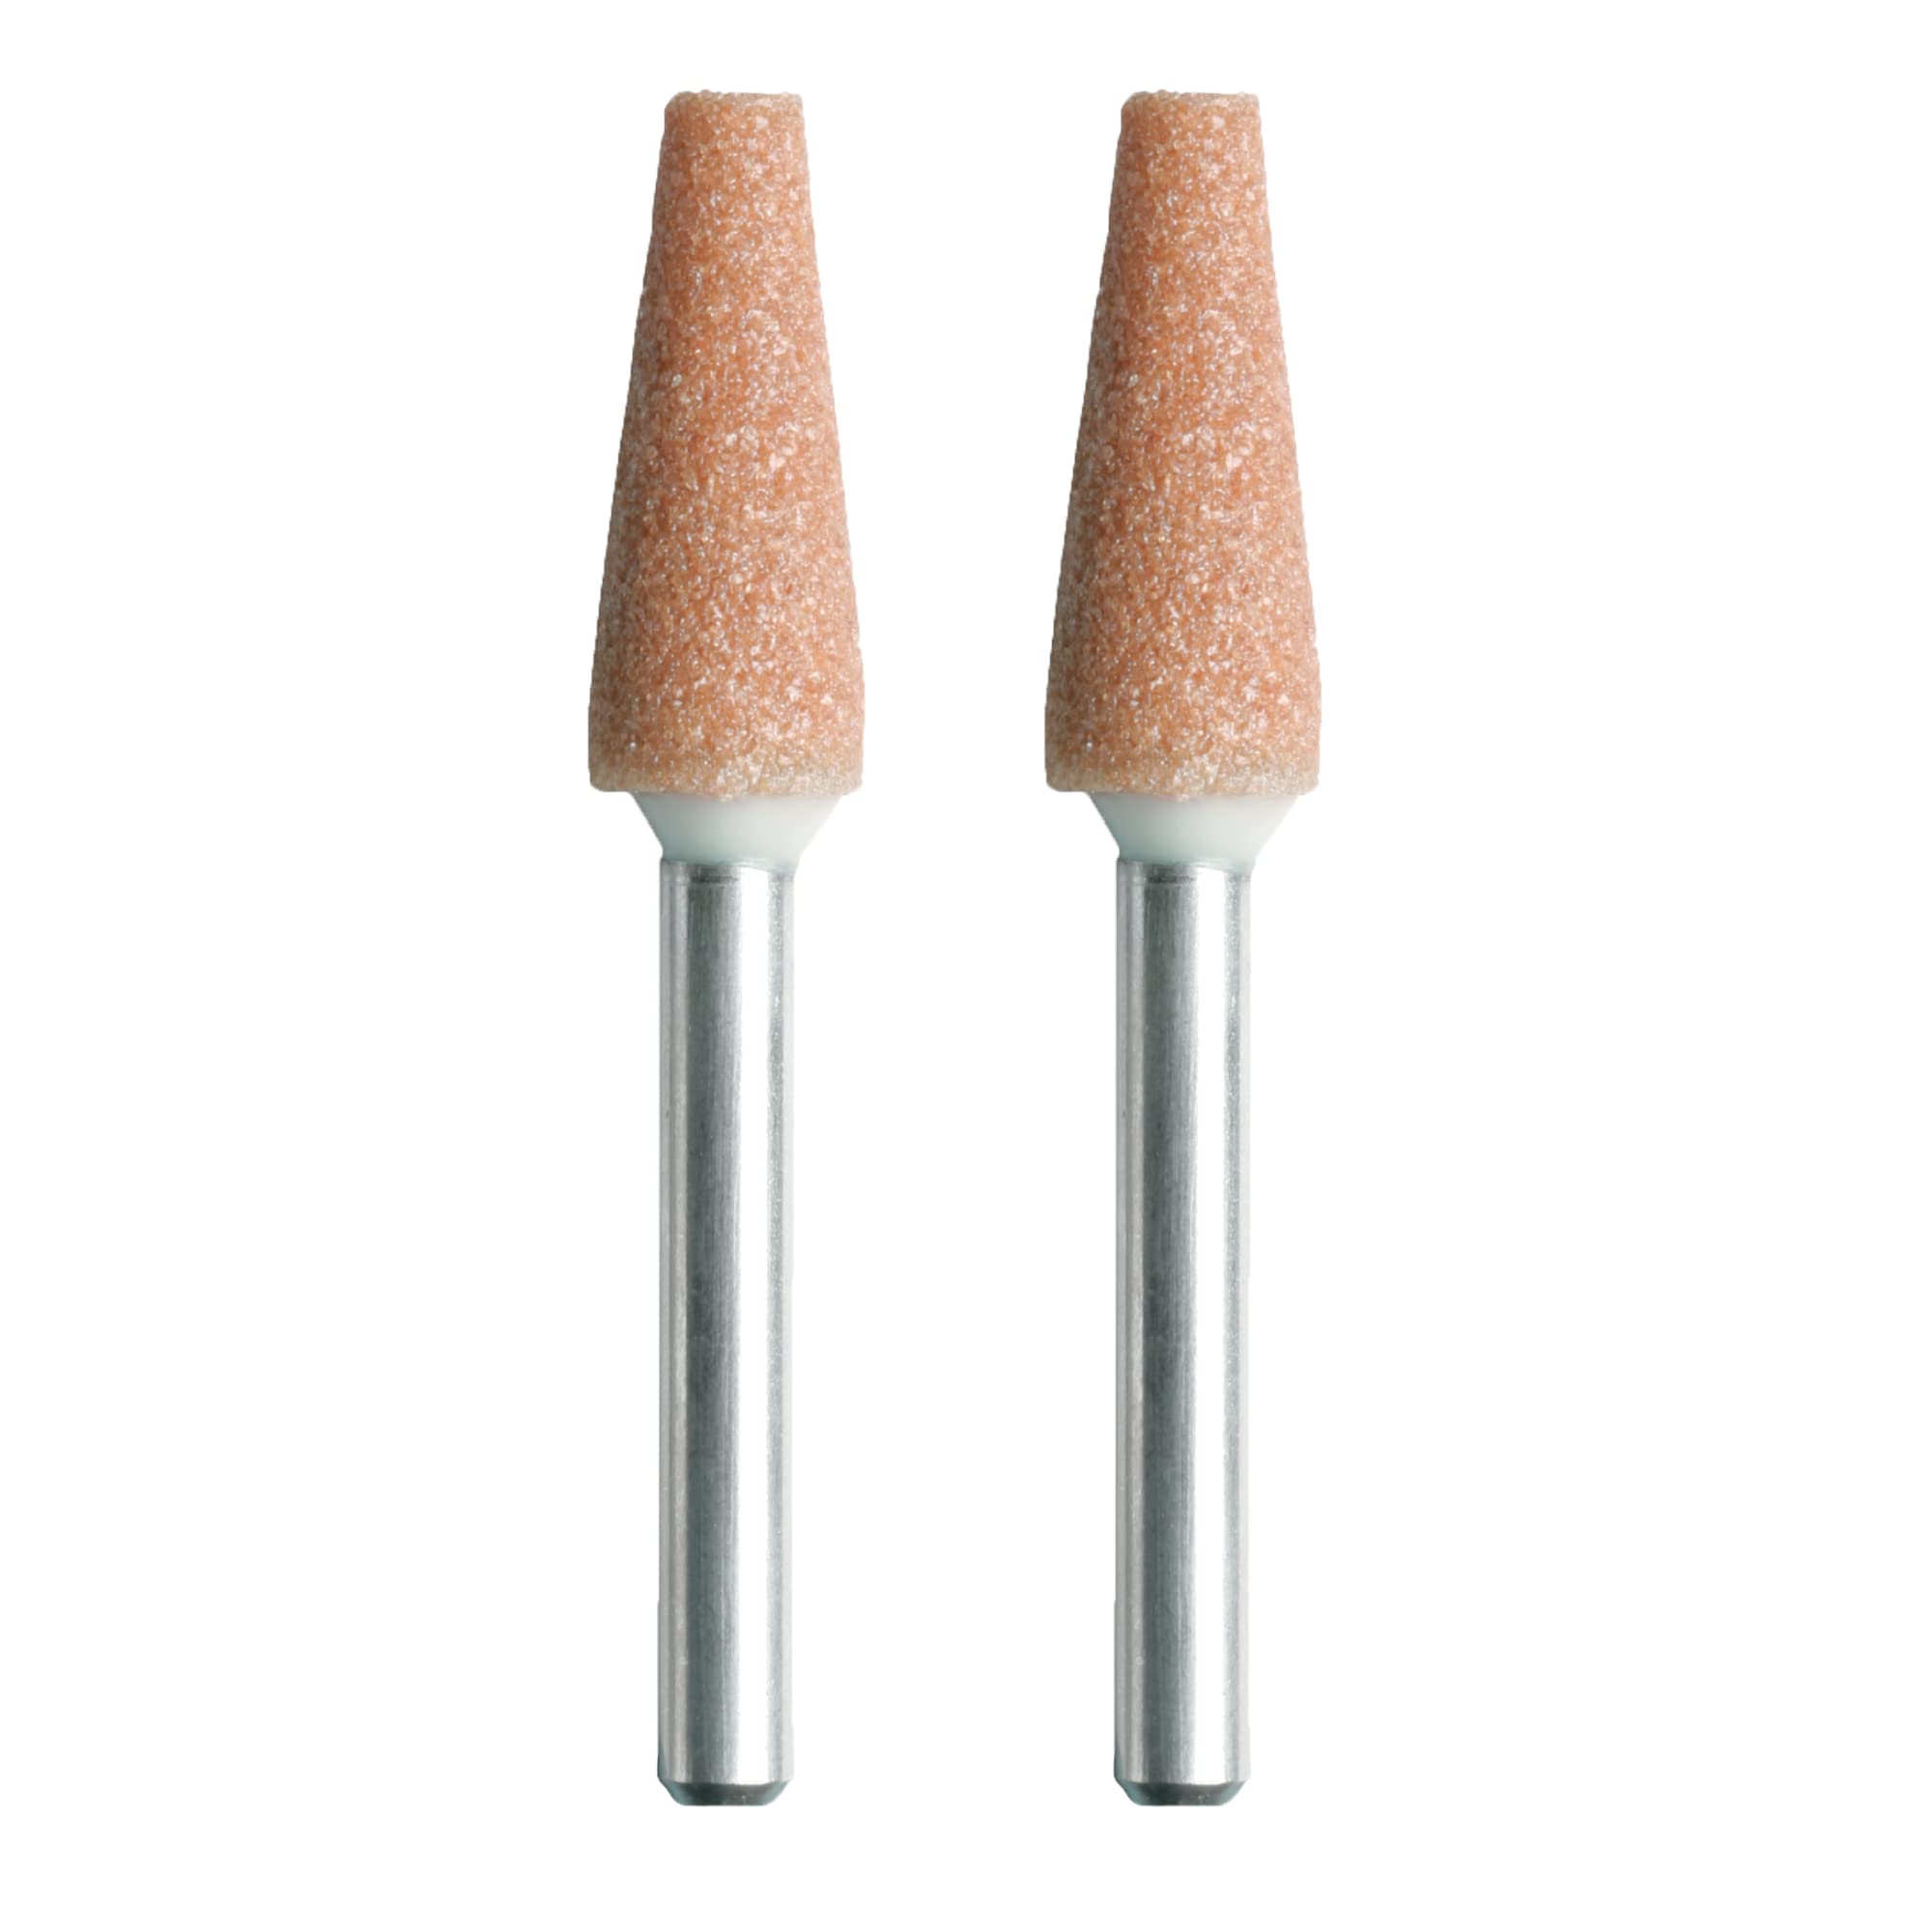
Shaping, engraving, and contouring various metals.
Dremel 10-Piece Aluminum Oxide Point Set (953 Style) Variety of shapes for different metal tasks; cost-effective pack.
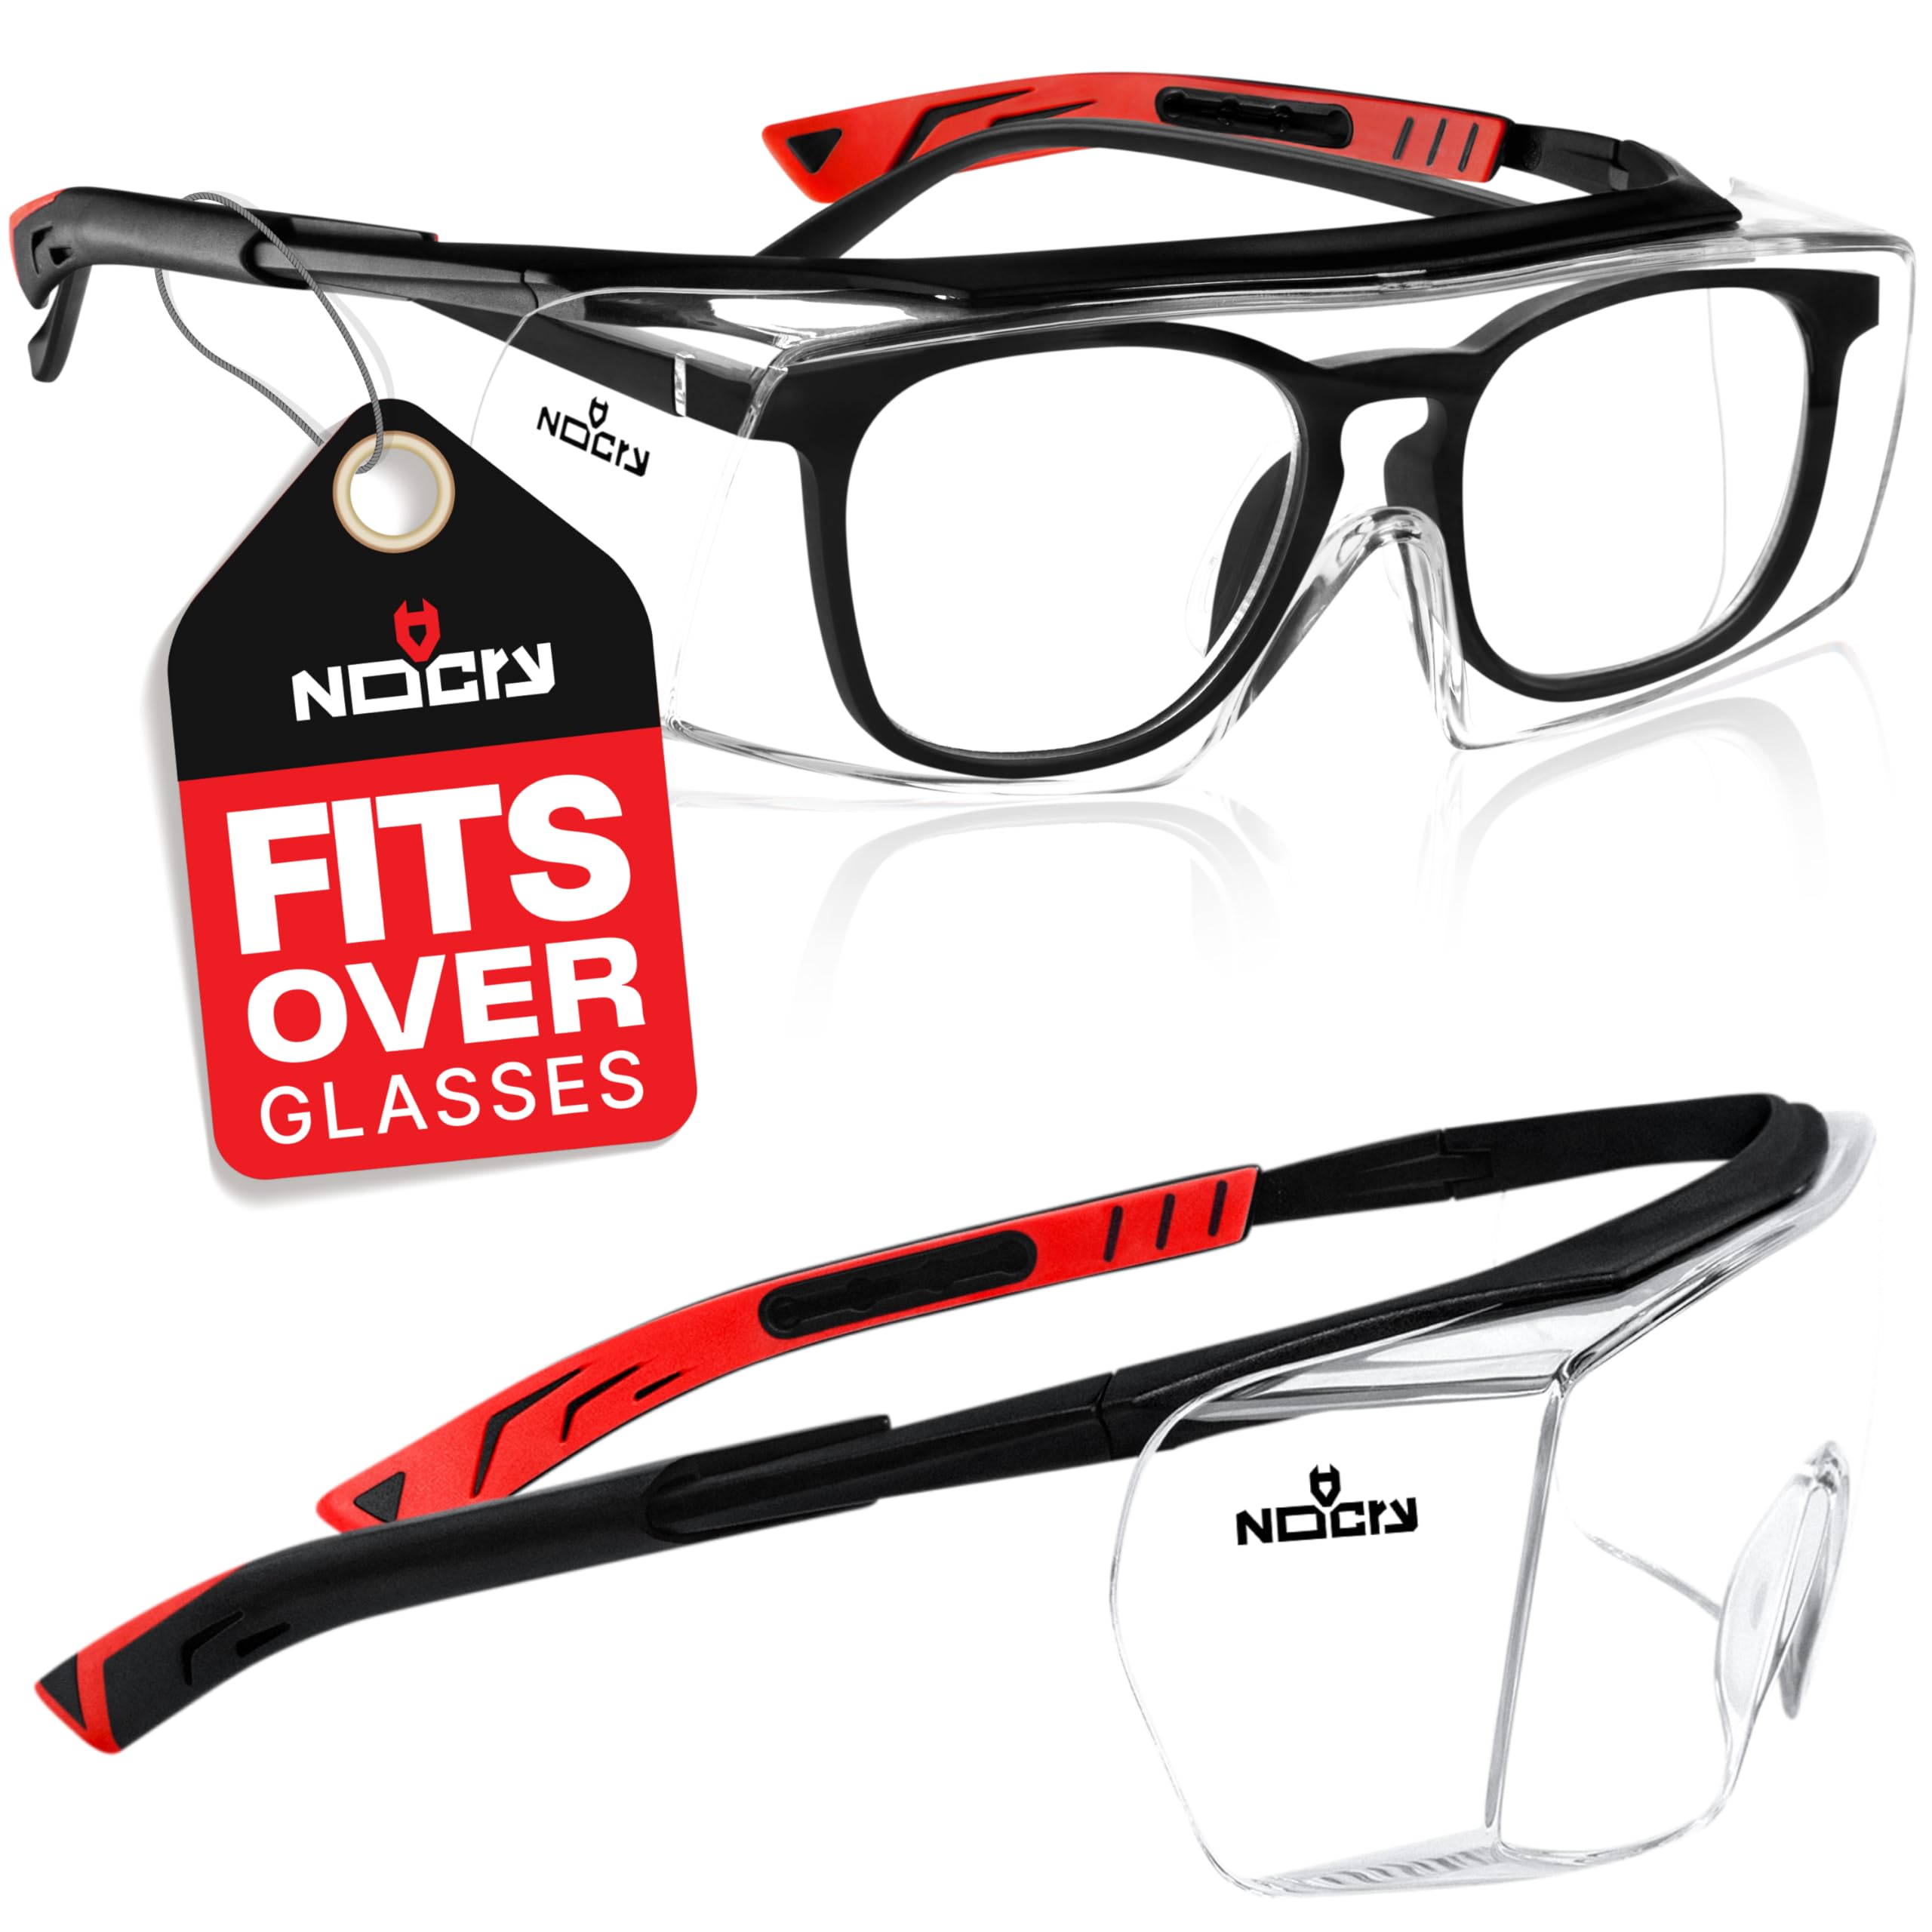
Essential eyewear for all grinding sessions.
NoCry Safety Glasses Clear, anti-fog ANSI-rated protection from metal sparks.
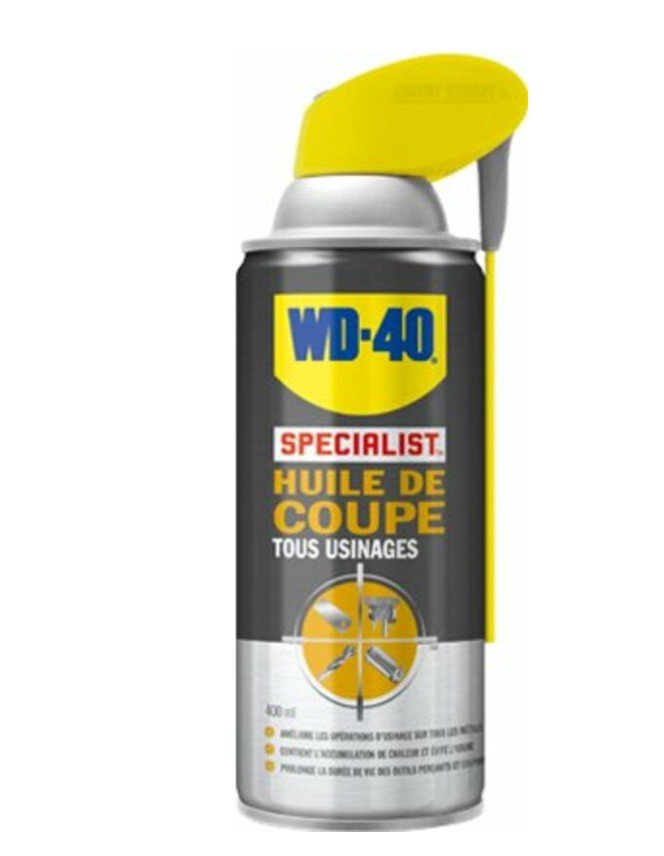
Apply sparingly during tough metal work.
WD-40 Specialist Cutting Oil Reduces friction/heat on stainless steel for smoother grinds.