Struggling with stubborn burrs that ruin precision parts after machining or cutting? Abrasive mounted points are essential tools for advanced fabricators, welders, and machinists, delivering fast, controlled material removal in tight spaces where files or belts fall short.
In this guide, you'll master the step-by-step process to select, set up, and use mounted points safely and effectively. Expect to achieve smooth, burr-free edges with minimal heat buildup or part distortion. This advanced tutorial assumes familiarity with rotary tools and assumes 20-30 minutes per session, depending on workpiece complexity.
We'll cover tool prep, technique, inspection, and pro tips to elevate your deburring game, preventing common issues like glazing or overheating.
▸What You'll Need
- •Die grinder or pneumatic rotary tool (1/4" or 1/8" collet, 20,000-30,000 RPM)
- •Abrasive mounted points (aluminum oxide or silicon carbide, matching burr size/shape; e.g., ball, cone, cylinder)
- •Workpiece (metal, stainless steel, or composites with burrs)
- •Safety gear: ANSI Z87.1 goggles, nitrile gloves, N95 respirator, hearing protection
- •Vise or clamps for securing workpiece
- •RPM tachometer (optional but recommended for precision)
- •Magnifying loupe or borescope for inspection
- •Cleaning brush and compressed air
Estimated Time: 20-30 minutes per deburring session
Difficulty: advanced
▸Step-by-Step Instructions
Step 1: Select the Right Mounted Point
Identify burr type (e.g., feather, roll-over, or tear burrs) and workpiece material. Choose aluminum oxide for steel/ferrous metals (faster stock removal) or silicon carbide for non-ferrous/hard materials. Match shape to access: ball for concave, cone for V-grooves, cylinder for flat edges.
Grit selection: Coarse (24-36) for heavy burrs, medium (46-60) for general deburring, fine (80+) for finishing. Check max RPM rating (typically 25,000-35,000) against your tool.
Success looks like: Point shape hugs contours perfectly without excessive overhang.
💡 Tips:
- •Keep a variety pack for versatility.
- •Consult manufacturer charts for material-point matches.
⚠️ Warnings:
- •Avoid diamond points for deburring—they're for hard materials only and can cause chatter.
Step 2: Prepare Your Workspace and Inspect Tools
Clear a well-lit, ventilated area free of flammables. Inspect die grinder for damage, ensure collet is clean/tight. Verify mounted point shank fits (1/8" or 1/4") and has no cracks—discard if chipped.
Secure workpiece in vise with soft jaws to prevent marring. Pre-inspect burrs with loupe.
Success looks like: Stable setup, tools in perfect condition, no wobble.
💡 Tips:
- •Use a parts washer for pre-cleaning oily workpieces.
⚠️ Warnings:
- •Never use damaged points—risk of explosion at speed.
Step 3: Don Full PPE and Secure Workpiece
Gear up: goggles, respirator (for dust), gloves, ear protection. Double-check workpiece clamping—zero movement under hand pressure.
Why it matters: Deburring generates fine particulates and sparks; advanced users know loose parts lead to inaccuracy or injury.
Success looks like: Full protection, immovable workpiece.
💡 Tips:
- •Tuck gloves under sleeves for spark protection.
Step 4: Install the Mounted Point
Power off tool. Insert shank fully into collet, tighten with wrench (1/4 turn past snug). Tug to confirm secure—no play.
Balance check: Run at low speed (5,000 RPM) for 30 seconds, listen/watch for vibration.
Success looks like: Smooth, quiet free-run; point spins true.
💡 Tips:
- •Mark shank with tape for consistent depth.
⚠️ Warnings:
- •Overtightening strips collets—replace annually.
Step 5: Set Optimal RPM
Use tachometer to dial RPM to 70-80% of point's max (e.g., 20,000 RPM for 25,000-rated point). Too slow dulls abrasive; too fast causes heat/fracture.
Surface speed formula for pros: 4,500-6,000 SFPM ideal for deburring.
Success looks like: Consistent hum, no blue sparks (over-speed indicator).
💡 Tips:
- •Variable speed tools prevent issues.
Step 6: Deburr with Controlled Passes
Approach at 10-15° angle, light feather pressure—let abrasive cut. Traverse burr perpendicularly, 1-2 seconds per pass, overlapping 50%. Move steadily to avoid gouging.
Cool intermittently with air blast if heat >150°F (straw color on steel).
Success looks like: Burr shears cleanly, edge radius smooth without rollover.
💡 Tips:
- •Short bursts for heat-sensitive alloys.
⚠️ Warnings:
- •Heavy pressure glazes point—ruins cutting action.
Step 7: Inspect and Refine
Stop, air-blow debris, loupe-check: No burr remnants, uniform edge break (0.005-0.010" radius). Switch to finer grit if needed.
Measure with profilometer if precision required (<32 Ra finish).
Success looks like: Mirror-smooth edges passing fingernail test.
💡 Tips:
- •360° rotation for tubular parts.
Step 8: Clean Up and Store
Power off, remove point, brush/vacuum dust. Wipe tools, store points in organized case by grit/shape.
Dispose waste per regs (metal fines hazardous).
Success looks like: Spotless workspace, tools ready for next use.
⚠️ Warnings:
- •Store away from moisture—rusts shanks.
▸Pro Tips
- •Traverse burrs with the wheel rotation for smoother cuts.
- •Use peck cycles (on-off) on thin walls to manage heat.
- •Dress glazed points with silicon carbide stick for revival.
- •Pair with cross-belt for hybrid finishing workflows.
- •Log RPM/grit combos per material for repeatability.
- •Invest in collet reducers for multi-tool compatibility.
- •Air-blast every 10 seconds on titanium/exotics.
▸Common Mistakes to Avoid
- •Using excessive pressure—causes point loading, overheating, and part warping. Avoid by feathering lightly.
- •Wrong RPM—too high fractures points, too low dulls them. Always match specs.
- •Ignoring heat buildup—leads to metallurgical changes. Cool frequently.
- •Poor point selection—mismatched shape grinds inefficiently. Preview access paths.
- •Skipping inspections—misses incomplete deburring, risking assembly failures.
▸Troubleshooting
Problem: Point glazing (shiny, no cut)
Solution: Reduce pressure, increase RPM, or dress with dressing stick. Replace if worn.
Problem: Excessive vibration
Solution: Check balance/runout; replace bent shank or collet.
Problem: Chatter marks on surface
Solution: Loosen grip, use finer grit, ensure workpiece rigid.
Problem: Overheating/discoloration
Solution: Lower RPM/pressure, add air cooling, shorter passes.
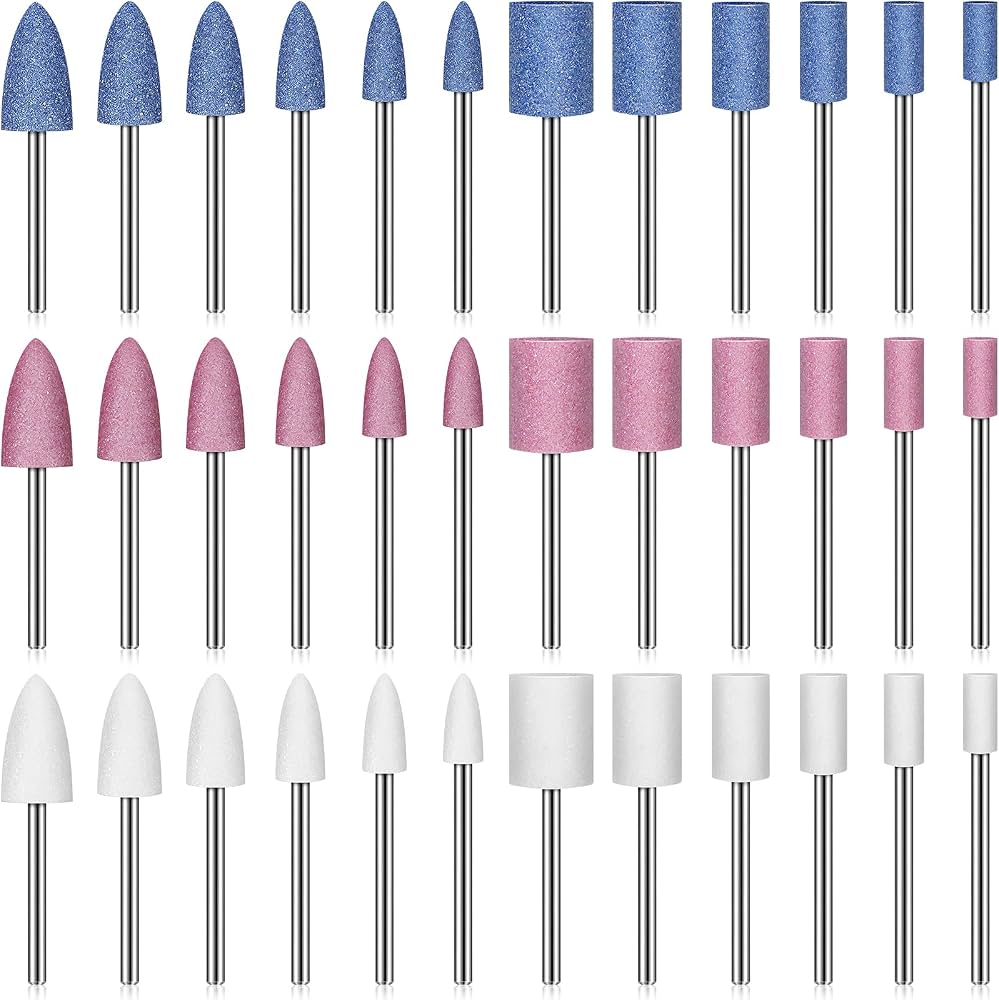
AUSTOR 132pcs Abrasive Mounted Points Set, 1/8" Shank
Versatile kit with 10 shapes/grits for all deburring scenarios, aluminum oxide/silicon carbide mix.
Best for: General metal/composite deburring in tight spots.
Price Range: $13.99
NEIKO 50444A Rotary Burr Carbide Set, 1/8"
Durable carbide for heavy-duty burrs, complements abrasives for hybrid use.
Best for: Initial aggressive removal before fine abrasive finishing.
Price Range: $9.99
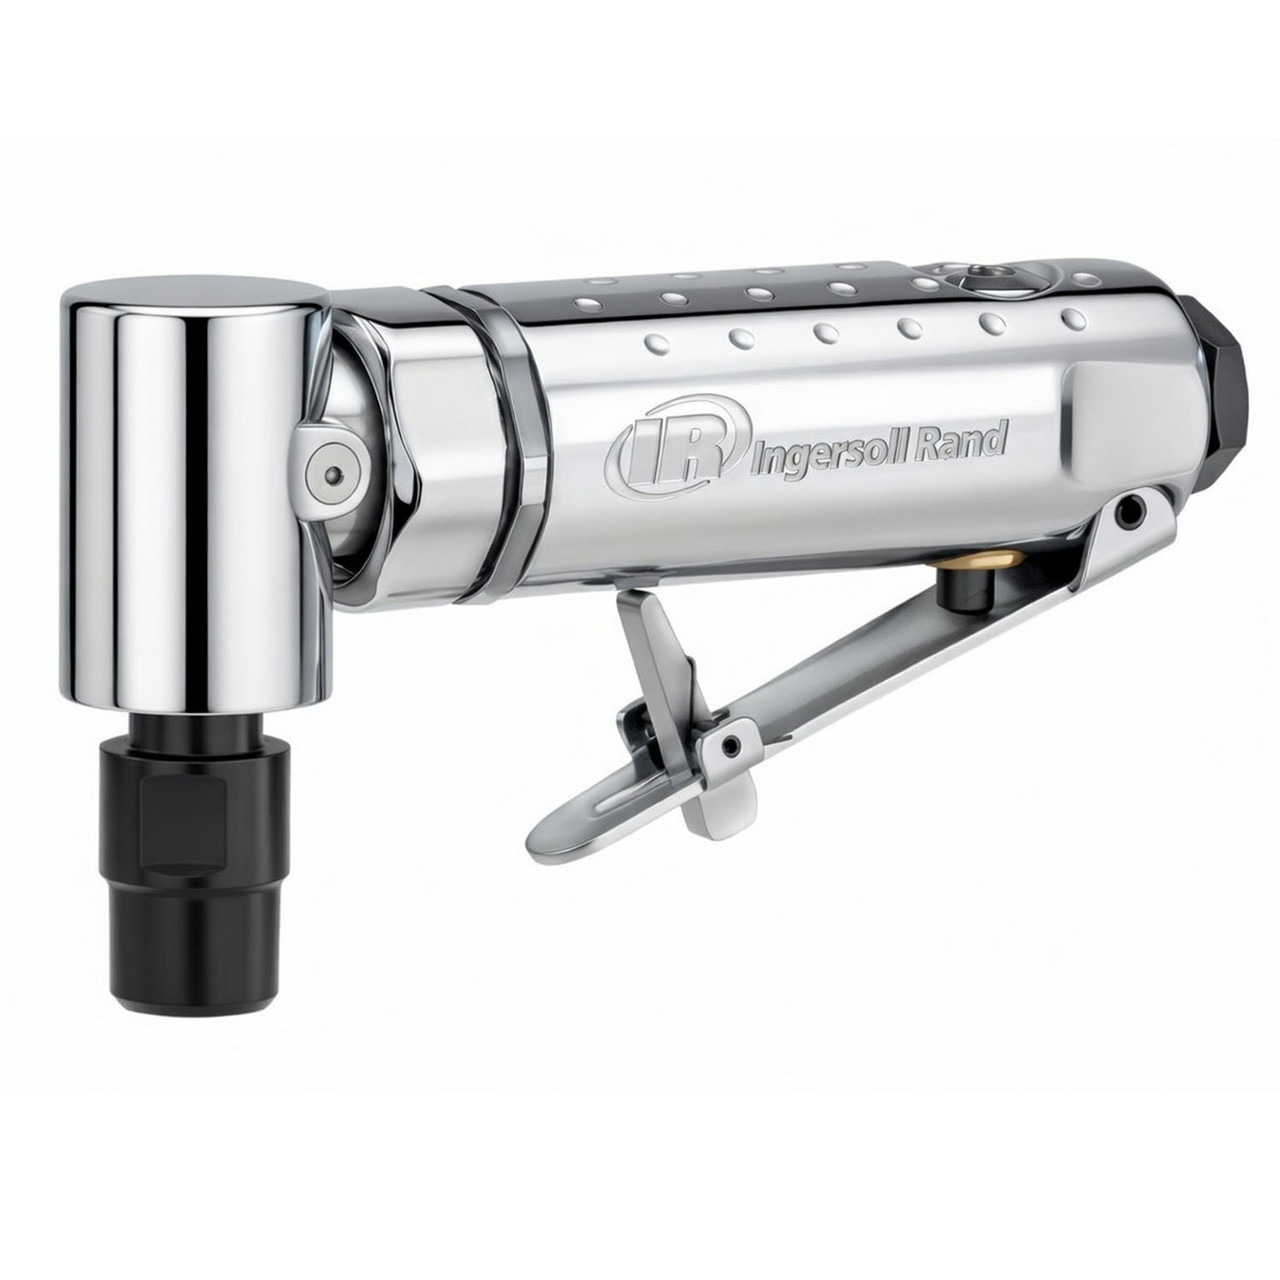
Ingersoll Rand 301B Air Die Grinder
High-precision pneumatic tool with 25,000 RPM, ergonomic for prolonged advanced use.
Best for: Pro shop deburring on larger parts.
Price Range: $50-$70
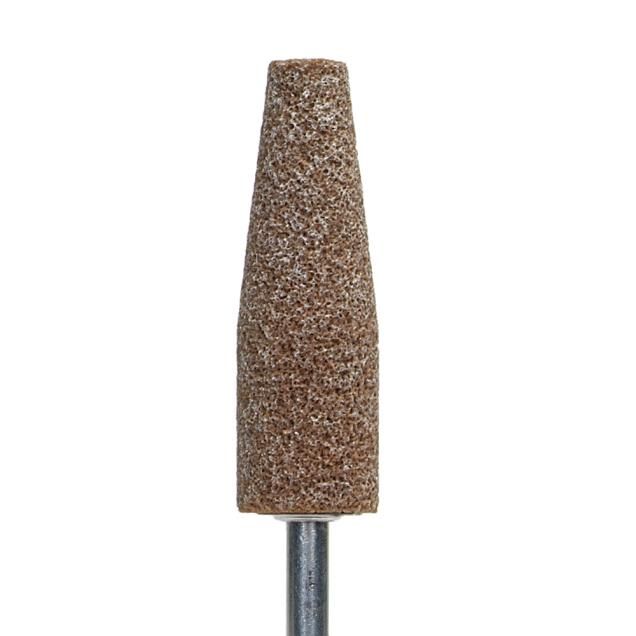
Norton 08834180263 Gemini Mounted Point, 1/4" Shank
Premium aluminum oxide for stainless/steel, long life in production.
Best for: High-volume deburring needing consistency.
Price Range: $4.99 each
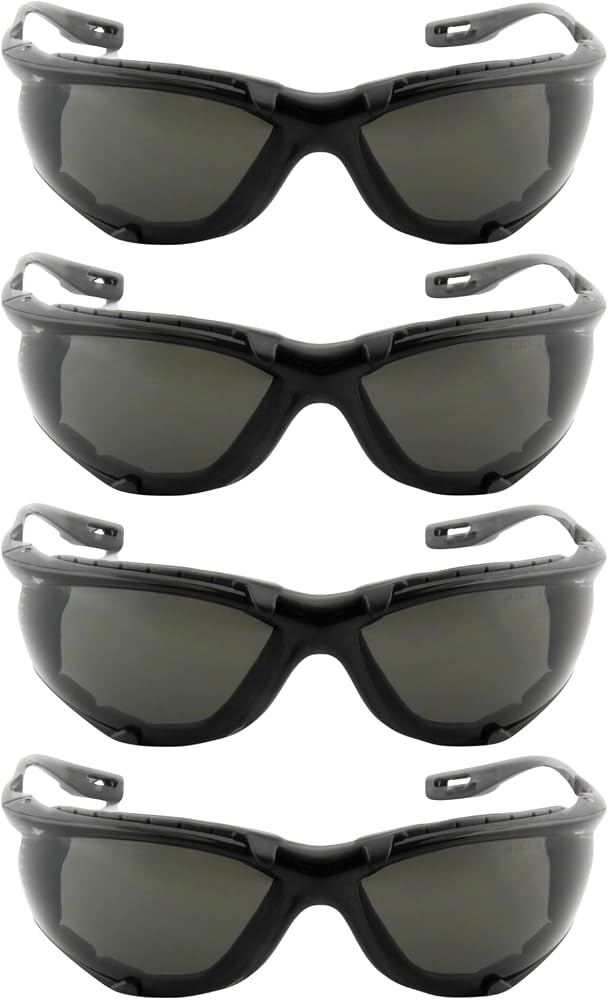
3M Virtua CCS Safety Glasses
Impact-resistant with anti-fog for dusty/sparky environments.
Best for: Essential PPE for safe operation.
Price Range: $9.99