▸Why Sanding Matters for Wooden Furniture
Uneven surfaces, old finishes, or scratches can ruin the look of your wooden furniture, but proper sanding with abrasive products transforms rough wood into a flawless canvas ready for staining or sealing. Many DIYers skip progressive grits or rush the process, leading to swirl marks or poor adhesion of finishes.
In this guide, you'll learn how to select and use abrasive finishing products like sandpaper and sponges for optimal results. We'll cover preparation, sequential sanding techniques, and finishing touches. Expect a 2-4 hour project depending on furniture size—perfect for intermediate skill levels with basic woodworking experience.
By the end, your furniture will have a glass-smooth surface that enhances any finish, saving you from costly mistakes or repurchasing pieces.
▸What You'll Need
- •Assorted grit sandpaper (80, 120, 220, 320 grit) or sanding sheets
- •Sanding block or orbital sander (random orbit preferred)
- •Sanding sponges (medium and fine grit)
- •Tack cloth or microfiber cloth with vacuum
- •Safety gear: dust mask (N95), safety goggles, gloves
- •Wood filler (for repairs, optional)
- •Drop cloths and painter's tape
- •Finishing product (stain, oil, or polyurethane—not covered in depth)
Estimated Time: 2-4 hours (depending on furniture size and condition)
Difficulty: intermediate
▸Step-by-Step Instructions
Step 1: Prepare Your Workspace and Furniture
Lay down drop cloths to protect floors and surrounding areas. Tape off any hardware or areas you don't want to sand. Inspect the furniture for dents, cracks, or loose joints—repair with wood filler and let dry per instructions.
Clean the surface with a damp cloth to remove dirt or grease, then let it dry completely. This prevents contaminants from embedding during sanding.
Success looks like: A stable, clean workspace and furniture ready for abrasion without airborne debris.
💡 Tips:
- •Work in a well-ventilated area or outdoors to minimize dust.
- •Label furniture sections (e.g., legs, seat) for consistent progress.
⚠️ Warnings:
- •Avoid sanding over unclean surfaces—grit will scratch deeper.
Step 2: Gear Up for Safety
Put on your N95 dust mask, safety goggles, and gloves. Abrasive dust is harmful to lungs and eyes, especially fine particles from high grits.
Secure long hair and remove loose clothing. If using power tools, ensure cords are out of the way.
Success looks like: Full protection before starting—no exposed skin or eyes.
💡 Tips:
- •Use a powered air-purifying respirator for heavy sanding sessions.
⚠️ Warnings:
- •Never skip PPE; wood dust can cause respiratory issues over time.
Step 3: Select and Attach Coarse Grit Abrasive (80-120 Grit)
Choose 80-120 grit sandpaper for initial removal of old finish or rough spots. Attach to sanding block for flat surfaces or orbital sander for curves.
Sand with the grain in light, even pressure strokes. This removes material efficiently without gouging.
Success looks like: Old finish or roughness gone, surface uniformly dulled.
💡 Tips:
- •Let the tool do the work—excess pressure causes uneven sanding.
⚠️ Warnings:
- •Always sand with the grain to avoid visible scratches.
Step 4: Progress to Medium Grit (120-220 Grit)
Switch to 120-220 grit to smooth out coarse scratches. Use sanding sponges for contours.
Continue with the grain, overlapping strokes. Check frequently by feeling with your hand—scratches should feel minimal.
Success looks like: Surface feels smoother, no deep scratches visible in good light.
💡 Tips:
- •Vacuum dust between grits to prevent scratching with debris.
⚠️ Warnings:
- •Don't skip grits; jumping from coarse to fine leaves marks.
Step 5: Finish with Fine Grit (220-320 Grit)
Use 220-320 grit for the final smooth pass. This creates a surface ready for finish adhesion.
Light pressure now—focus on uniformity. For hardwoods, wet-sanding with fine grit can enhance smoothness.
Success looks like: Silky smooth to the touch, no visible sanding marks.
💡 Tips:
- •Wipe with mineral spirits to check for missed spots—they'll show as dull areas.
⚠️ Warnings:
- •Over-sanding thins wood; stop when smooth.
Step 6: Remove All Dust Thoroughly
Vacuum loose dust, then use a tack cloth to capture fine particles. Avoid compressed air alone—it spreads dust.
Wipe with a slightly damp microfiber cloth, then dry immediately.
Success looks like: Lint-free, powdery residue gone—hand should glide without grit.
💡 Tips:
- •Tack cloths are reusable; store in airtight bag.
⚠️ Warnings:
- •Dust ruins finishes—clean meticulously.
Step 7: Inspect and Touch Up
Examine under bright light from multiple angles for swirls or missed spots. Lightly re-sand with fine grit if needed, then re-clean.
Feel the entire surface.
Success looks like: Uniformly smooth, ready for stain or topcoat.
💡 Tips:
- •Use a flashlight at a low angle to reveal imperfections.
Step 8: Apply Finish and Buff (Optional Final Abrasion)
Apply your chosen finish (stain, oil, etc.). After drying, lightly buff with 400+ grit or Scotch-Brite pad for sheen.
Re-clean between coats.
Success looks like: Professional, glossy or satin finish without imperfections.
💡 Tips:
- •Follow finish-specific sanding guidelines.
▸Pro Tips
- •Progress grits by halving (e.g., 80→120→220) for fastest scratch removal.
- •Use shop vac with brush attachment between steps to cut cleaning time.
- •Sanding sponges excel on profiles—keep them flat for even abrasion.
- •For large surfaces, power sanders save time but hand-sand edges.
- •Test grit on scrap wood first to gauge aggressiveness.
- •Maintain 45-degree angles on first pass, then with-grain for hiding scratches.
- •Store sandpaper in dry, sealed bags to prevent humidity clumping.
▸Common Mistakes to Avoid
- •Sanding against the grain: Creates visible scratches. Always follow wood grain direction.
- •Skipping dust removal: Causes fisheyes or poor finish adhesion. Clean obsessively.
- •Using one grit only: Leaves deep marks under finish. Progress sequentially.
- •Excessive pressure: Digs uneven gouges. Let abrasive cut naturally.
- •Ignoring safety gear: Leads to health issues from dust inhalation.
▸Troubleshooting
Problem: Swirl marks from orbital sander
Solution: Use random orbit sander, lighter pressure, and finer grits. Sand by hand if persistent.
Problem: Sanding clogs paper quickly
Solution: Use anti-clog sandpaper or clean with crepe rubber. Switch to fresh sheets often.
Problem: Uneven surface after sanding
Solution: Check for filler drying issues or inconsistent pressure. Re-sand progressively.
Problem: Finish won't adhere
Solution: Dust contamination—re-clean with tack cloth and solvent wipe. Sand lightly again.
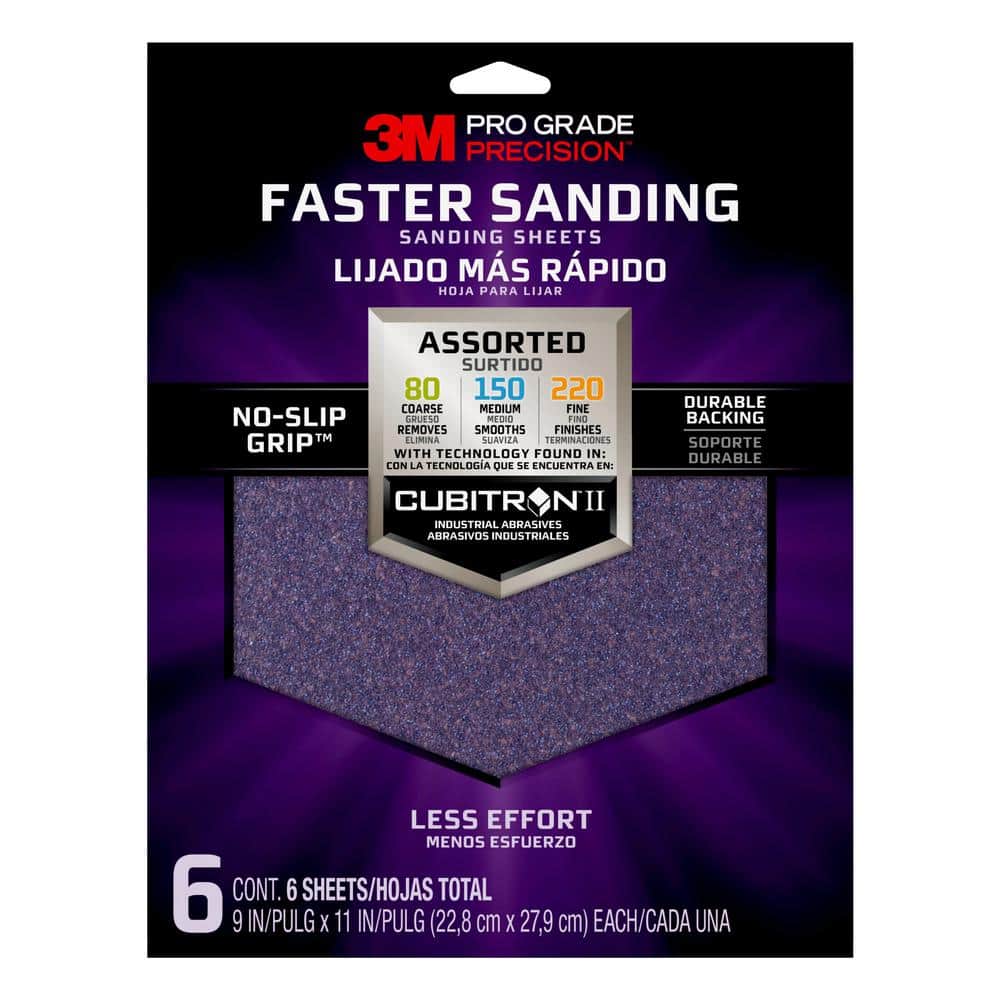
3M Pro Grade Precision Sandpaper Assortment (9 sheets, 80-220 grit)
High-quality, anti-clog sheets cut fast and last longer, ideal for progressive sanding on furniture.
Best for: All sanding steps, especially coarse to medium on flat surfaces.
Price Range: $12-15
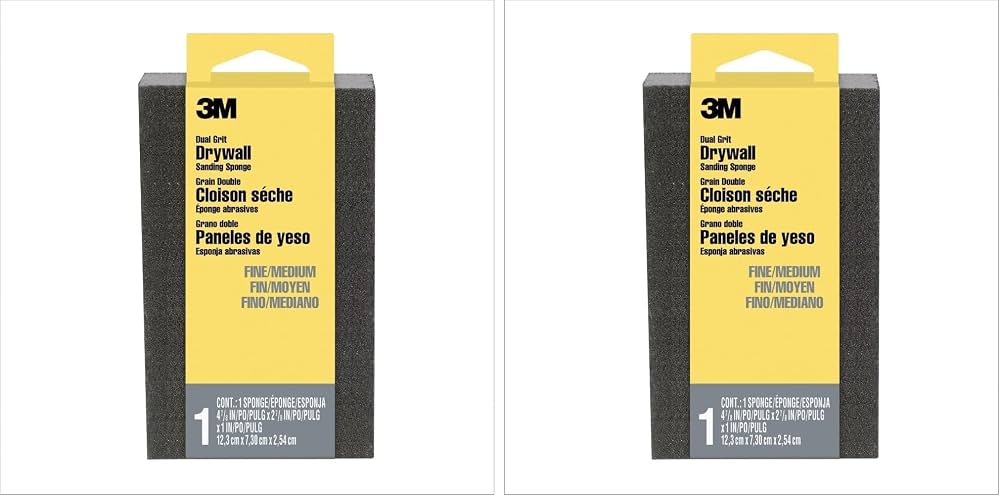
3M Sanding Sponge (Medium and Fine, 2-Pack)
Flexible for contours and edges, washes clean for reuse—perfect intermediate tool.
Best for: Curved legs or detailed profiles in medium/fine steps.
Price Range: $5-7
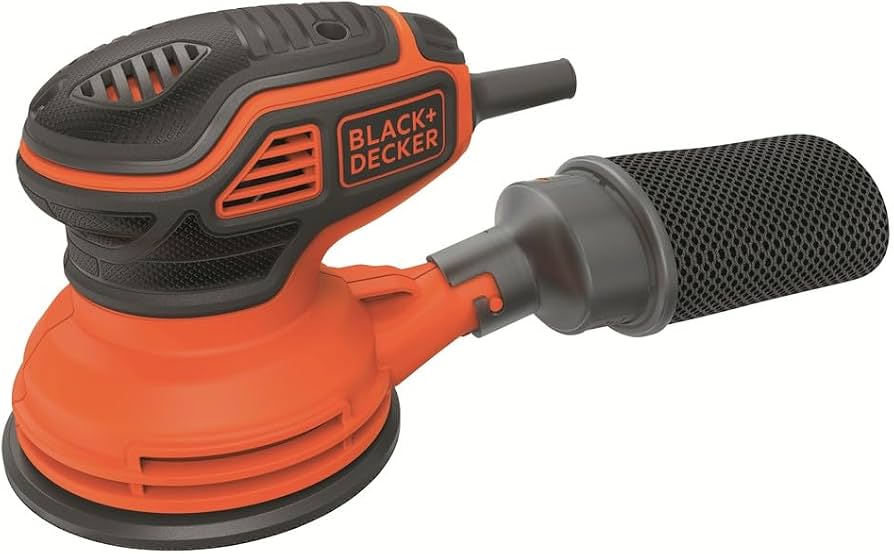
BLACK+DECKER 5-Inch Random Orbit Sander (BDEMS600)
Low vibration, dust collection port reduces mess—efficient for larger furniture pieces.
Best for: Power sanding coarse/medium grits on tabletops or dressers.
Price Range: $35-45
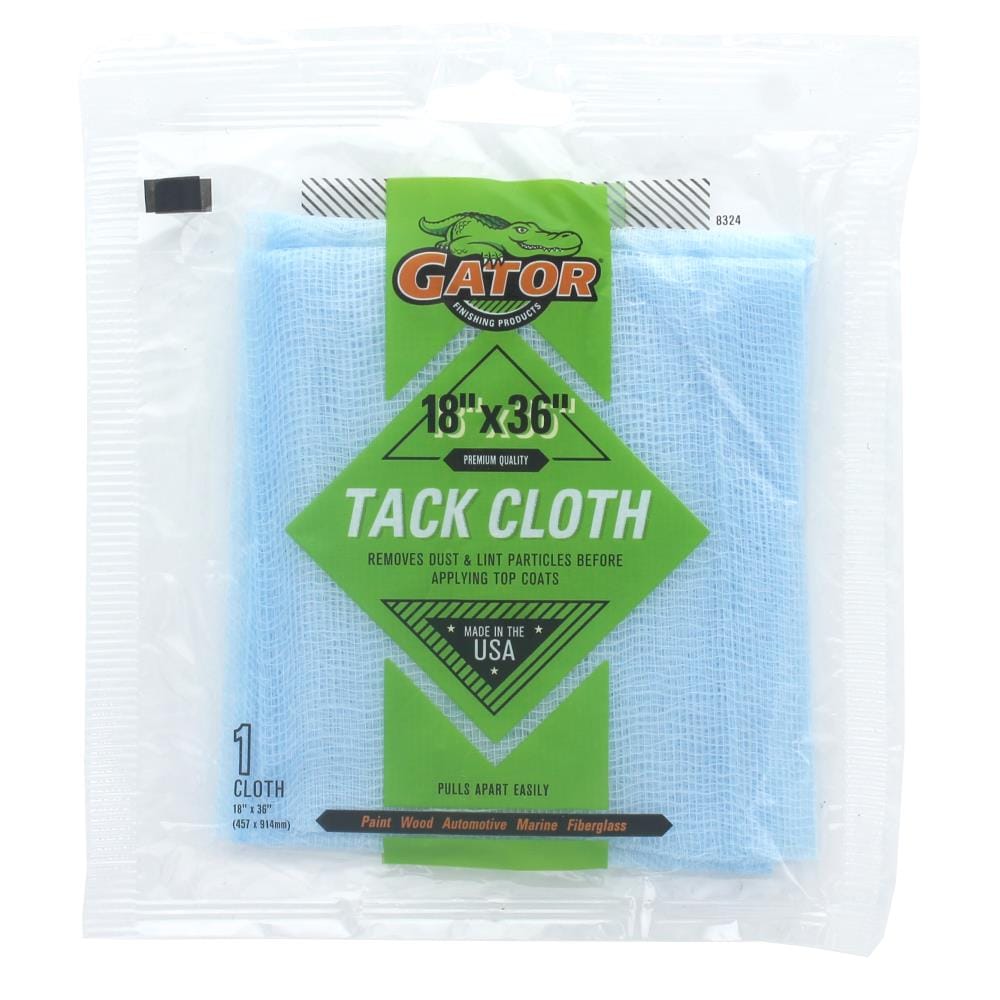
Tyler #2 Professional Tack Cloth
Ultra-fine lint-free weave grabs microscopic dust without residue.
Best for: Final dust removal before finishing.
Price Range: $8-12
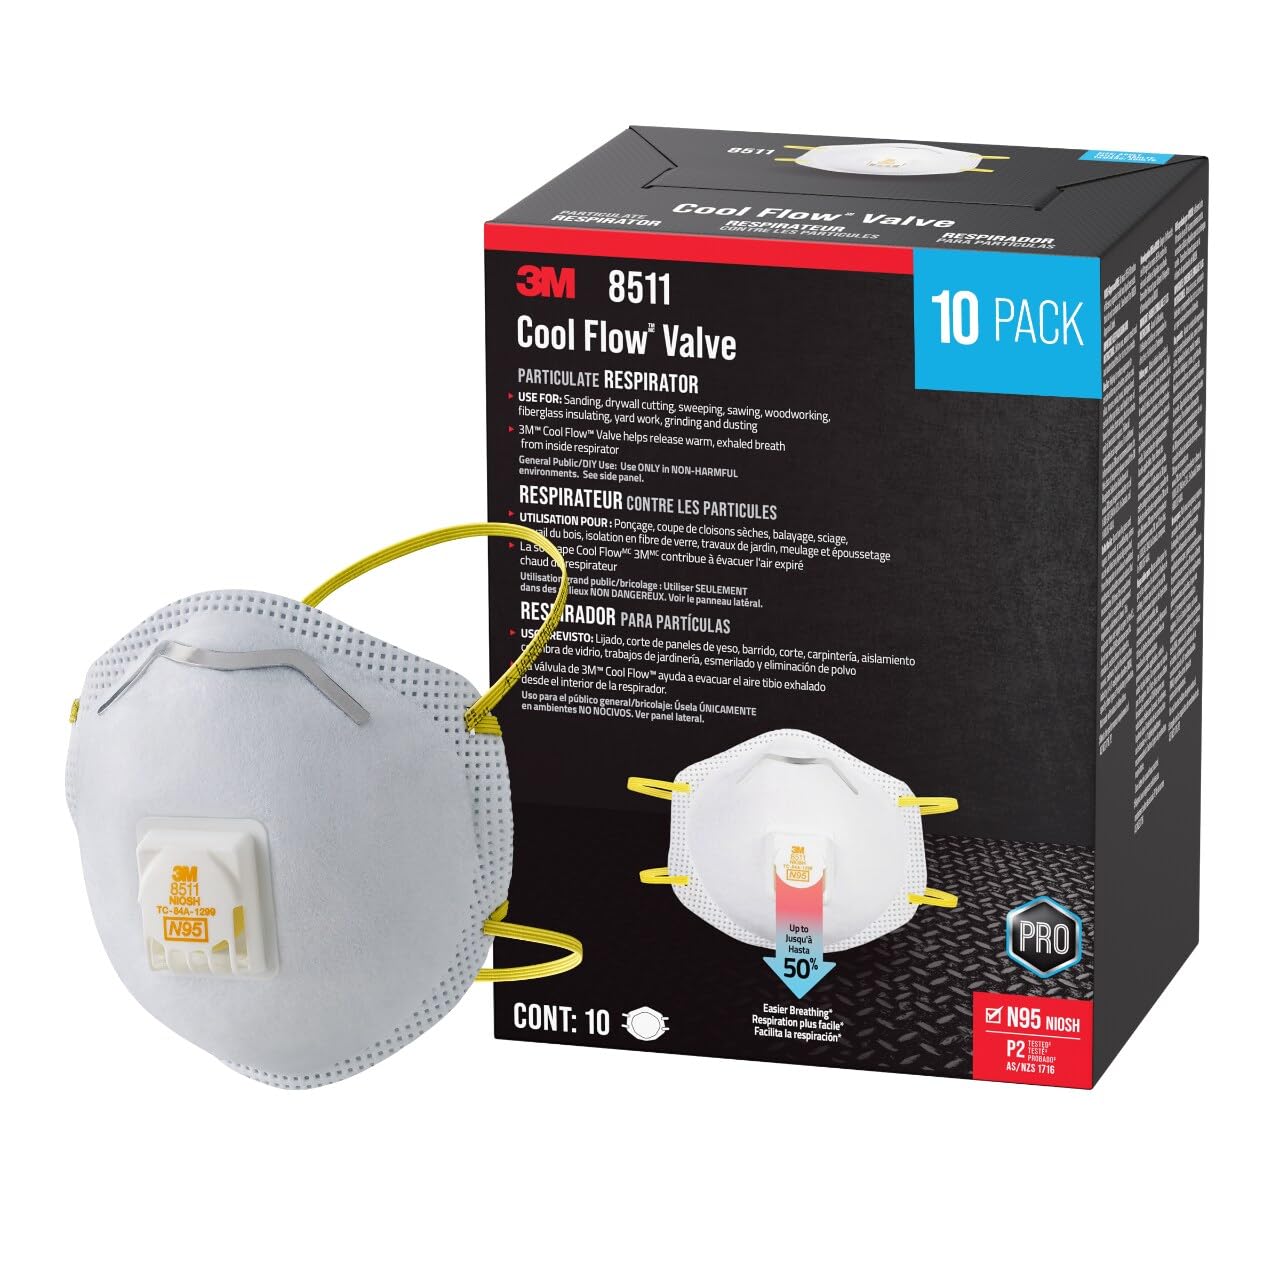
3M 8511 N95 Respirator Masks (10-Pack)
Comfortable, effective against fine wood dust for prolonged sessions.
Best for: All sanding steps for lung protection.
Price Range: $20-25