Uneven surfaces, swirl marks, or dust nibs can ruin even the best wooden craft. Abrasive finishing products like sandpaper, sponges, and steel wool are essential for achieving that silky-smooth feel professionals get. This guide solves common sanding frustrations by teaching you the right sequence and techniques.
You'll learn how to select grits, sand progressively, clean effectively, and prepare for final finishes. Expect a flawless surface ready for staining or sealing. Perfect for intermediate crafters familiar with basic tools.
Total process takes 45-90 minutes per small-to-medium craft, depending on size and starting roughness. No power tools required, but optional for speed.
▸What You'll Need
- •Wooden craft piece (pre-cut or shaped)
- •Sandpaper sheets or discs in grits: 80-120 (coarse), 150-220 (medium), 320-400 (fine), 600+ (ultra-fine)
- •Sanding block or foam-backed sanding sponge (required for even pressure)
- •Steel wool #0000 (ultra-fine finishing)
- •Tack cloth or lint-free microfiber cloth and compressed air/vacuum
- •Safety gear: dust mask (N95 or better), safety goggles, work gloves
- •Dust brush or shop vac
- •Optional: finishing product (oil, polyurethane) for between-coat sanding
- •Well-ventilated workspace with drop cloth
Estimated Time: 45-90 minutes per craft
Difficulty: intermediate
▸Step-by-Step Instructions
Step 1: Set Up a Safe Workspace
Clear a flat, stable surface in a well-ventilated area. Lay down a drop cloth to catch dust. Put on safety goggles, dust mask, and gloves to protect against fine particles that can irritate skin and lungs.
Why it matters: Wood dust is flammable and harmful if inhaled. A clean workspace prevents contamination of your craft.
Success: Workspace ready, gear on—no exposed skin or nearby flammables.
💡 Tips:
- •Work outside or use a dust collector for less cleanup.
- •Keep a fire extinguisher handy.
⚠️ Warnings:
- •Never sand without a mask; fine dust lingers in air.
Step 2: Inspect and Prep the Wood
Examine your wooden craft for defects like glue squeeze-out, dents, or rough edges. Lightly knock off loose debris with a brush. If needed, fill dents with wood filler and let dry (follow product instructions).
Why: Starting clean ensures abrasives work efficiently without embedding dirt.
Expect: Smooth starting surface, no loose bits. Dry time if filling: 15-30 min.
💡 Tips:
- •Use low-tack painter's tape on adjacent areas to protect.
- •Test wood type (soft like pine vs. hard like oak) for grit choice.
Step 3: Choose Grit Sequence
Select abrasives: Start coarse (80-120 grit) for rough stock removal, medium (150-220) for smoothing, fine (320-400) for prep, ultra-fine (600+ or #0000 steel wool) for polish.
Why: Progressive grits remove scratches from prior steps, preventing visible lines.
Success: Grits organized by sequence—no skipping grits by more than double.
💡 Tips:
- •Always go higher grit number next (finer).
⚠️ Warnings:
- •Skipping grits leaves scratches visible under finish.
Step 4: Coarse Sand the Surface
Wrap 80-120 grit sandpaper around sanding block. Sand with the grain using light, even pressure in long strokes. Rotate piece for evenness. Wipe dust frequently.
Why: Removes mills marks, planer ridges, or burns.
Expect: Uniformly rough but flat surface after 5-10 min per face. Feel for high spots.
💡 Tips:
- •Use circular motions only on edges to avoid flat spots.
- •Sand until paper clogs less.
⚠️ Warnings:
- •Sanding against grain creates scratches—always follow wood lines.
Step 5: Medium Sand for Smoothness
Switch to 150-220 grit. Sand entire surface with grain, overlapping strokes. Check progress by feel—should feel smoother, no deep scratches.
Why: Refines coarse scratches.
Success: Surface feels like medium grit itself; 5-8 min per face.
💡 Tips:
- •Fold paper for corners; use sanding sponge for contours.
Step 6: Fine Sand for Finish Prep
Use 320-400 grit. Light pressure, with grain. Sand until buttery smooth to touch.
Why: Preps for clear coats where imperfections show.
Expect: Shiny but not polished; ready for dust removal.
💡 Tips:
- •Wet sand lightly with water on waterproof paper for hardwoods (dry after).
Step 7: Ultra-Fine Finish and Clean
Apply #0000 steel wool or 600+ grit lightly. Buff with grain. Vacuum dust, then wipe with tack cloth—multiple passes until no lint sticks.
Why: Removes micro-scratches; tack cloth grabs fine dust.
Success: Flawless, tack-free surface—no haze when light angled.
💡 Tips:
- •Steel wool excels on curves.
⚠️ Warnings:
- •Rusty steel wool ruins finish—store dry.
Step 8: Inspect and Repeat if Finishing
Hold craft to light; rub hand over—no grit feel. Apply first finish coat, let dry, then scuff with 400+ grit between coats.
Why: Ensures pro-level durability.
Success: Ready for final topcoat; repeat 1-2x.
💡 Tips:
- •Test finish adhesion on scrap.
▸Pro Tips
- •Always sand with the grain—use a marker to reveal direction if unsure.
- •Change paper often when it clogs for faster work.
- •For intricate crafts, use flexible sanding sticks or folded paper.
- •Shop vac with brush attachment speeds cleanup 3x.
- •Label grits on storage box for quick grabs.
- •For oiled finishes, stop at 400 grit; varnishes love 600+.
- •Practice on scrap wood to dial in pressure.
▸Common Mistakes to Avoid
- •Sanding across the grain: Causes visible scratches—solution: always follow wood lines.
- •Using dull/clogged paper: Slows progress—change every 2-3 min.
- •Skipping cleanup: Dust under finish creates bubbles—use tack cloth religiously.
- •Uneven pressure: Digs gouges—use sanding block always.
- •Too aggressive on fine grits: Burns wood—light touch only.
▸Troubleshooting
Problem: Swirl marks or scratches visible
Solution: Drop back 2 grits and re-sand entire area with block. Progress up again.
Problem: Paper clogs quickly
Solution: Use anti-clog (open-coat) paper or tap on block often. Clean with brush.
Problem: Surface feels gummy after sanding
Solution: Dust/resin buildup—wipe with mineral spirits, dry fully, re-sand lightly.
Problem: Finish won't adhere
Solution: Over-sanded or oily wood—wipe with denatured alcohol, let evaporate.
Fandeli Sandpaper Assortment, 24 Sheets (80-2000 Grit)
Complete grit progression in one pack; durable aluminum oxide cuts fast on wood without tearing.
Best for: Primary sanding for all steps; wet/dry compatible.
Price Range: $12.99
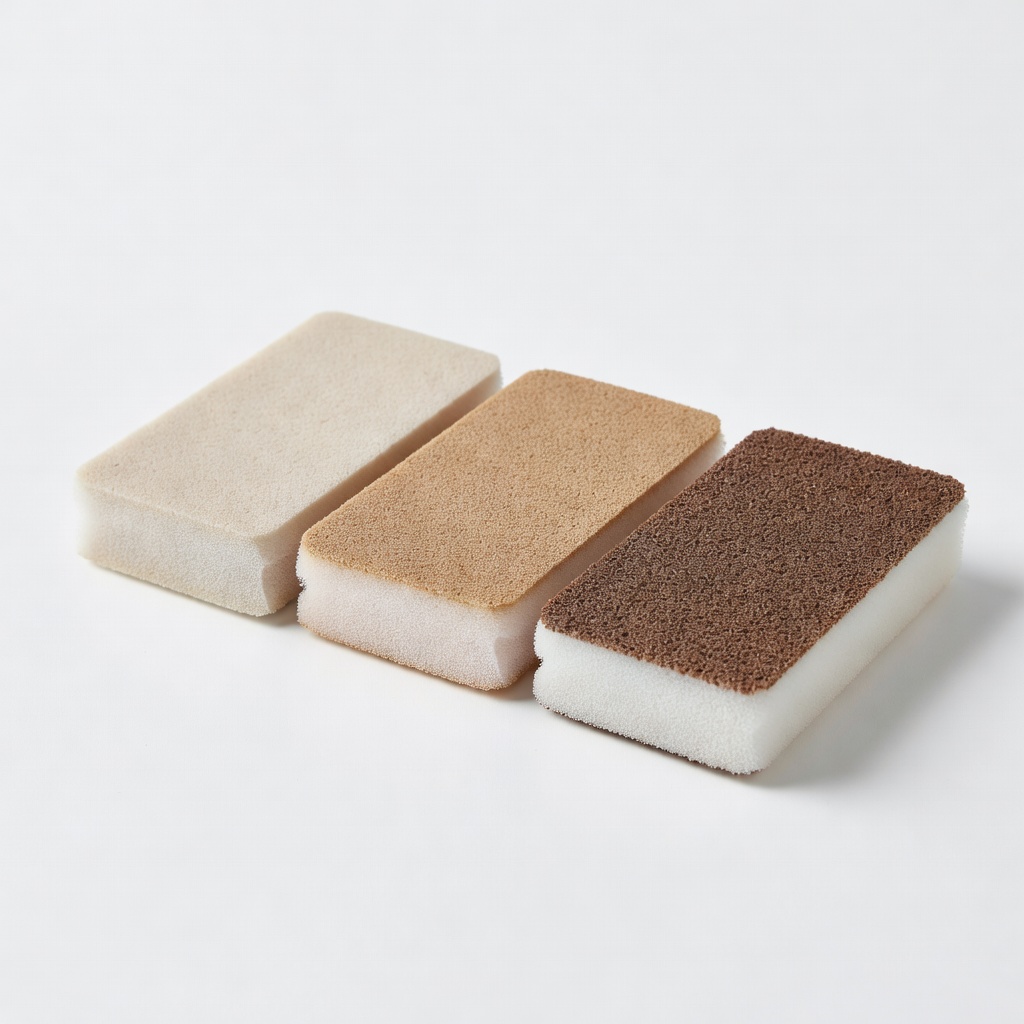
3M Sanding Sponge (Fine/Medium/Coarse, 3-Pack)
Conforms to contours; rinses clean, reusable for multiple projects.
Best for: Hand sanding curves and profiles where sheets can't reach.
Price Range: $5.49
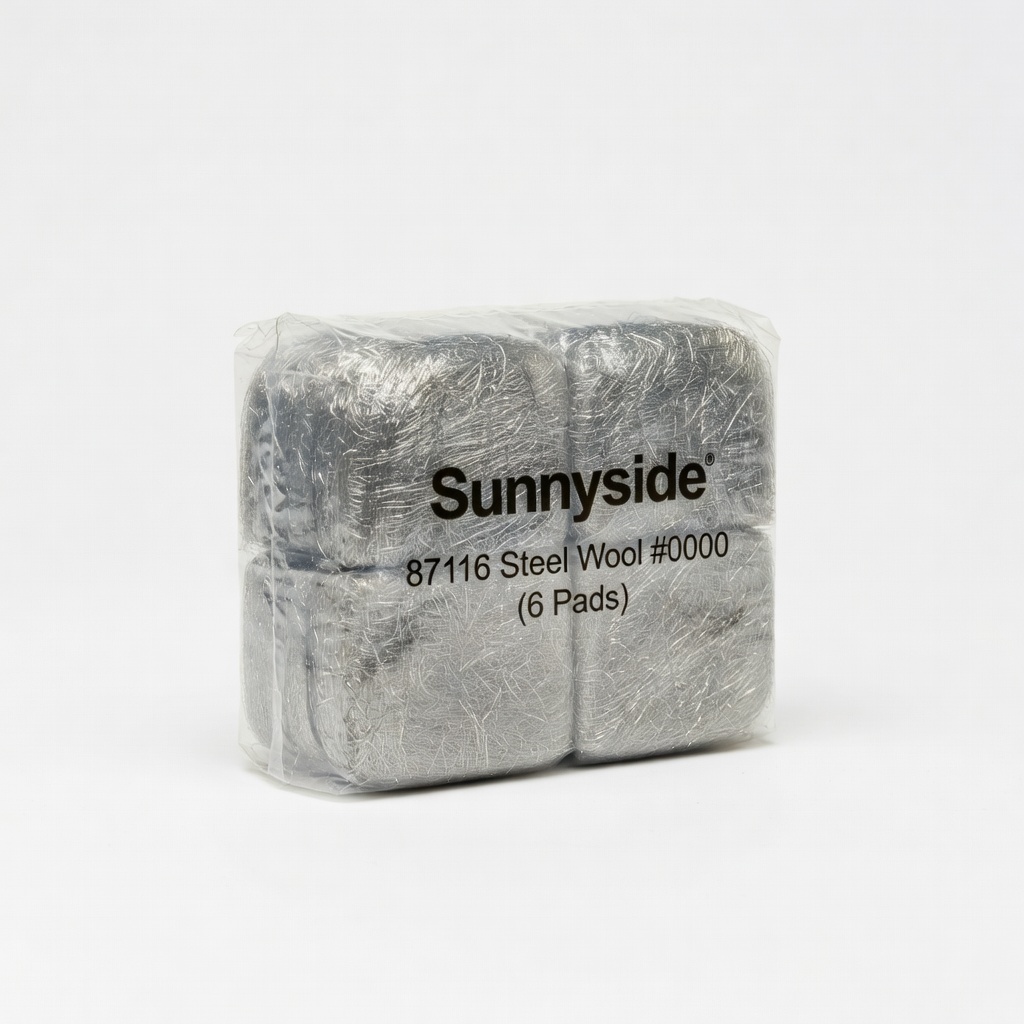
Sunnyside 87116 Steel Wool #0000 (6 Pads)
Ultra-fine polish without scratching; rust-resistant for wood finishing.
Best for: Final buff before finish; between-coat scuffing.
Price Range: $4.99
LLPT Tack Cloths for Woodworking (12 Pack)
Sticky cotton grabs microscopic dust; no residue left behind.
Best for: Final cleaning before every finish coat.
Price Range: $9.99
WORKPRO Sanding Block Set (6-Piece)
Ergonomic grips, multiple shapes for even pressure; prevents finger fatigue.
Best for: Wrapping sandpaper for flat surfaces and edges.
Price Range: $9.99