WORKPRO 48-Piece Sanding Sheets Assortment
Hand sanding flats and edges on furniture projects.
$14.99
WORKPRO 48-Piece Sanding Sheets Assortment Affordable kit with progressive grits (80-2000) perfect for wood sanding progression.
Get the App
Better experience on mobile
Achieve a smooth, professional wood finish with step-by-step sanding techniques using abrasive products for staining or painting.
Sanding wood improperly leads to swirl marks, uneven surfaces, or ruined projects—common frustrations for DIYers. Mastering abrasive finishing products ensures a flawless base for your finishes, saving time and materials.
In this guide, you'll learn how to select grits, sand progressively, and use tools safely for intermediate woodworkers. Expect a straightforward process: prep, coarse-to-fine sanding, cleanup. Projects take 1-2 hours depending on size.
Perfect for furniture restoration, cabinetry, or custom builds—follow these steps for pro results every time.
Estimated Time: 1-2 hours per project (varies by size) Difficulty: intermediate
Set up in a well-ventilated area with good lighting. Cover surfaces with drop cloths to contain dust. Don your dust mask, safety glasses, and gloves—this prevents respiratory issues and eye irritation from fine particles.
Why it matters: Wood dust is hazardous; proper setup ensures safety and clean results. Expect a dust-free start for easier cleanup.
💡 Tips:
⚠️ Warnings:
Examine your wood for defects like dents, glue spots, or rough areas. Knock down high spots with a scraper if needed. Lightly wipe with a tack cloth to remove loose debris.
Success looks like: Clean, stable surface ready for abrasion—no surprises mid-sanding. This prevents embedding debris that causes scratches.
💡 Tips:
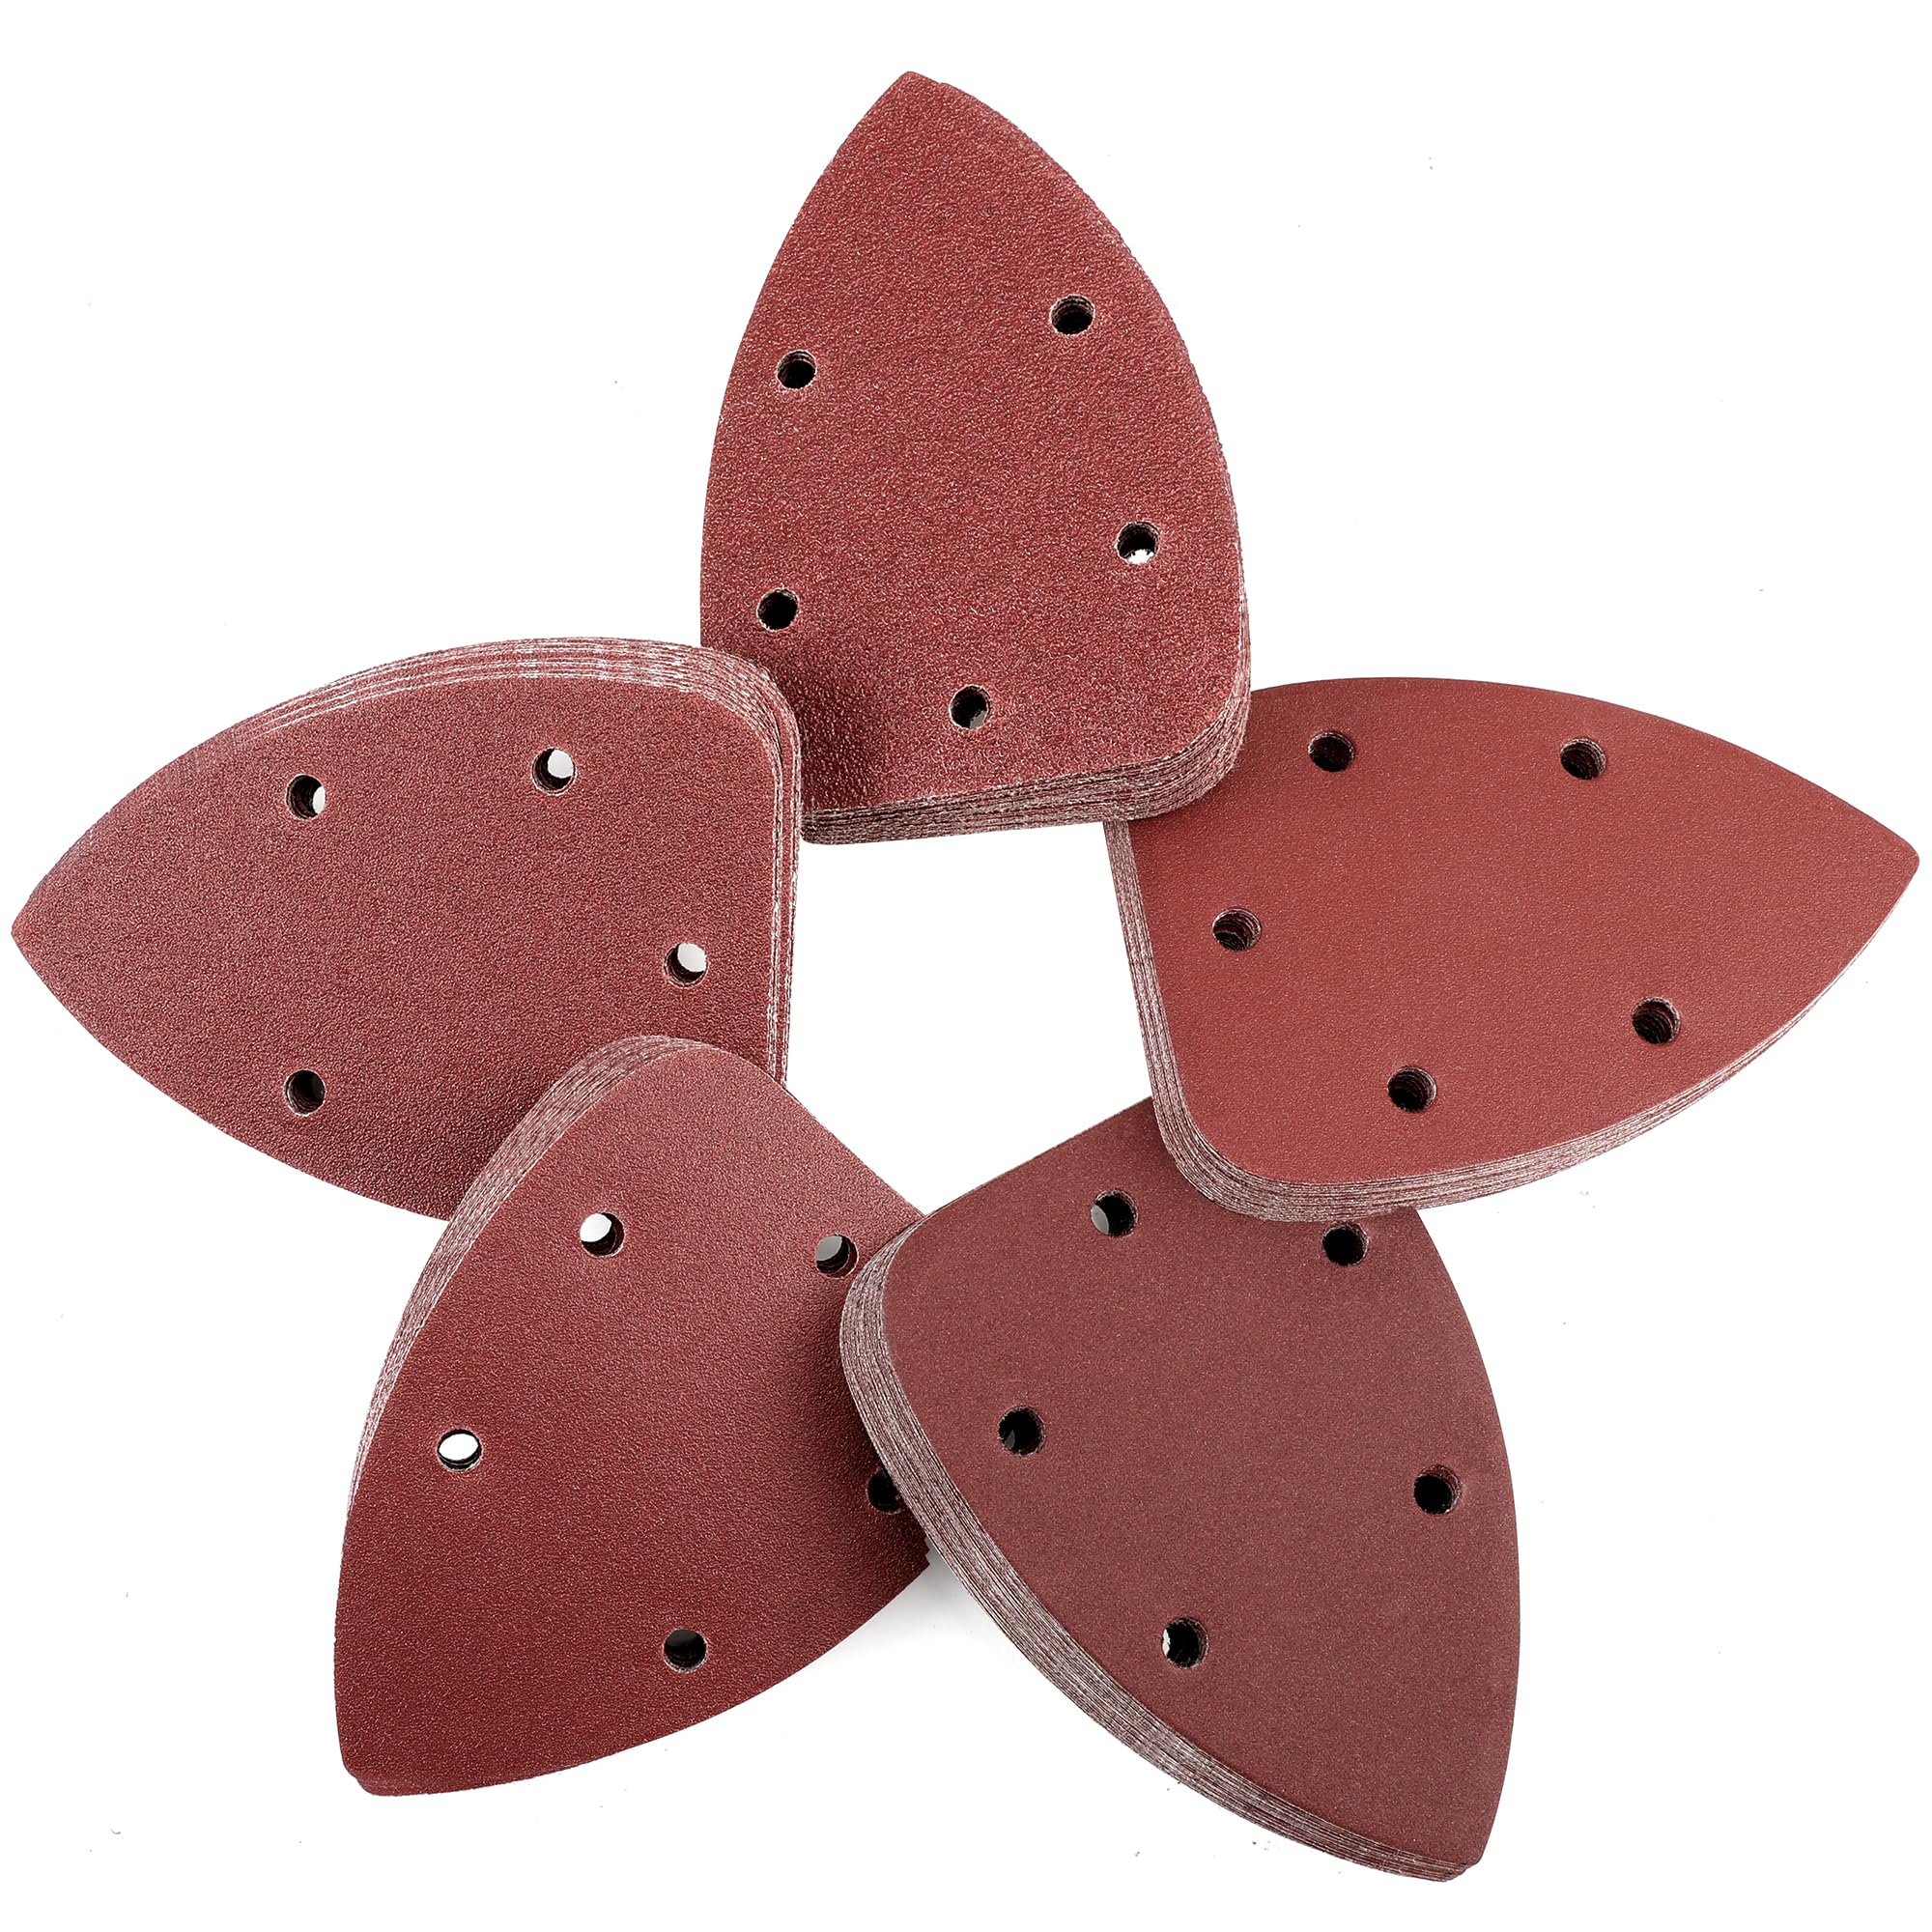
Choose 80-120 grit for heavy material removal. Attach to sanding block for hand sanding or disc to orbital sander. Sand with the grain using light, even pressure in long strokes.
Why: Coarse grits remove mills marks or old finish quickly. Expect visible smoothing after 5-10 minutes; wood feels rougher initially but evens out.
⚠️ Warnings:
Vacuum dust thoroughly, then switch to 150-220 grit. Repeat sanding with the grain, overlapping strokes. Check frequently by running your hand over the surface.
Success: Surface transitions from rough to semi-smooth; no deep scratches remain. This builds a uniform base, reducing finer grit time.
💡 Tips:
Dust again, then use 220-320 grit for final smoothing. Light pressure now—let the abrasive do the work. Sand until the surface feels glassy smooth to the touch.
Why it matters: Prepares for finish adhesion; too coarse leaves visible sanding marks under stain.
💡 Tips:
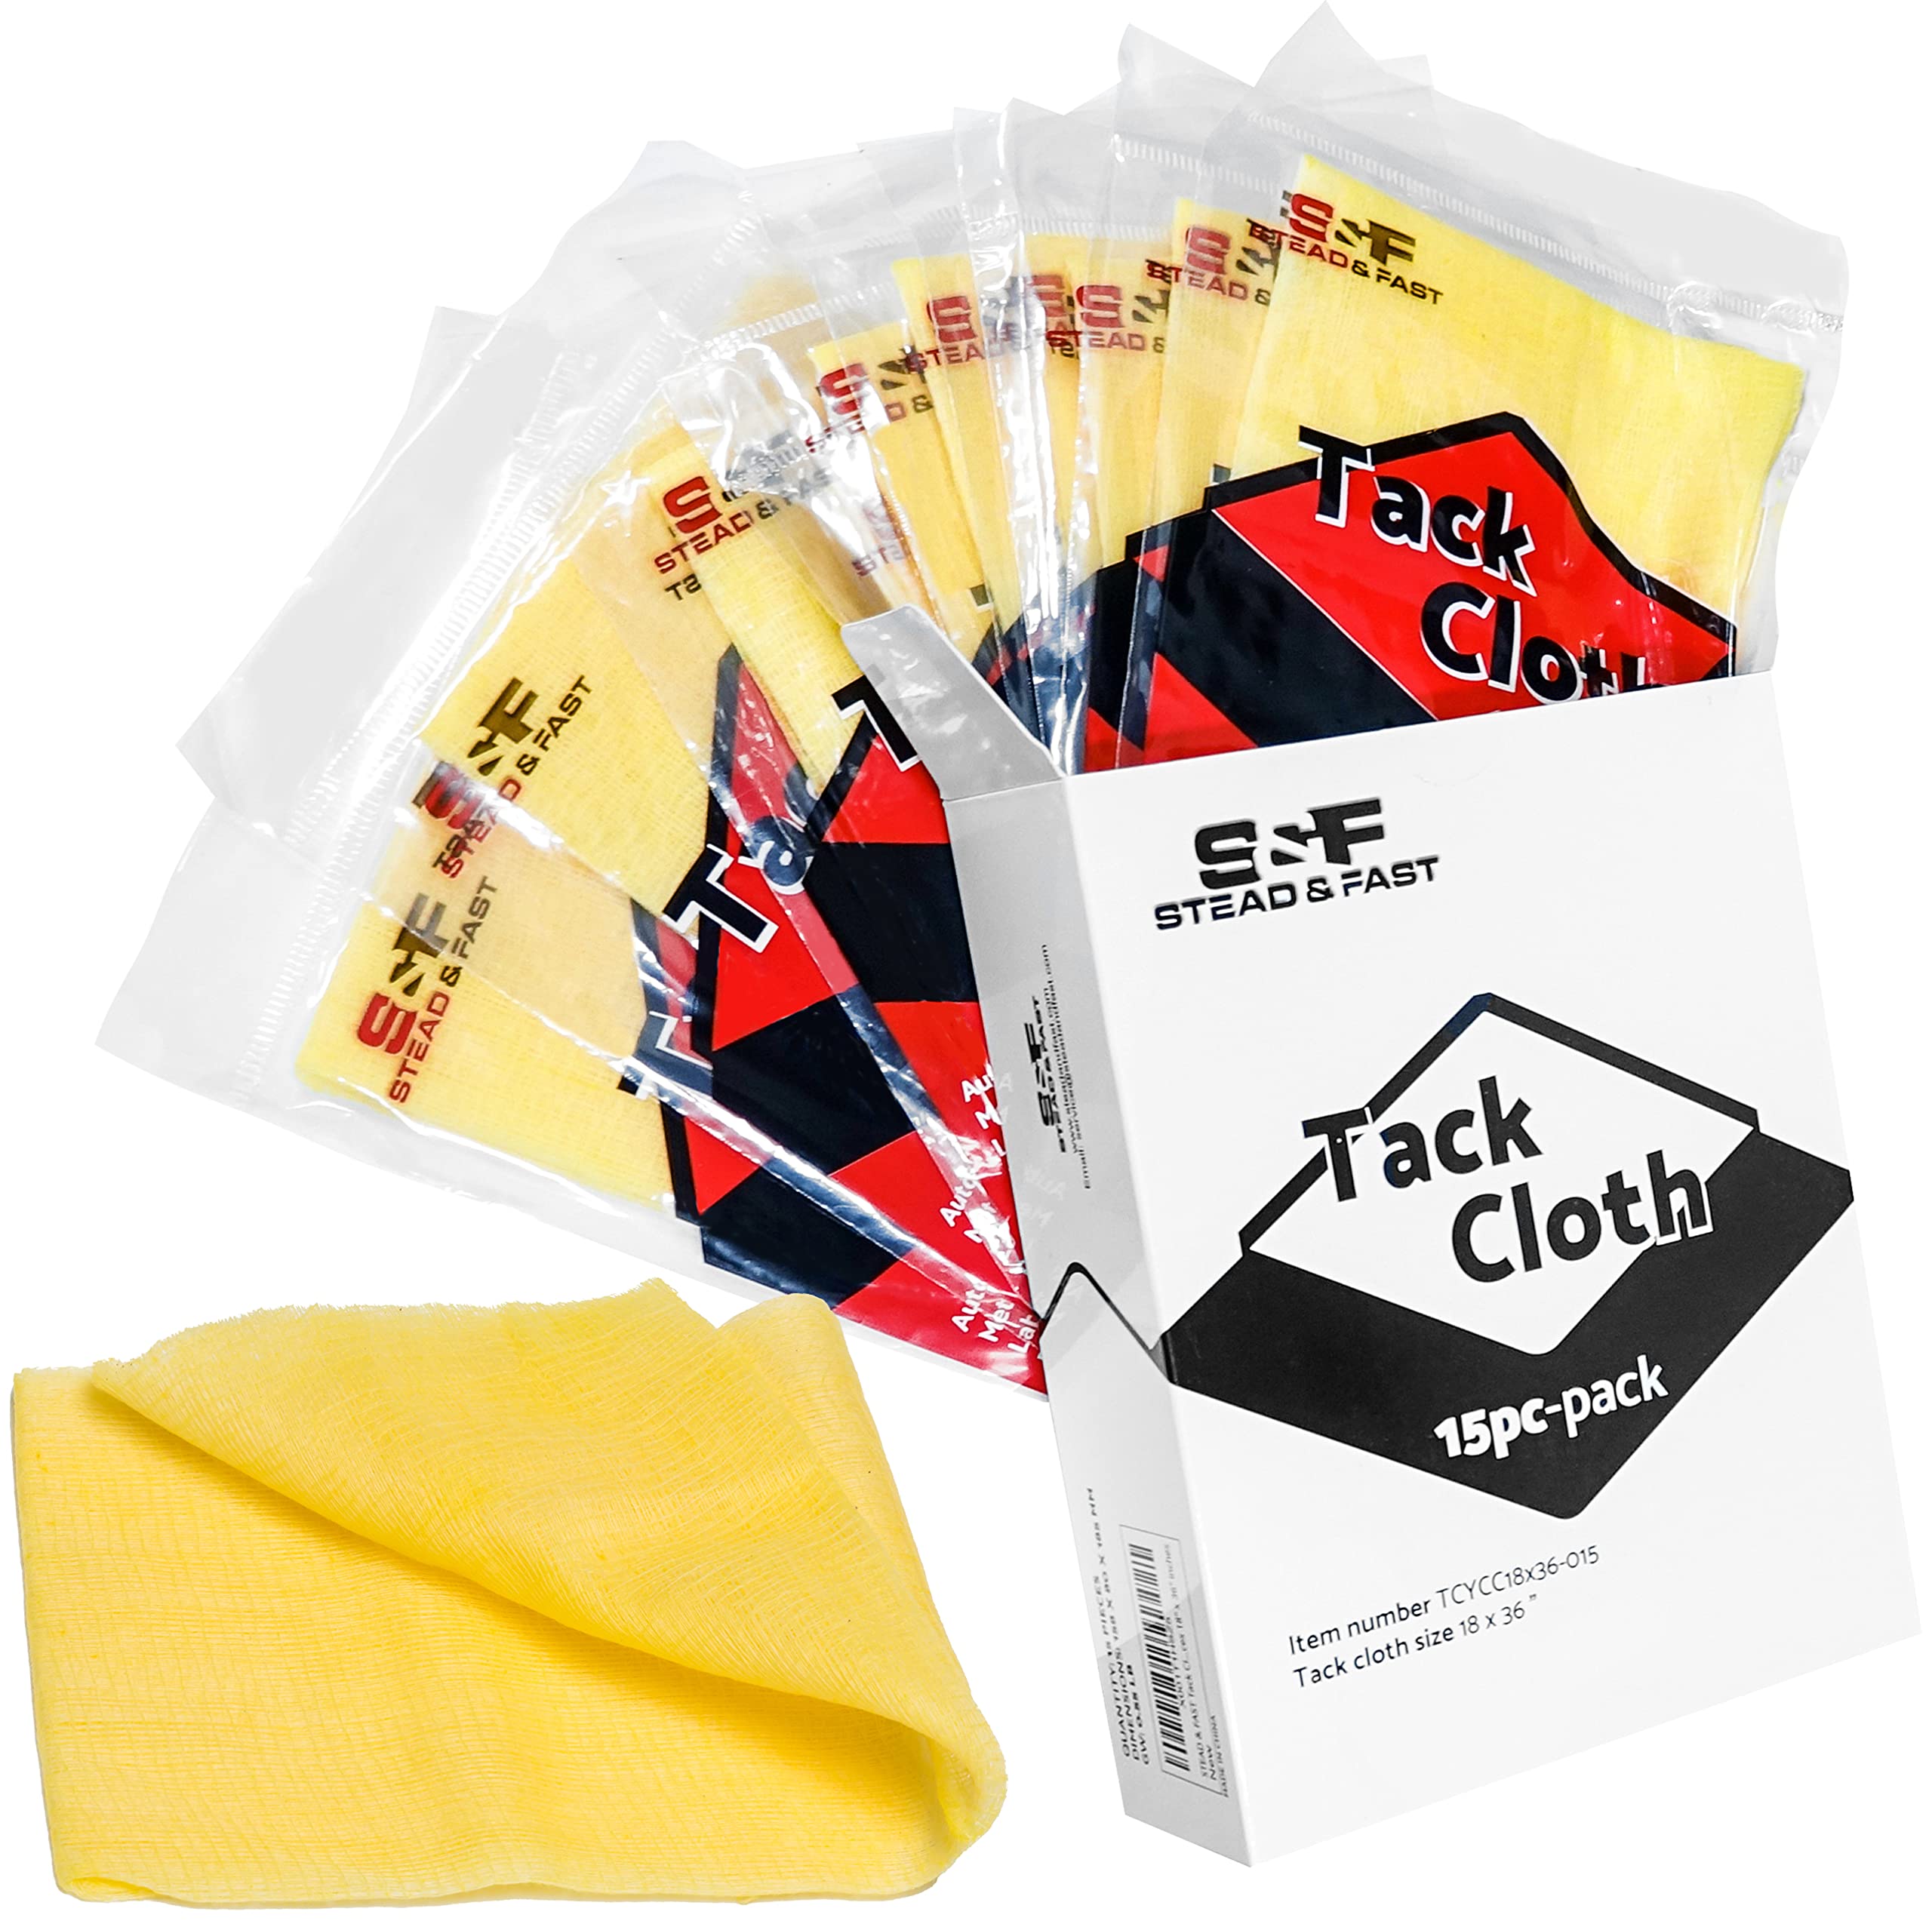
Use tack cloth or vacuum after each grit change. Final clean: Wipe with denatured alcohol on a lint-free cloth to remove all residue.
Expect: Dust-free, tacky-free surface ready for topcoat. Test by rubbing hand—no grit should transfer.
⚠️ Warnings:
Hold wood at eye level under light to spot missed areas or holograms. Lightly resand with finest grit if needed, then reclean.
Success: Uniform sheen across entire surface—no shadows or lines.
💡 Tips:
Proceed to stain, oil, or poly within hours to avoid contamination. Raised grain may require light 320+ denibbing between coats.
Final result: Pristine base for durable, beautiful woodwork.
Problem: Swirl marks from power sander
Solution: Switch to hand sanding with 220+ grit or use variable-speed sander at low RPM. Sand with grain.
Problem: Clogged sandpaper (gumming)
Solution: Use anti-loading stearated abrasives or clean with rubber eraser/cabinet scraper.
Problem: Uneven surface (dished spots)
Solution: Use sanding block for flat pressure; avoid finger pressure.
Problem: Raised grain after first pass
Solution: Light dampen wood, dry, then resand with 220 grit.
Affordable kit with progressive grits (80-2000) perfect for wood sanding progression.
Best for: Hand sanding flats and edges on furniture projects.
Price Range: $14.99
Variable speed prevents swirls; lightweight for intermediate users.
Best for: Large flat surfaces like tabletops for fast, even removal.
Price Range: $39.99
Non-woven abrasive for final scuffing without scratching.
Best for: Denibbing between finish coats on cabinets.
Price Range: $5.99/pack
Lint-free, reusable for superior dust removal.
Best for: Between-grit cleaning on all projects.
Price Range: $9.99
Valve design for comfort during long sessions; wood dust protection.
Best for: All sanding tasks to prevent inhalation.
Price Range: $22.99/10-pack
Hand sanding flats and edges on furniture projects.
WORKPRO 48-Piece Sanding Sheets Assortment Affordable kit with progressive grits (80-2000) perfect for wood sanding progression.

Large flat surfaces like tabletops for fast, even removal.
BLACK+DECKER 5-Inch Random Orbital Sander Variable speed prevents swirls; lightweight for intermediate users.

Denibbing between finish coats on cabinets.
3M Scotch-Brite General Purpose Hand Pad (Maroon) Non-woven abrasive for final scuffing without scratching.
Between-grit cleaning on all projects.
Harley Tack Cloth for Woodworking Lint-free, reusable for superior dust removal.

All sanding tasks to prevent inhalation.
3M 8511 N95 Dust Mask Valve design for comfort during long sessions; wood dust protection.