Working with plastic can be tricky—too much pressure or the wrong abrasive leads to melting, scratches, or cloudiness. Whether you're restoring headlights, smoothing 3D prints, or finishing model kits, using abrasive finishing products correctly transforms dull plastic into gleaming perfection.
In this guide, you'll learn a step-by-step process for progressive sanding and polishing tailored for plastic's sensitivity to heat. Expect intermediate skills like steady hand control and grit progression. The whole process takes 30-60 minutes per surface, depending on size and damage.
By the end, your plastic will look factory-fresh, scratch-free, and protected—saving you from costly replacements.
▸What You'll Need
- •Safety gear: Nitrile gloves, safety goggles, dust mask or respirator
- •Wet/dry sandpaper sheets or discs (grits: 400, 600, 800, 1200, 2000)
- •Distilled water or soapy water in a spray bottle
- •Plastic polishing compound (fine cut and ultra-fine)
- •Microfiber cloths (lint-free)
- •Soft buffing pad or foam applicator (by hand or drill attachment)
- •Optional: Electric buffer or Dremel with polishing wheel
- •Clean workspace with good ventilation
Estimated Time: 30-60 minutes per square foot
Difficulty: intermediate
▸Step-by-Step Instructions
Step 1: Prepare Your Workspace and Safety Gear
Set up in a well-ventilated area away from flammables. Lay down drop cloths to catch debris. Don your safety goggles, gloves, and dust mask—plastic dust and compounds can irritate skin and lungs.
Why it matters: Plastic abrasives generate fine particles and heat; poor prep leads to slips or health issues. Expect a clean, organized space ready for wet work.
💡 Tips:
- •Use a respirator rated for fine dust if working indoors.
- •Keep a fan blowing away from your face.
⚠️ Warnings:
- •Never skip eye protection—flying grit can cause injury.
Step 2: Clean the Plastic Surface Thoroughly
Wash the plastic with mild soap and water, then dry with a microfiber cloth. Remove any wax, grease, or dirt using isopropyl alcohol (70%).
This removes contaminants that could embed in scratches or cause uneven sanding. Success: Surface feels smooth and residue-free, no streaks.
💡 Tips:
- •Test alcohol on a hidden spot to avoid discoloration.
Step 3: Start with Coarse Grit Sanding (400 Grit)
Attach 400-grit wet/dry sandpaper to a sanding block. Spray the surface and paper generously with water. Sand in straight lines or circles with light, even pressure—let the abrasive do the work.
Focus on deep scratches first. Why: Coarse grit levels imperfections without removing too much material. Expect: Hazy surface with scratches reduced; stop when level (5-10 mins).
Keep it wet to prevent clogging and heat buildup.
⚠️ Warnings:
- •Avoid heavy pressure—plastic melts at low heat.
Step 4: Progress to Medium Grits (600-800)
Rinse the surface, then switch to 600-grit. Sand perpendicular to previous direction to remove scratches. Repeat with 800-grit.
This refines the surface progressively. Success at each: Visible scratches from prior grit disappear, surface smooths out. Rinse between grits.
💡 Tips:
- •Sand in small sections to maintain evenness.
Step 5: Finish Sanding with Fine Grits (1200-2000)
Move to 1200 then 2000 grit, continuing wet sanding in varying directions. The surface should now feel silky and look matte.
Why: Fine grits polish out haze. Expect 10-15 mins total; plastic ready for compounding when thumb-glide is buttery smooth.
⚠️ Warnings:
- •Don't rush—skipping grits leaves swirl marks.
Step 6: Apply Cutting Polish Compound
Dry the surface completely. Apply a dime-sized amount of medium-cut polish to a foam applicator or microfiber. Work in small circles by hand or low-speed buffer (under 1500 RPM).
Buff off residue. This removes remaining haze. Success: Slight shine emerges.
💡 Tips:
- •Use a dual-action polisher for larger areas.
Step 7: Final Polish and Buff to Shine
Switch to ultra-fine polish. Buff vigorously until crystal clear. Wipe clean and inspect under light—no swirls or haze.
Protect with UV sealant if outdoors. Final result: Mirror-like plastic that repels dust.
💡 Tips:
- •Buff in sunlight for best clarity check.
Step 8: Inspect and Maintain
Check for missed spots under multiple lights. Apply plastic protectant. Clean tools immediately.
Success: Professional finish lasting months with care.
▸Pro Tips
- •Always sand wet—doubles abrasive life and prevents melting.
- •Use a flexible sanding block for contours.
- •Progress grits in halves (e.g., 400→600→1000) for best results.
- •Light pressure + more passes = safer sanding.
- •For headlights, tape edges to avoid oversanding.
- •Store sandpaper flat to prevent curling.
- •Test polish on scrap plastic first.
▸Common Mistakes to Avoid
- •Dry sanding: Causes heat buildup and melting—always use water.
- •Skipping grit progression: Leaves deep scratches visible after polish.
- •High-speed buffing: Burns plastic—keep under 1500 RPM.
- •Heavy pressure: Digs gouges—let abrasive cut.
- •Not cleaning between steps: Contaminates finer grits.
▸Troubleshooting
Problem: Hazy or cloudy finish
Solution: Revert to 800-grit wet sand, then re-progress. Ensure thorough rinsing.
Problem: Swirl marks or holograms
Solution: Use finer polish (2000+ grit equivalent) and slower buffing speed.
Problem: Plastic melting or burning
Solution: Stop immediately, cool with water, switch to wet method and lighter pressure.
Problem: Uneven shine
Solution: Sand in consistent pattern; work in sections. Seek pro if structural damage.
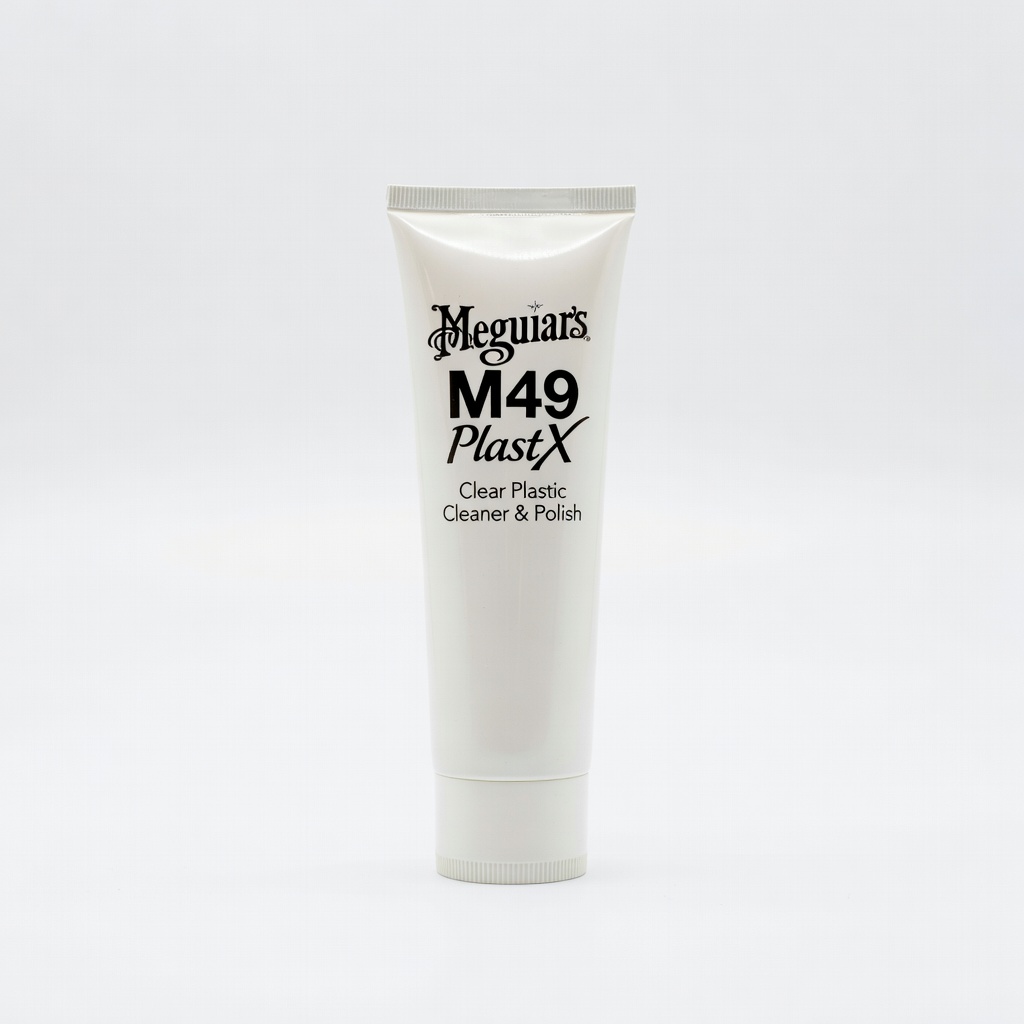
Meguiar's M49 PlastX Clear Plastic Cleaner & Polish
Excellent all-in-one cutting and polishing compound designed specifically for plastic; removes heavy oxidation and fine scratches effortlessly.
Best for: Final polishing step on headlights, gauges, or textured plastics.
Price Range: $14.99
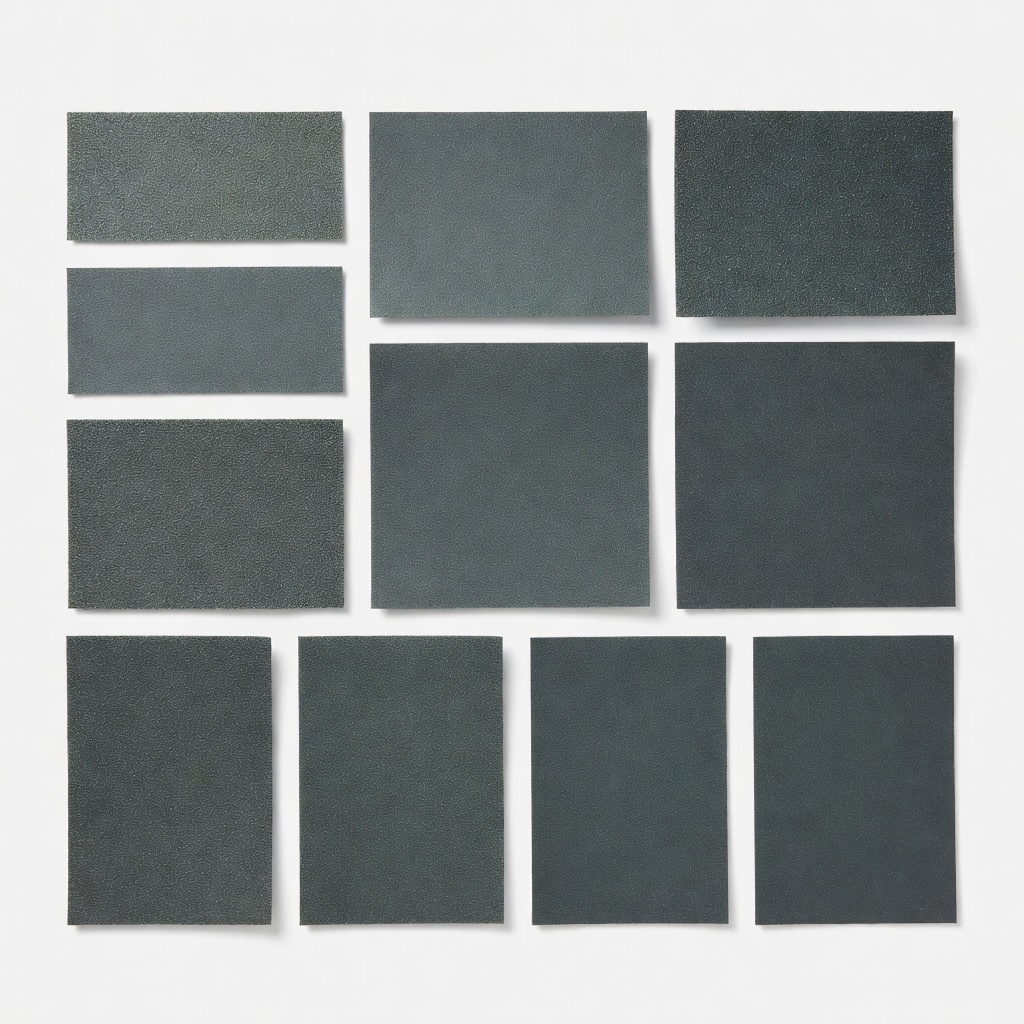
3M Wetordry Sandpaper Assortment (400-2000 grit)
Premium waterproof sheets that don't clog, perfect for progressive sanding on plastic without tearing.
Best for: All sanding steps; cut sheets to size for precision.
Price Range: $15-$20
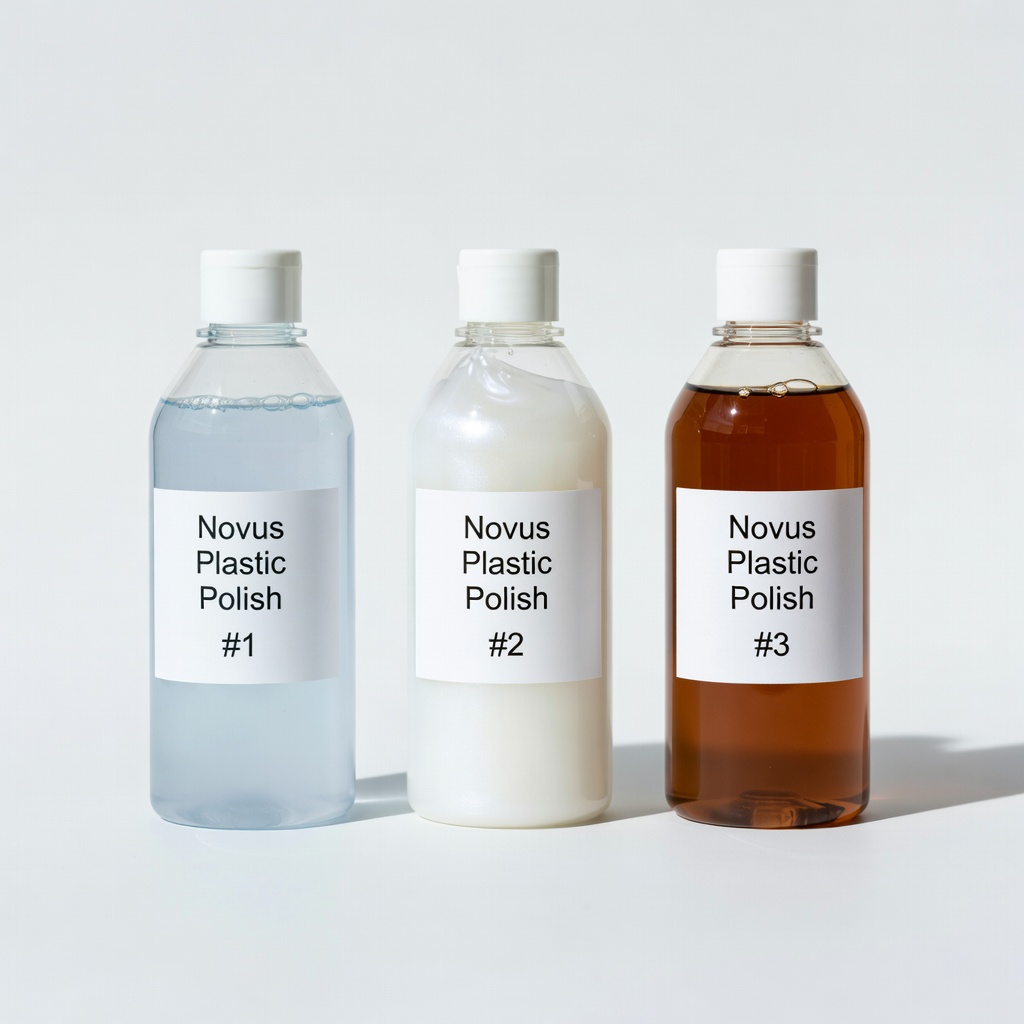
Novus Plastic Polish Kit (#1, #2, #3)
Three-step system for scratches from light to heavy; #2 for fine sanding removal, #3 for high gloss.
Best for: Polishing after sanding on small parts like 3D prints or models.
Price Range: $19.99
Chemical Guys V32 Optical Grade Plastic Polish
Ultra-fine polish for mirror finish; safe on clear plastics without fillers.
Best for: Final buffing on transparent surfaces like visors.
Price Range: $24.99
Lake Country HDO Foam Finishing Pad
Soft foam pad for hand or DA polisher; applies polish evenly without marring.
Best for: Buffing large areas safely.
Price Range: $8-$12