Tired of hazy, swirled surfaces that ruin your project's professional look? Achieving a true high-gloss finish requires precision with abrasive finishing products—going beyond basic sanding to a mirror shine.
In this advanced guide, you'll learn the exact step-by-step process using progressive grits, cutting compounds, and finishing polishes. We'll cover surface prep through final inspection, optimized for automotive paint correction, metal polishing, or composite work. Expect 2-4 hours per panel or part, depending on size and condition—perfect for pros refining their craft.
By the end, your surfaces will reflect like glass, with swirl-free clarity that lasts. This method minimizes risks like holograms or burns when done right.
▸What You'll Need
- •Variable-speed dual-action (DA) polisher or rotary polisher (required for even results)
- •Wet/dry sandpaper sheets or discs: 400, 800, 1200, 2000, 3000 grit (required; P3000 for final abrasion)
- •Heavy-cut compound (e.g., for initial defect removal)
- •Medium-cut polish and ultra-fine finishing polish (required)
- •Microfiber cutting and finishing towels (10+)
- •Spray bottle with distilled water and panel prep solution (for wet sanding and lubrication)
- •Applicator pads: foam cutting, polishing, and finishing (required)
- •Safety gear: respirator mask (NIOSH-approved for dust), nitrile gloves, safety goggles (required)
- •Work light or LED inspection lamp (optional but highly recommended)
- •Clay bar kit (optional for pre-abrasion decontamination)
Estimated Time: 2-4 hours per 2x2 ft surface area (includes drying time between steps)
Difficulty: advanced
▸Step-by-Step Instructions
Step 1: Prepare Your Workspace and Surface
Set up in a well-ventilated, shaded area to avoid dust contamination and heat buildup. Wash the surface thoroughly with soap and water, then decontaminate using a clay bar lubricated with panel prep. Dry completely.
Why it matters: Contaminants like wax, oils, or embedded dirt cause uneven abrasion, leading to scratches or holograms. Success looks like a smooth, slick surface that passes the 'bag test' (plastic bag glides without drag).
Inspect under strong LED light for defects—note swirls, oxidation, or pits you'll target.
💡 Tips:
- •Work in 2x2 ft sections to maintain control.
- •Tape off adjacent areas to prevent stray abrasives.
⚠️ Warnings:
- •Never skip decontamination—it's the #1 cause of failure in advanced finishing.
Step 2: Select and Organize Progressive Abrasives
Choose color-coded or marked wet/dry abrasives starting at 400 grit (for heavy defects) up to P3000. Cut sheets to fit your backing pad or use hook-and-loop discs for your polisher.
Why it matters: Progressive grit sequence (each 1.5-2x finer than previous) levels the surface without deep scratches. Lay them out in order—success is a organized station ready for seamless transitions.
For paint: Start coarser if oxidized; for metal: Begin at 800 if lightly scratched.
💡 Tips:
- •Label grits on a board for quick reference.
- •Soak paper in water 5 mins before use.
Step 3: Wet Sand with Coarse Grit (400-800)
Mist surface and abrasive with distilled water. Use DA polisher at 4,000-6,000 OPM or hand-sand in straight lines/X patterns with light pressure. Sand until defect haze disappears, wiping every 30 seconds.
Why it matters: Removes heavy imperfections flatly. Expect a uniform satin/matte finish—no shiny spots or deep lines. Rinse and dry to inspect; feel for levelness.
Progress only when uniform.
⚠️ Warnings:
- •Avoid round motions—creates swirls. Too much pressure digs micro-scratches.
Step 4: Progress to Medium-Fine Grits (1200-2000)
Switch grits, re-lubricate, and sand perpendicular to previous lines. Increase speed slightly if using machine. Wipe, rinse, and inspect frequently.
Why it matters: Refines scratches from prior step. Success: Smoother semi-gloss emerging, no visible prior grit marks under light.
Dry fully between grits (10-15 mins) to check progress.
💡 Tips:
- •Use finger test: Surface should feel glass-smooth to nails.
Step 5: Final Abrade with Ultra-Fine Grit (3000)
Lightly sand with P3000 grit using minimal pressure, focusing on even sheen. This creates the base for gloss.
Why it matters: Ultra-fine scratches are polishing-ready. Expect hazy but uniform high-sheen surface—ready for compounds.
Inspect: No cross-hatch visible.
⚠️ Warnings:
- •Over-sanding thins clear coat—measure paint thickness if possible (aim >3 mils remaining).
Step 6: Apply Heavy-Cut Compound
Prime foam cutting pad with 4-5 pea-sized drops. Spread on surface at low speed (3,000 OPM), then work up to 6,000 OPM in 2x2 passes. Wipe with microfiber.
Why it matters: Levels fine abrasion marks. Success: Waxy shine emerging, swirls gone under light.
Work edge-to-edge.
💡 Tips:
- •Heat buildup? Mist water lightly.
Step 7: Polish and Finish Buff
Switch to medium polish pad and product, then ultra-fine finishing polish on softest pad. Polish at 5,000-7,000 OPM until rich gloss.
Why it matters: Fills micro-scratches for mirror reflection. Final wipe with IPA (70%)—success is distortion-free reflection.
Buff dry with clean microfiber.
Step 8: Inspect and Seal
Examine under multiple lights/angles. Re-polish spots if needed. Apply sealant or wax.
Why it matters: Ensures perfection. Success: Camera-lens clarity, 100% defect-free.
💡 Tips:
- •Use 45/90° light test for holograms.
▸Pro Tips
- •Always sand/polish in straight lines or dual-direction passes to minimize swirls.
- •Use a paint thickness gauge ($20 tool) to track clear coat safely.
- •Mist isopropyl alcohol (IPA) between steps for residue-free transitions.
- •For metal: Add anti-loading lubricant to abrasives.
- •Practice on scrap first—advanced techniques demand muscle memory.
- •Cool surface with fan between steps to prevent burning.
- •Microfiber fold technique: Turn inside-out after 4 passes.
▸Common Mistakes to Avoid
- •Skipping grit progression—leaves deep scratches visible after polish.
- •Dry sanding fines grits—causes clogging and uneven cuts.
- •High speed/pressure on compounds—burns paint or creates holograms.
- •Poor lighting inspection—misses defects until too late.
- •Reusing dirty pads/towels—reintroduces swirls.
▸Troubleshooting
Problem: Holograms or micro-marring after polishing
Solution: Revert to 2000 grit light sand, then re-compound. Use finer polish next time.
Problem: Abrasives loading up (clogging)
Solution: Switch to wet method or anti-loading spray. Clean pads with pad cleaner.
Problem: Uneven gloss or water spots
Solution: Clay and IPA wipe before sealing. Dry thoroughly between steps.
Problem: Paint burning/thinning
Solution: Stop immediately, check thickness. Use DA polisher only; seek pro if <2 mils.
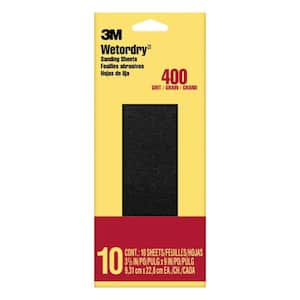
3M Wetordry Sandpaper Assortment (400-3000 Grit)
Premium waterproof paper with consistent cut rate, perfect for progressive wet sanding without tearing.
Best for: Core abrasives for all steps 3-5 on paint or metal.
Price Range: $15-$25
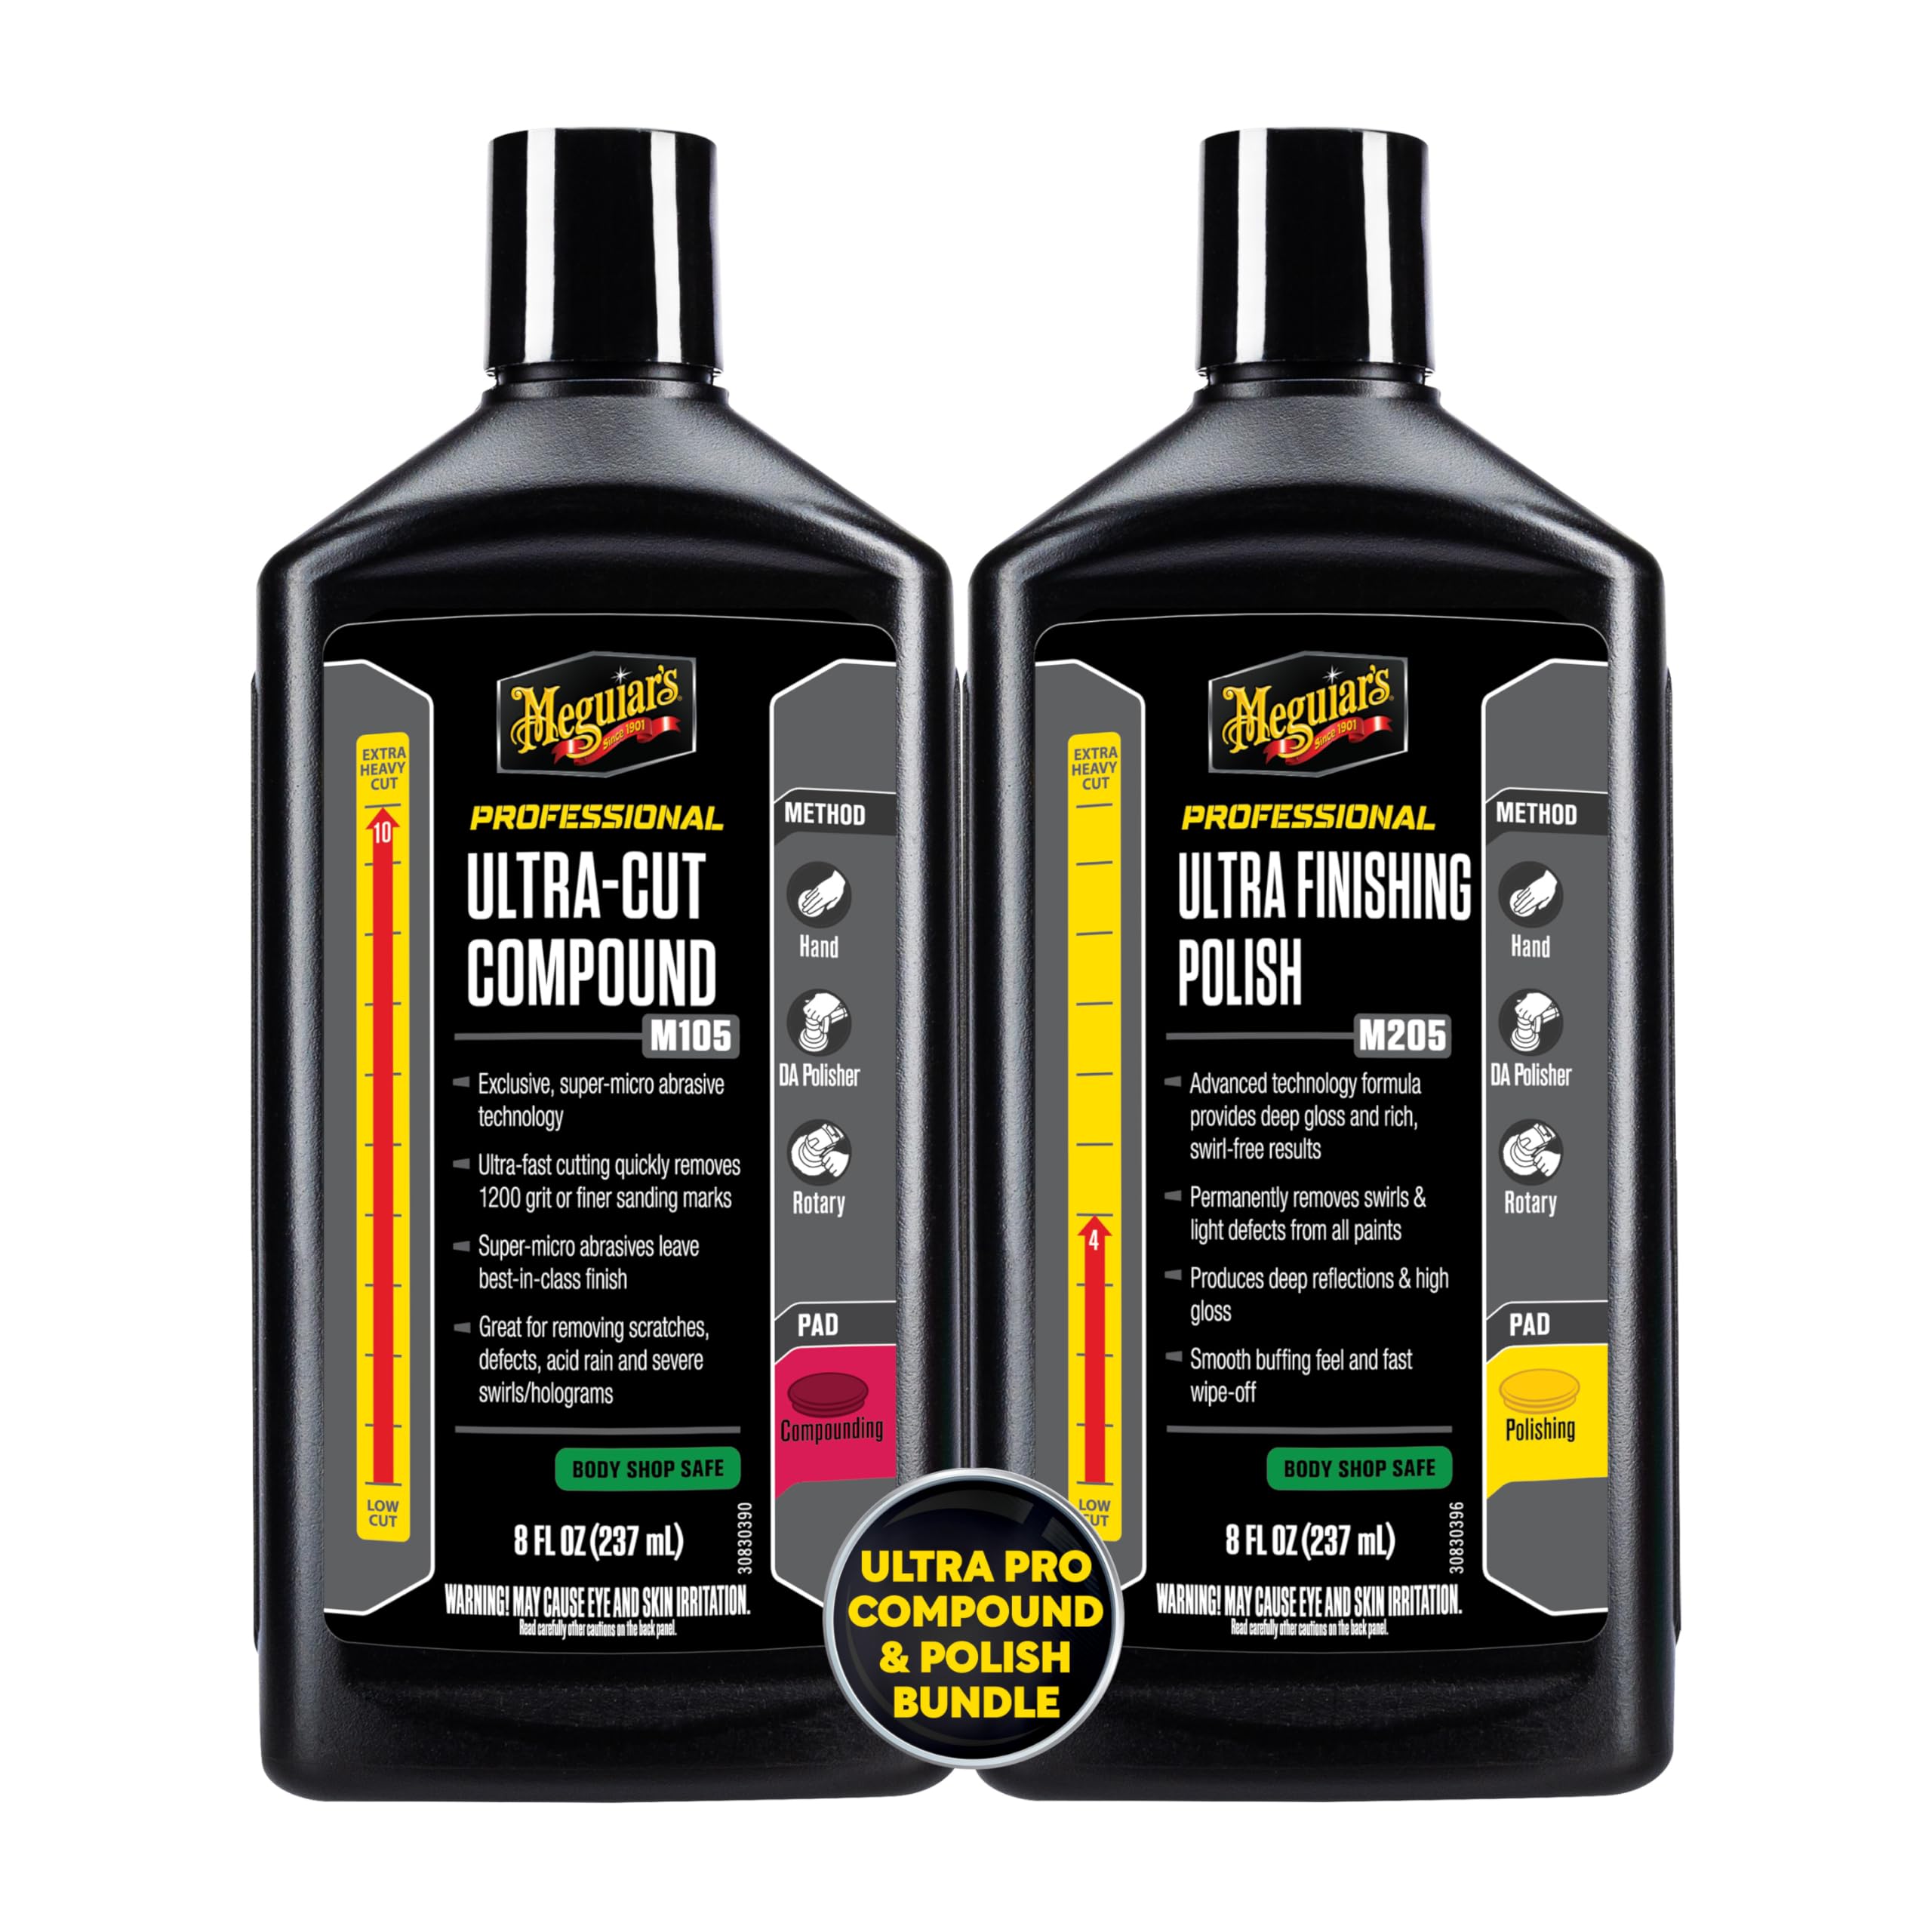
Meguiar's M105 Mirror Glaze Ultra-Cut Compound
Aggressive yet safe cut for leveling fine scratches, leaves no dust for advanced correction.
Best for: Heavy-cut step 6 on oxidized or sanded paint.
Price Range: $25-$30
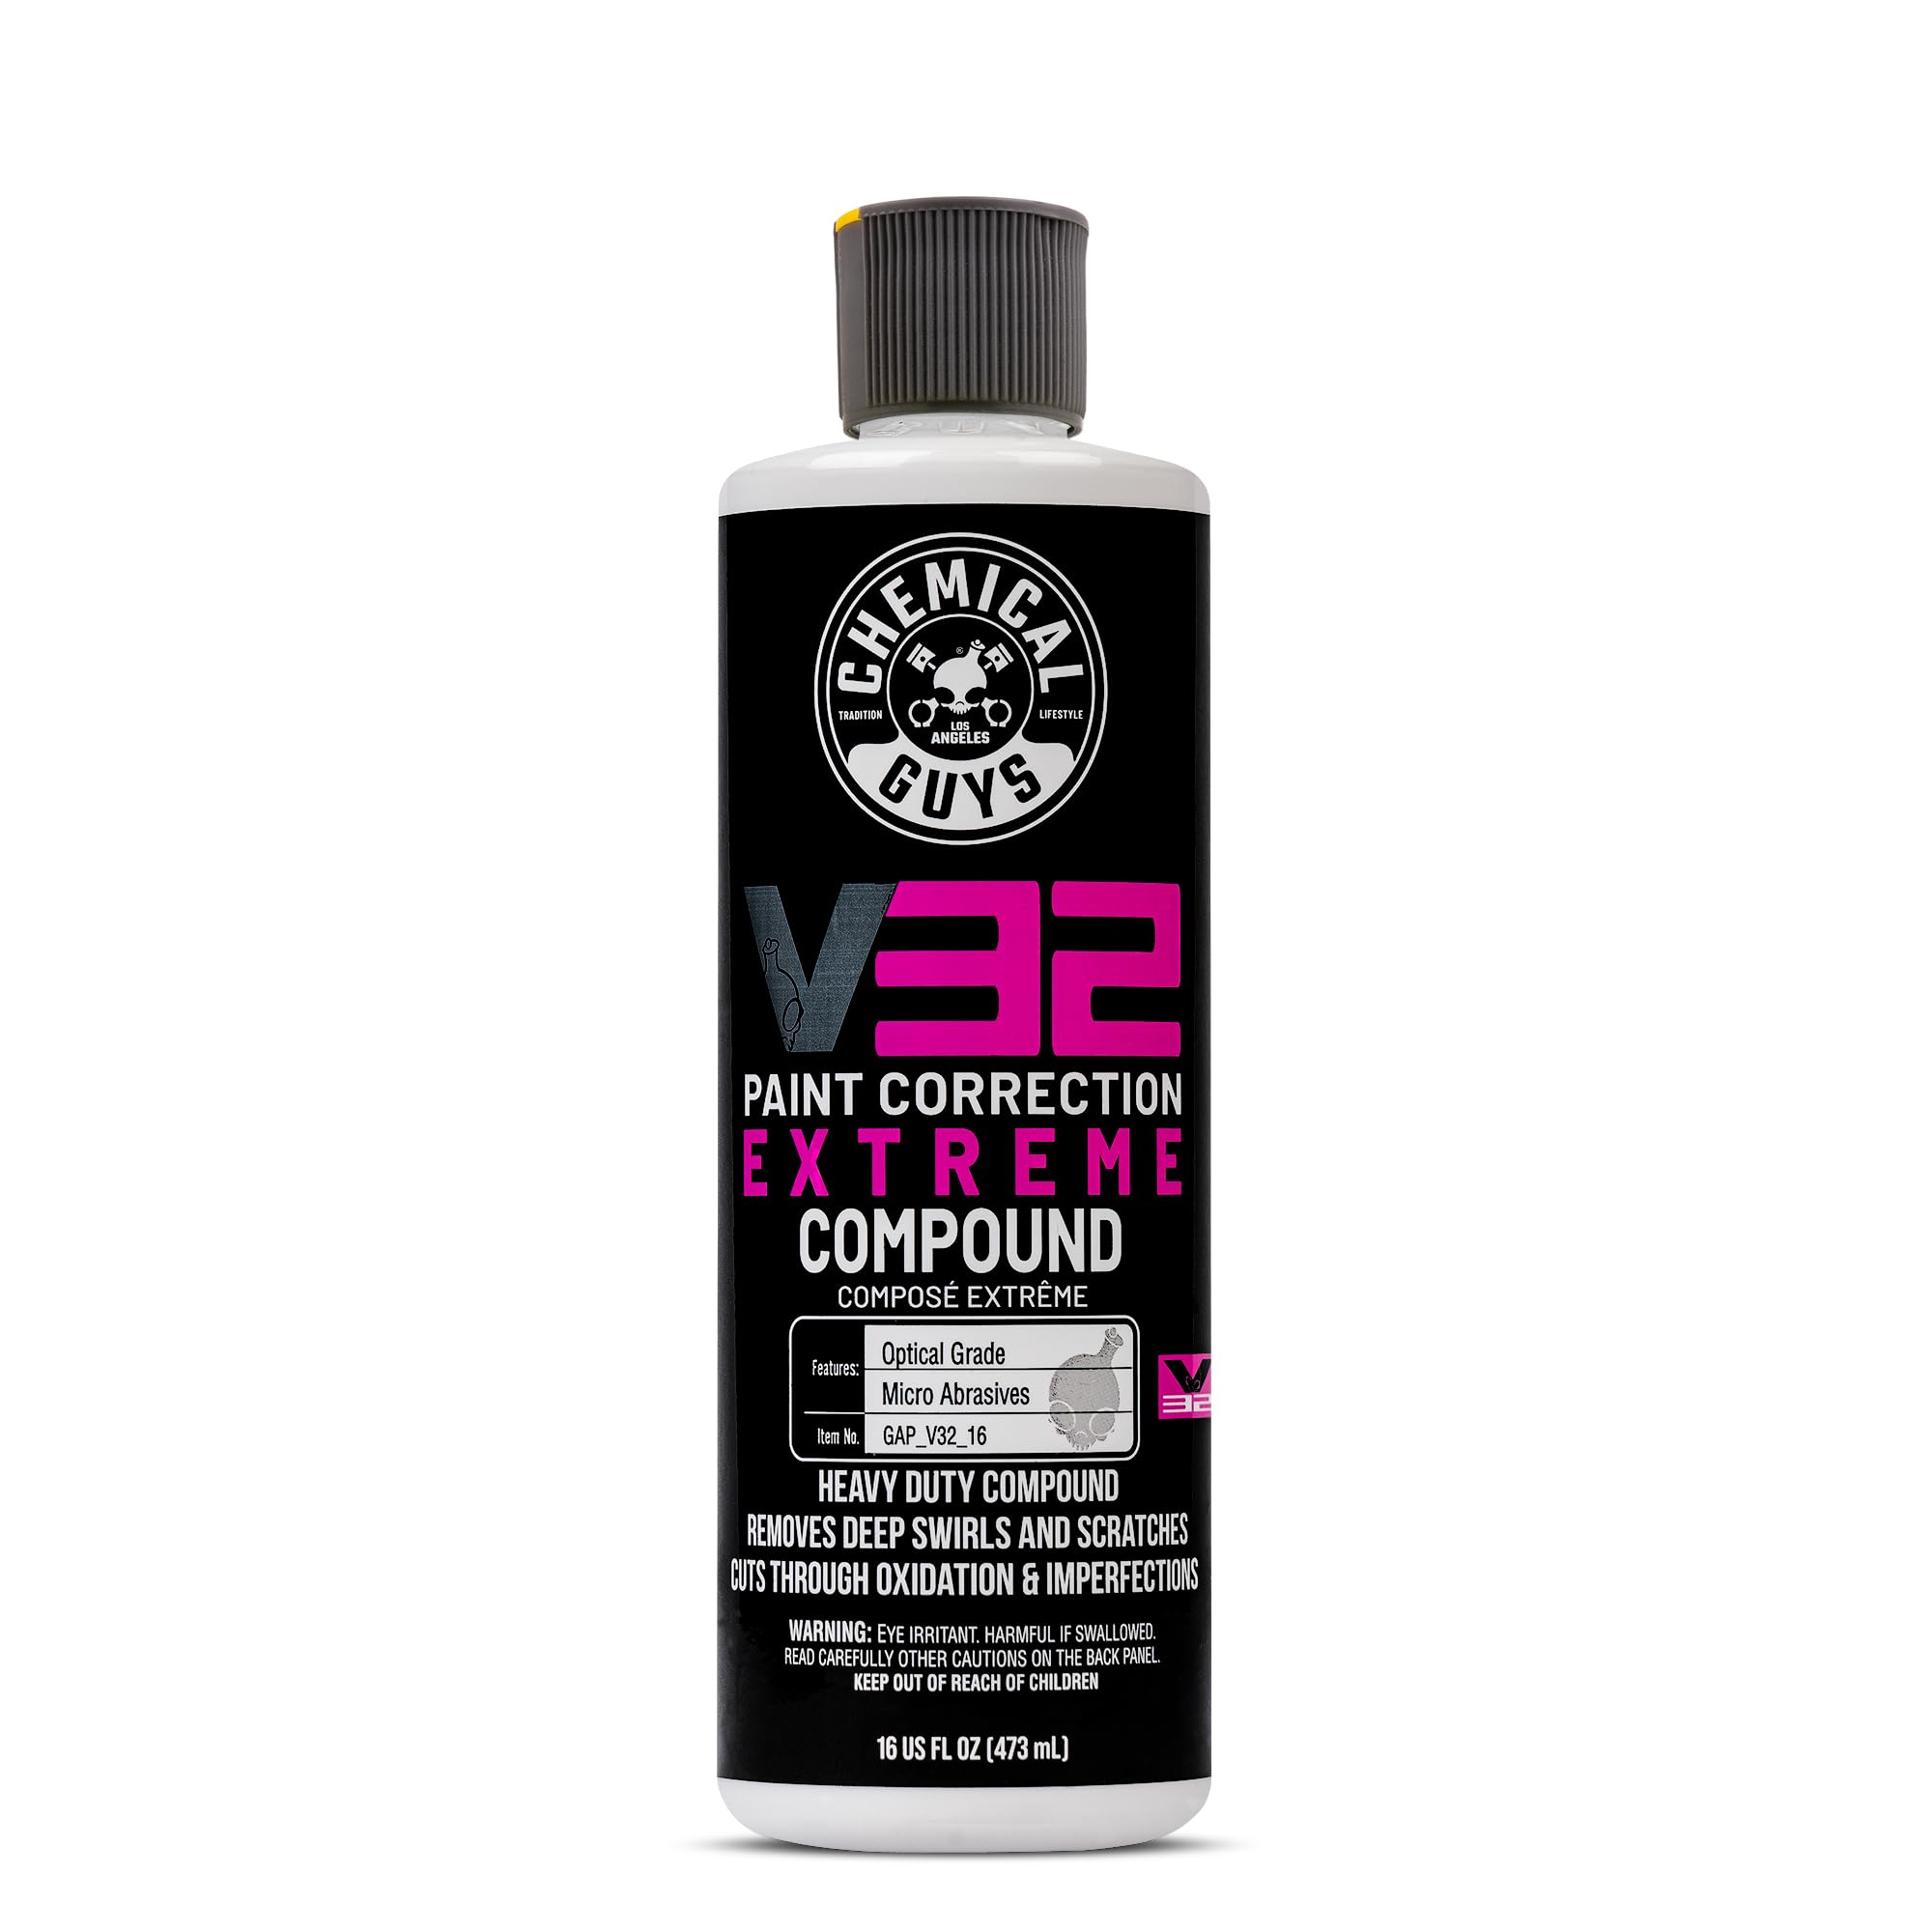
Chemical Guys V32 Optical Grade Polish
Ultra-fine formula erases compound haze for true high-gloss without filler.
Best for: Finishing polish in step 7 for mirror reflections.
Price Range: $20-$25
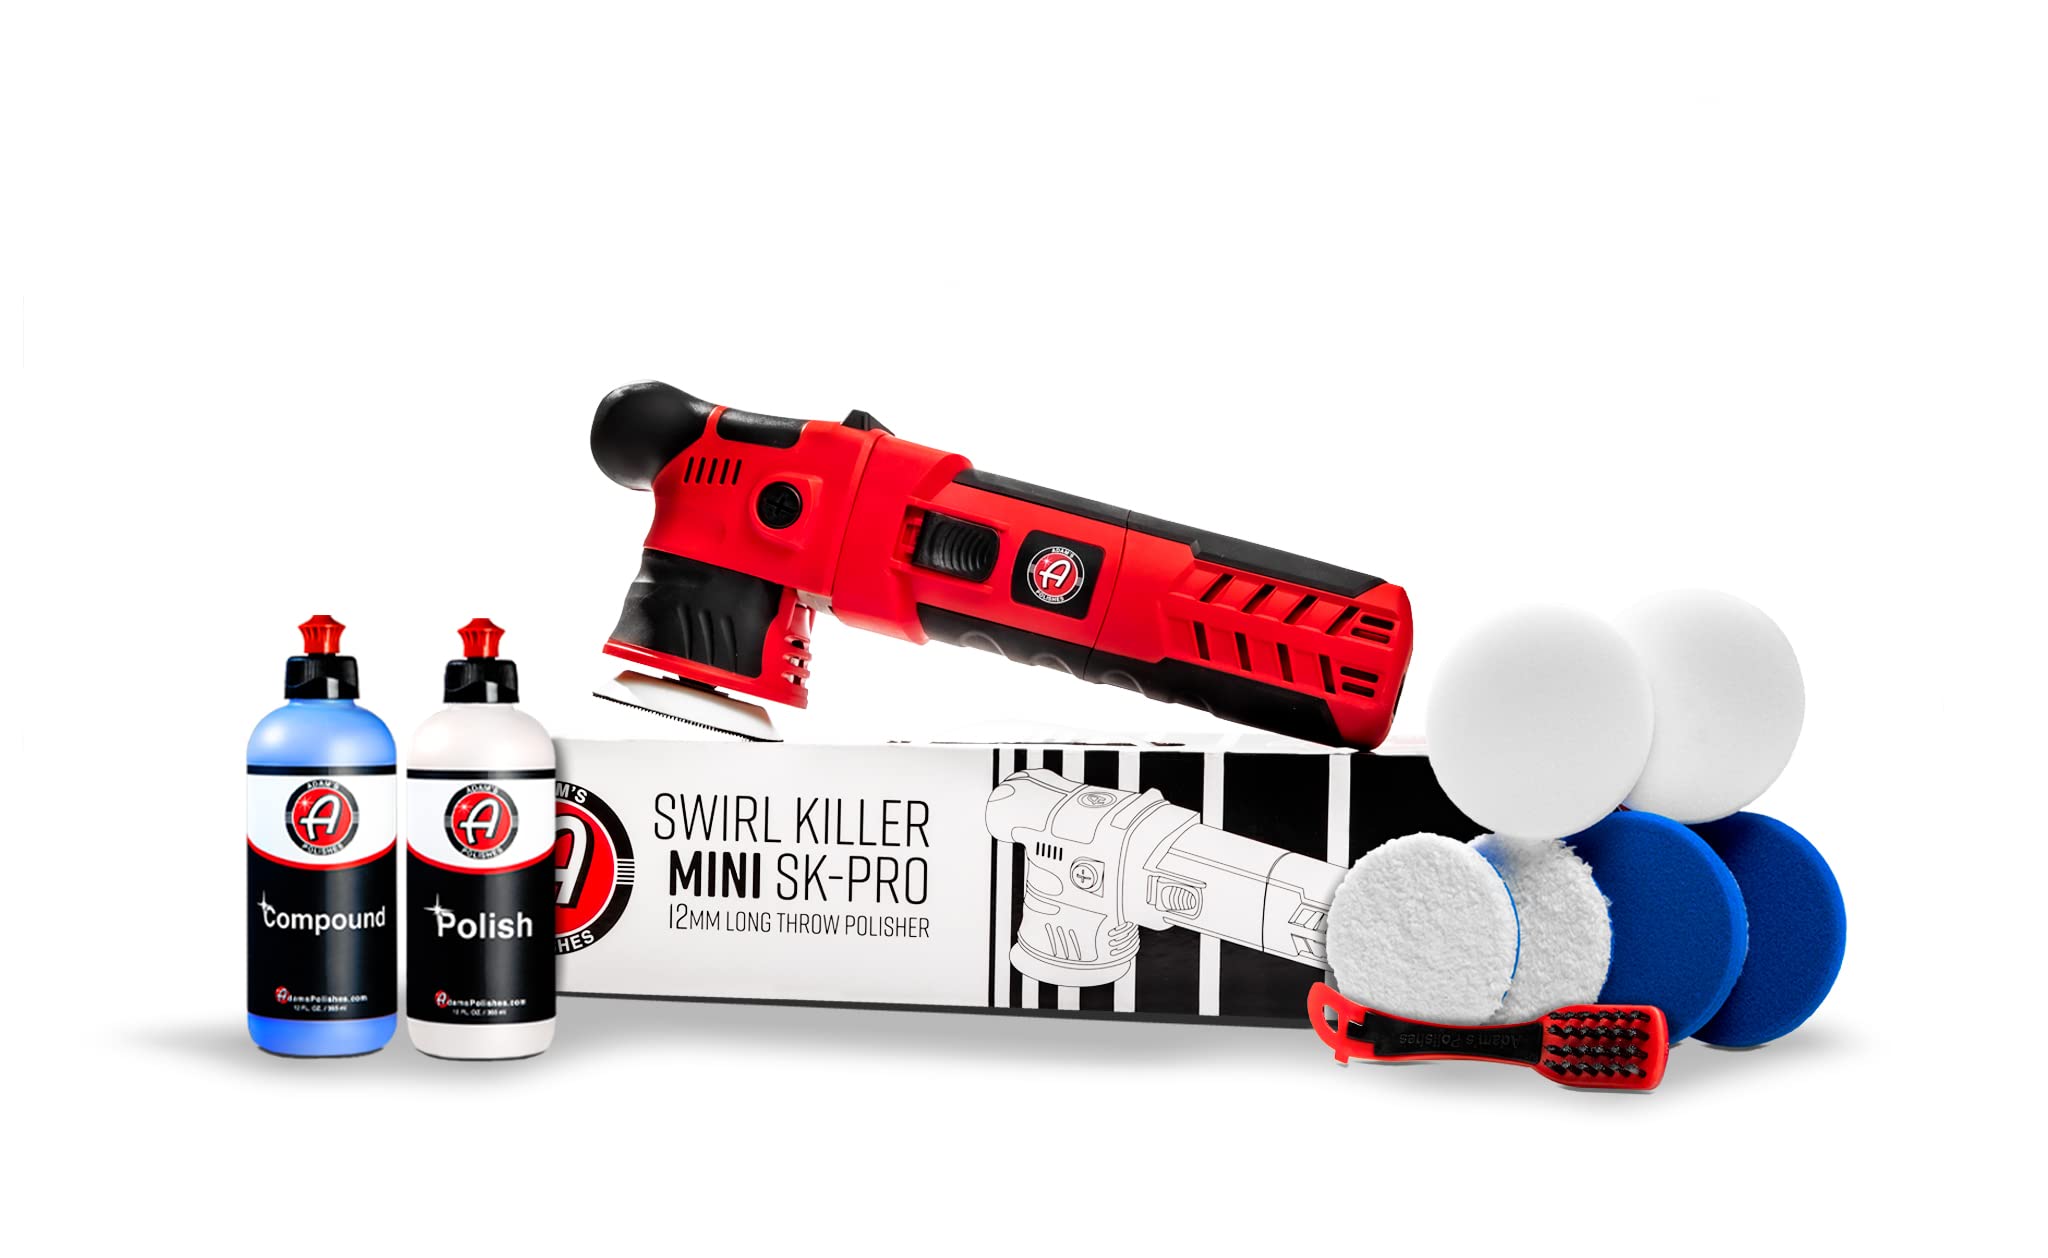
Adam's Polishes Rotary Polisher
Precise speed control for advanced users, safer than cheap rotaries for gloss work.
Best for: All machine steps; variable 300-2500 RPM.
Price Range: $150-$200
Lake Country Foamed Wool Cutting Pad
Hybrid pad cuts aggressively without marring, ideal for compounds on tight tolerances.
Best for: Pads for steps 6-7; durable for pros.
Price Range: $10-$15 each