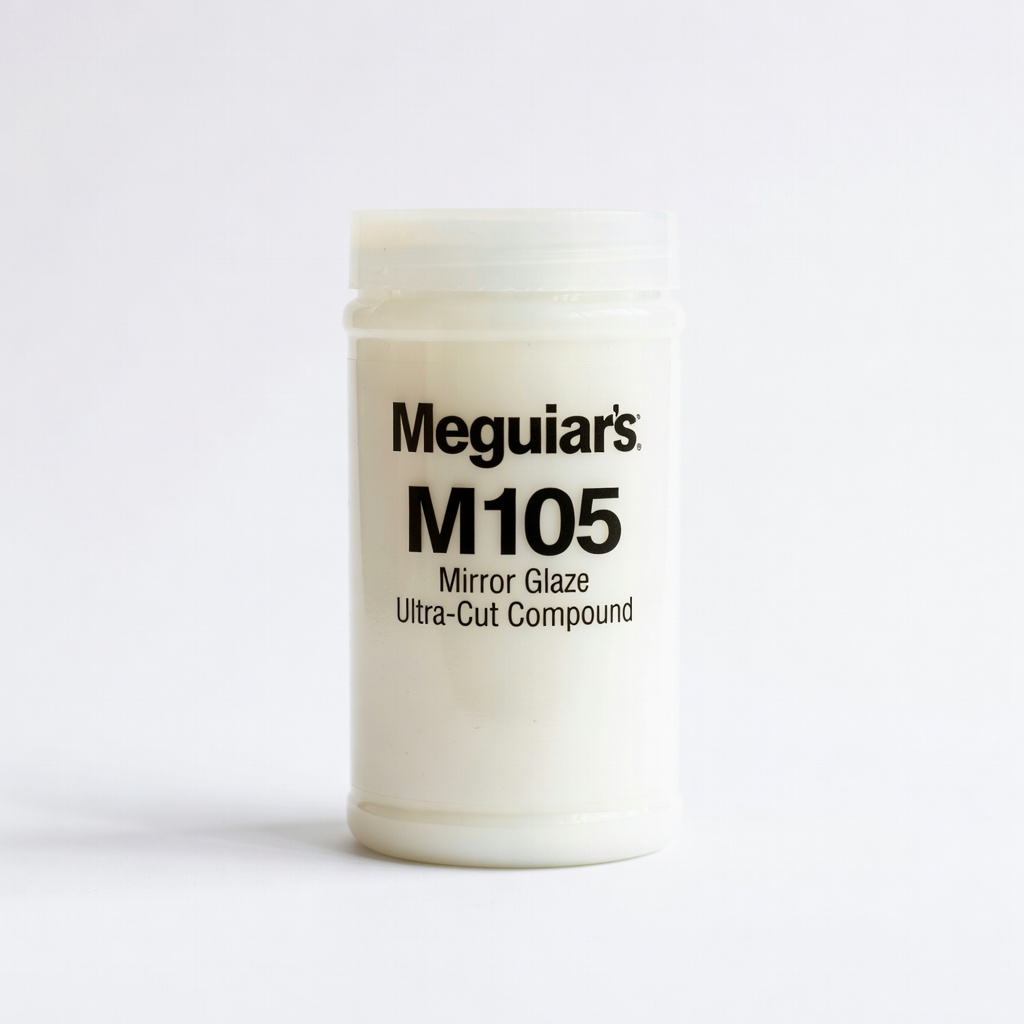
Meguiar's M105 Mirror Glaze Ultra-Cut Compound
Step 6 heavy compounding on DA polisher.
$24.99
Meguiar's M105 Mirror Glaze Ultra-Cut Compound Proven heavy-cut formula removes 1500-grit sanding marks aggressively without excessive powdering.
Get the App
Better experience on mobile
Achieve a flawless, swirl-free auto paint finish using advanced sanding and compounding techniques for professional results at home.
Swirls, scratches, and orange peel on your car's paint can ruin its showroom shine, but abrasive finishing transforms imperfect surfaces into mirror-like perfection. As an advanced detailer, you'll tackle defects that basic polishing can't touch, leveling the clear coat for ultimate clarity.
In this guide, you'll learn precise wet sanding, progressive compounding, and finishing steps to safely remove imperfections without burning through paint. Expect pro-level results: defect-free paint with high gloss and depth.
The process takes 2-4 hours per panel, requires steady hands and practice panels first. Ideal for experienced users familiar with DA polishers and paint correction.
Estimated Time: 2-4 hours per panel (plus drying time) Difficulty: advanced
Use a paint thickness gauge to check clear coat depth across the panel. Aim for at least 4-6 mils (100-150 microns) to safely sand without burning through.
Scan in a grid pattern, noting thinnest areas. Mark 'no-sand' zones if below 3 mils. This prevents costly repaint jobs.
Success: Digital readings stable, map of safe zones created.
💡 Tips:
⚠️ Warnings:
Wash vehicle twice with pH-neutral shampoo, clay bar decontaminate, and IPA wipe down. Mask trim, badges, and adjacent panels with fine-line tape and plastic.
Work in shade, 60-80°F. Dry thoroughly.
Success: Spotless, protected surface ready for abrasives.
💡 Tips:
⚠️ Warnings:
Attach 1500-grit disc to backing plate or hand-sand. Spray distilled water generously, sand in straight overlapping lines (not circles) at low speed (DA: 3000-4000 OPM).
Maintain wet surface, check progress with light. Sand until scratches uniform and matte.
Success: Even, hazy finish—no shiny spots.
💡 Tips:
⚠️ Warnings:
Switch to 2000 grit. Repeat sanding process, focusing on removing 1500 scratches. Increase speed slightly (4000-5000 OPM).
Wipe and inspect frequently.
Success: Smoother haze, 1500 lines gone.
💡 Tips:
Use 3000 grit for final leveling. Sand until surface uniformly satin—no deep lines.
Re-measure thickness; stop if thinning >1 mil.
Success: Ultra-smooth, ready for polish.
⚠️ Warnings:
Prime DA cutting pad with 4-5 pea-sized compound drops. Spread on panel, polish at 4800 OPM in 2x2 ft sections, 3-4 passes.
Wipe residue with microfiber.
Success: Haze reduced, minor gloss emerging.
💡 Tips:
Switch to finishing polish and soft foam pad. Polish at 3000-4000 OPM until wipe-clean gloss.
Final IPA wipe and inspect under lights.
Success: Defect-free, high-gloss mirror finish.
💡 Tips:
Apply paste wax or ceramic sealant. Buff after curing.
Success: Hydrophobic shine, protected surface.
Problem: Holograms or micro-marring after polish
Solution: Re-polish with finer pad/polish at lower speed; inspect dry.
Problem: Paint burn-through spots
Solution: Stop immediately, fill with clear coat touch-up or seek body shop.
Problem: Compound residue haze
Solution: IPA wipe-down followed by panel wipe and re-polish.
Problem: Uneven sanding
Solution: Increase overlaps, sand slower; blend edges lightly.
Proven heavy-cut formula removes 1500-grit sanding marks aggressively without excessive powdering.
Best for: Step 6 heavy compounding on DA polisher.
Price Range: $24.99
Silicone-free polish erases light swirls and restores gloss post-compound.
Best for: Final polishing for mirror shine.
Price Range: $24.99
Premium wet/dry abrasive cuts cleanly, minimizes clogging for flawless leveling.
Best for: Final sanding step on panels.
Price Range: $19.99
Accurate digital readings prevent over-sanding; essential for advanced work.
Best for: Initial safety measurement.
Price Range: $29.99
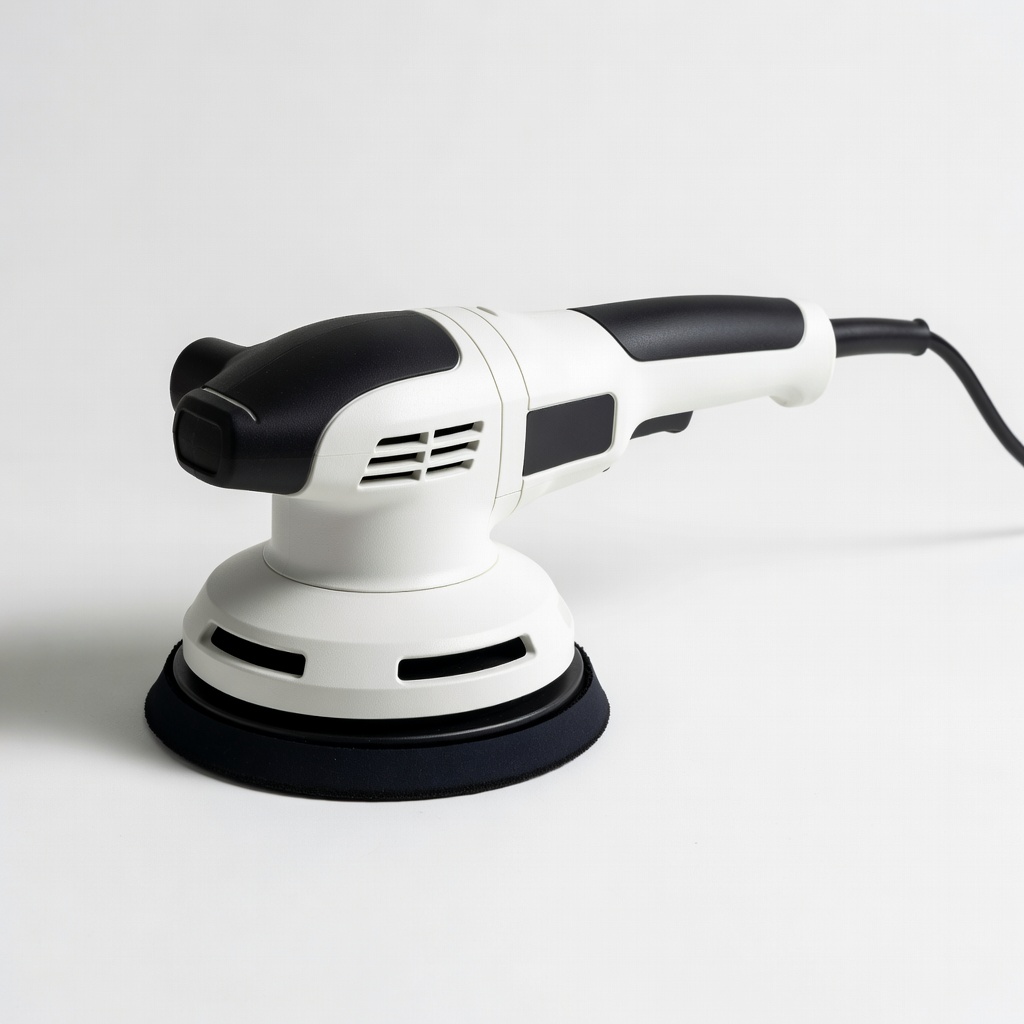
Powerful 900W DA with speed control ideal for sanding/compounding without holograms.
Best for: All machine steps; budget pro tool.
Price Range: $99.99
Step 6 heavy compounding on DA polisher.
Meguiar's M105 Mirror Glaze Ultra-Cut Compound Proven heavy-cut formula removes 1500-grit sanding marks aggressively without excessive powdering.
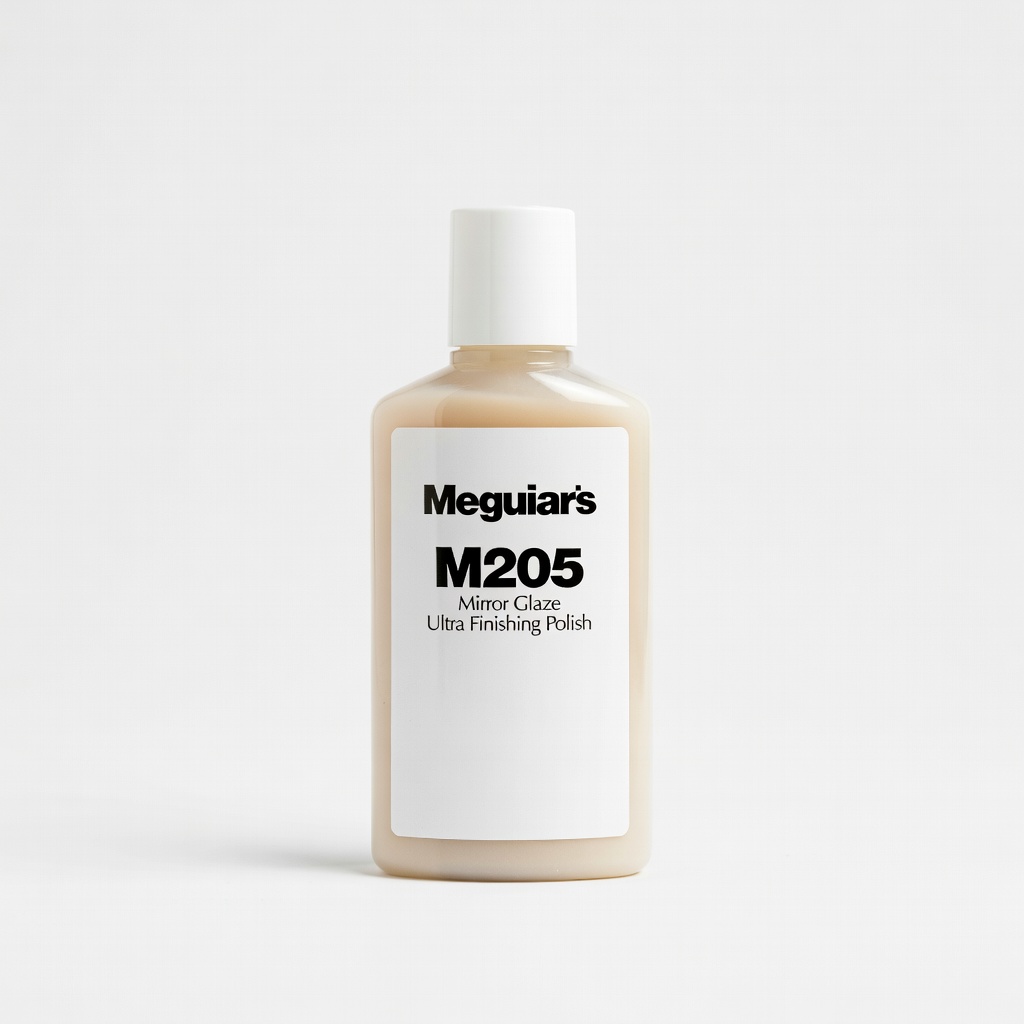
Final polishing for mirror shine.
Meguiar's M205 Mirror Glaze Ultra Finishing Polish Silicone-free polish erases light swirls and restores gloss post-compound.
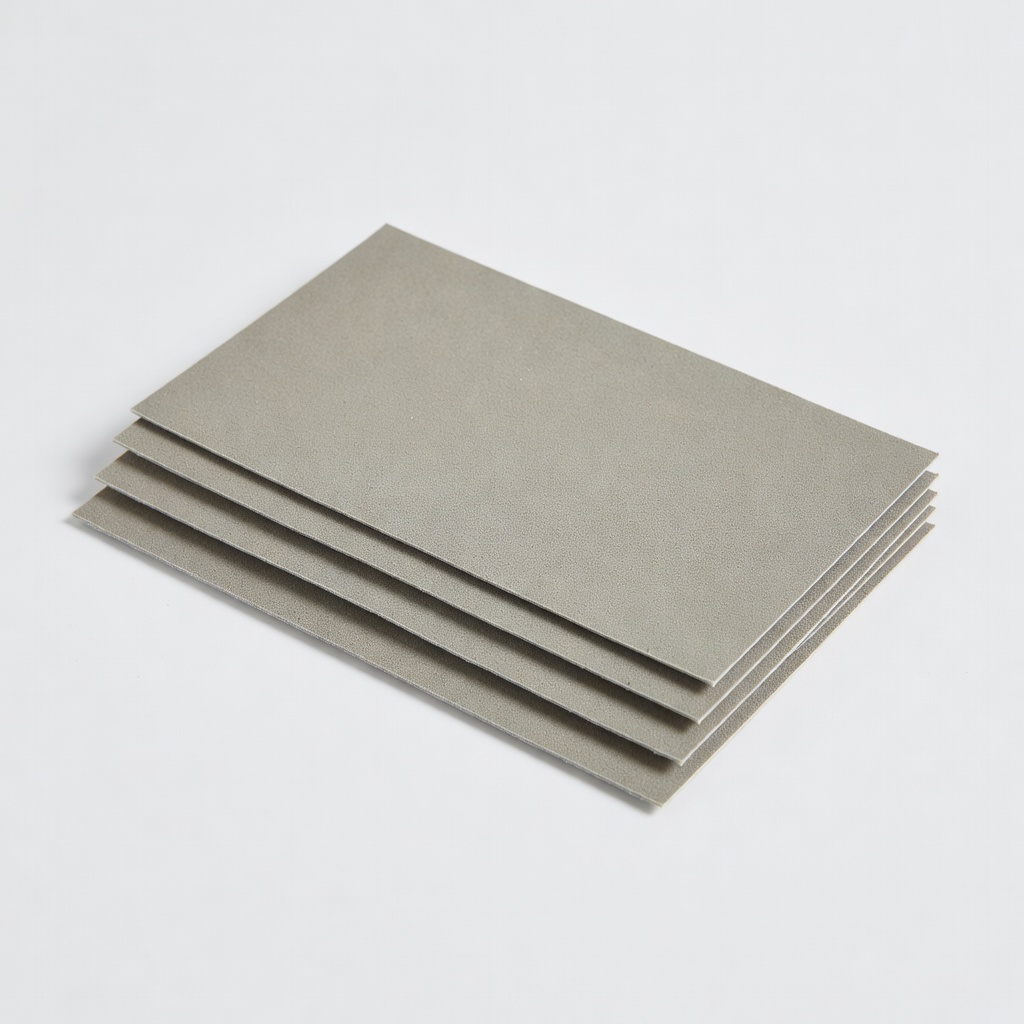
Final sanding step on panels.
3M Perfect-It 3000 Grit Sandpaper (5 sheets) Premium wet/dry abrasive cuts cleanly, minimizes clogging for flawless leveling.
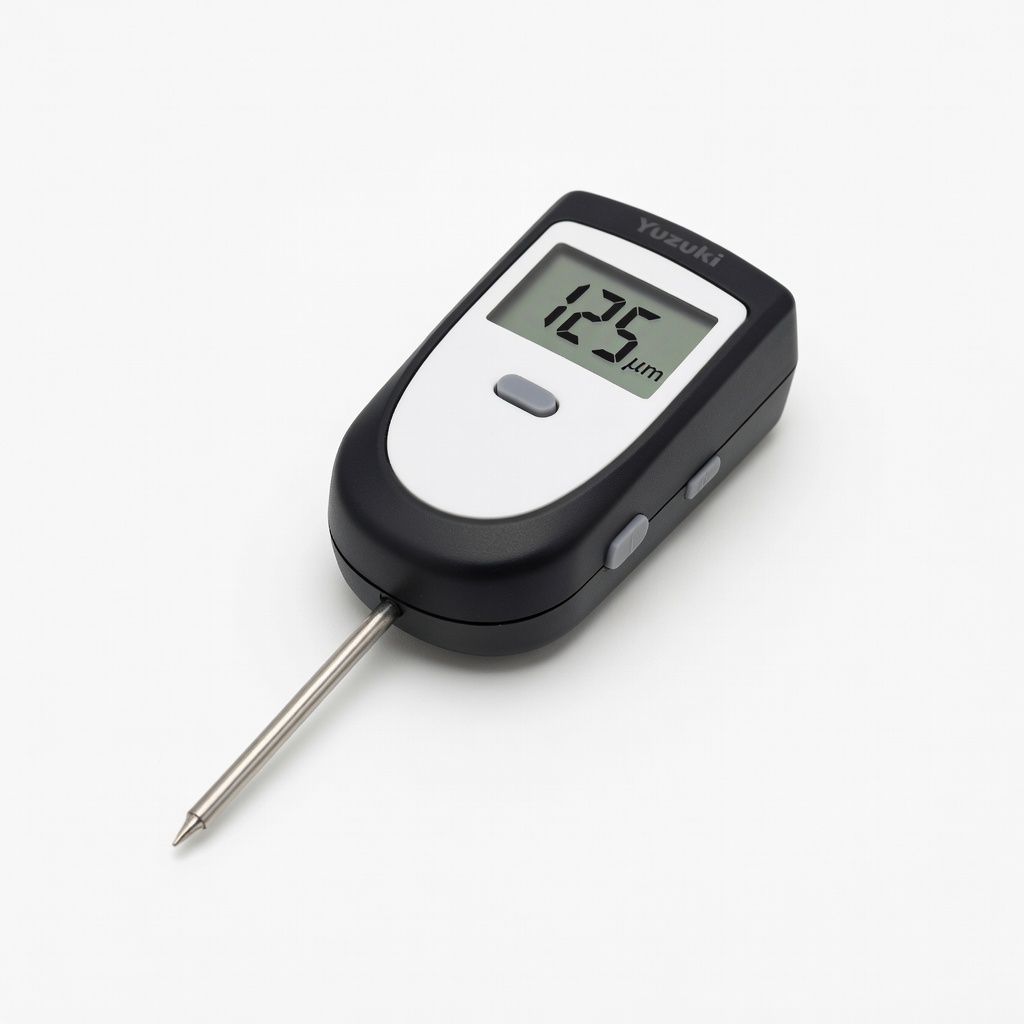
Initial safety measurement.
Yuzuki Paint Thickness Gauge Accurate digital readings prevent over-sanding; essential for advanced work.
All machine steps; budget pro tool.
TORQX Random Orbital Polisher (5-inch) Powerful 900W DA with speed control ideal for sanding/compounding without holograms.