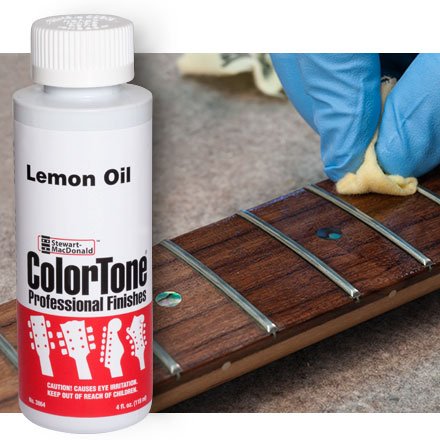
StewMac Lemon Oil
Post-abrasion moisturizing for rosewood/ebony fretboards.
$6.99
StewMac Lemon Oil Premium, non-synthetic oil hydrates wood without buildup, essential for final conditioning.
Get the App
Better experience on mobile
Achieve a ultra-smooth, professional fretboard finish for superior playability and longevity using advanced abrasive techniques.
Struggling with a worn, uneven guitar fretboard that causes fret buzz, sluggish bends, or uneven tone? Abrasive finishing is an advanced luthier technique that sands and polishes the fretboard to perfection, restoring factory-fresh feel without full refret.
In this guide, you'll learn a complete step-by-step process using progressive grits and polishing compounds tailored for rosewood, ebony, or maple fretboards. Expect pro-level results like reduced string drag and enhanced sustain. This advanced tutorial assumes you have luthier experience (e.g., fret leveling basics).
Total process takes 1-3 hours depending on fretboard condition; work in a dust-free space with good lighting. Safety first: wear a mask to avoid wood dust.
Estimated Time: 1-3 hours (plus drying time) Difficulty: advanced
Set up a well-lit, dust-controlled area with a soft jaw vise or neck support to secure the guitar without damaging the finish. Remove strings to expose the full fretboard—loosen truss rod if needed for neck relief access.
Why? Clean access prevents contamination and ensures even abrasion. Success: Guitar stable, fretboard fully visible, no strings in the way.
Wipe down the neck with a tack cloth to remove oils.
💡 Tips:
⚠️ Warnings:
Apply naphtha or dedicated fretboard cleaner with a microfiber cloth. Scrub gently between frets using a soft nylon brush. Let dry completely (10-15 mins).
This removes grime, old oils, and oxidation that could embed in abrasives. Expect: Fretboard looking raw wood color, no residue.
Pro check: Run a fingertip across—should feel tacky clean, not slick.
💡 Tips:
⚠️ Warnings:
Install plastic fret guards under each fret or wrap low-tack blue tape around frets, leaving fretboard exposed. Mask body/neck heel if needed.
Protection prevents sanding frets (costly repair) and overspray. Success: Clean lines, frets shielded.
For ebony/rosewood, tape edges precisely.
💡 Tips:
⚠️ Warnings:
Wrap 220-grit sandpaper around a radius block matching your fretboard (check with gauge). Sand lightly in fingerboard direction (not across grain) with even pressure, checking flatness with straightedge every 30 seconds.
Progress to 400 grit once level. Why? Removes high spots/scratches. Expect: Uniform matte surface, no visible dips.
Advanced: Use fret rocker to confirm no rocking frets.
💡 Tips:
⚠️ Warnings:
Switch to 600 grit on block; sand until 400 marks vanish. Repeat with 800, then 1200, orbiting in small circles now for even polish.
Each grit refines the last, building smoothness. Feel with fingers: Should transition from rough to silky. Time per grit: 5-10 mins.
Lube with water/soap mix for wet sanding.
💡 Tips:
⚠️ Warnings:
Wet sand with 2000 grit until mirror-like sheen emerges. Dry, then buff with #0000 steel wool in longitudinal strokes.
This final stage embeds micro-polish for speed. Expect: Glass-smooth, warm glow; strings glide effortlessly post-restring.
Buff 5-10 mins total.
💡 Tips:
⚠️ Warnings:
Vacuum dust, wipe with naphtha-damp cloth multiple times until no haze. Inspect under light/straightedge: No scratches, perfectly flat.
Removes all abrasive residue for safe stringing. Success: Pristine, residue-free board.
💡 Tips:
⚠️ Warnings:
Apply thin layer of lemon oil or conditioner; let absorb 15 mins, buff excess. Reinstall strings, tune, playtest for buzz/smoothness.
Restores moisture, enhances tone. Final check: Fast neck feel, no drag.
💡 Tips:
⚠️ Warnings:
Problem: Fret buzz after finishing
Solution: Recheck level with straightedge; lightly file high frets or adjust truss rod 1/4 turn.
Problem: Visible scratches persisting
Solution: Revert to prior grit (e.g., 800), resand fully; don't rush progression.
Problem: Dust embedded in finish
Solution: Multiple naphtha wipes + tack cloth; avoid steel wool until clean.
Problem: Slippery feel post-oil
Solution: Buff aggressively; use less next time or switch to lighter conditioner.
Premium, non-synthetic oil hydrates wood without buildup, essential for final conditioning.
Best for: Post-abrasion moisturizing for rosewood/ebony fretboards.
Price Range: $6.99
High-quality, waterproof sheets perfect for progressive wet sanding without tearing.
Best for: Core abrasives for steps 4-6 on any fretboard material.
Price Range: $12-18
All-in-one with cleaners, polishes, and wipes tailored for fretboard maintenance.
Best for: Cleaning (step 2) and final buffing; includes fret guards.
Price Range: $19.99
Precision aluminum block with correct radii prevents waves for pro results.
Best for: Essential for even sanding in steps 4-5.
Price Range: $29.99
Ultra-fine, rust-free for swirl-free final polish.
Best for: Step 6 buffing on high-end finishes.
Price Range: $8.99
Post-abrasion moisturizing for rosewood/ebony fretboards.
StewMac Lemon Oil Premium, non-synthetic oil hydrates wood without buildup, essential for final conditioning.

Core abrasives for steps 4-6 on any fretboard material.
3M Wetordry Sandpaper Assortment (400-2000 Grit) High-quality, waterproof sheets perfect for progressive wet sanding without tearing.
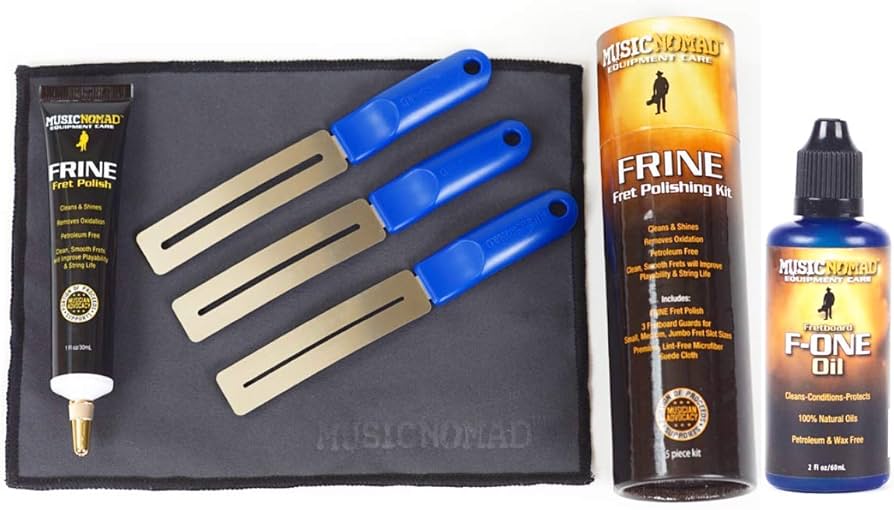
Cleaning (step 2) and final buffing; includes fret guards.
MusicNomad FretCare Kit All-in-one with cleaners, polishes, and wipes tailored for fretboard maintenance.
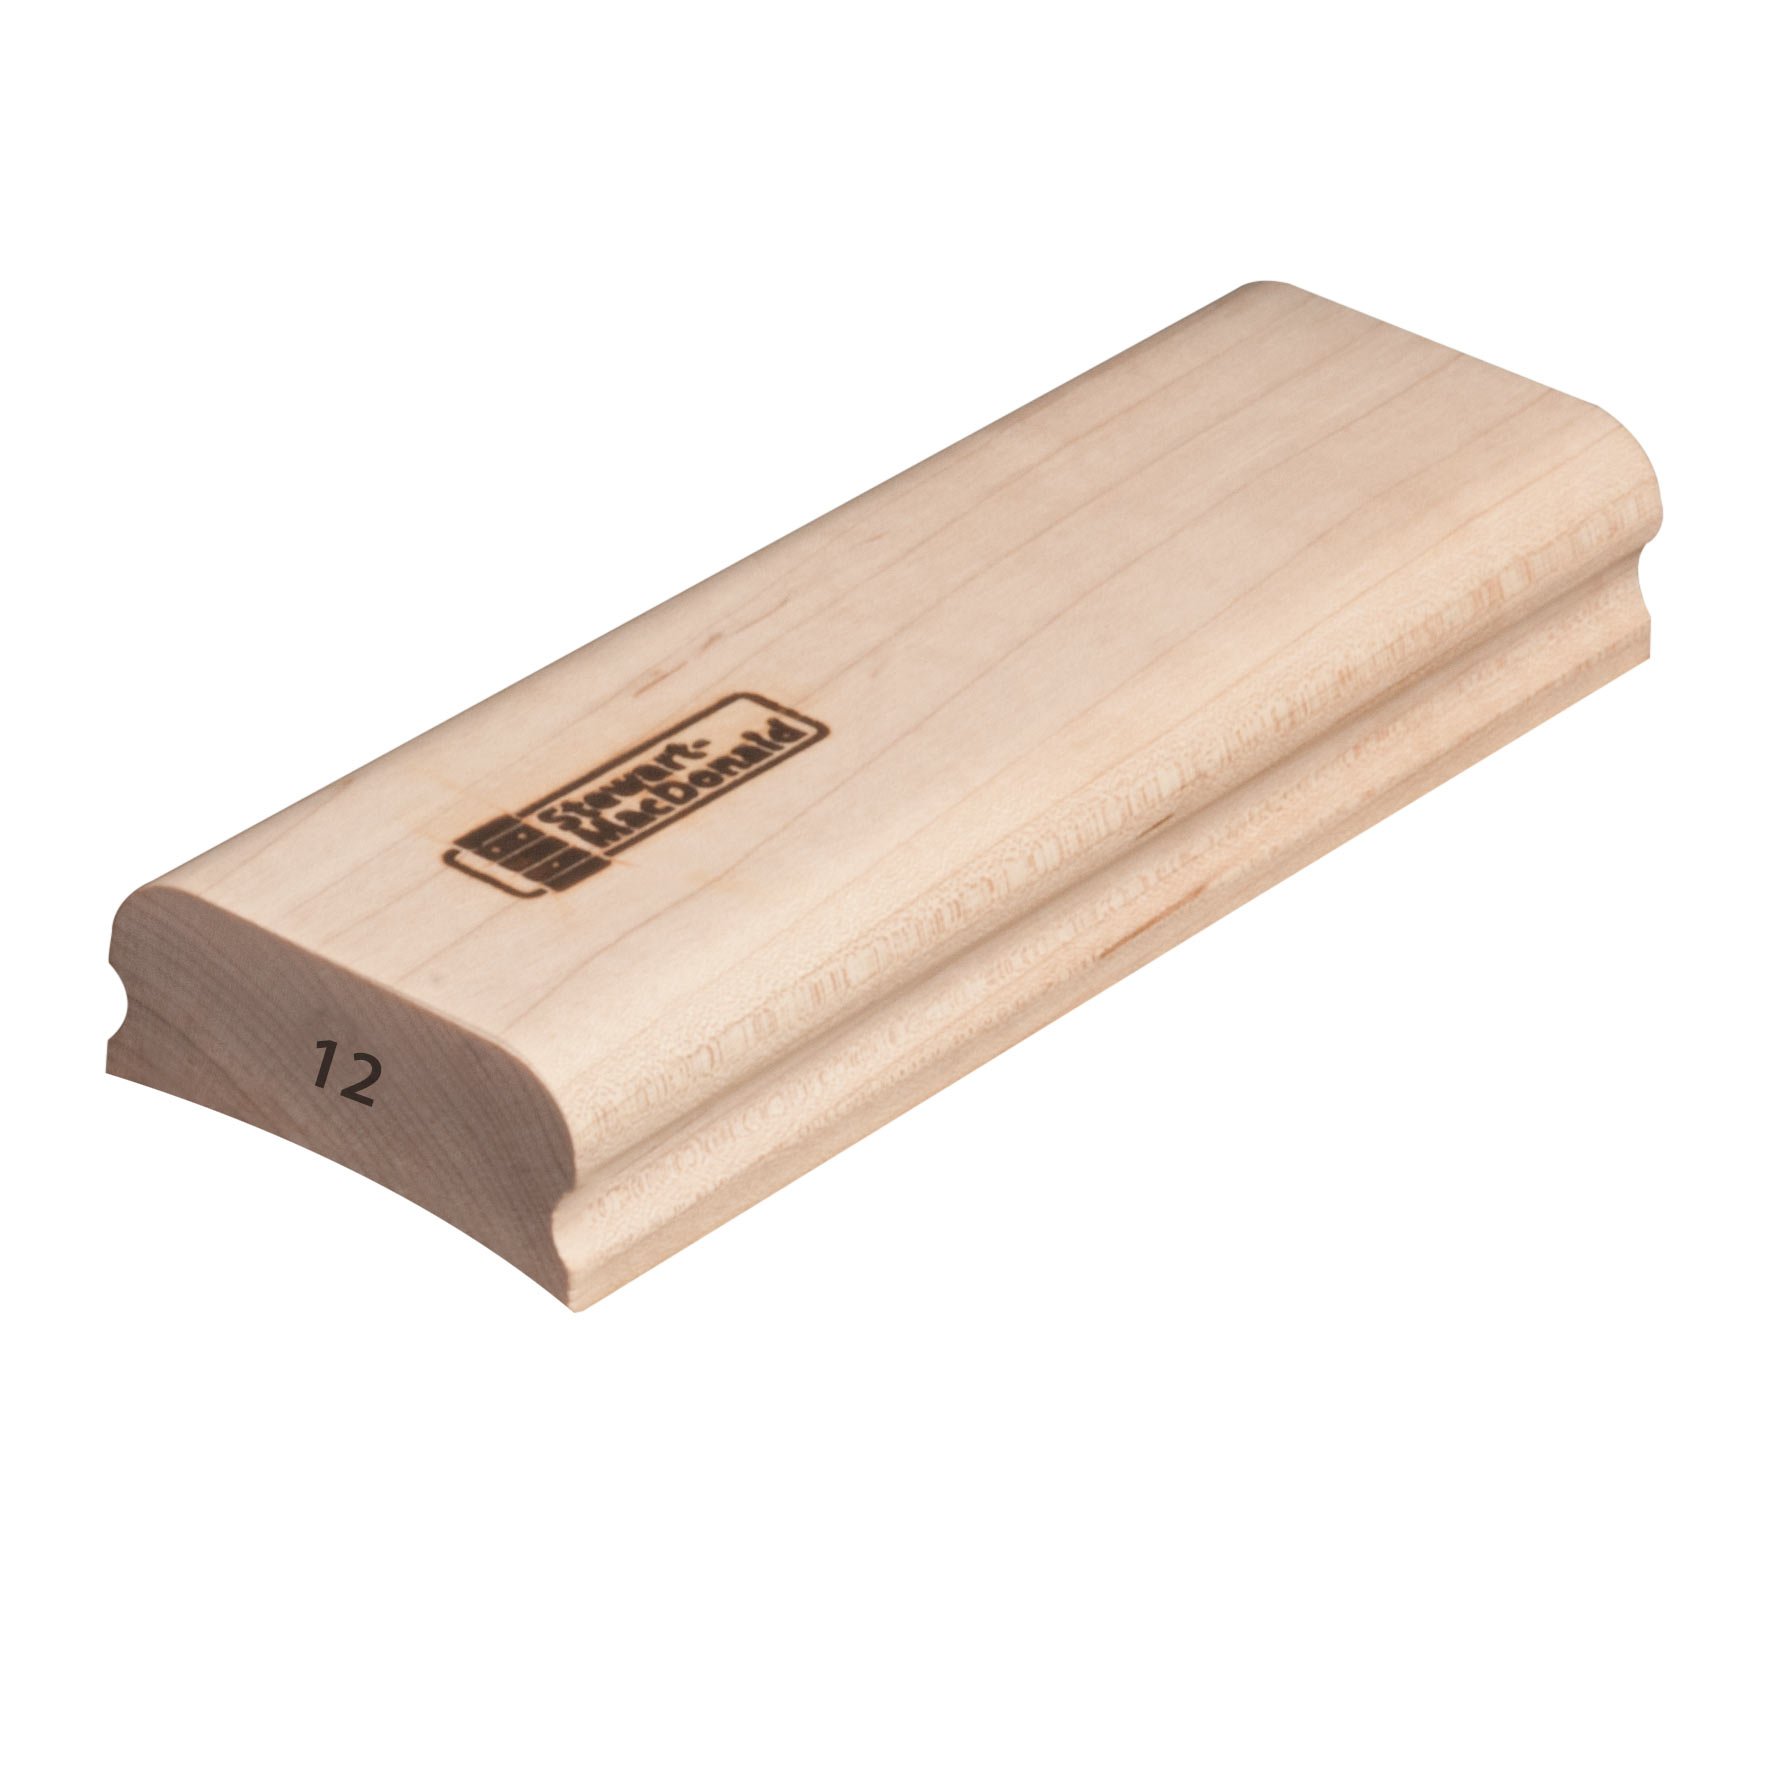
Essential for even sanding in steps 4-5.
StewMac Fretboard Radius Sanding Block Precision aluminum block with correct radii prevents waves for pro results.
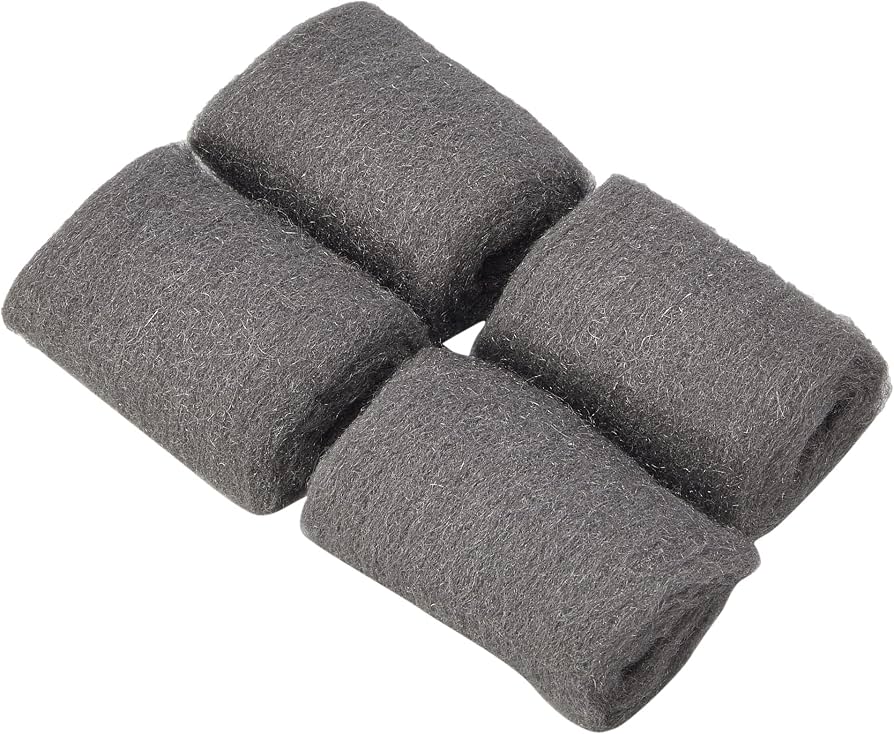
Step 6 buffing on high-end finishes.
Titebond 0000 Steel Wool Ultra-fine, rust-free for swirl-free final polish.