Why Abrasive Brushes Excel on Curves
Flat sanding discs or belts often struggle with curved surfaces, leaving gouges, missed spots, or inconsistent results. Abrasive brushes, with their flexible nylon filaments embedded with grit, conform perfectly to contours, making them ideal for intermediate users tackling metal, plastic, or wood curves in fabrication or restoration projects.
In this guide, you'll master selecting, setting up, and using abrasive brushes for professional-grade results. Expect smooth, uniform finishes on radii from tight bends to broad sweeps. The process takes 20-30 minutes per part, depending on size.
We'll cover prep, technique, and pro tips to avoid common pitfalls like overheating or bristle shedding.
▸What You'll Need
- •Abrasive nylon filament brush (matching curve radius and grit: e.g., fine 120-320 for polishing, coarse 36-80 for deburring)
- •Compatible power tool (variable-speed angle die grinder, drill, or air tool; 3,000-10,000 RPM)
- •Safety gear: ANSI Z87.1 safety glasses, nitrile gloves, dust respirator (NIOSH N95 or better)
- •Workpiece with curves (metal, aluminum, stainless steel, plastic)
- •Lubricant/coolant (optional: water, WD-40 Specialist Dry Lube for dry runs)
- •Scrap material for testing
- •Cleaning rag and compressed air
Estimated Time: 20-30 minutes per curved part
Difficulty: intermediate
▸Step-by-Step Instructions
Step 1: Select the Right Abrasive Brush
Choose a radial or cup-style abrasive brush with nylon filaments that match your curve's radius. Smaller diameter brushes (1-2 inches) work best for tight curves, while 3-4 inch ones handle broader sweeps. Match grit to task: coarse (36-80 grit) for heavy deburring, medium (120-180) for blending, fine (320+) for polishing.
Why it matters: Wrong size causes poor conformance or excessive flex, leading to uneven abrasion. Expect flexible bristles that splay out under rotation.
Pro check: Filaments should be uniform, with no loose grit shedding before first use.
💡 Tips:
- •Opt for ceramic or silicon carbide grit for longevity on metal.
- •Buy brush sets for grit progression.
⚠️ Warnings:
- •Avoid wire brushes on delicate curves—they're too rigid.
Step 2: Prepare Your Workspace and Workpiece
Secure the workpiece in a vise or fixture to prevent movement. Clean the surface with degreaser or isopropyl alcohol to remove oils, rust, or residue. Wear full PPE: goggles, gloves, respirator—abrasive dust is hazardous.
This step ensures safety and even abrasion. You'll see a clean, dry surface ready for brushing.
💡 Tips:
- •Use a shop vac nearby for instant dust control.
⚠️ Warnings:
- •Never skip PPE; filaments can snap and fly at high speeds.
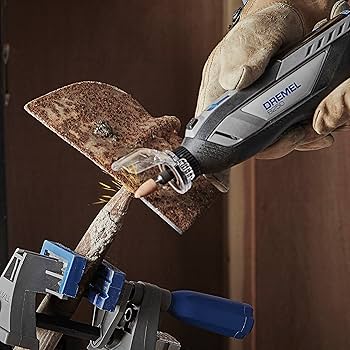
Step 3: Attach Brush to Power Tool
Insert the brush arbor into your tool's collet or chuck. Use a variable-speed tool set to low (3,000-6,000 RPM for starters). Tighten securely but don't over-torque.
Compatibility prevents wobble. Expect a snug fit with no play.
💡 Tips:
- •Balance the tool by running it briefly without contact.
⚠️ Warnings:
- •Mismatched RPM can shred bristles instantly.
Step 4: Test on Scrap Material
Run the brush on identical scrap at low speed and light pressure. Observe filament flex, dust generation, and material removal rate. Adjust speed or pressure for desired aggression.
This calibrates your setup. Success: Even abrasion without burning or digging.
💡 Tips:
- •Start perpendicular to surface, then angle 15-30 degrees.
Step 5: Approach the Curve with Light Pressure
Position the brush so filaments lead into the curve. Apply feather-light pressure (let RPM do the work). Move slowly in overlapping passes, allowing bristles to wrap around contours.
Key for curves: Heavy pressure flattens filaments, causing gouges. Expect progressive smoothing with minimal heat.
💡 Tips:
- •Use short 1-2 inch strokes, back and forth.
⚠️ Warnings:
- •Dwell time >5 seconds causes heat buildup and filament melt.
Step 6: Work Section by Section
Divide the curve into 2-3 inch zones. Brush tangentially (side-to-side) first, then radially (following curve). Progress to finer grit for each pass.
Builds uniform finish. Look for satin sheen emerging.
💡 Tips:
- •Apply mist coolant on heat-sensitive materials like aluminum.
Step 7: Inspect and Repeat Passes
Stop, blow off dust, and inspect with good light or finger feel. Repeat with same or next-finer grit until smooth.
Iteration ensures perfection. Success: No burrs, uniform texture.
⚠️ Warnings:
- •Over-abrading removes too much material.
Step 8: Clean Up and Final Polish
Rinse/wipe workpiece. Use ultra-fine brush or cloth for final buff. Store brush hanging to maintain shape.
Preserves results. End with mirror-like curves if polished.
💡 Tips:
- •Compressed air prevents residue embedding.
▸Pro Tips
- •Always progress grits: coarse to fine for mirror finishes.
- •Angle brush 10-45 degrees to curve for better wrap-around.
- •Reduce speed 20% for tight radii to avoid chatter.
- •Dry lube extends brush life 2x on metals.
- •Mark progress zones with tape for consistency.
- •Pair with vacuum attachment for dust-free work.
- •Rotate brush orientation mid-pass for even wear.
▸Common Mistakes to Avoid
- •Using high pressure: Causes filament matting and gouges—use weight of tool only.
- •Wrong RPM: Too fast shreds brush, too slow clogs—test first.
- •Skipping grit progression: Leaves scratches—always step up.
- •Ignoring heat: Melts plastic or warps metal—use coolant and short passes.
- •Poor fixturing: Vibration ruins finish—secure workpiece firmly.
▸Troubleshooting
Problem: Excessive heat or burning
Solution: Lower RPM, add coolant, shorten passes. Switch to finer grit.
Problem: Bristles shedding early
Solution: Break in on scrap 30 seconds. Replace if defective.
Problem: Uneven finish or chatter
Solution: Reduce pressure, check tool balance, ensure curve matches brush size.
Problem: Brush not conforming
Solution: Use smaller diameter or more flexible filament type. Seek pro if curves too complex.
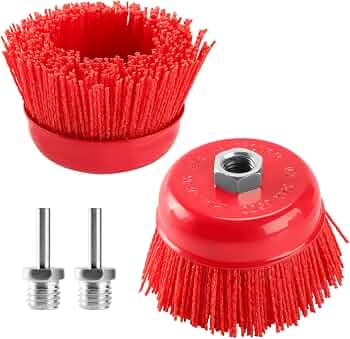
Weiler 36261 Tiger XNA Nylon Abrasive Brush, 4 Inch
Flexible filaments excel on broad curves; long-lasting ceramic grit for intermediate deburring/polishing.
Best for: Medium curves on metal parts like pipes or brackets.
Price Range: $25-$35
Dremel 952 Aluminum Oxide Abrasive Brushes (6 pack)
Small size perfect for tight curves; quick-change for efficiency.
Best for: Precision work on small radii like fittings or tools.
Price Range: $10-$15
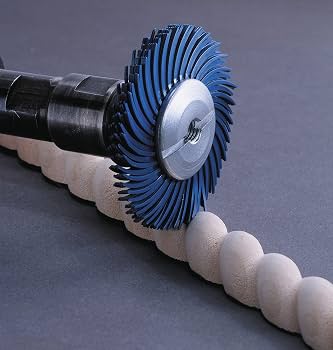
3M Scotch-Brite Radial Bristle Brush, 2 Inch, Silicon Carbide Fine
Conforms exceptionally to contours; low dust for clean workspaces.
Best for: Finishing/polishing stainless steel or plastic curves.
Price Range: $20-$30
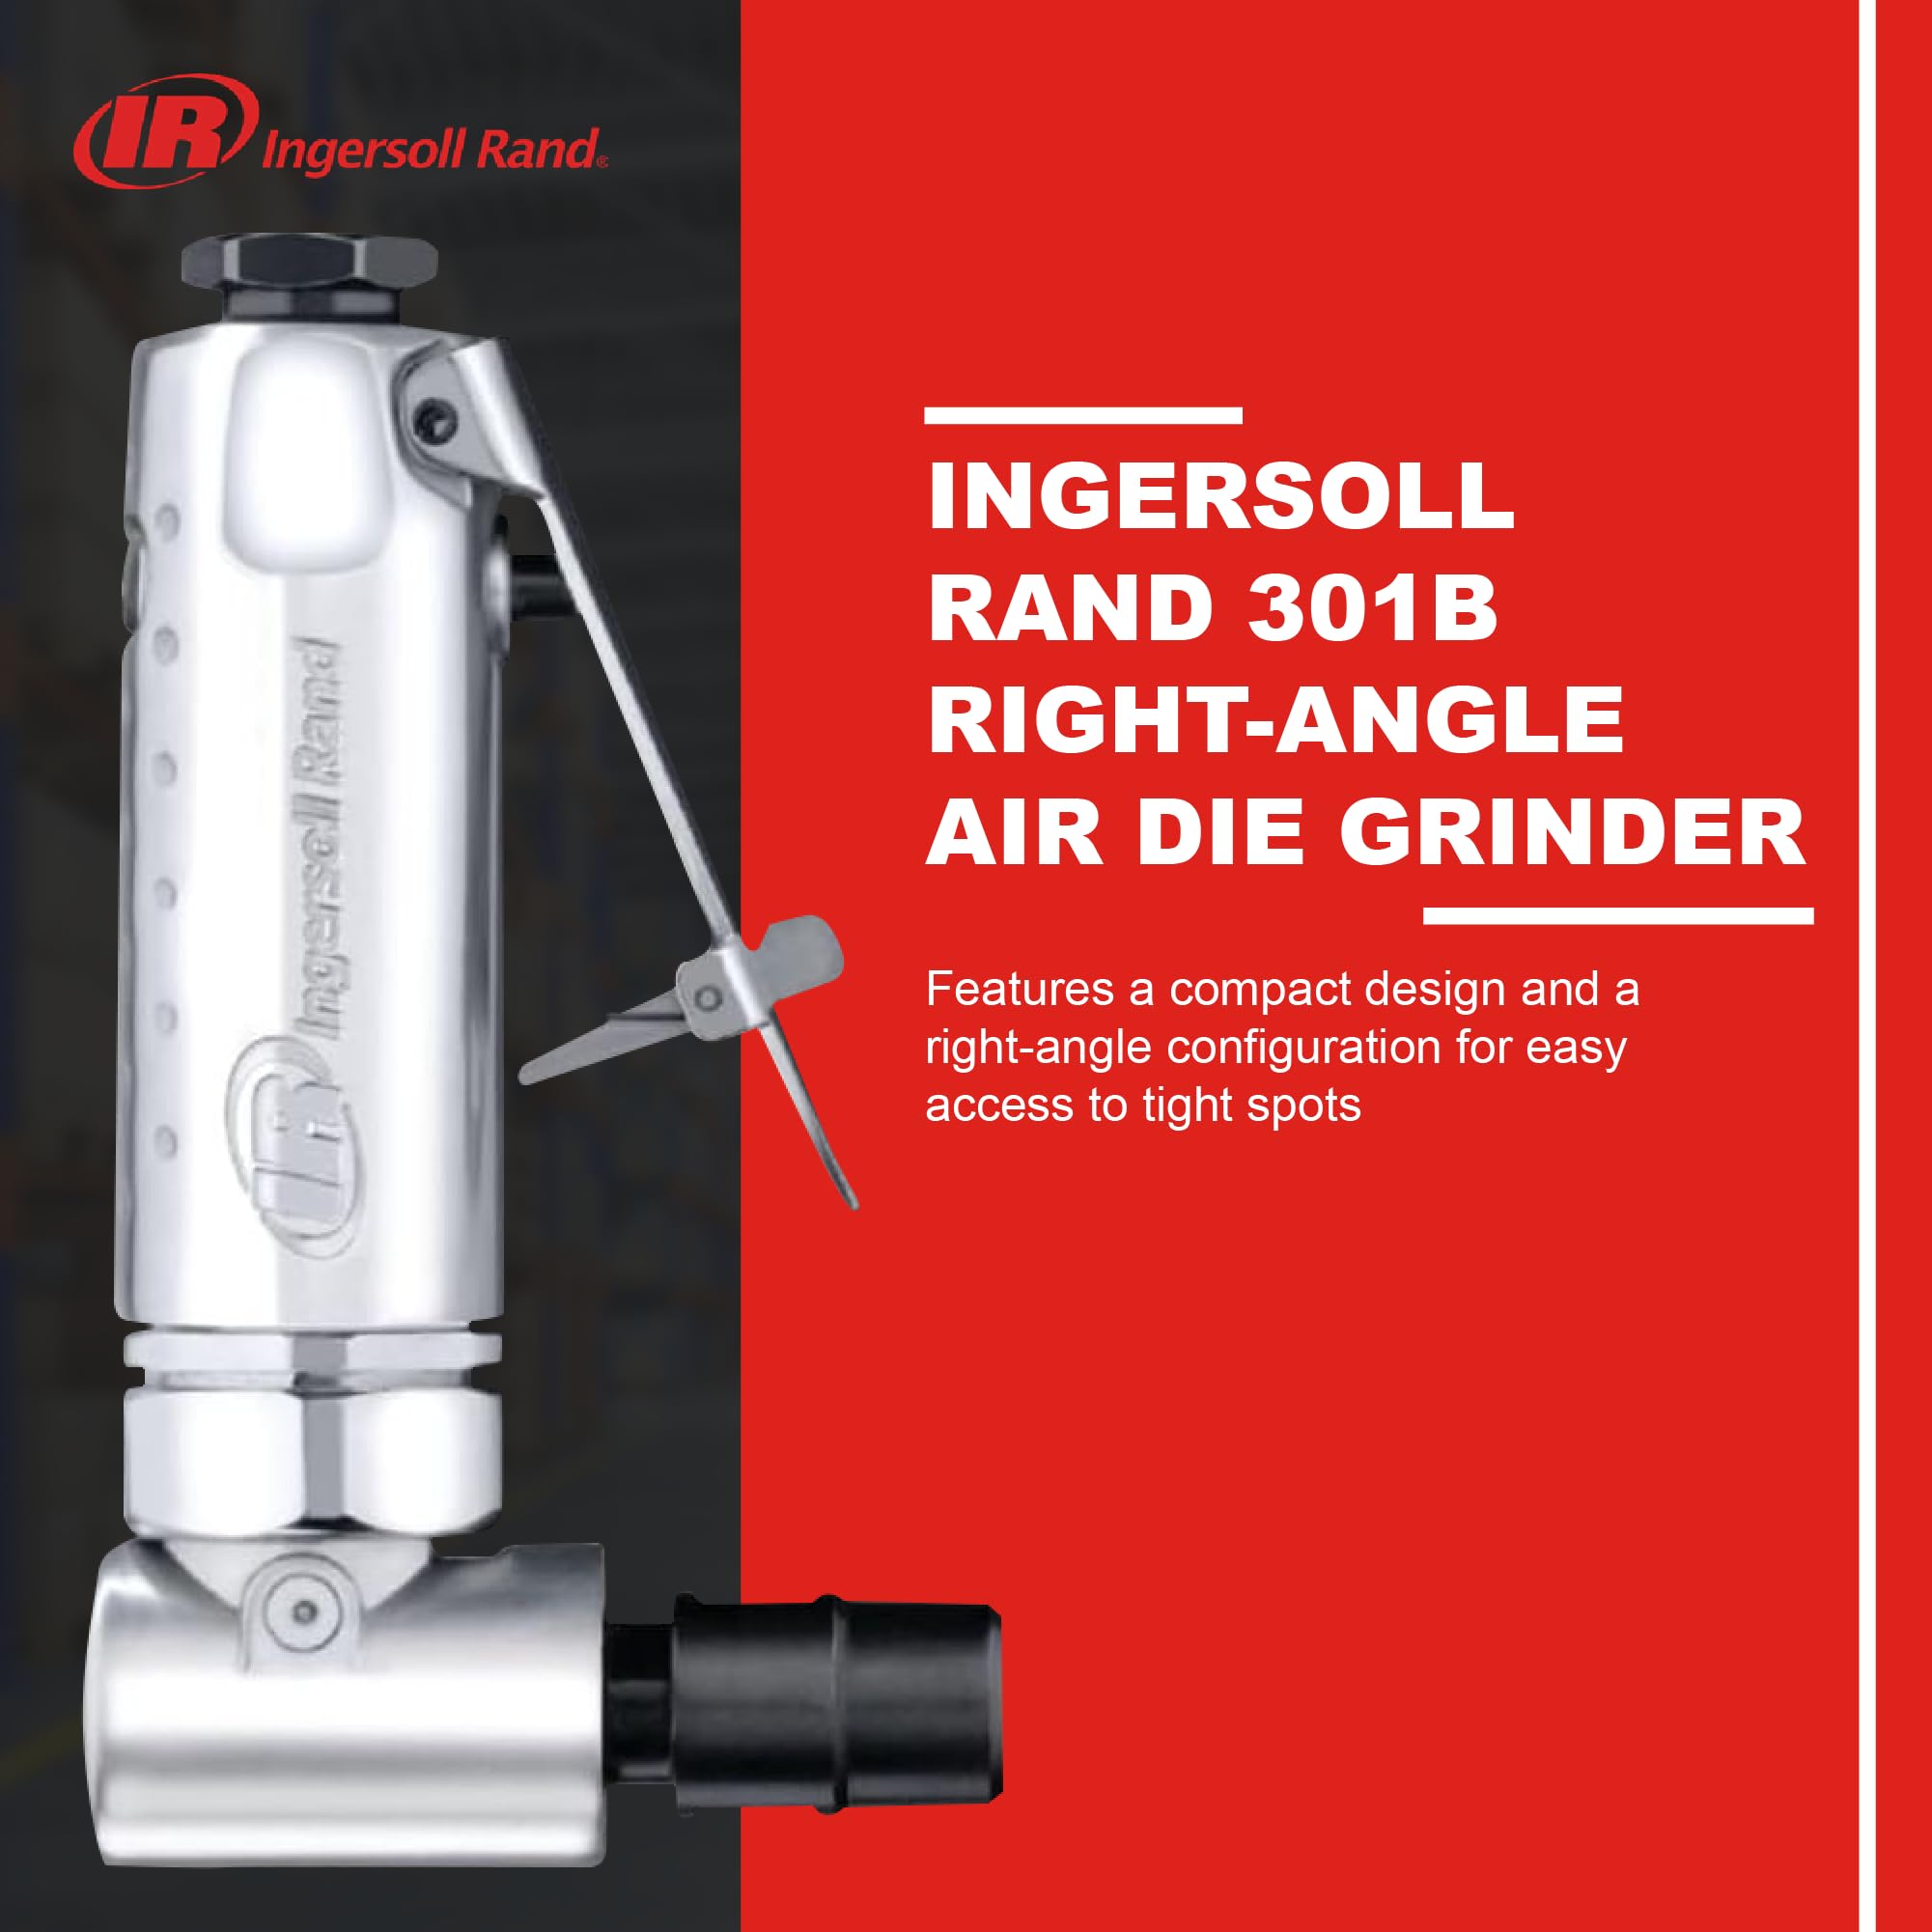
Ingersoll Rand 301B Air Die Grinder
Variable speed (up to 25,000 RPM) ideal for brush control on curves.
Best for: Pro setups needing precision speed adjustment.
Price Range: $50-$70
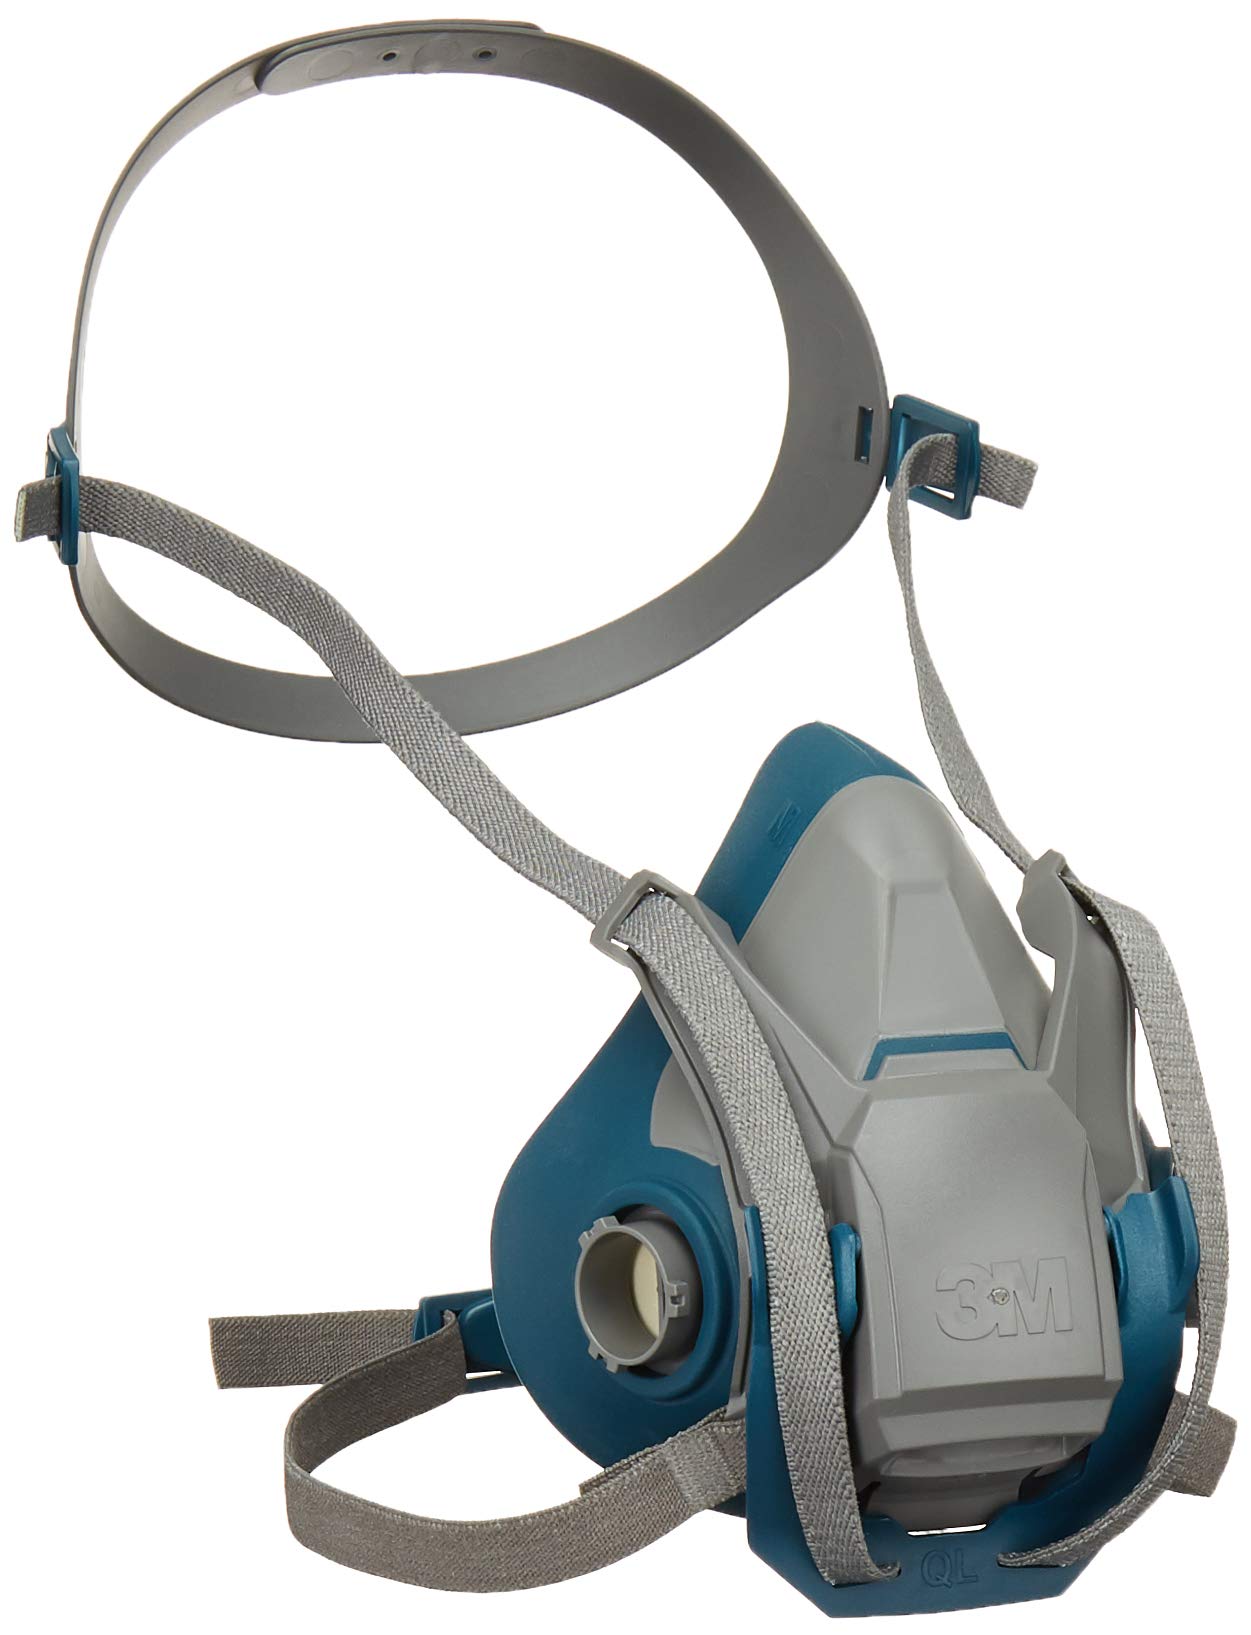
3M 6502QL Half Facepiece Respirator
Essential for fine abrasive dust protection during extended use.
Best for: Any indoor brushing to prevent inhalation.
Price Range: $25-$35