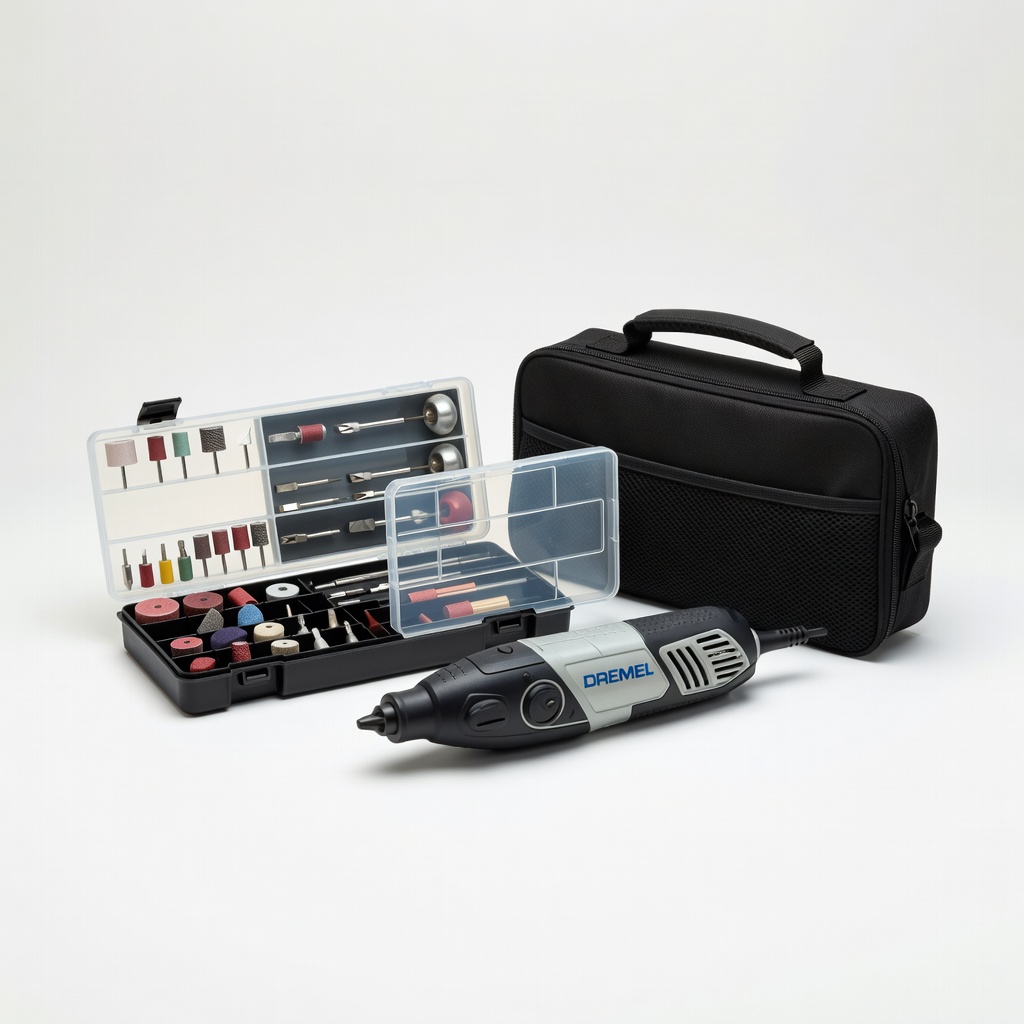
Dremel 4000-2/30 Rotary Tool Kit
Core tool for all sanding/polishing steps.
$100-$130
Dremel 4000-2/30 Rotary Tool Kit Versatile high-speed tool with variable speed ideal for precise jewelry abrasion without overpowering beginners.
Get the App
Better experience on mobile
Master safe sanding and polishing techniques to create smooth, professional jewelry pieces from rough metal in under an hour.
Jewelry making is rewarding, but rough edges and uneven surfaces can ruin your handmade pieces. Abrasive accessories—like sanding drums, polishing points, and diamond files—are essential for shaping, smoothing, and shining metals like silver, copper, or gold. Without them, your creations look amateurish and may irritate skin.
In this beginner-friendly guide, you'll learn step-by-step how to use these tools with a rotary tool (like a Dremel) to transform a rough metal pendant into a polished gem. We'll cover safety, grit progression, and pro techniques. Expect 30-45 minutes total, with no prior experience needed—just follow along for pro results.
By the end, you'll confidently handle abrasives, avoiding common pitfalls like overheating or scratches.
Estimated Time: 30-45 minutes Difficulty: beginner
Choose a stable, well-ventilated area away from flammables. Clamp your rotary tool's flex shaft or handpiece in a vise if possible, or hold it securely. Don your safety goggles, dust mask, and gloves—these block metal dust, which can harm lungs and eyes.
Why it matters: Dust inhalation causes respiratory issues, and loose setups lead to slips. Expect a clean, organized bench ready for action.
Image description: Clean workbench with clamped rotary tool, safety gear laid out, and metal blanks nearby.
💡 Tips:
⚠️ Warnings:
Gather abrasives in grit progression: start coarse (80-120 grit sanding drums for heavy removal), medium (220-400 grit), fine (600+ grit polishing points). Check for damage—cracked bands spin off dangerously.
Match grit to task: coarse for rough shaping, fine for shine. Success looks like organized grits labeled by coarseness.
Image description: Array of sanding drums and polishing points on a tray, labeled by grit size.
💡 Tips:
⚠️ Warnings:
Power off the tool. Insert mandrel shank into collet, tighten with wrench. Snap or stretch abrasive band/drum onto mandrel—ensure it's snug.
Test spin at low speed (5,000-10,000 RPM). Why? Loose accessories fly apart. Expect smooth, vibration-free rotation.
Image description: Close-up hand inserting sanding drum onto Dremel mandrel.
💡 Tips:
⚠️ Warnings:
Secure scrap matching your jewelry material (e.g., copper). Start at low speed, lightly touch abrasive to edge for 5-10 seconds. Check for even removal—no gouges.
This calibrates pressure and speed. Success: Smooth edge without burning.
Image description: Rotary tool sanding scrap metal piece, sparks flying lightly.
💡 Tips:
⚠️ Warnings:
Clamp or hand-hold jewelry piece firmly. Use light pressure, move in linear passes—not circles—to avoid swirls. Work 20-30 seconds per area, dipping in water if heating.
Removes bulk material fast. Expect visible smoothing of rough edges.
Image description: Sanding rough pendant edges with coarse drum.
💡 Tips:
⚠️ Warnings:
Switch accessory. Repeat passes perpendicular to previous direction. Blend scratches from coarse step.
Smooths surface. Success: Uniform matte finish, no deep marks.
Image description: Progressing to finer grit on pendant.
💡 Tips:
Use rubberized points or felt bobs with compound. Increase speed (15,000-20,000 RPM), light pressure in circular motions.
Creates mirror shine. Expect glossy, reflective surface.
Image description: Polishing pendant to shine.
Wash piece in soapy water, dry with microfiber. Inspect under light for missed spots.
Removes residue. Final success: Professional, scratch-free jewelry ready for setting or wear.
Problem: Tool vibrates excessively
Solution: Tighten collet, replace worn accessory, or balance mandrel. Check speed.
Problem: Metal burns or discolors
Solution: Lower speed, use lubricant, reduce pressure. Let cool between passes.
Problem: Uneven polish or scratches remain
Solution: Revert to coarser grit, ensure perpendicular passes. Clean thoroughly.
Problem: Dust everywhere
Solution: Use mask and vac; wet sand. Improve ventilation.
Versatile high-speed tool with variable speed ideal for precise jewelry abrasion without overpowering beginners.
Best for: Core tool for all sanding/polishing steps.
Price Range: $100-$130
Affordable grit assortment (80-320) covers full progression for multiple projects.
Best for: Sanding drums for shaping rough jewelry blanks.
Price Range: $9.99-$12.99
Quick-change for fine trimming before sanding; durable on metals.
Best for: Initial rough cuts on sheet metal pendants.
Price Range: $10-$15
Comfortable, anti-fog goggles essential for dust protection.
Best for: All steps to shield eyes from particles.
Price Range: $8-$12
Lightweight upgrade for fatigue-free precision on intricate pieces.
Best for: Prolonged sessions after mastering basics.
Price Range: $150-$200
Core tool for all sanding/polishing steps.
Dremel 4000-2/30 Rotary Tool Kit Versatile high-speed tool with variable speed ideal for precise jewelry abrasion without overpowering beginners.
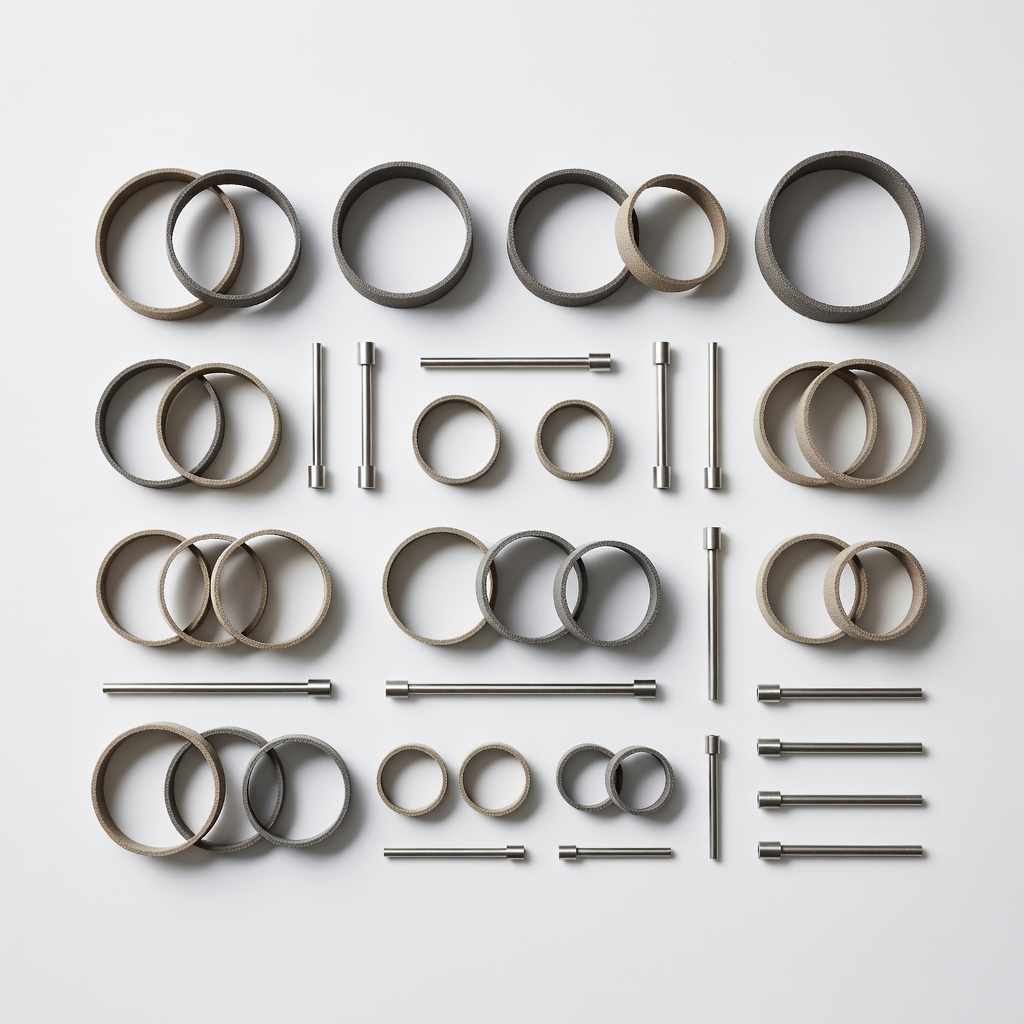
Sanding drums for shaping rough jewelry blanks.
SE 1/8" Abrasive Rubber Bands and Mandrels Set (35 Pieces) Affordable grit assortment (80-320) covers full progression for multiple projects.
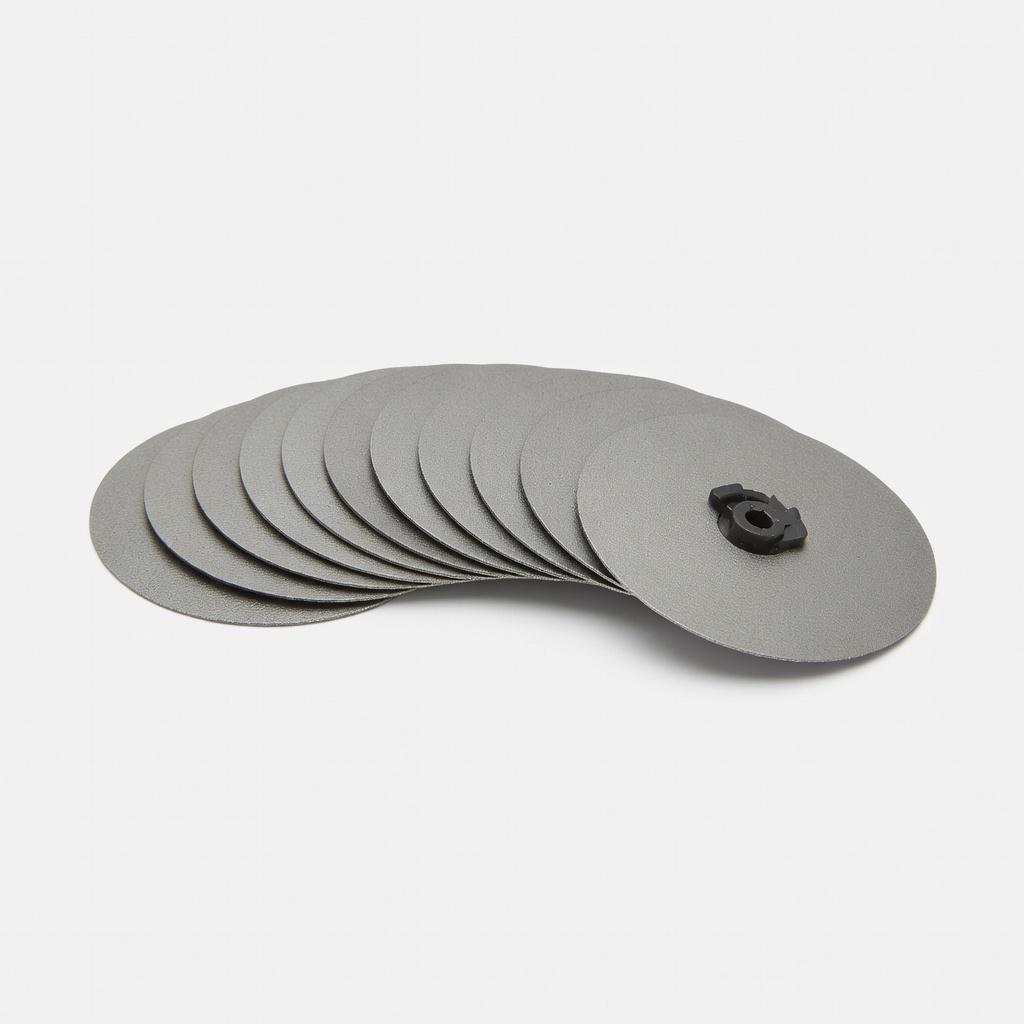
Initial rough cuts on sheet metal pendants.
Dremel 414 EZ SpeedClic Metal Cutting Wheels (12-Pack) Quick-change for fine trimming before sanding; durable on metals.
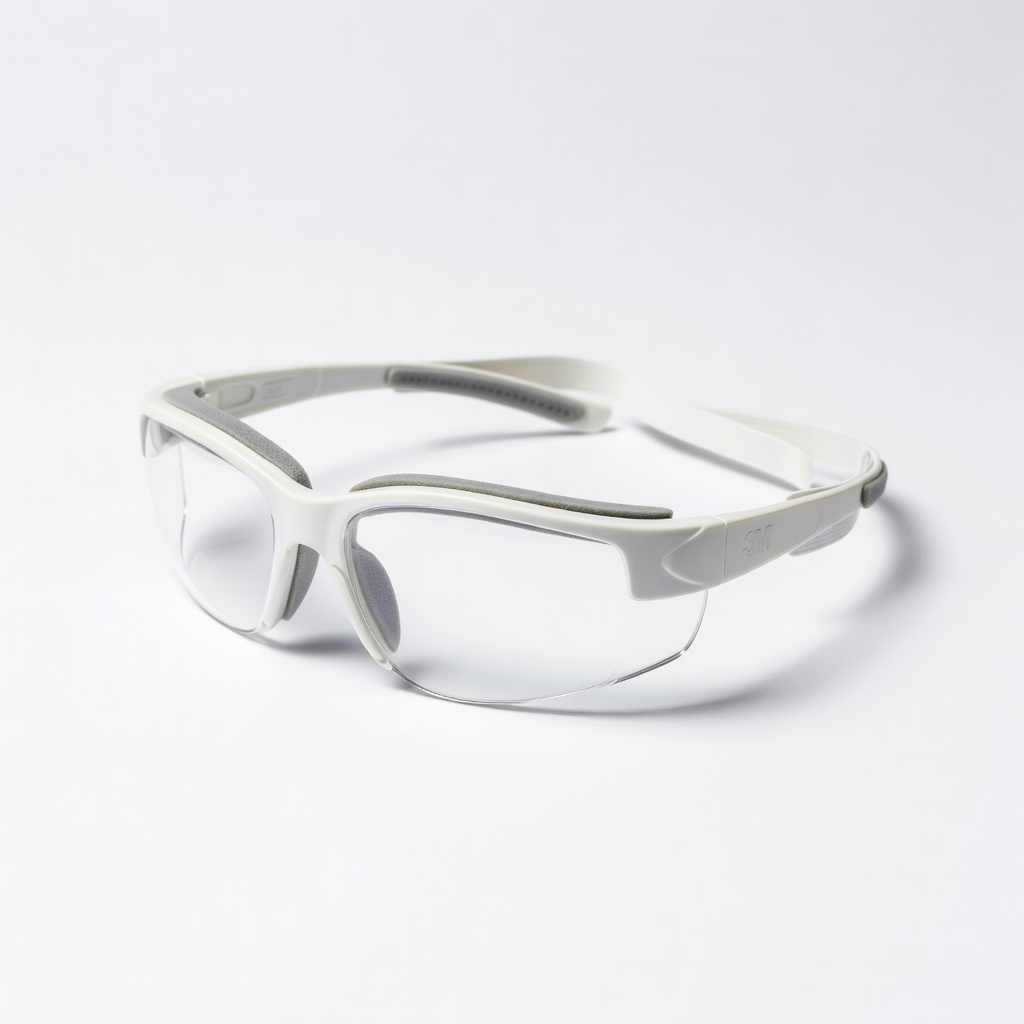
All steps to shield eyes from particles.
3M Virtua CCS Safety Glasses Comfortable, anti-fog goggles essential for dust protection.
Prolonged sessions after mastering basics.
Foredom TX PowerMite Handpiece (for advanced flex shaft) Lightweight upgrade for fatigue-free precision on intricate pieces.