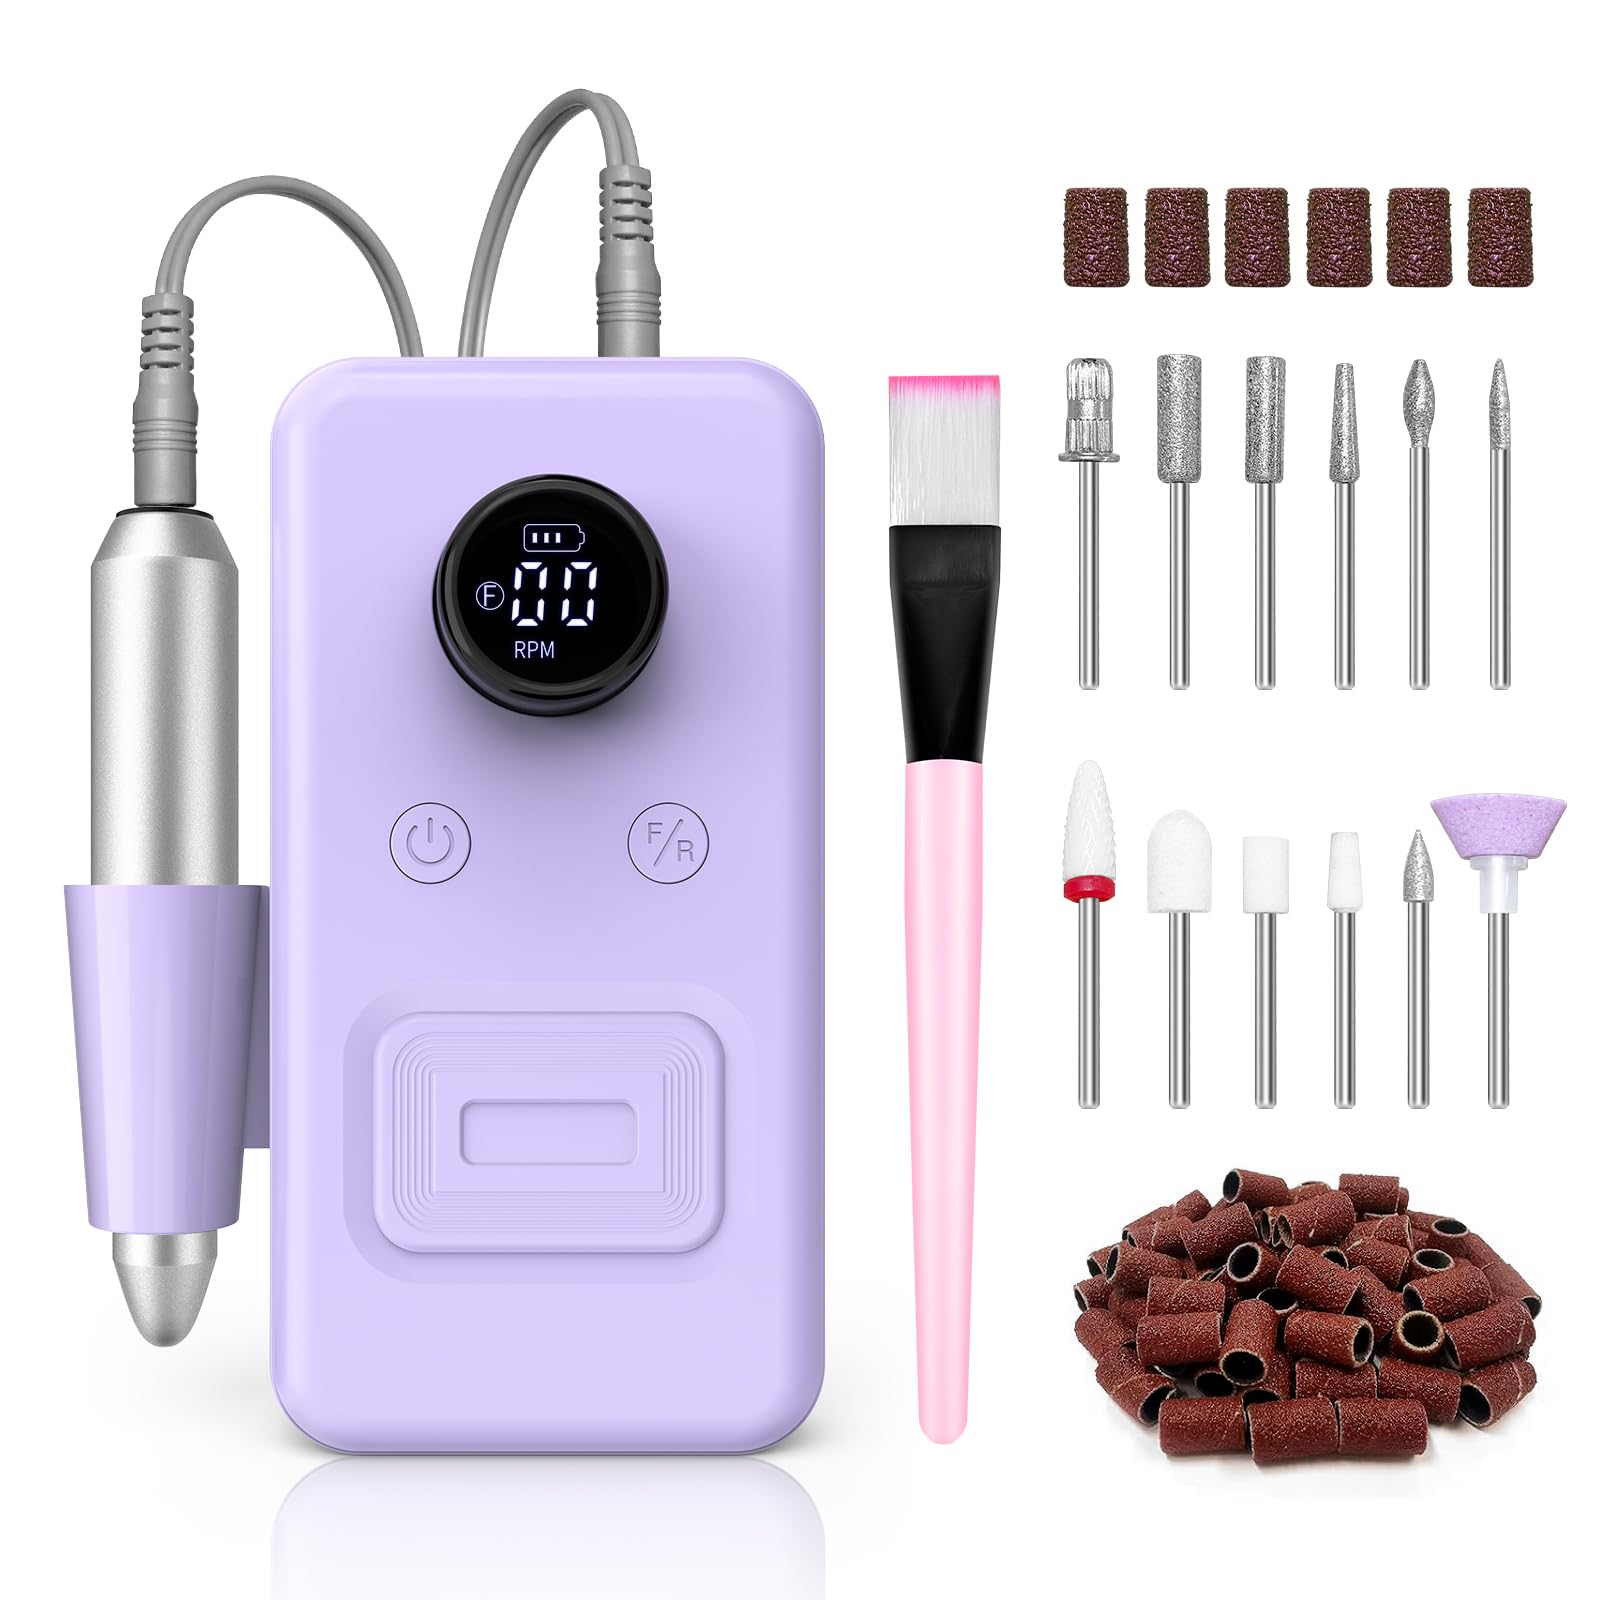
A Dremel rotary tool is incredibly versatile, but its true power comes from the right abrasive accessories. Whether you're smoothing rough edges on wood, carving intricate details, or polishing metal, choosing and using the correct abrasive bit is critical. Many users get frustrated because they don't understand which accessory to use for a given material or how to safely operate the tool at the right speed. In this guide, you'll learn step-by-step how to select, mount, and effectively use Dremel abrasive accessories for a variety of common tasks. We'll cover everything from sanding bands and grinding stones to polishing wheels and cutting discs. This guide is designed for intermediate users who have some experience with a Dremel but want to achieve professional-level results. Expect to spend about 30-60 minutes on a typical small project once you're familiar with the techniques.
▸What You'll Need
- •Dremel rotary tool (e.g., Dremel 4000, 4300, or 8220)
- •Assorted abrasive accessories: sanding bands, grinding stones (aluminum oxide or silicon carbide), felt polishing wheels, cut-off wheels, wire brushes
- •Mandrels and collets (including EZ SpeedClic mandrel for quick-change accessories)
- •Safety glasses and dust mask (or respirator for fine dust)
- •Workpiece (wood, metal, plastic, glass, or stone)
- •Clamp or vise to secure workpiece (optional but recommended)
- •Pen or marker for layout lines
Estimated Time: 30-60 minutes
Difficulty: intermediate
▸Step-by-Step Instructions
Step 1: Understand Common Abrasive Accessories and Their Uses
Dremel offers a wide range of abrasive accessories, each designed for specific materials and tasks. Sanding bands (which fit over a rubber drum) are excellent for shaping and smoothing wood, soft metals, and plastic. Grinding stones (also called mounted points) are used for sharpening, deburring, and shaping hard materials like steel, stone, and ceramic. Felt polishing wheels, when used with polishing compound, give a high-gloss finish on metals and plastics. Cut-off discs are for slicing through screws, bolts, and thin metal. Wire brushes remove rust, paint, and oxidation. Knowing the type ensures you use the right accessory for the job, preventing damage to your workpiece or tool.
💡 Tips:
- •Match the accessory abrasive material to your workpiece: aluminum oxide for metal, silicon carbide for stone/glass, and zirconia for heavy stock removal on wood.
- •Use the Dremel accessory guide chart (often included with the tool) for quick reference.
⚠️ Warnings:
- •Do not use a cut-off wheel for side grinding—it's designed only for straight cuts and can shatter.
Step 2: Mount the Accessory Securely
Insert the accessory into the collet of your Dremel. If using sanding bands, first place the rubber drum mandrel into the collet, then slide the band over the drum. For grinding stones and felt wheels, make sure the mandrel is fully seated. Use the collet wrench to tighten the nut firmly—an improperly secured accessory can wobble or fly off during operation. For quick-change accessories like the Dremel EZ SpeedClic system, simply push the accessory onto the mandrel until it clicks into place. Always disconnect the tool from power before changing accessories.
💡 Tips:
- •Use the correct collet size (1/8 inch for most accessories, but smaller collets available) for a secure grip.
- •For EZ SpeedClic accessories, ensure the mandrel's locking mechanism is engaged by pulling gently on the accessory after mounting.
⚠️ Warnings:
- •Never overtighten the collet nut—you can strip the threads or damage the shank.
Step 3: Set the Correct Speed
Dremel tools have variable speed controls, typically ranging from 5,000 to 35,000 RPM. The appropriate speed depends on the accessory and material. As a general rule: hard materials (metal, stone, glass) require higher speeds (20,000-35,000 RPM). Soft materials (wood, plastic, soft metals) need lower speeds (10,000-15,000 RPM) to avoid melting or burning. Polishing should be done at medium speeds (8,000-12,000 RPM). Cutting discs are best at full speed. Refer to your Dremel manual or the accessory packaging for specific recommendations. Starting too fast can cause the accessory to skip or grab, while too slow may cause stalling or poor results.
💡 Tips:
- •When in doubt, start at a lower speed and increase gradually until you find the sweet spot.
- •Use a speed chart (available online or printed on some Dremel models) as a quick reference.
⚠️ Warnings:
- •Running a cut-off disc at too low a speed can cause it to grab and break.
Step 4: Prepare Your Workpiece and Secure It
A stable workpiece is essential for precision and safety. If possible, clamp your piece to a workbench or use a vise. For small parts, consider using a Dremel workstation attachment. Mark the areas you need to sand, grind, or cut with a marker or pencil. This provides a visual guide and helps you track progress. If you're working on a complex shape, plan your approach: start with coarse grits for heavy material removal, then progress to finer grits for a smooth finish. Also ensure the area is well-ventilated (especially when working with plastics or resins) and put on your safety glasses and mask.
💡 Tips:
- •For delicate items like jewelry or model parts, wrap the clamp jaws with tape to prevent marring.
- •If you can't secure the workpiece, at least brace it against a non-slip mat.
⚠️ Warnings:
- •Never hold the workpiece in your hand while using an abrasive accessory—it can slip and cause injury.
Step 5: Start Sanding or Grinding with Light Pressure
Turn on the Dremel and let it reach full speed before contacting the workpiece. Apply light pressure—let the abrasive do the work. Too much pressure can bog down the tool, overheat the accessory, and cause uneven wear or even breakage. For sanding bands, use a gentle sweeping motion, moving the tool continuously to avoid creating deep grooves. For grinding stones, use a back-and-forth or circular motion on the area. Keep the tool moving to dissipate heat and prevent burning (especially on wood and plastic). Always work at a comfortable angle; the accessory should contact the surface at a slight angle (10-15°) for even wear.
💡 Tips:
- •For concave or curved surfaces, use the contour of the sanding drum or a small grinding stone to match the shape.
- •Take breaks every 10-15 seconds to let the accessory cool down—this also reduces heat buildup on the workpiece.
⚠️ Warnings:
- •If you see sparks (on metal) or smoke (on wood/plastic), you're pressing too hard or moving too slowly.
Step 6: Progress Through Finer Grits for Smooth Finish
Abrasive accessories come in different grits, just like sandpaper. Coarse grits (e.g., 60-80) remove material fast but leave scratches. Medium (120-150) smooth those scratches, and fine (220-400) produce a polished surface. For most projects, start with the coarsest grit needed to shape or remove material, then switch to medium and fine. When changing to a finer grit, clean the workpiece to remove dust and stray particles that could cause new scratches. For sanding bands, you simply swap the band; for grinding stones, you'll need a different stone. Polishing wheels with compound are used after fine sanding for a mirror finish on metals.
💡 Tips:
- •Working through all grits is essential—skipping grits leaves visible scratches that are hard to remove later.
- •Use a felt polishing wheel with jeweler's rouge for final polishing on metals like brass or aluminum.
⚠️ Warnings:
- •Do not apply polishing compound to a stone; it will load up the abrasive and reduce its effectiveness.
Step 7: Use Cut-Off Discs for Precision Cutting
Cut-off discs are thin, reinforced discs used to slice through materials like screws, bolts, pins, or thin sheet metal. To use, mount the disc on the EZ SpeedClic mandrel or a standard mandrel with a screw. Set the speed to maximum. Lightly score the cut line with the edge of the disc, then slowly increase depth. Do not force the cut—let the disc's rotation do the work. Keep the disc perpendicular to the cut line. For deeper cuts, make multiple passes. The disc will wear down gradually; replace it if it becomes too small or shows cracks. After cutting, the edges will be sharp and may have burrs that you can deburr with a sanding band or grinding stone.
💡 Tips:
- •For cutting hardened steel or thick metal, consider using a reinforced diamond cut-off wheel instead.
- •Mark both sides of the workpiece for precise alignment when cutting from the edge.
⚠️ Warnings:
- •Never use excessive side pressure on a cut-off disc—it can break apart and cause injury.
- •Always wear a face shield when using cut-off discs due to the risk of flying fragments.
Step 8: Clean Up and Inspect Your Work
After finishing your abrading tasks, stop the tool and disconnect it. Remove the accessory and store it properly. Clean the workpiece with a brush or compressed air to remove dust. Examine the surface for any remaining scratches or uneven areas—you may need to repeat a step with a finer grit. If everything looks good, apply a finish or sealer as desired. Also clean your Dremel tool: use a soft brush to remove dust from the vents and collet area. Lubricate the collet occasionally with a drop of light oil to keep it running smoothly.
💡 Tips:
- •Use a tack cloth to wipe down wood surfaces before applying finish for a dust-free result.
- •For metal, use a solvent like acetone to remove any polishing compound residue before painting or coating.
⚠️ Warnings:
- •Do not blow compressed air into the tool's motor—it can force dust into the bearings.
▸Pro Tips
- •Use the Dremel Flex Shaft attachment for delicate work—it reduces hand fatigue and gives better control.
- •Keep a small container of water nearby when grinding glass or stone to cool the workpiece and reduce dust.
- •Always test the accessory on a scrap piece of the same material before starting on your actual project.
- •Apply a light coat of wax to metal before sanding to prevent clogging of the abrasive.
- •For repetitive tasks, mark your speed setting with a piece of tape on the tool's housing so you can dial it in quickly.
- •Store abrasive accessories in a dry, organized case to prevent damage and keep them easy to find.
▸Common Mistakes to Avoid
- •Using too high a speed on plastic: High RPMs generate heat that melts the plastic, causing a gummy mess. Always start low and increase gradually.
- •Pressing too hard: This doesn't speed up material removal; it overheats the accessory, wears it out faster, and can damage the workpiece. Let the abrasive do the work.
- •Using the wrong accessory for the material: For example, using a soft grinding stone on hardened steel (it will wear down immediately) or a cut-off disc on thick metal (it will overheat and shatter). Match accessory to material.
- •Neglecting to wear safety gear: Fine dust from sanding can be harmful, and broken accessories can fly. Always wear safety glasses and a dust mask.
- •Changing accessories while the tool is still spinning: Always disconnect power before swapping bits to avoid accidental starts and injury.
▸Troubleshooting
Problem: Accessory wobbles or spins out of balance.
Solution: Check that the mandrel is properly seated and the collet is tight. If the accessory itself is damaged or poorly manufactured, replace it. For sanding bands, ensure the band is centered on the drum.
Problem: Workpiece burns (smoke or discoloration).
Solution: Reduce pressure and/or speed. Move the tool faster to prevent heat buildup. For wood, use a coarser grit to remove material faster. For plastic, cool it with a light spray of water (if safe).
Problem: Accessory wears out too quickly.
Solution: You may be using too fine a grit for heavy removal, or pressing too hard. Use a coarser grit and lighter pressure. Also check the accessory's quality—generic ones often wear faster than Dremel brand.
Problem: Cut-off disc breaks during use.
Solution: This usually happens due to side loading or excessive force. Ensure you're cutting straight and avoid bending the disc. Always use a disc designed for your material and speed.
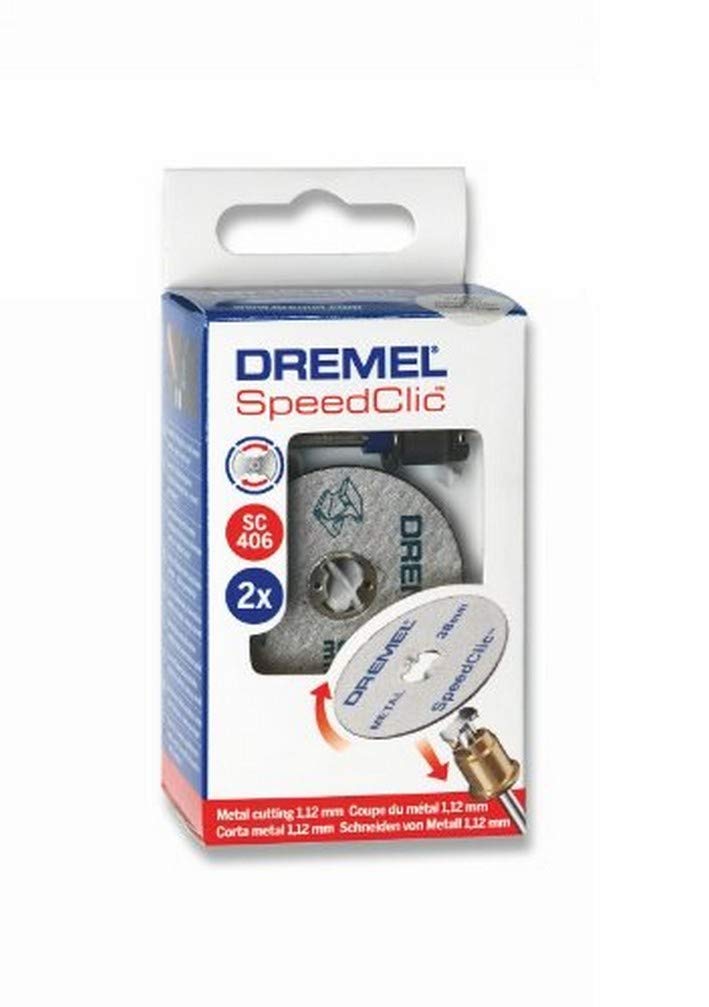
Dremel EZ SpeedClic Starter Kit
Quick-change mandrel eliminates the need for collet wrench, making accessory swaps fast and easy. Includes a variety of cutting and sanding accessories.
Best for: Best for frequent accessory changes during multi-step projects.
Price Range: $35–$45
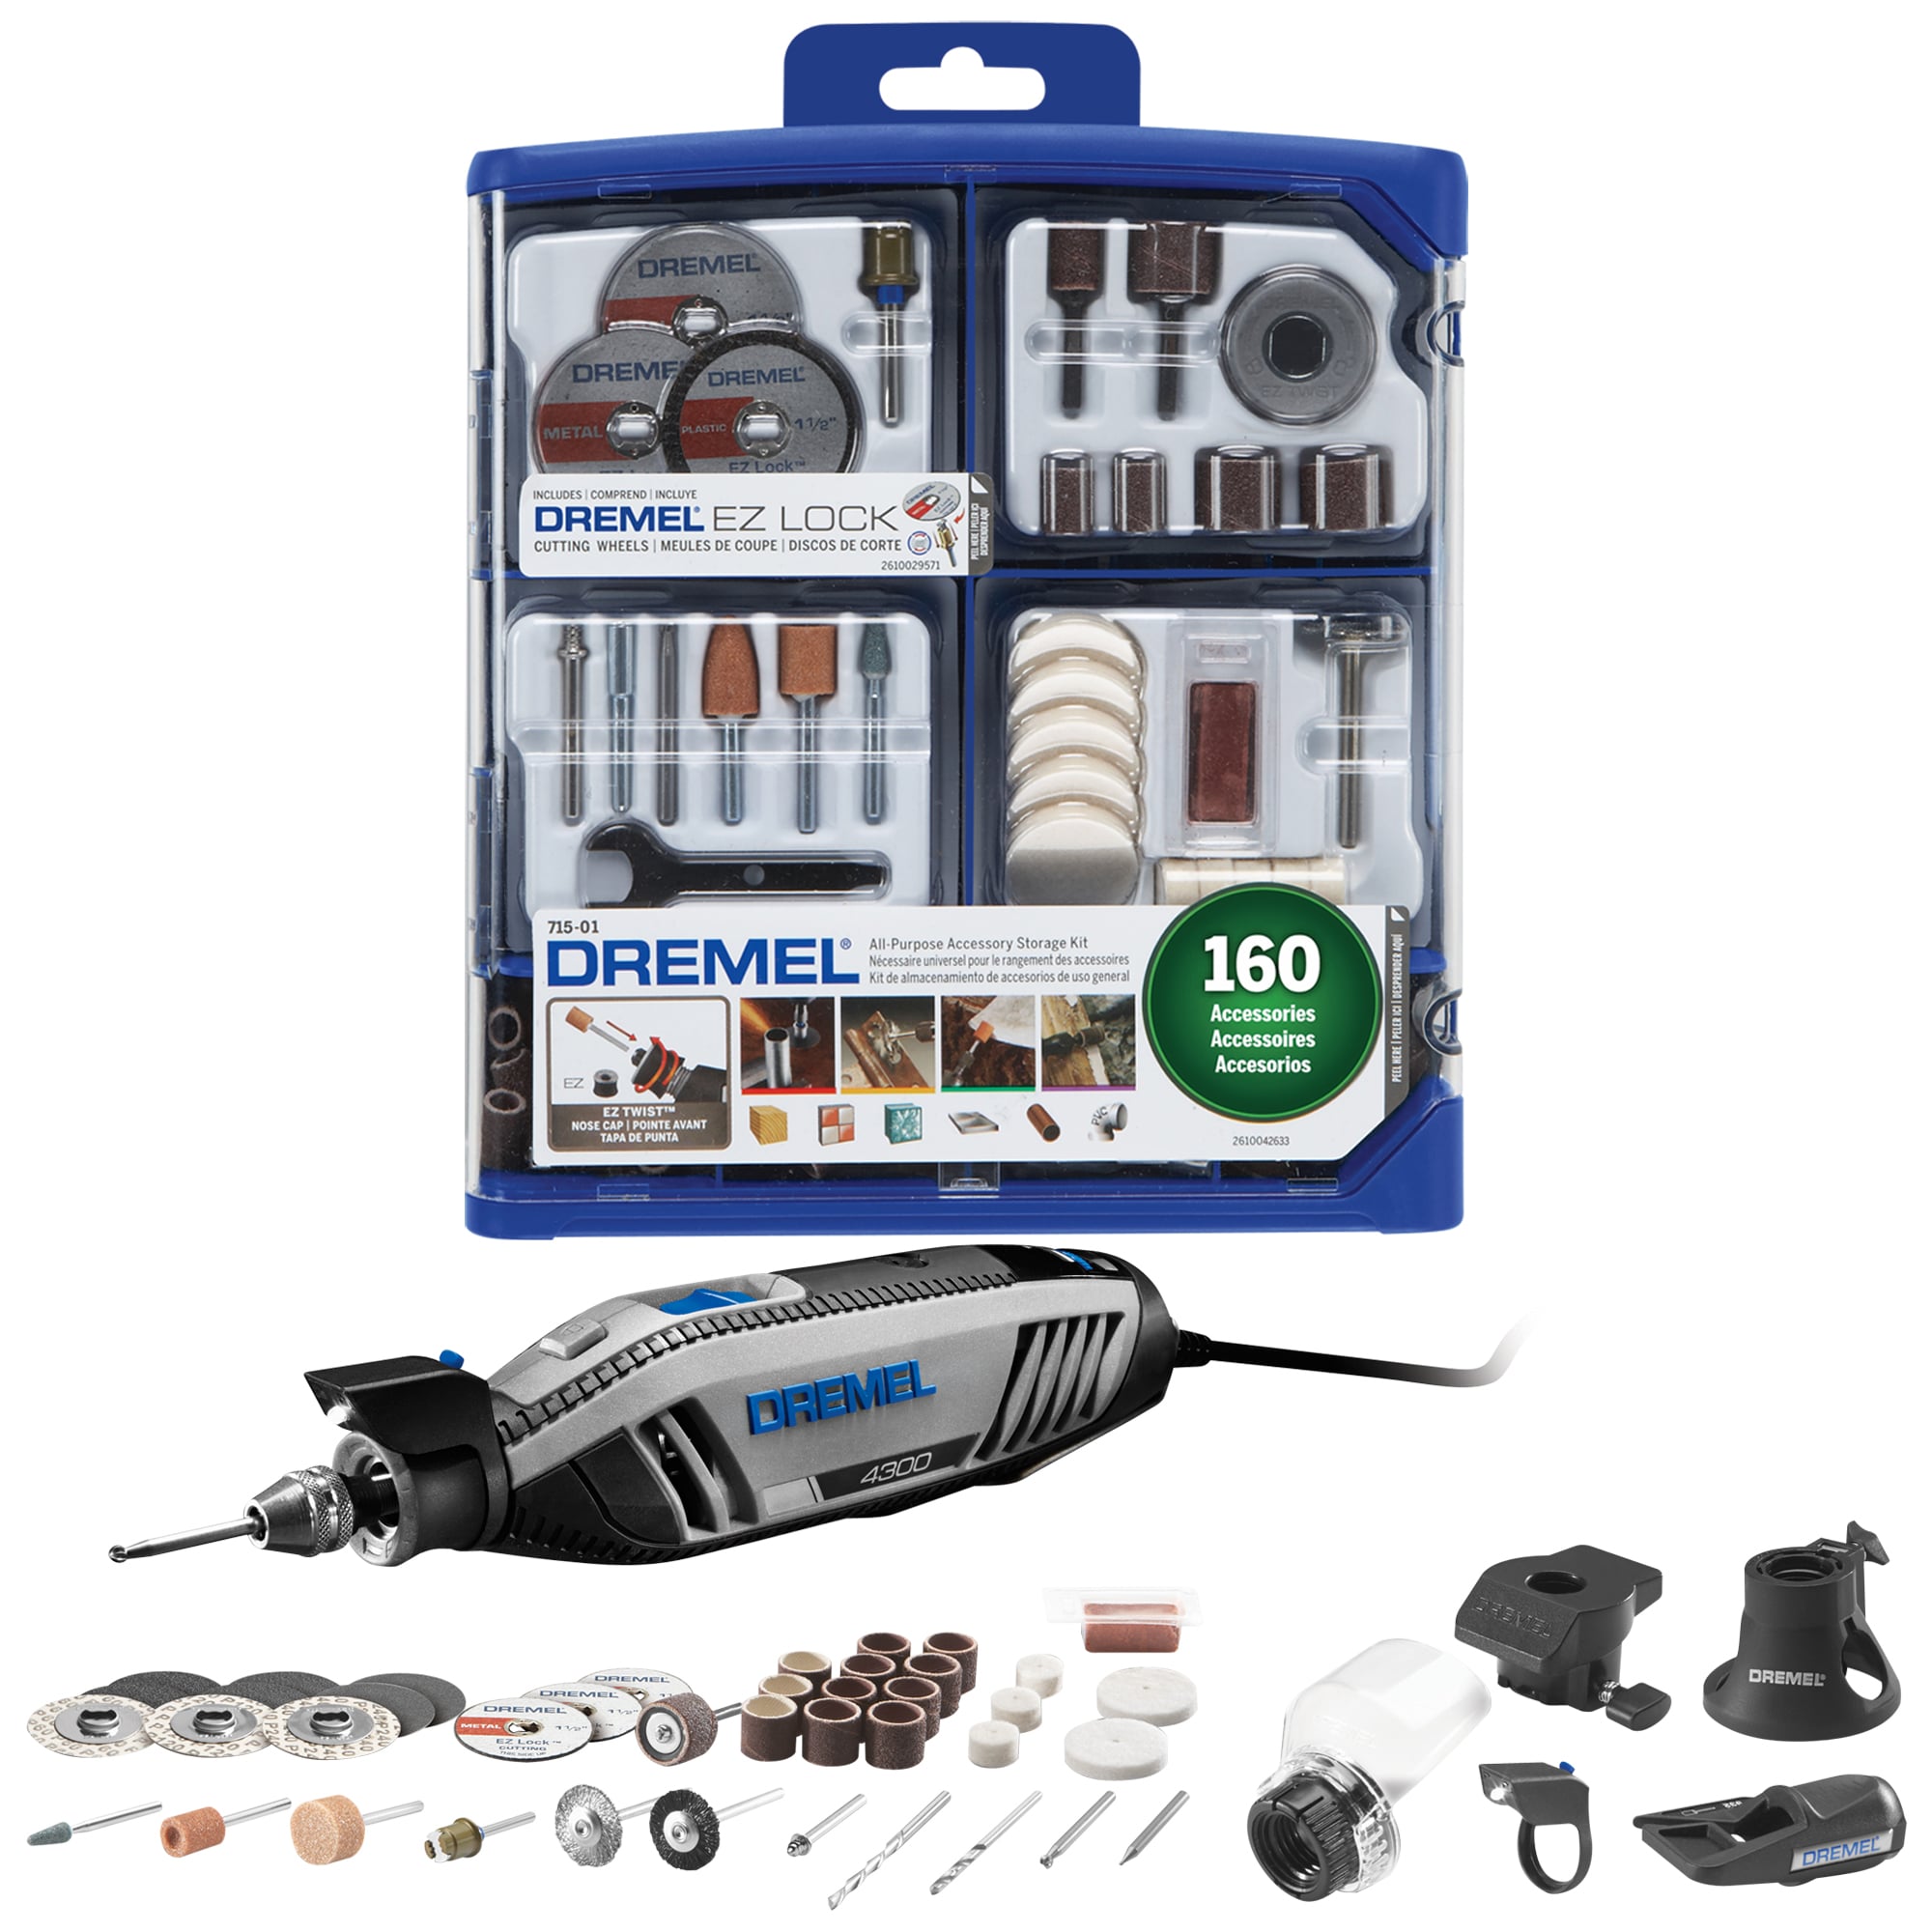
Dremel 4300 High-Performance Rotary Tool
Powerful motor (1.6 amps), variable speed up to 35,000 RPM, and EZ Twist nose cap for quick accessory changes. Suitable for all abrasive tasks.
Best for: Ideal for heavy-duty or prolonged use; best all-rounder for intermediate users.
Price Range: $70–$90
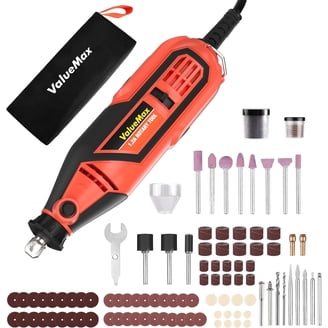
POWERTEC 155 Piece Rotary Tool Accessory Kit
Affordable, comprehensive set with sanding bands, grinding stones, cut-off discs, polishing wheels, and more. Great value for experimenting with different accessories.
Best for: Best for beginners/ intermediate users who want a wide assortment without buying individually.
Price Range: $20–$30
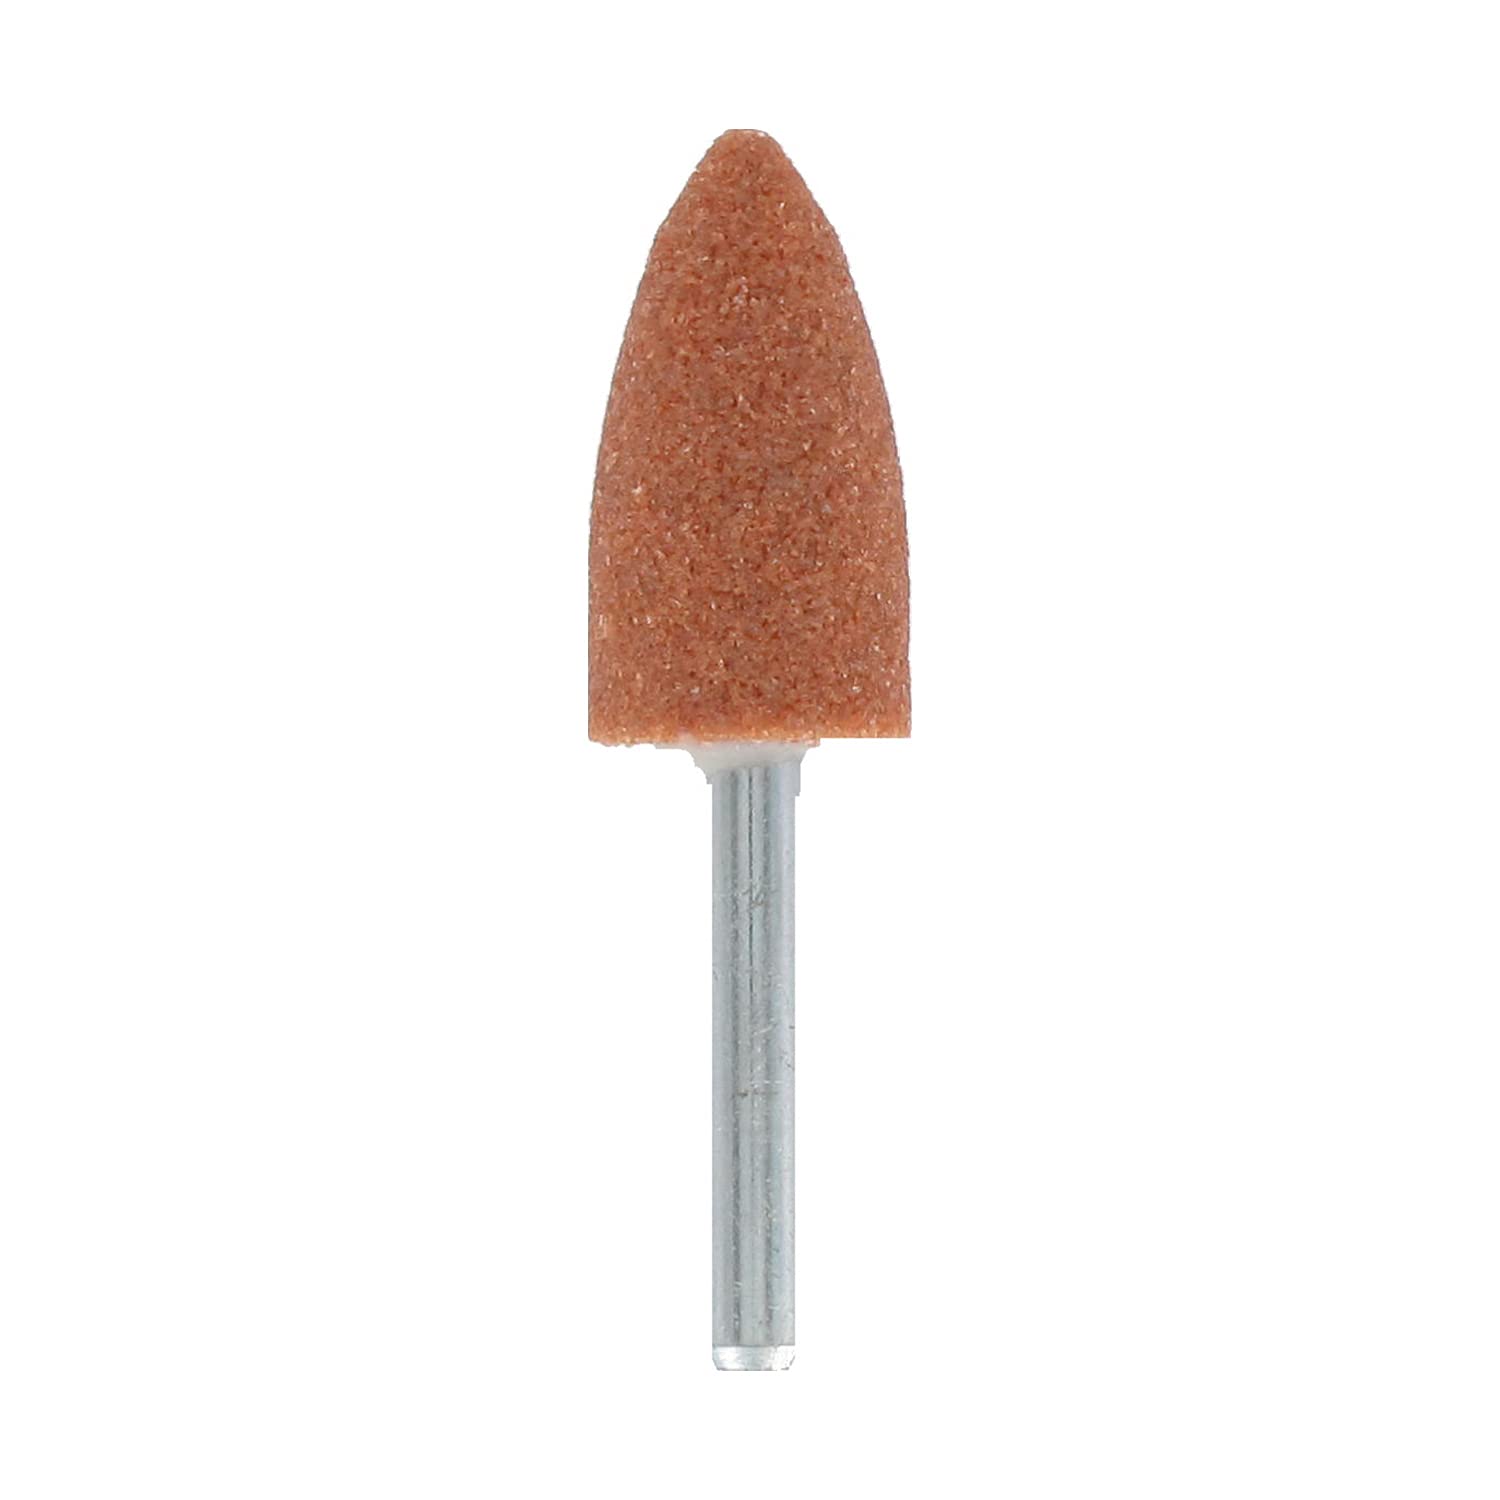
Dremel 952 Aluminum Oxide Grinding Stone
High-quality grinding stone for sharpening, deburring, and shaping steel and other hard materials. Long-lasting and consistent grit.
Best for: Essential for metalworking tasks like deburring cut steel.
Price Range: $5–$8
3M Sanding Bands 1/2-inch x 1/2-inch, 60 to 120 Grit
Premium sanding bands that resist clogging and deliver consistent finish. Available in multiple grits for wood and plastic.
Best for: Best for sanding wood, plastic, and soft metals.
Price Range: $10–$15 per 10-pack