Working with rusty or burred metal can be frustrating, especially when hand sanding takes forever. A wire wheel brush mounted on a bench grinder transforms tedious cleaning into a quick, satisfying process. In this guide, you'll learn how to choose the right brush, set up your grinder safely, and use proper brushing techniques to achieve professional results. Whether you're restoring an old tool or prepping metal for welding, this step-by-step tutorial will help you get started with confidence. Expect to spend about 30–60 minutes on your first setup and practice session.
▸What You'll Need
- •Bench grinder (6-inch or 8-inch recommended)
- •Wire wheel brush (crimped, knotted, or brass, sized for your grinder)
- •Safety glasses and full-face shield
- •Heavy-duty work gloves (leather or cut-resistant)
- •Apron or full-length clothing
- •Workpiece (scrap metal for practice)
- •Optional: wire wheel dressing tool or brush for cleaning the wheel
- •Optional: bench grinder stand or secure mounting
Estimated Time: 30–60 minutes (first time); 10–20 minutes for routine use
Difficulty: beginner
▸Step-by-Step Instructions
Step 1: Safety First – Gear Up
Before turning on the grinder, put on safety glasses and a full-face shield. Wire bristles can break off and fly at high speed, causing serious eye or face injuries. Wear heavy-duty work gloves to protect your hands from sharp edges and wire ends. Remove any loose jewelry, roll up sleeves, and tie back long hair. A leather apron or heavy denim jacket provides extra protection against sparks and debris. Ensure your workspace is well-lit and free of tripping hazards.
💡 Tips:
- •Double-check that your face shield is rated for impact protection.
- •Keep a fire extinguisher nearby when grinding metal, especially near flammable materials.
⚠️ Warnings:
- •Never wear gloves that are too loose—they can get caught in the rotating brush.
- •Do not skip eye protection; wire fragments can penetrate the skin and eyes.
Step 2: Choose the Right Wire Wheel Brush
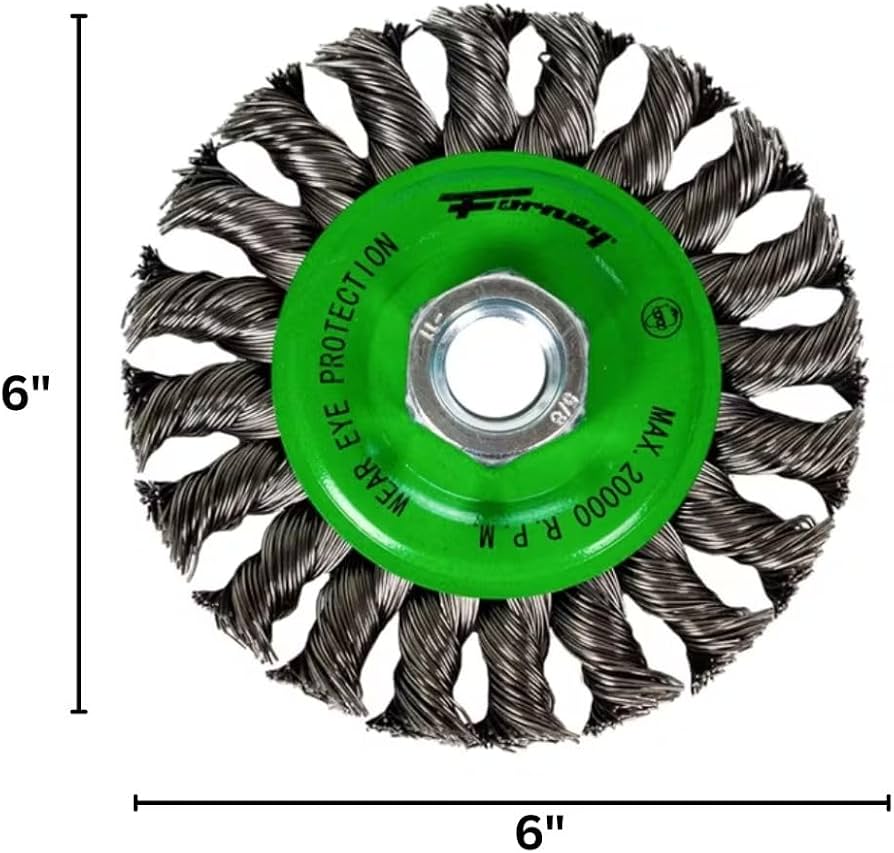
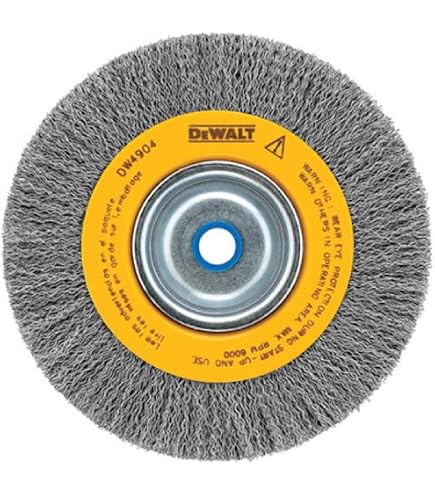
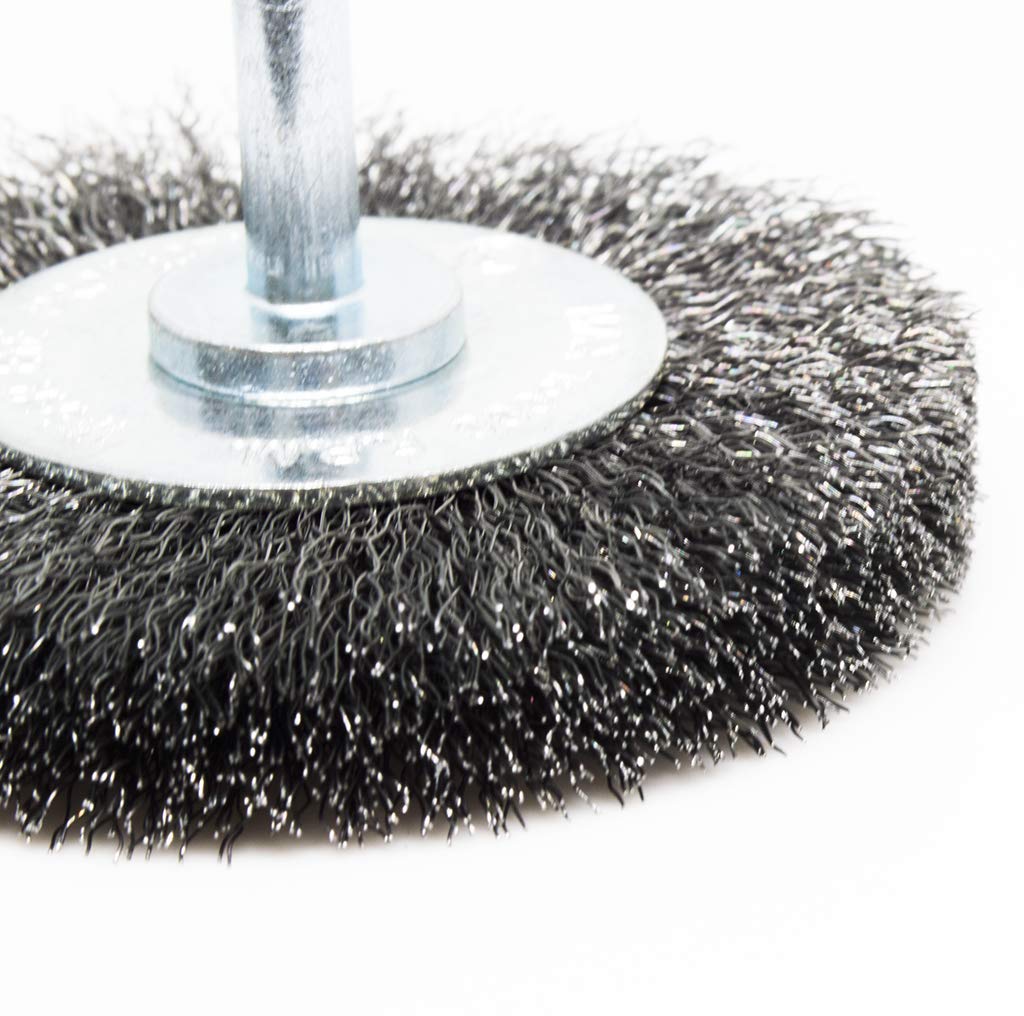
Wire wheel brushes come in several types for different tasks. A crimped wire brush has wavy wires that provide a gentle cleaning action—ideal for light rust, paint, and oxidation. A knotted wire brush has straight, twisted wires for aggressive removal of heavy rust, scale, and burrs. Brass or stainless steel brushes are safer for non-ferrous metals like aluminum or brass because they won't cause galvanic corrosion. Also check the maximum RPM rating on the brush; it must match or exceed your grinder's speed. Select a brush with an arbor hole size that fits your grinder (usually 5/8-inch or 1-inch).
💡 Tips:
- •For general shop use, start with a medium crimped steel wire brush.
- •If you're frequently removing thick weld spatter, invest in a knotted brush.
⚠️ Warnings:
- •Never use a brush rated for lower RPM than your grinder—it can disintegrate and cause injury.
- •Avoid using steel wire on aluminum unless you plan to remove the embedded steel particles afterward.
Step 3: Mount the Wire Wheel Brush on the Bench Grinder
Unplug the bench grinder before changing accessories. Remove the existing wheel or guard if necessary. Place the wire wheel brush over the spindle, ensuring it sits flat against the flange. Most bench grinders use a left-hand thread on the left side and right-hand thread on the right; tighten the nut securely by hand, then use a wrench to give it an extra quarter turn. Do not overtighten, as this can warp the brush. Reinstall any wheel guards that came with the grinder, but adjust them to expose the brush as needed for access.
💡 Tips:
- •Place the brush on the side where you naturally hold the workpiece (usually the left).
- •If the brush wobbles, check for debris on the mounting flange or use a paper shim to balance it.
⚠️ Warnings:
- •Always unplug the grinder before any adjustments or brush changes.
- •Do not operate without the brush nut securely fastened—the brush can fly off.
Step 4: Adjust the Tool Rest and Eye Shield
Most bench grinders have an adjustable tool rest (work support) in front of the wheel. For wire brush work, set the tool rest about 1/8 inch (3 mm) away from the wire tips. This gap prevents the workpiece from jamming against the brush and allows the wires to do the work. Adjust the transparent eye shield (if present) to a comfortable position. Some users prefer to remove the eye shield for better visibility, but compensate with a full-face shield. The tool rest should be securely locked with the holding lever.
💡 Tips:
- •Check the gap by rotating the brush by hand to ensure no contact with the rest.
- •If your grinder doesn't have a tool rest, consider mounting one or using the grinder stand.
⚠️ Warnings:
- •A tool rest set too close will cause the workpiece to snag and possibly be thrown.
- •Never use the grinder without some form of work support for wire brushing.
Step 5: Prepare Your Workpiece
Clamp down or securely hold small workpieces that could be torn from your hands. For small parts, use locking pliers or a vise. Larger items like metal sheets can be braced against the tool rest. Make sure the workpiece is free of oil or grease that could cause slipping. If you're removing rust or paint, consider scraping off loose material first to extend brush life. Position yourself so you have a stable stance, with the workpiece approaching the brush from below the center line (on the downward side).
💡 Tips:
- •For rapid material removal, hold the workpiece at a slight angle to the brush face.
- •Draw a line on the workpiece to test your brushing pattern and speed.
⚠️ Warnings:
- •Never hold a workpiece with one hand and operate the grinder with the other; use clamps or a vise.
- •Do not wear gloves with loose cuffs that could get pulled into the brush.
Step 6: Start the Grinder and Let It Reach Full Speed
Plug in the grinder and turn it on. Allow the wire wheel to reach its full operating speed before bringing the workpiece into contact. This usually takes 5–10 seconds. Listen for any unusual sounds like scraping or wobbling—if you hear something, turn off and inspect the mounting. Stand to the side of the brush while it spools up in case of brush failure. Once at speed, you're ready to begin brushing.
💡 Tips:
- •Hold the workpiece with both hands (if not clamped) to maintain control.
- •If the brush vibrates excessively, it may be out of balance—replace it.
⚠️ Warnings:
- •Do not touch the workpiece to the brush while it is accelerating; this can stall the motor or damage the brush.
- •Always stand to the side, not directly in front of the brush.
Step 7: Proper Brushing Technique
Gently bring the workpiece into contact with the lower front quadrant of the brush—this is where the brush rotates downward into the work. Use light pressure; let the wire tips do the cleaning. Move the workpiece steadily across the brush face in a side-to-side or circular motion to avoid creating grooves. For edges, use a light touch to avoid rounding them. Brush in the direction of the wire tips (usually downward) to maximize efficiency and reduce wire breakage. Inspect frequently; you can see results in seconds. Repeat passes as needed, adjusting angle and pressure.
💡 Tips:
- •For heavy rust, use a back-and-forth motion, but don't press hard—let the wires work.
- •If the brush starts to glaze (wires become matted), stop and clean it with a wire brush or dressing tool.
⚠️ Warnings:
- •Brushing too hard will break wires prematurely and may gouge the workpiece.
- •Do not hold the workpiece still against the brush—it will create a flat spot and uneven wear.
Step 8: Inspect Your Progress and Repeat
After each pass, remove the workpiece and inspect the surface. For rust removal, you should see bare metal with a slight brushed texture. For deburring, edges should feel smooth to the touch. If the workpiece is hot, let it cool before handling. Repeat the brushing process on stubborn areas, varying the angle slightly. Once satisfied, turn off the grinder and wait for the brush to stop completely before setting down the workpiece.
💡 Tips:
- •Use a bright light to inspect for pits or remaining rust.
- •For a finer finish, follow up with a finer wire brush or abrasive wheel.
⚠️ Warnings:
- •Hot metal can burn; use pliers to handle small parts after brushing.
- •Do not force the workpiece into the brush—overheating can ruin the temper of the metal.
Step 9: Clean Up and Maintain Your Wire Wheel Brush
After use, the wire brush will accumulate debris, grease, and metal particles. Clean the brush by running a stiff wire brush (or a dedicated brush cleaner) across the wheel while it rotates at low speed. Alternatively, use a dressing stone designed for wire wheels. This restores the sharpness of the wires and removes lodged particles. Store the brush in a dry place to prevent rust. Periodically inspect the brush for broken wires, bent tips, or missing sections—replace if worn unevenly or if wires are less than half their original length.
💡 Tips:
- •You can also compress the brush with your gloved hand (while stopped) to fluff out the wires.
- •A dirty brush reduces cleaning efficiency and can scratch your workpiece.
⚠️ Warnings:
- •Never clean the brush with your bare hands—wire splinters are dangerous.
- •If the brush is heavily loaded with plastic or paint, soak it in solvent before cleaning.
▸Pro Tips
- •Use lighter pressure: pressing harder doesn't speed cleaning; it just wears out the brush and risks gouging.
- •Keep the brush moving: stationary contact creates grooves and uneven wear on the brush.
- •Match brush type to material: knotted steel for heavy rust, crimped for light cleaning, brass for non-ferrous metals.
- •Work on the downward side of the brush: this minimizes the chance of the workpiece being thrown upward.
- •Wear hearing protection: bench grinders can be loud, and prolonged exposure may damage hearing.
- •Dress the brush regularly: a dressing tool removes embedded debris and realigns wires for better performance.
- •Check brush RPM rating: always ensure the brush is rated at or above your grinder's no-load speed.
▸Common Mistakes to Avoid
- •Applying too much pressure: this leads to rapid wire breakage, overheating, and poor cleaning. Let the brush do the work.
- •Using the wrong brush type: a knotted brush on thin sheet metal can cause distortion; brass brush on steel may leave unwanted deposits.
- •Not wearing adequate PPE: flying wire fragments can embed in skin or eyes; always wear a face shield and gloves.
- •Holding the workpiece stationary: this creates flat spots on the brush and inconsistent results; keep it moving.
- •Ignoring brush wear: a worn-out brush with many broken wires becomes inefficient and can scratch workpieces.
▸Troubleshooting
Problem: Brush wobbles excessively or makes scraping noise.
Solution: Turn off the grinder and check that the brush is properly seated on the flange and the nut is tight. Remove any debris between the brush and flange. If wobble persists, the brush may be warped or the spindle bent—replace the brush or service the grinder.
Problem: Wire ends ball up or form a matted surface on the brush face.
Solution: This is caused by overheating or contamination (paint, plastic). Clean the brush with a wire rake or dressing stone. Reduce pressure and increase movement. If the balling is severe, replace the brush.
Problem: Grinder motor slows down or stalls when brushing.
Solution: You are pressing too hard. Reduce pressure immediately. If the grinder is underpowered for the brush size, consider moving to a smaller brush or a grinder with higher torque.
Problem: Workpiece gets hot quickly or discolors.
Solution: Too much friction from excessive pressure or a dull brush. Lighten your touch and ensure the brush is clean. If the metal is thin, use a finer brush and reduce dwell time.
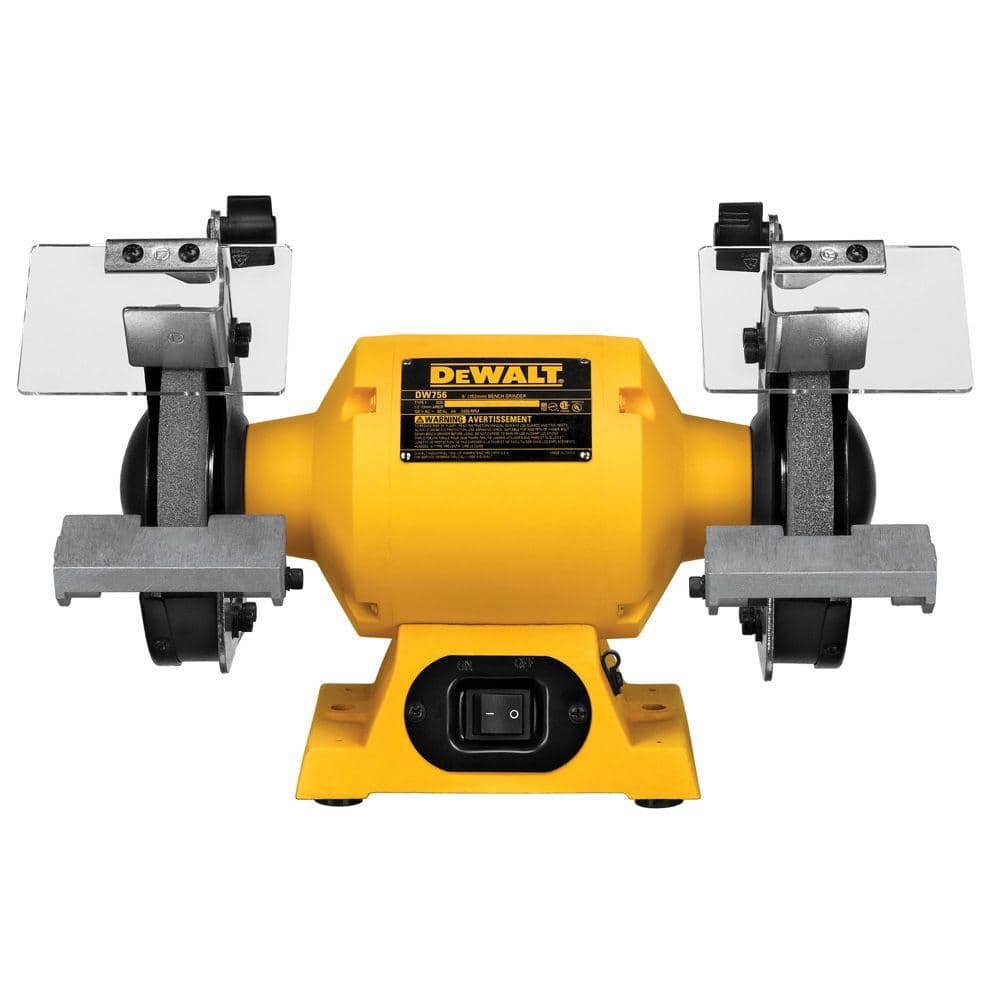
DEWALT 6-Inch Bench Grinder (DW756)
A reliable benchtop grinder with 5.0 amps of power and a 6-inch wheel, perfect for most wire brushing tasks. Features a sturdy base and adjustable tool rest.
Best for: As the primary tool for wire brushing, sharpening, and grinding at home or in light industrial settings.
Price Range: $100–$150
Forney 73221 Crimped Wire Wheel Brush, 6-Inch
Affordable and versatile crimped wire brush for general cleaning, rust removal, and deburring on steel. Fits most bench grinders with 5/8-inch arbor.
Best for: Ideal for everyday use on mild rust, paint, and oxidation without being too aggressive.
Price Range: $10–$15
POWERTEC 155039 Knotted Wire Wheel Brush, 6-Inch
Heavy-duty knotted brush for aggressive cleaning of heavy rust, mill scale, and weld spatter. Stainless steel version also available.
Best for: Best for rapid material removal on large ferrous parts like machinery, gates, and trailers.
Price Range: $15–$25
3M 81767 Wire Wheel Brush Cleaning Tool
A dedicated dressing stone that cleans and restores wire brush performance without damaging the wires. Extends brush life.
Best for: Used when the wire brush becomes glazed or loaded with debris; simply press against the rotating brush.
Price Range: $10–$20
NoCry Cut Resistant Gloves with Impact Protection
High-level cut and puncture resistance (Level 5) plus impact padding on the back, ideal for handling sharp metal and wire bristles.
Best for: Protect hands while holding workpieces near the wire wheel; safer than standard work gloves.
Price Range: $25–$35