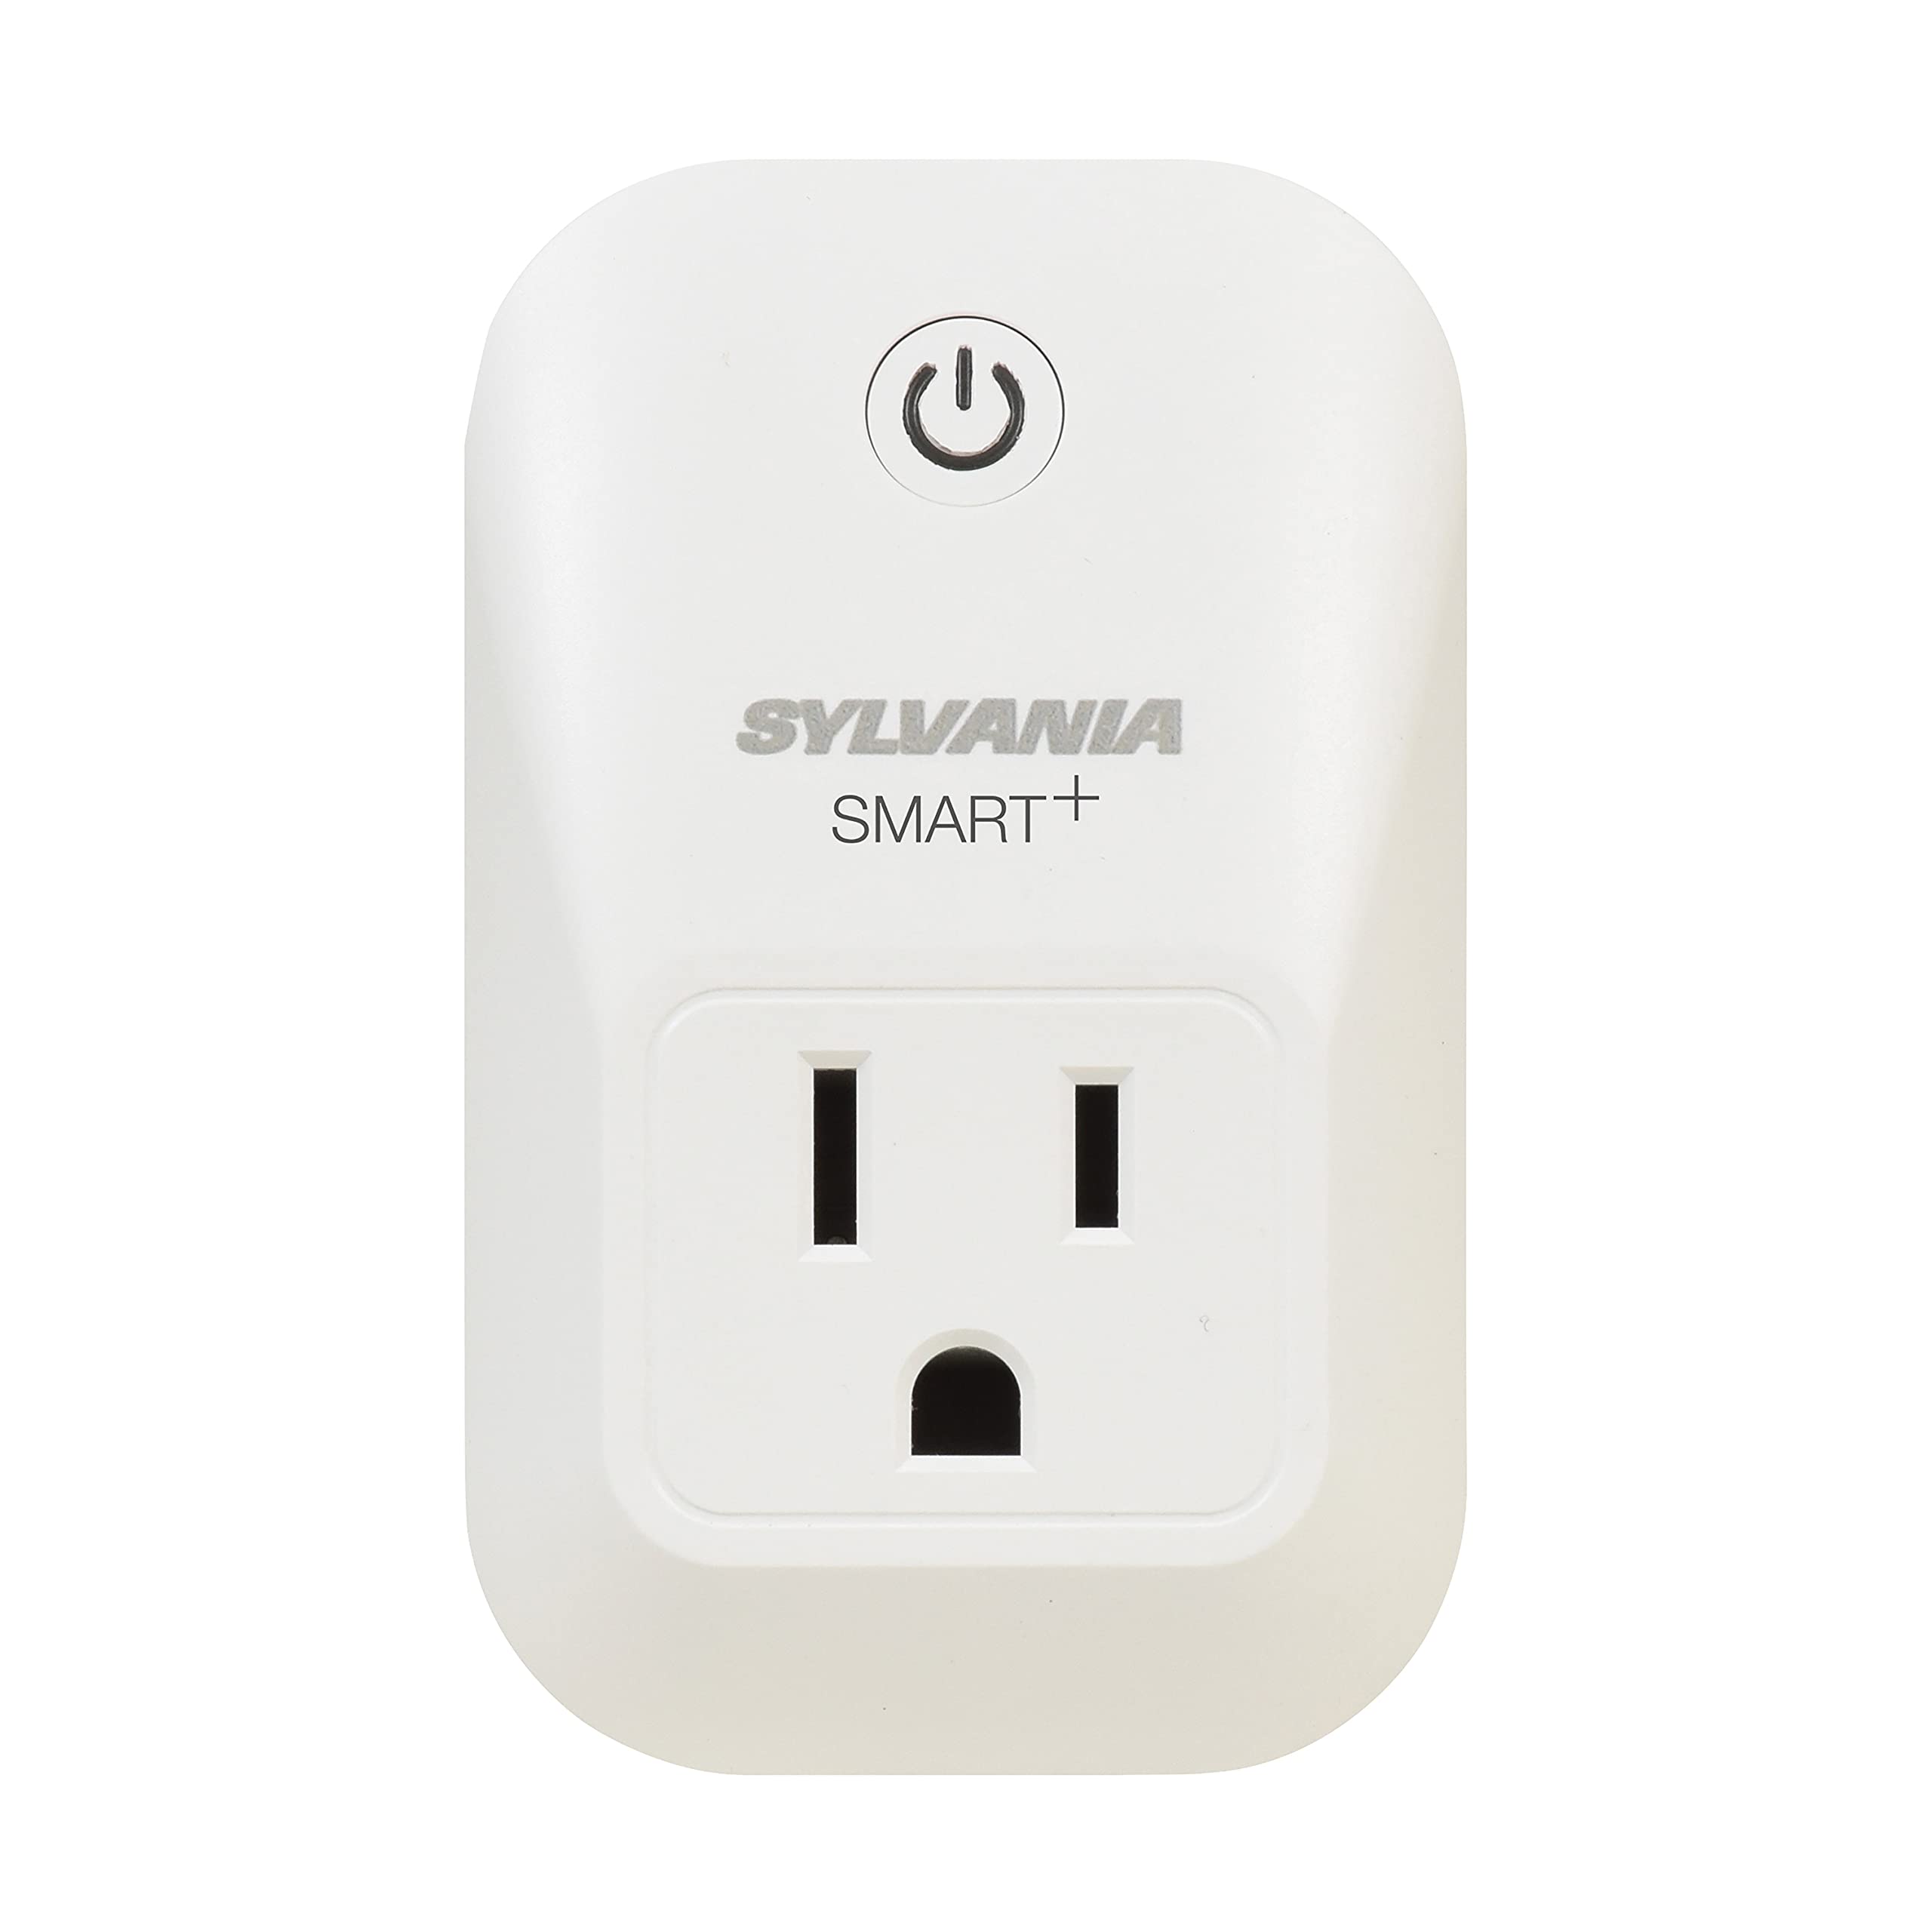
Are you tired of harsh overhead lighting or wish you could create a cozy ambiance with your favorite floor lamp? A wall adapter with a built-in dimmer switch lets you easily adjust brightness without any electrical rewiring. Simply plug it into the wall outlet, then connect your lamp—it's that simple. In this guide, you'll learn what to look for in a dimmer adapter, step-by-step setup, and essential tips to avoid flickering or buzzing. Whether you're a DIY enthusiast or a beginner, this process takes less than 15 minutes and requires no special tools.
▸What You'll Need
- •Plug-in dimmer adapter (wall adapter with dimmer switch)
- •Dimmable bulb (LED or CFL with dimmable rating; check compatibility with adapter)
- •Lamp or light fixture that works with a standard plug
- •Optional: Smart plug dimmer (if you want voice/app control)
- •User manual for your dimmer adapter (for max load limits)
Estimated Time: 10–15 minutes
Difficulty: intermediate
▸Step-by-Step Instructions
Step 1: Check Bulb and Adapter Compatibility
Before plugging anything in, verify that your bulb is dimmable. Dimmable bulbs are marked on the package or base; if in doubt, look for the dimmable symbol (a dimmer icon). Non-dimmable bulbs may flicker, buzz, or even get damaged when connected to a dimmer. Also, check your dimmer adapter's specifications for minimum and maximum wattage. Most plug-in dimmers handle 40–300W incandescent or 5–100W LED. If your lamp uses more, you risk tripping a breaker or damaging the dimmer.
💡 Tips:
- •For best results, use the same brand dimmer and bulb as they are tested together.
- •Write down the wattage of your bulb to compare with the dimmer's rating.
⚠️ Warnings:
- •Never exceed the dimmer's maximum wattage rating.
- •Do not use with non-dimmable CFL or LED bulbs.
Step 2: Unplug the Lamp and Inspect the Plug
Safety first: unplug your lamp from the wall outlet. Inspect the lamp's plug and cord for any damage, fraying, or exposed wires. A damaged cord could cause short circuits or shocks when used with a dimmer. If you notice any issues, repair or replace the lamp before proceeding. Also, ensure the lamp's plug fits your dimmer adapter's outlet (standard two- or three-prong).
💡 Tips:
- •Use a lamp with a grounded plug for extra safety if available.
- •If the lamp plug is polarized (one prong wider), the dimmer adapter should also have a polarized outlet.
⚠️ Warnings:
- •Do not use a lamp with a damaged cord; it's a fire hazard.
Step 3: Insert the Dimmer Adapter into the Wall Outlet
Take your dimmer wall adapter and plug it directly into the wall outlet. Ensure it's fully inserted and the prongs are secure. Do not use an extension cord or power strip with a dimmer adapter unless the adapter's manual specifically allows it. If the adapter has a side outlet (some pass-through outlets), note that only the controlled outlet dims. For safety, choose an outlet that is accessible but not behind furniture that might overheat.
💡 Tips:
- •If the dimmer has a locking mechanism, engage it for a snug fit.
- •Position the dimmer so the dial or slider is easily reachable.
⚠️ Warnings:
- •Keep the dimmer in a well-ventilated area to prevent overheating.
- •Do not plug the dimmer into a GFCI outlet unless specified; some dimmers may interfere with GFCI operation.
Step 4: Set the Dimmer to Maximum Brightness Before Plugging In the Lamp
Before connecting your lamp, turn the dimmer control to its highest setting. This reduces sudden power surges that can stress the bulb's electronics. Most plug-in dimmers have a rotary dial or a slider; rotate it fully clockwise or slide it to the top. This step also helps you quickly confirm that the dimmer is working when you test it.
💡 Tips:
- •If you have a smart dimmer, use the app or voice command to set the brightness to 100%.
- •Some dimmers have an on/off switch; ensure it's in the 'on' position.
Step 5: Plug the Lamp into the Dimmer Adapter
Now plug your lamp into the dimmer adapter's socket. Make sure it's firmly connected. If the dimmer has a pass-through outlet, plug the lamp into the dimmer-controlled outlet (often marked with a symbol). For two-outlet adapters, only one outlet is dimmed; the other remains always on. Plug your lamp into the controlled outlet, and then you can use the always-on outlet for other devices.
💡 Tips:
- •If the lamp plug does not fit snugly, try another adapter or lamp.
- •For a more permanent setup, consider a dimmer plug that replaces the lamp's original plug (hardwired style) but that is advanced.
⚠️ Warnings:
- •Never plug a power strip or high-wattage appliance into the dimmer-controlled outlet.
Step 6: Turn on the Lamp and Test the Dimmer
With the lamp's own switch in the ON position, use the dimmer to adjust brightness. Start at high, then slowly dial down. You should see smooth dimming without flicker or buzz. If the bulb flickers at low settings, it may not be fully compatible or the dimmer's minimum load may not be met. Some dimmers have a trimmer adjustment screw (check manual) to set the low-end range.
💡 Tips:
- •Test multiple brightness levels to ensure smooth operation across the range.
- •If your bulb is dimmable but flickers, try a different brand or a 'dimmable' LED specifically labeled for universal dimmers.
⚠️ Warnings:
- •If the bulb flashes erratically or the dimmer gets hot to the touch, unplug everything and check compatibility.
Step 7: Adjust Trim/Low-End Setting (If Available)
Many plug-in dimmers have a small trim pot (potentiometer) accessible via a hole or behind a cover. This allows you to adjust the minimum brightness level. If your bulb turns off too early or stays too bright at the lowest setting, use a small screwdriver to carefully turn the trim screw clockwise or counterclockwise while observing the light. Refer to your dimmer's manual for exact instructions. Only adjust trim if you experience issues.
💡 Tips:
- •Mark the default position of the trim screw before adjusting so you can revert.
- •Adjust in small increments (quarter turns) to avoid going too far.
⚠️ Warnings:
- •Do not force the trim screw; it may be delicate.
- •If adjusting doesn't help, the bulb may be incompatible; replace the bulb.
Step 8: Secure and Route the Cord (Optional)
For a tidy setup, use cord clips or ties to keep the lamp cord and dimmer adapter organized. If the dimmer adapter is bulky, ensure it doesn't block other outlets. Some dimmers have a built-in cord wrap or mounting holes for wall screws (if allowed). You can also place the lamp on a stable surface so the cord is not taut. This prevents accidental unplugging.
💡 Tips:
- •If the dimmer gets warm, keep it away from drapes or fabric.
- •Use a short, heavy-duty extension cord if you need more reach, but check dimmer's manual first.
⚠️ Warnings:
- •Do not cover the dimmer with rugs or furniture; it needs ventilation.
Step 9: Label the Dimmer for Future Reference
To avoid confusion, especially if you have multiple dimmer adapters, label the dimmer with a permanent marker or sticker: write the maximum wattage and bulb type it's used with. This helps when you change bulbs or move the dimmer to a different lamp. Also, note if the dimmer works with smart home systems (if applicable). Keep the manual handy.
💡 Tips:
- •Use a label maker for a professional look.
- •Attach the label on the bottom or back so it remains visible.
▸Pro Tips
- •Always use dimmable LED bulbs that explicitly state compatibility with leading-edge or trailing-edge dimmers, as plug-in dimmers are typically leading-edge.
- •If you have a smart home system, choose a smart plug dimmer that works with Alexa, Google Home, or Apple HomeKit for voice control and schedules.
- •For lamps with multiple bulbs (e.g., a chandelier), ensure the total wattage is within the dimmer's range.
- •Test the dimmer with each new bulb before finalizing the setup; sometimes a simple return is easier than troubleshooting.
- •To minimize electromagnetic interference (EMI), use a dimmer with a ferrite core (look for a small cylinder on the cord) or filter.
- •If you experience a slight glow when the lamp is 'off', the dimmer may be passing a tiny current. Replace with a dimmer that has a 'true off' feature.
- •Use the dimmer's maximum brightness for reading or tasks, and lower for ambiance or movie watching.
- •Consider a dimmer with a remote control for convenience, especially for floor lamps that are hard to reach.
▸Common Mistakes to Avoid
- •Using a non-dimmable bulb: This causes flickering, buzzing, and premature bulb failure. Always check the bulb's packaging.
- •Overloading the dimmer: Plugging in a lamp that draws more than the dimmer's rated wattage can overheat the dimmer or cause it to malfunction.
- •Forgetting to set the dimmer to max before plugging in: This may cause a sudden inrush current that can damage the dimmer electronics.
- •Using the dimmer with a power strip or extension cord: This can create instability and potential fire hazard. Plug directly into wall.
- •Ignoring the dimmer's orientation: Some dimmers work best with the dimmer control at the top; if installed upside down, performance may reduce.
▸Troubleshooting
Problem: Bulb flickers or buzzes at any setting.
Solution: First, confirm the bulb is dimmable. If yes, try a different dimmable bulb from a reputable brand. The dimmer may not be compatible with that bulb's driver. Also, check that the dimmer's minimum load is met; some require a certain wattage to function correctly.
Problem: Bulb does not turn on at all.
Solution: Check that the lamp's own switch is ON. Ensure the dimmer is plugged in securely. Try turning the dimmer to max. If still off, test the lamp in a different outlet to rule out a bulb issue. If the dimmer has a reset button, press it.
Problem: Dimmer gets hot to the touch.
Solution: All dimmers generate some heat, but excessive heat indicates overloading or poor ventilation. Unplug and check that the total wattage is within the dimmer's rating. Move the dimmer to a more open area. If it remains hot, replace the dimmer.
Problem: Lamp turns off at low brightness settings.
Solution: This is often due to the dimmer's low-end trim not being adjusted. Locate the trim adjustment (step 7) and increase the minimum brightness. If the trim doesn't help, the bulb may not be compatible at very low levels; consider a different bulb.
Problem: The dimmer interferes with radio or TV reception.
Solution: Some dimmers generate electrical noise. Use a dimmer with a built-in filter (often indicated on the packaging). Alternatively, move the dimmer away from antennas, or replace with a 'RFI-filtered' dimmer.
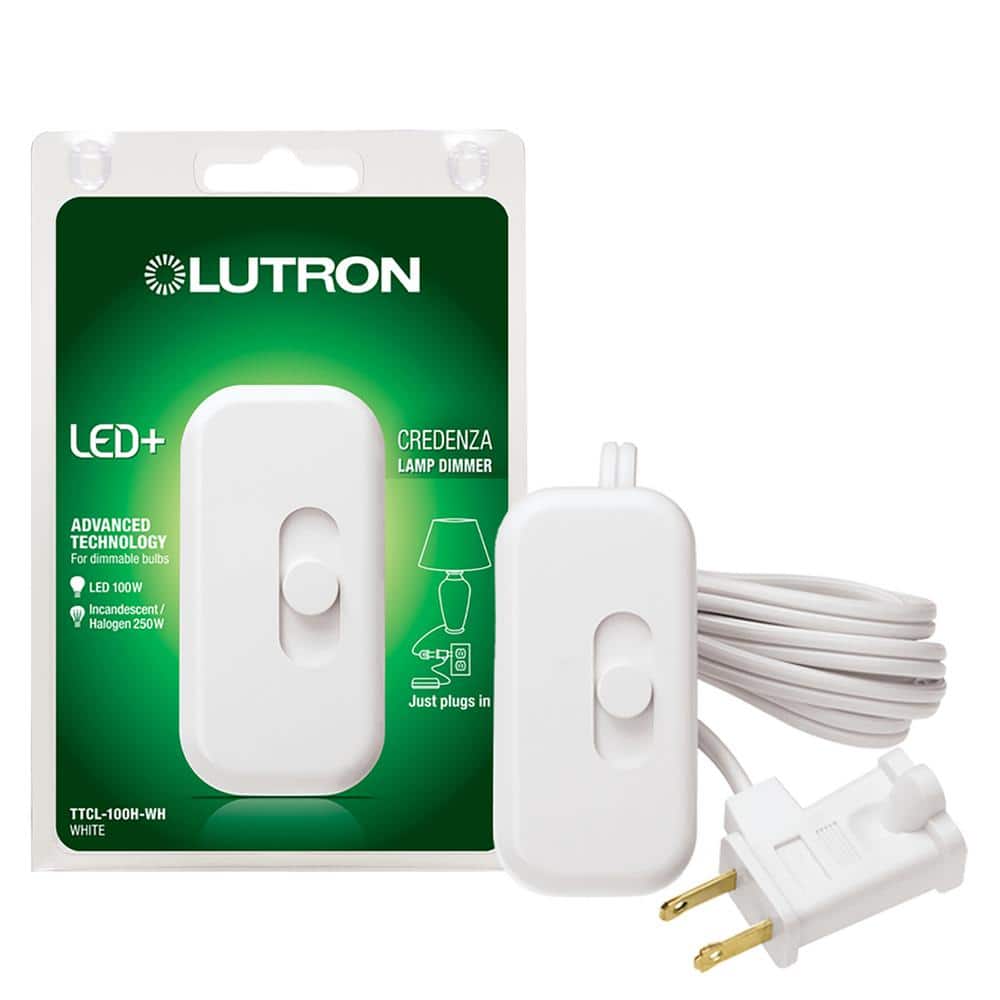
Lutron Credenza Plug-In Dimmer
Highly reliable with smooth dimming for dimmable LEDs and incandescents. Includes a trim adjustment screw and a 300W capacity.
Best for: Best for standard lamps and fixtures where you want a simple rotary dimmer.
Price Range: $15-$25
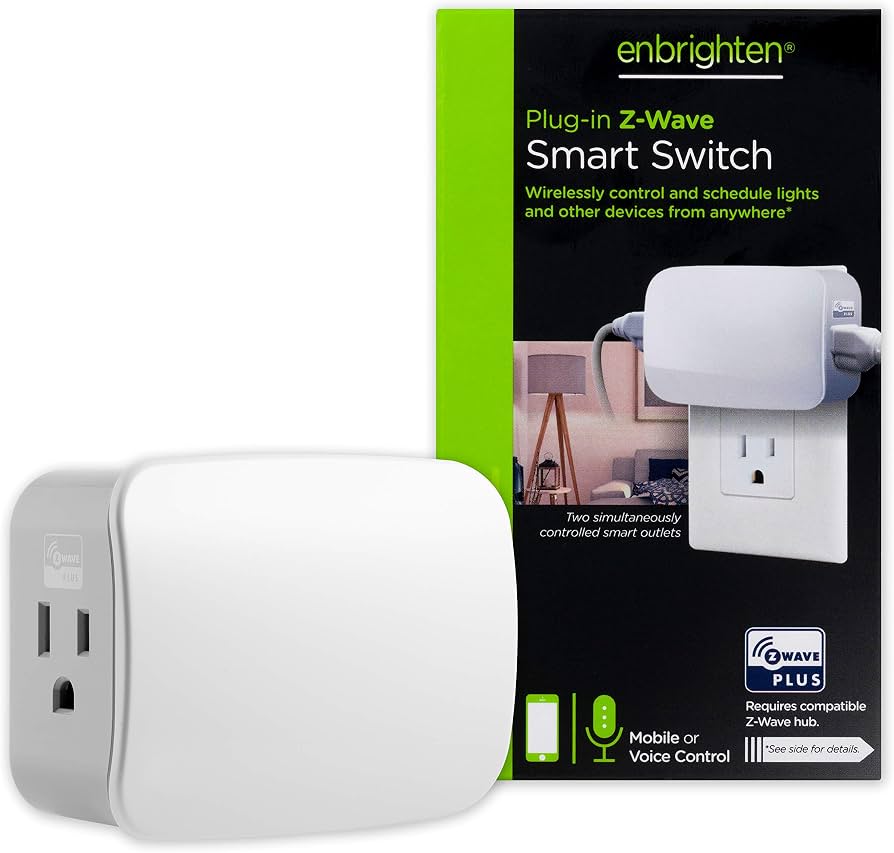
GE Enbrighten Plug-In Smart Dimmer
Works with Alexa, Google Assistant, and includes a built-in schedule timer. Allows voice control and remote dimming via app.
Best for: Ideal for smart home users who want to control lamps from their phone or voice.
Price Range: $25-$35
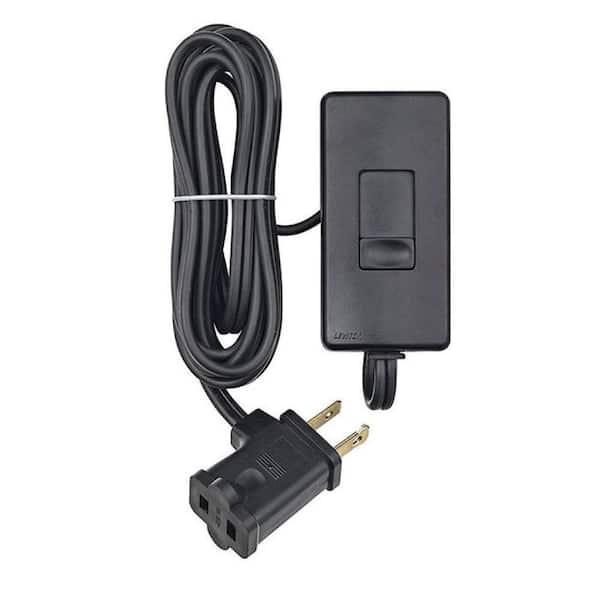
Leviton Dimmers Plug-In Lamp Dimmer
Simple slide control with a 300W capacity; known for compatibility with most dimmable LED bulbs.
Best for: Good for floor lamps in living rooms or bedrooms where you want a slider instead of a dial.
Price Range: $12-$20
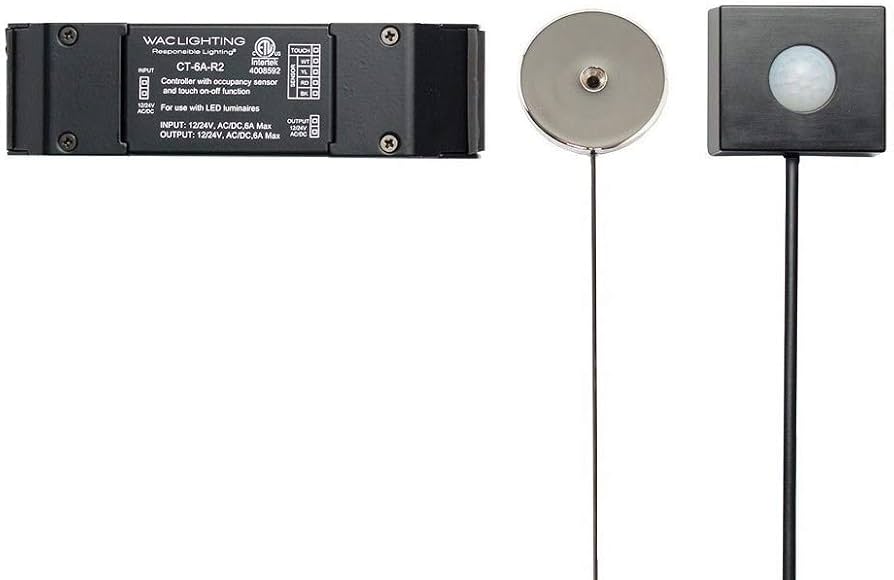
WAC Lighting Touch Dimmer Lamp Cord
Replaces the old lamp cord with an in-line touch dimmer, giving a sleek look and touch control. Can be used with any lamp.
Best for: For a more permanent solution where you want the dimmer on the lamp cord rather than a plug-in module.
Price Range: $20-$30
SYLVANIA Smart+ Plug-in Dimmer
Budget-friendly smart dimmer that works with the SYLVANIA Smart+ app and voice assistants. Compact design.
Best for: Best value for smart home beginners wanting to dim a lamp.
Price Range: $15-$20