Pressure cookers, especially electric ones like the Instant Pot, have revolutionized home cooking by drastically reducing cooking times while locking in flavor. If you’ve just unboxed your first electric pressure cooker, the array of buttons and settings can be intimidating. This beginner-friendly guide will walk you through everything you need to know to get started—from the initial setup to cooking your first meal safely and successfully. By the end, you’ll be able to use your pressure cooker with confidence and enjoy tender meats, fluffy rice, and hearty stews in a fraction of the time.
▸What You'll Need
- •Electric pressure cooker (e.g., Instant Pot Duo or similar model)
- •Liquid (water, broth, or cooking liquid) – at least 1 cup or as required by recipe
- •Ingredients (meat, vegetables, grains, etc.)
- •Trivet or steam basket (usually included)
- •Measuring cup and spoons
- •Tongs for handling hot food
- •Wooden or silicone spoon (non-scratch)
- •Dish towel or paper towels for cleanup
Estimated Time: 30 minutes for initial learning, plus recipe cooking time
Difficulty: beginner
▸Step-by-Step Instructions
Step 1: Understand Your Pressure Cooker Parts
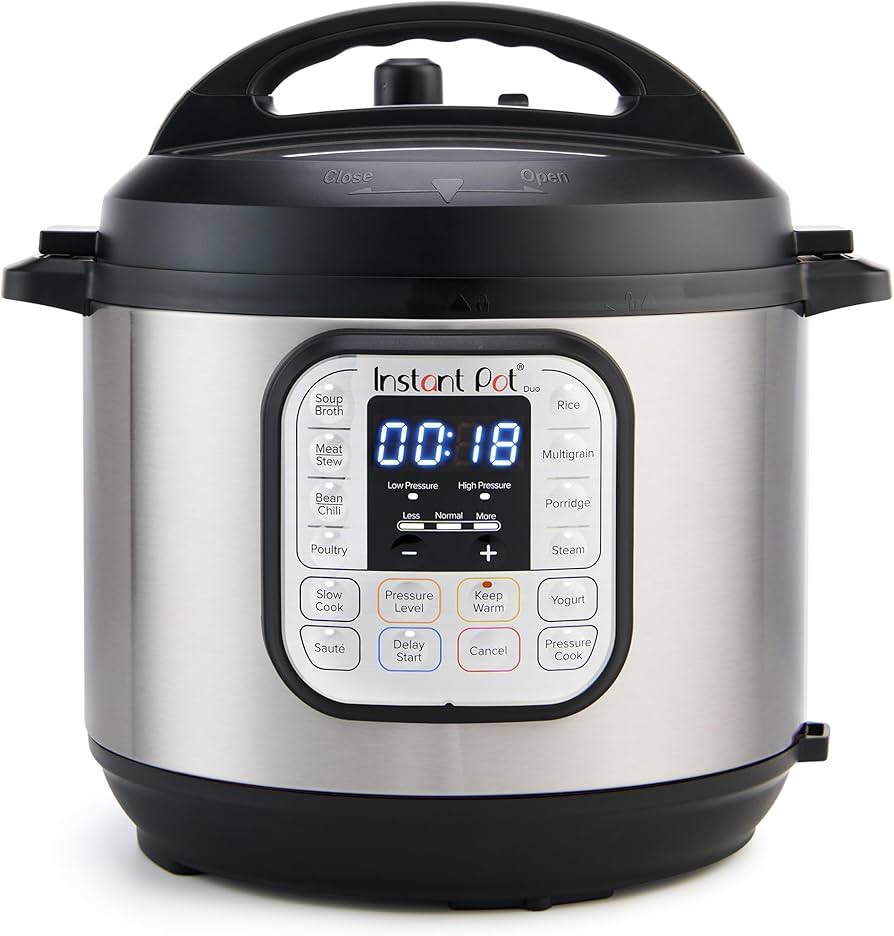
Before cooking, familiarize yourself with the main components: the inner pot (stainless steel), lid with sealing ring, steam release valve (vent), float valve, and control panel. The sealing ring ensures a tight seal to build pressure. The float valve pops up when pressure is reached. The steam release valve has two positions: Sealing (pressure builds) and Venting (pressure releases). Know where the power cord plugs in and that the base has a heating element. Read your model’s manual for specific features.
💡 Tips:
- •Keep the sealing ring free of food debris to ensure a good seal.
- •Some models have a storage position for the lid – use it to keep countertops clean.
⚠️ Warnings:
- •Never operate the pressure cooker without the sealing ring properly installed.
Step 2: Perform a Water Test (Pre-Use Check)
Before your first real recipe, run a water test to ensure your cooker works correctly and to familiarize yourself with the process. Add 3 cups of water to the inner pot. Place the lid on top, aligning the arrow on the lid with the unlock symbol on the base, then twist clockwise to lock (it will click). Turn the steam release valve to Sealing. Press the “Pressure Cook” or “Manual” button, set the timer to 5 minutes (high pressure). The cooker will take about 10-15 minutes to come to pressure – you’ll see steam release briefly, then the float valve pops up. Once the timer counts down, let it natural release for 10 minutes, then quick release any remaining pressure by carefully turning the valve to Venting. Open the lid away from you. You’ve successfully completed your first pressure cook!
💡 Tips:
- •Use the water test to check that your sealing ring and float valve are functioning properly.
- •This also helps remove any manufacturing residues from the pot.
⚠️ Warnings:
- •Never fill the inner pot more than halfway, or two-thirds for foods that expand like grains and beans.
- •Always point the steam release valve away from your face when releasing pressure.
Step 3: Prepare Your Ingredients
Cut meat and vegetables into uniform pieces to ensure even cooking. For tough cuts of meat, browning them first (using the Sauté function) adds deep flavor. For rice and grains, rinse them to remove excess starch. Beans should be soaked overnight for faster cooking (or use the unsoaked method with longer time). Always measure your liquid carefully – pressure cooking requires liquid to create steam. Most recipes call for at least 1 cup (8 oz) of liquid, but follow your recipe’s guidelines. Avoid dairy or coconut milk in the main cooking liquid as they can scorch; add them after pressure cooking.
💡 Tips:
- •Use the Sauté function to brown meat directly in the pot – it saves dishes and builds flavor.
- •For sautéing, use a little oil and deglaze with liquid to prevent burn warnings.
⚠️ Warnings:
- •Don’t use the pressure cooker for deep frying or large amounts of oil – fire hazard.
Step 4: Add Ingredients and Liquid to the Pot
Place the inner pot into the cooker base. Add your prepared ingredients and liquid. Ensure you have the minimum required liquid (at least 1 cup). For recipes that use a trivet or steamer basket, place the trivet in first, then add food on top. Do not exceed the max fill lines: for foods that expand (rice, beans, pasta) fill no more than halfway; for others, no more than two-thirds full. Stir briefly to prevent sticking, but avoid overmixing if you have layered ingredients.
💡 Tips:
- •Use the trivet to keep foods like vegetables or fish above the liquid for steaming.
- •Layer dense root vegetables at the bottom under meat for even cooking.
⚠️ Warnings:
- •Overfilling can cause clogging of the steam release valve and safety issues.
Step 5: Lock the Lid and Set the Valve to Sealing
Place the lid on the pot, aligning the arrow on the lid with the unlock symbol. Twist the lid clockwise until it clicks into the locked position. The lid will have a visible alignment mark. Next, check the steam release valve: it should be in the Sealing position (pointing away from you or with the arrow pointing to “Sealing”). Depending on your model, you may need to push the valve down or rotate it. Some models auto-lock when closed. Ensure the float valve is not obstructed.
💡 Tips:
- •Tilt the lid slightly while placing it to avoid misalignment.
- •If the lid doesn’t seal easily, check that the sealing ring is properly seated.
⚠️ Warnings:
- •Never pressure cook with the valve in the Venting position – it will not pressurize and may cause hot liquid to spray.
Step 6: Select the Pressure Cooking Program and Set Time
Press the “Pressure Cook” or “Manual” button. Use the +/- buttons to adjust the cooking time. Most recipes specify “High Pressure” by default; for delicate foods like vegetables or fish, use “Low Pressure.” Set the time according to your recipe. For example, chicken breasts need 6-10 minutes, hard-boiled eggs 5 minutes, rice 3-8 minutes. The cooker will display “On” as it preheats and pressurizes – this can take 10-20 minutes depending on volume. Once pressure is reached, the timer starts counting down.
💡 Tips:
- •Refer to a pressure cooking time chart for common foods (available online or in cookbooks).
- •If your recipe calls for natural release, account for that in your total time.
⚠️ Warnings:
- •Do not walk away during preheating; check that steam is not leaking excessively from the lid.
Step 7: Pressure Release: Natural vs. Quick Release
When the cooking timer beeps, you have two ways to release pressure: Natural Release (NR) – let the pressure drop on its own, which can take 10-30 minutes. The float valve will drop when pressure is gone. Best for meats, soups, and foods that benefit from carryover cooking. Quick Release (QR) – manually turn the steam release valve from Sealing to Venting using a long-handled utensil. Hot steam will rush out vigorously. Best for delicate foods (vegetables, fish, eggs) that can overcook. Always use a towel or wooden spoon to turn the valve to avoid burns. Never force the lid open until the float valve has dropped completely.
💡 Tips:
- •For recipes with large liquid volume, use NR at least 10 minutes before QR to reduce sputtering.
- •If the float valve is stuck up, wait longer – do not force it.
⚠️ Warnings:
- •Keep hands and face away from the steam vent. Steam can cause severe burns.
- •Do not use quick release for foamy foods (e.g., oatmeal, pasta) – they can splatter and clog the valve.
Step 8: Open the Lid Safely
Once the float valve has dropped (it will be flush with the lid), you can open the lid. Twist the lid counterclockwise to unlock, then lift it away from you to allow any residual steam to escape. Tilt the lid to let condensation drip into the pot or onto a towel. Place the lid on a trivet or lid rest (some models have a built-in stand). Be careful – the inner pot and lid will be very hot. Always use oven mitts or towels when handling hot parts.
💡 Tips:
- •Wipe condensation off the lid before opening to avoid drips on your counter.
- •If the lid is stuck, you may still have pressure – wait a few more minutes.
⚠️ Warnings:
- •Never force the lid open – it can cause hot liquid to erupt.
Step 9: Check Doneness and Adjust as Needed
Use an instant-read thermometer to check meat internal temperatures (e.g., chicken 165°F, pork 145°F). For tender vegetables or beans, taste for texture. If food is undercooked, you can add more liquid (if needed), reseal, and cook for additional minutes using the “Pressure Cook” button again. For overcooked food, consider using it in soups or stocks. If you used the Sauté function for thickening, select Sauté again after pressure cooking and cook without lid to reduce liquids.
💡 Tips:
- •Always allow a minute for the internal temperature to stabilize after opening due to carryover cooking.
- •For rice and grains, fluff with a fork after cooking to separate grains.
⚠️ Warnings:
- •Be careful when stirring hot contents – use long utensils to avoid steam burns.
Step 10: Clean Your Pressure Cooker Properly
After cooking, unplug the unit and allow it to cool. Remove the inner pot – it is dishwasher safe (stainless steel). Wash the lid separately: remove the sealing ring, steam release valve (twist to unlock), and anti-block shield (if present). Wash these with warm soapy water. Wipe the exterior of the base with a damp cloth – never submerge the base. Dry all parts thoroughly before reassembling. Store the lid upside down on the pot or in the storage position to prevent odors from the sealing ring.
💡 Tips:
- •Soak the sealing ring in baking soda solution to remove strong food odors (like curry).
- •Inspect the sealing ring regularly for cracks or warping – replace every 1-2 years.
⚠️ Warnings:
- •Do not use abrasive cleaners on the inner pot or lid – they can scratch the non-stick coating (if applicable).
- •Never wash the lid in a dishwasher if it has electronic parts (usually it’s safe, but check manual).
▸Pro Tips
- •Always add at least 1 cup of liquid – the minimum to generate steam and avoid burn warnings.
- •Cut ingredients into uniform sizes for even cooking. Smaller pieces cook faster.
- •Use natural release for meats to keep them tender and juicy; it also saves energy.
- •Deglaze the pot after sautéing by adding liquid and scraping up brown bits – prevents burn messages and adds flavor.
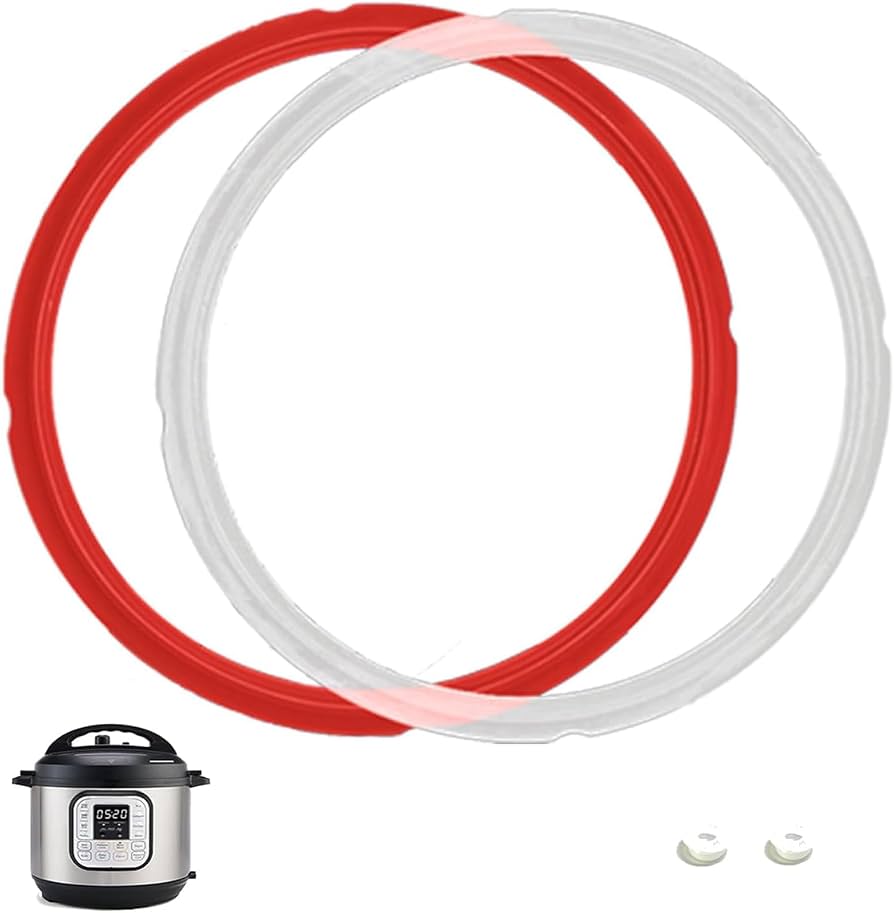
- •Keep an extra sealing ring on hand – one for savory dishes, one for desserts to avoid flavor transfer.
- •Use the Sauté function to thicken sauces after pressure cooking – no need to dirty another pot.
▸Common Mistakes to Avoid
- •Overfilling the pot – always stay below the max fill lines to ensure safe pressure buildup.
- •Not adding enough liquid – results in a “Burn” error and undercooked food.
- •Forcing the lid open before pressure has fully released – can cause dangerous steam eruption.
- •Ignoring the sealing ring – a cracked or food-clogged ring prevents proper sealing and pressure.
- •Setting the valve to Venting instead of Sealing – the cooker won’t pressurize and will steam but not pressure cook.
▸Troubleshooting
Problem: The display shows “Burn” or food is scorched.
Solution: Turn off and release pressure. Unplug and let cool. Check if you used enough liquid. Deglaze the bottom after sautéing. Add more liquid and scrape any stuck bits. Use a thinner liquid (broth instead of tomato sauce) for sensitive burn-prone foods.
Problem: Steam is leaking from the lid during cooking.
Solution: Check that the sealing ring is properly seated and not cracked. Ensure the lid is fully locked (twist until click). Clean the rim of the inner pot and the ring – food debris can cause leaks. Replace the sealing ring if it’s worn.
Problem: The float valve doesn’t pop up after preheating.
Solution: Check if the steam release valve is in Sealing position. If still not rising, ensure the sealing ring is tight. Over time, a leaking ring can prevent pressure. For models with a pressure switch, wait a bit longer; some larger volumes take longer to pressurize.
Problem: The lid won’t open after pressure release.
Solution: The float valve may still be up, indicating residual pressure. Wait a few more minutes. Never force it. If you did a quick release and the valve is still up, some models have a safety feature; try natural release for another 10 minutes. If the valve is down but lid won’t turn, try gently lifting the lid while turning – sometimes condensation creates suction.
Instant Pot Duo 7-in-1 Electric Pressure Cooker
The most popular and beginner-friendly model with a clear display, multiple cooking functions, and safety certifications. Great price-to-feature ratio.
Best for: All-purpose pressure cooking, sautéing, steaming, slow cooking, and more.
Price Range: $89.95
Instant Pot Silicone Sealing Rings (2-Pack)
Having a spare sealing ring prevents flavor transfer between savory and sweet dishes. Easy to swap and clean.
Best for: Replace worn rings or dedicate one for strong-smelling foods.
Price Range: $9.99
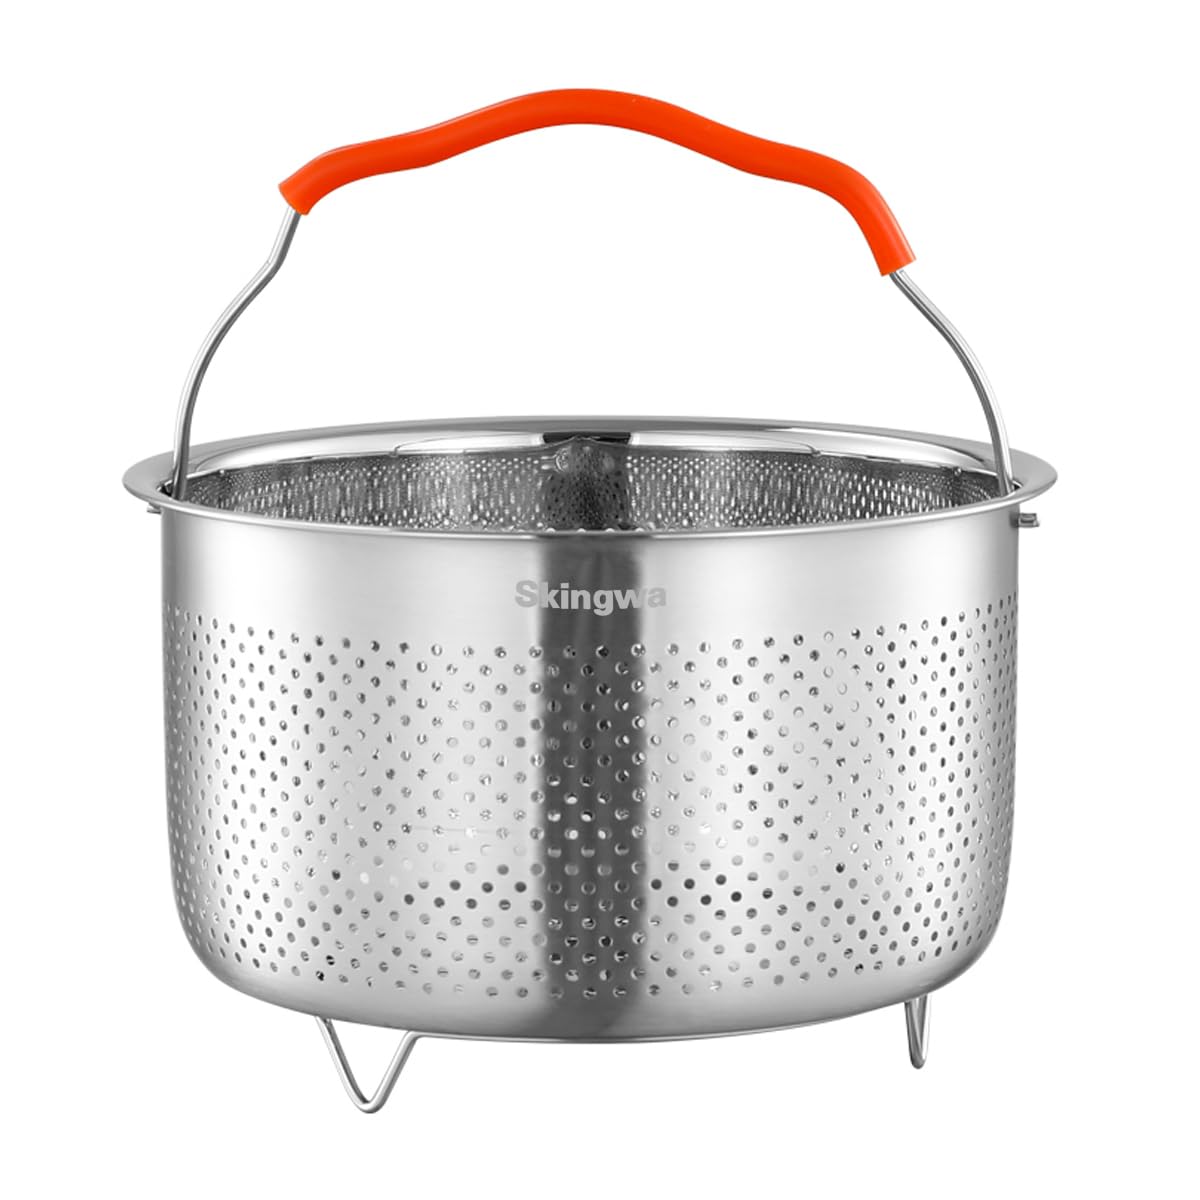
Soyana Steamer Basket for Instant Pot
A stainless steel steamer basket lifts vegetables, fish, or eggs above the liquid for steaming without waterlogging.
Best for: Steaming vegetables, dumplings, or hard-boiled eggs directly in the pressure cooker.
Price Range: $12.99
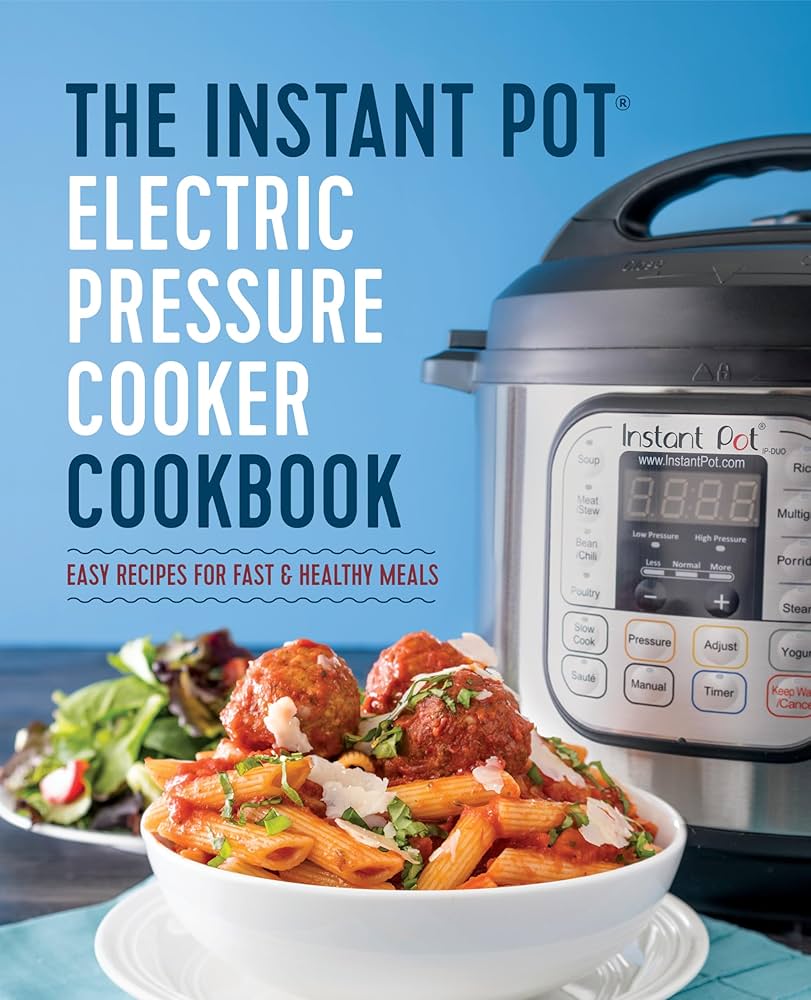
The Instant Pot Electric Pressure Cooker Cookbook
An official cookbook with tested recipes, time charts, and tips for making the most out of your cooker.
Best for: Build confidence with 400+ recipes designed specifically for electric pressure cookers.
Price Range: $18.99