Mandoline slicers are a game-changer in the kitchen, letting you slice vegetables and fruits paper-thin or in perfect julienne strips in seconds. But they're also notoriously dangerous—those razor-sharp blades can cause serious cuts if you're not careful. If you've ever hesitated to use one because of horror stories, you're not alone. In this guide, you'll learn step-by-step how to handle a mandoline safely, from setting it up to cleaning it, so you can enjoy perfect slices without the fear. Whether you're a beginner or just need a refresher, these safety tips will keep your fingers intact and your salads looking pro.
▸What You'll Need
- •Mandoline slicer with safety features (non-slip base, finger guard/ hand guard)
- •Cut-resistant gloves (optional but highly recommended)
- •Cutting board (preferably non-slip or with a damp towel underneath)
- •Vegetables or fruits to slice (e.g., cucumbers, potatoes, carrots)
- •Bowl or container to collect slices
- •Towel for grip (if your mandoline doesn't have a non-slip base)
Estimated Time: 10–15 minutes to learn the basics; 2-3 minutes per vegetable once comfortable
Difficulty: beginner
▸Step-by-Step Instructions
Step 1: Choose a Safe Mandoline and Read the Manual
Not all mandolines are created equal. Look for one with a sturdy, non-slip base and a hand guard (often called a food holder or pusher) that grips the food and keeps your fingers away from the blade. Some models come with adjustable thickness settings and a julienne attachment. Before you start, read the user manual—it will explain how to adjust the blade, lock the settings, and use the safety features. This might seem obvious, but many accidents happen when people skip the instructions.
What to expect: You'll get familiar with parts like the blade carriage, thickness adjustment knob, and hand guard. Success means you can confidently identify all parts and know how to lock them.
💡 Tips:
- •If your mandoline has a non-slip base, it will stay put on the counter. If not, place a damp towel under it.
- •Consider cut-resistant gloves as an extra layer of protection, especially when slicing near the end of a vegetable.
⚠️ Warnings:
- •Never operate a mandoline without the hand guard in place.
- •Avoid cheap models that wobble or have poorly secured blades.
Step 2: Set Up Your Workstation on a Stable Surface
Place your cutting board on a clean, dry counter. If your mandoline has a non-slip base, you can put it directly on the board. If not, place the mandoline on the board and put a damp towel under the board to prevent slipping. Make sure there's enough room for the slices to fall into a bowl or onto a plate. Adjust the mandoline's angle if it folds (some models have a stand). Lock all legs or hinges so it doesn't collapse while you're working.
What to expect: A stable setup means the mandoline won't slide or tip. Success is when you can apply pressure without the whole unit moving.
💡 Tips:
- •Position the bowl directly under the slicing output to catch slices neatly.
- •Work in a well-lit area so you can see the blade and your fingers clearly.
⚠️ Warnings:
- •Don't use a slippery counter without a non-slip mat or towel—it's an accident waiting to happen.
Step 3: Adjust the Blade Thickness Before You Start
Most mandolines have a dial or knob to adjust slicing thickness, typically from paper-thin (1/16 inch) to thick (1/4 inch or more). Set it to your desired thickness before you begin slicing. Some models also have a separate julienne blade that you can engage by turning a knob or switching a plate. Make sure the blade is locked in place—if it's loose, it can move during slicing and cause uneven cuts or safety hazards.
What to expect: You'll hear a click or feel a positive stop when the thickness is set. Success is when the blade is secure and you can run a finger (with hand guard) over it without it moving.
💡 Tips:
- •Start with a medium thickness (about 1/8 inch) when learning—it's faster and less likely to jam.
- •For julienne, make sure the striations are aligned and not blocked by debris.
⚠️ Warnings:
- •Never adjust the blade while the mandoline is in use or while your hand is near the blade.
Step 4: Prepare the Food – Trim and Stabilize
Wash and peel your vegetables if needed. For long items like carrots or zucchini, cut them into manageable lengths (about 4-6 inches) so they fit on the mandoline bed. For round items like potatoes or onions, cut a small flat base on one side so they sit steady on the bed—this prevents them from rolling. If you're using the hand guard, check that the spikes or teeth grip the food securely.
What to expect: Trimming takes a minute but makes slicing much safer. Success means the food sits flush against the bed and doesn't wobble when you apply pressure.
💡 Tips:
- •For very narrow items like green beans, use the hand guard's small food holder or a cut-resistant glove directly.
- •If a vegetable is too short to safely hold with the hand guard, stop slicing and use the leftover for stock.
⚠️ Warnings:
- •Never slice a piece of food that is smaller than the hand guard's grip—your fingers will be too close to the blade.
Step 5: Engage the Hand Guard and Start Slicing
Place the food piece onto the mandoline bed. Press the hand guard firmly onto the top of the food, making sure the spikes or grip pads are secure. Hold the hand guard with your dominant hand (or both if your model has two handles) and keep your fingers tucked safely behind the guard. With your other hand, hold the mandoline's base or handle (if it has one) to stabilize it. Then, slide the hand guard (and food) down the bed in a smooth, steady motion across the blade. Lift and repeat. Do not rock or twist—just a straight, controlled slide.
What to expect: The blade will cut through the food cleanly. You'll hear a distinct slicing sound. Success is when you get uniform slices without resistance or jamming.
💡 Tips:
- •Apply even, moderate pressure—too much force can cause the food to slip or the blade to chatter.
- •Use the full length of the blade: start at the top and end at the bottom of the bed.
⚠️ Warnings:
- •Never remove the hand guard while the food is on the bed or while your hand is near the blade.
- •If the food jams, turn off the mandoline (if electric) or stop, remove the hand guard carefully, and lift the food off.
Step 6: Continue Slicing Until You Reach the End
Keep sliding the hand guard down in a rhythm. As you approach the end of the food piece (when the hand guard is close to the blade), you'll feel less resistance. Stop when the hand guard is about 1 inch above the blade—do not try to slice the very last bit. Remove the hand guard, take out the leftover stub, and discard it or save it for stock. Start a new piece if needed.
What to expect: You'll have a small leftover piece that is too short to safely hold. Success is knowing when to stop—never push food all the way through with just your fingers.
💡 Tips:
- •Use a cut-resistant glove to hold small leftovers if you really want to use them, but it's safer to just toss them.
- •If you're making a large batch, work in an assembly line: prepare several pieces at once.
⚠️ Warnings:
- •Never use your bare hand to push the food through the last inch—that's how most mandoline injuries happen.
Step 7: Clean the Mandoline Safely After Use
Unplug if electric. Disassemble the mandoline per the manual: remove the blade carriage, thickness adjuster, and hand guard. Rinse each part under warm running water—never put your fingers near the blade edges. Use a brush (like a dish brush) to clean the blade slot and guard. Some parts are dishwasher safe, but check the manual. Dry thoroughly and store in a safe place, preferably with the blade cover on or in a drawer with a guard.
What to expect: Cleaning takes 2-3 minutes. Success is when all food residue is gone and you can see the metal blade is free of debris.
💡 Tips:
- •Clean immediately after use to prevent food from drying on the blade.
- •Use a cut-resistant cleaning pad or brush to avoid accidental cuts.
⚠️ Warnings:
- •Never wipe the blade with a cloth in your bare hand—the sharp edge can slice through fabric and skin.
▸Pro Tips
- •Always use the hand guard—it's there for a reason. Don't rely on your fingers even if you're experienced.
- •If your mandoline doesn't have a non-slip base, place a damp kitchen towel or silicone mat underneath to prevent slipping.
- •Invest in a high-quality mandoline with replaceable blades. Cheaper models often dull quickly and require more force, increasing risk.
- •For ultra-thin slices, chill the vegetable first (like potatoes or onions) – they'll slice more cleanly and be less likely to crack.
- •Wear a cut-resistant glove on your non-dominant hand (the one holding the hand guard) for added safety, especially when slicing small items.
- •When slicing multiple items, clear the output area often so slices don't pile up and interfere with the next pass.
- •Lubricate the slide rails occasionally with a drop of food-safe oil if the hand guard sticks.
▸Common Mistakes to Avoid
- •Slicing without the hand guard: Even a split-second slip can lead to a deep cut that requires medical attention.
- •Pushing food too fast or with too much force: This can cause the food to slip out from under the guard or the blade to jam and kick back.
- •Using a dull blade: A dull mandoline requires more pressure, making it harder to control. Replace blades as recommended.
- •Not cleaning the blade properly: Dried food residue makes the blade stick and can cause uneven cuts. Always clean right after use.
- •Ignoring loose parts: A wobbling thickness dial or loose blade can shift during use, leading to injury. Tighten or replace before slicing.
▸Troubleshooting
Problem: The mandoline slides on the counter while slicing.
Solution: Place a damp towel or silicone mat under the mandoline base. Some models have suction feet—make sure the counter is clean and dry.
Problem: The food keeps getting stuck or jammed.
Solution: Check the thickness setting—too thin may cause sticky foods (like potatoes) to jam. Try a slightly thicker setting. Also ensure the blade is clean and not clogged.
Problem: The slices are uneven or torn.
Solution: The blade may be dull or dirty. Clean it thoroughly. If still uneven, the blade might be damaged—replace it. Also ensure you're applying steady, even pressure.
Problem: The hand guard doesn't grip the food properly.
Solution: Some hand guards have spikes that can be cleaned with a brush. If worn, replace the guard. For very smooth foods (like eggplant), try cutting a flat surface or use a cut-resistant glove directly on the food.
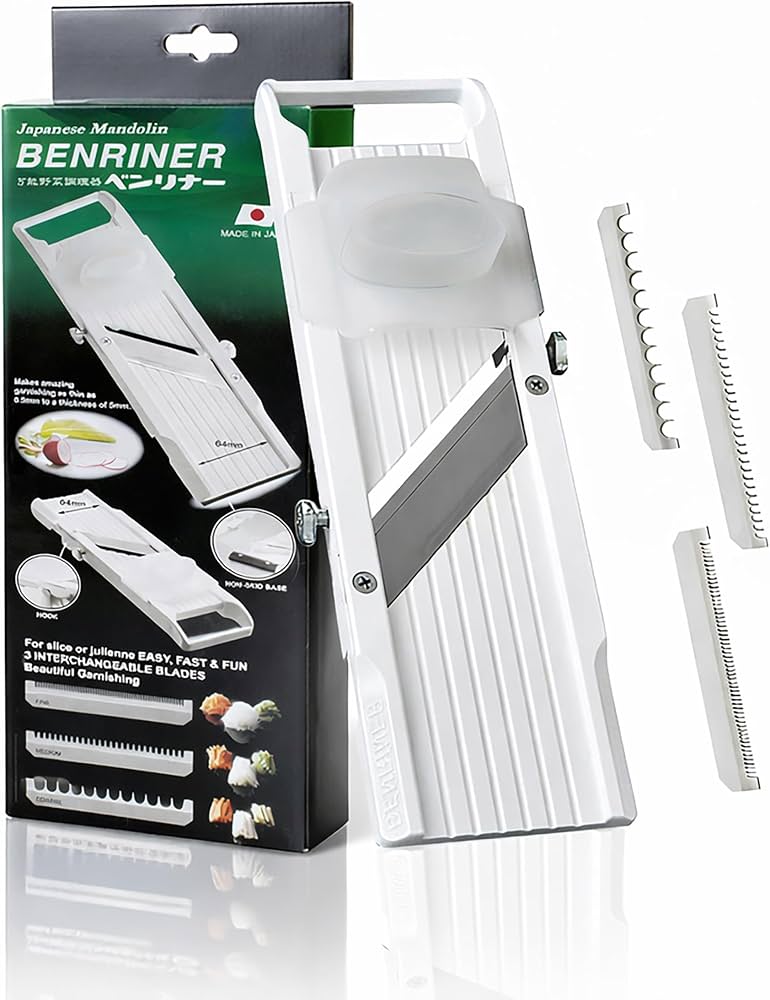
Benriner Japanese Mandoline Slicer
Widely regarded as the gold standard for home cooks. It comes with a sharp, replaceable blade, adjustable thickness, and a hand guard. Its simple design is incredibly durable and easy to clean.
Best for: Perfect for everyday slicing of vegetables like cucumbers, carrots, and zucchini. Ideal for those who want a reliable, no-fuss mandoline.
Price Range: $35 - $50
OXO Good Grips Adjustable Handheld Mandoline Slicer
A compact, handheld option with a non-slip grip and a comfortable hand guard. It's great for small tasks and takes up minimal storage space. The blade is adjustable from thin to thick.
Best for: Best for small jobs like slicing a single potato or cucumber. Ideal for those with limited counter space or who want a lightweight option.
Price Range: $20 - $30
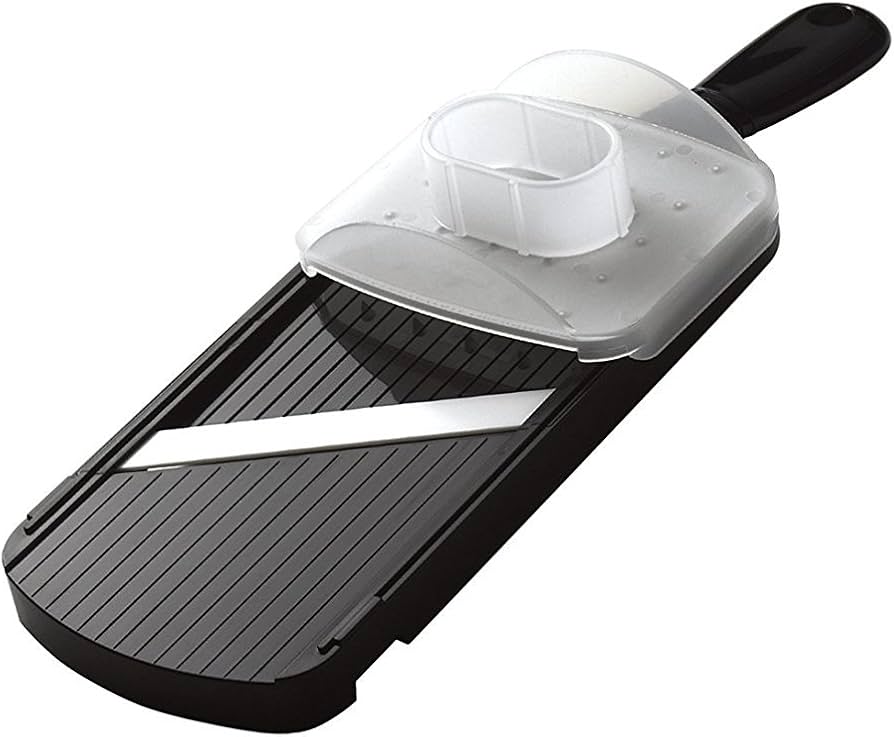
Kyocera Advanced Ceramic Adjustable Mandoline Slicer
Features a ceramic blade that stays sharp for a very long time and won't rust. It includes a hand guard and a julienne attachment. The ceramic blade is also lightweight and easy to clean.
Best for: Great for slicing fruits and vegetables that are acidic (like tomatoes) because the ceramic blade won't react with acids. Also a good choice for people with metal allergies.
Price Range: $30 - $45
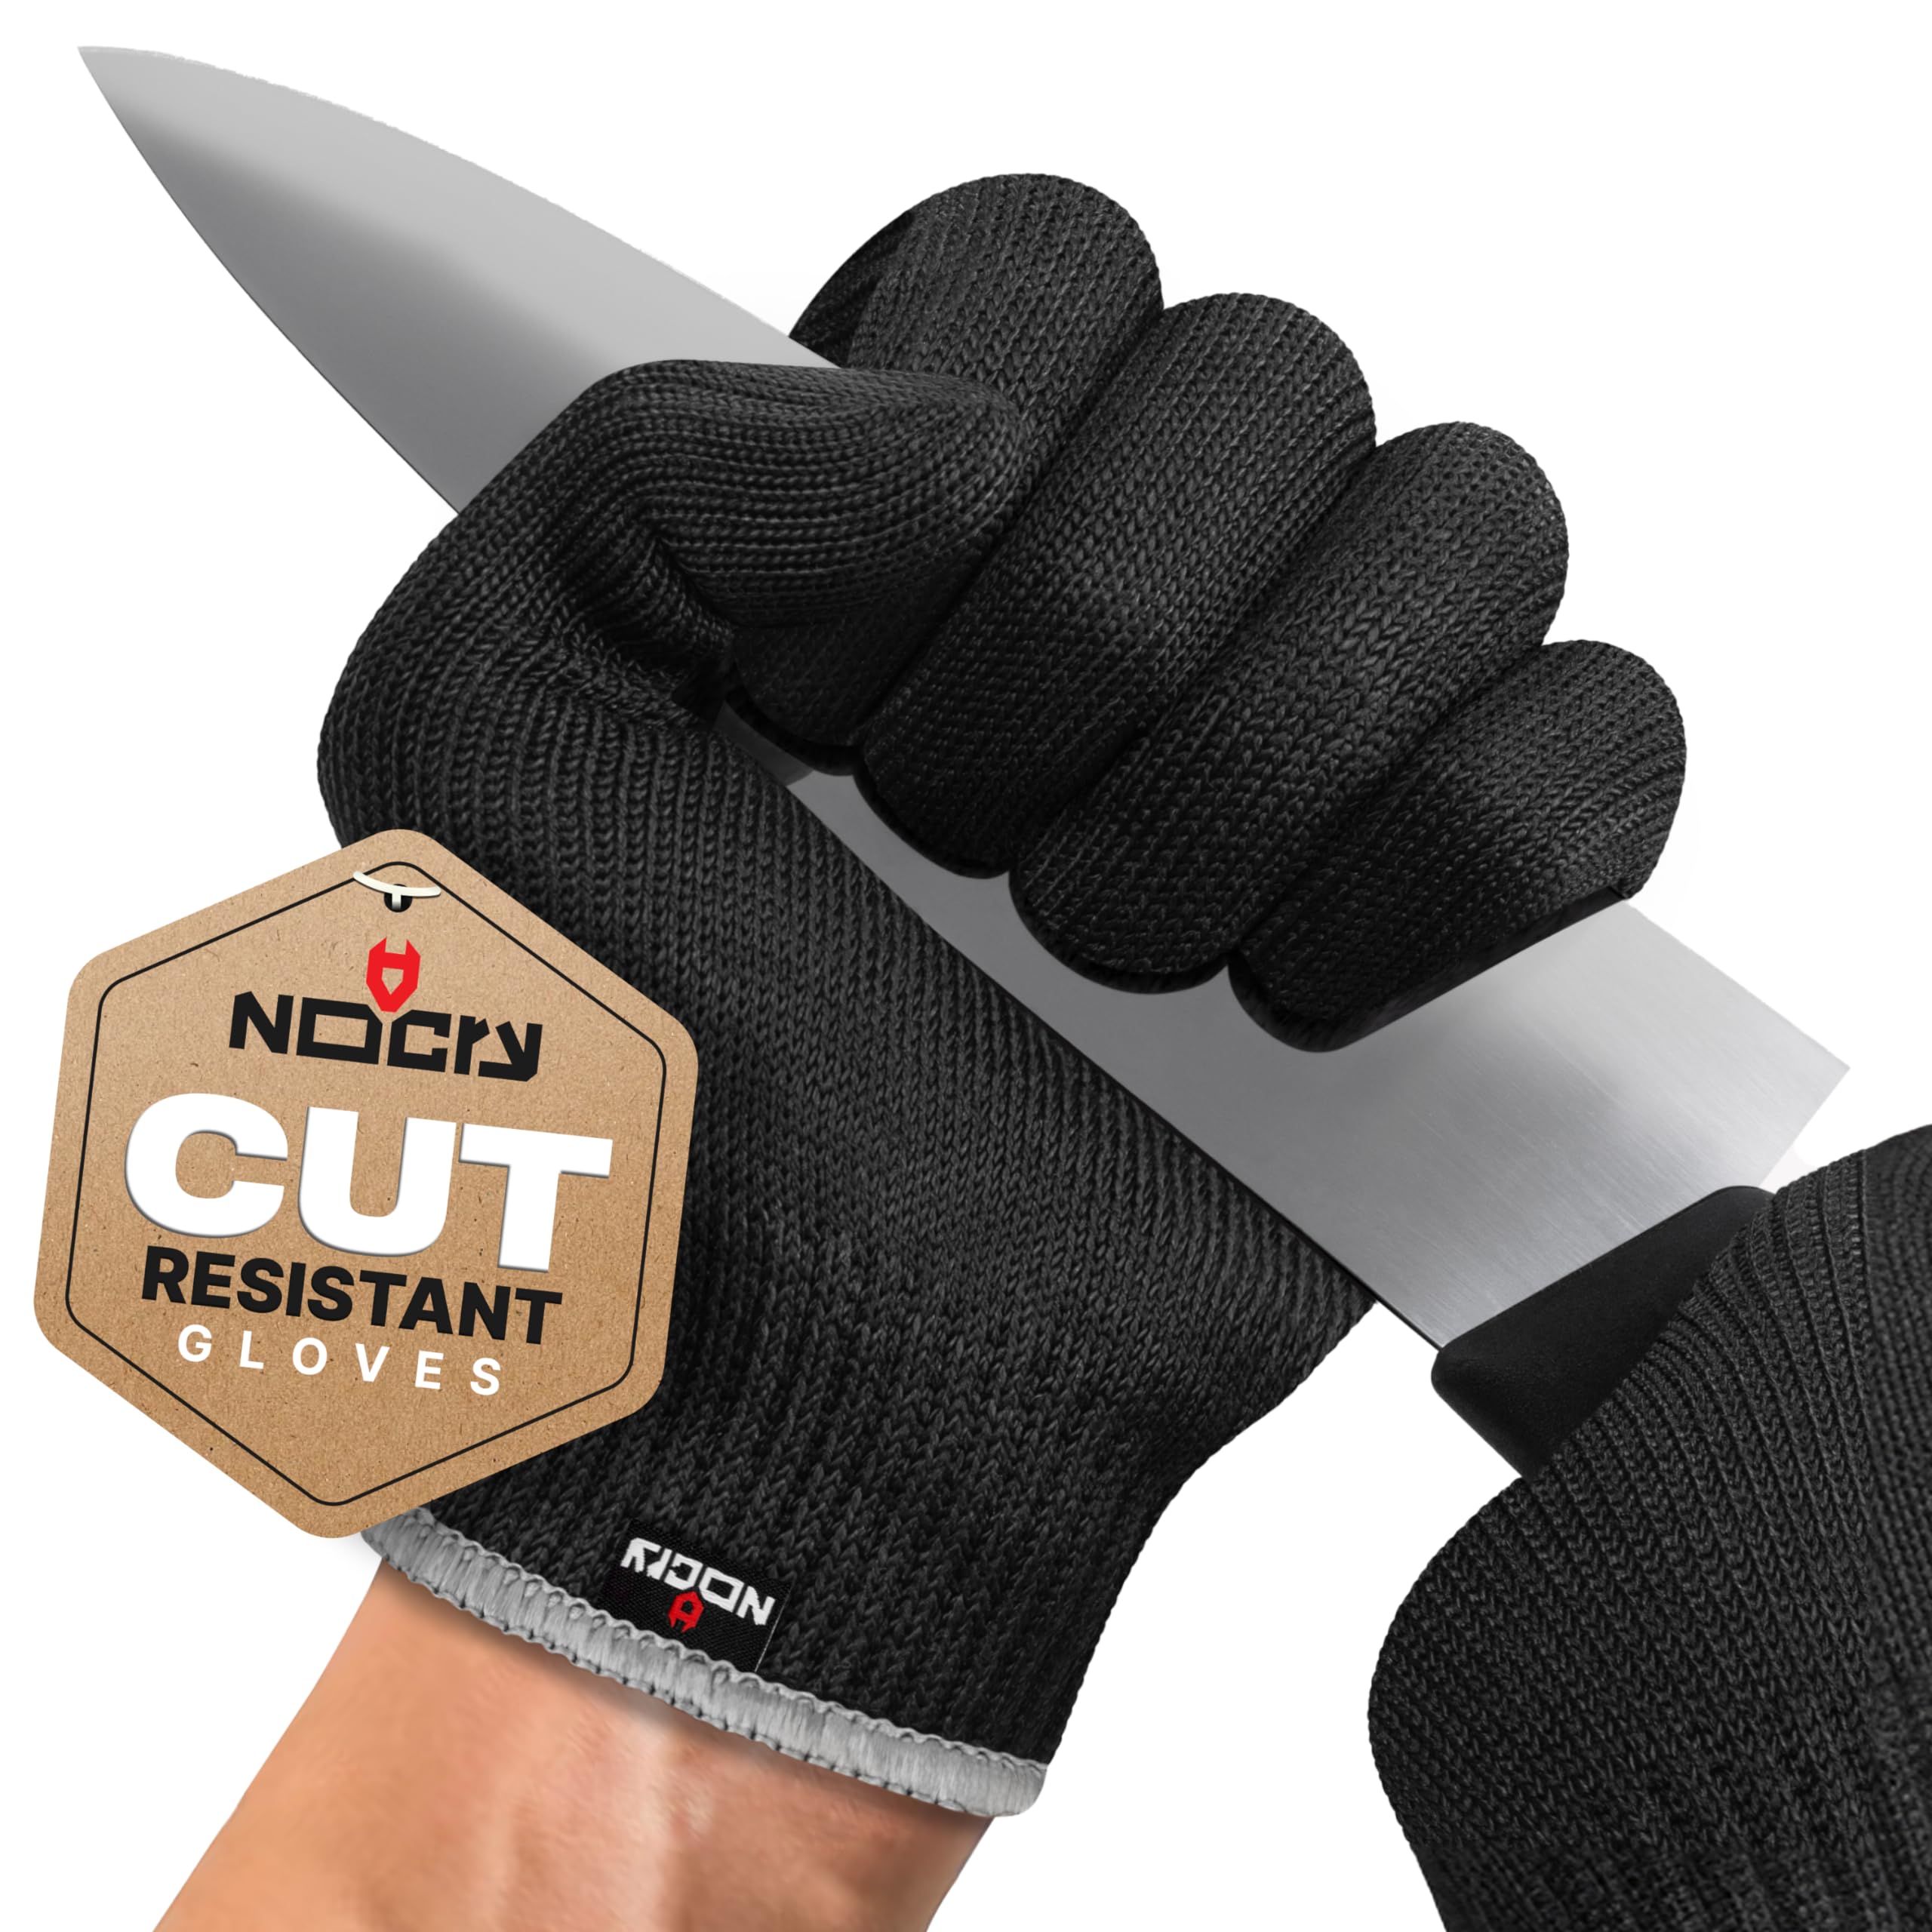
NoCry Cut Resistant Gloves
These gloves offer level 5 cut resistance and are comfortable to wear while using a mandoline. They provide a second layer of protection for your fingers, especially when slicing small pieces or cleaning the blade.
Best for: Wear them on your non-dominant hand (or both hands) for extra safety when using any mandoline. Also useful when handling other sharp kitchen tools.
Price Range: $10 - $20 per pair
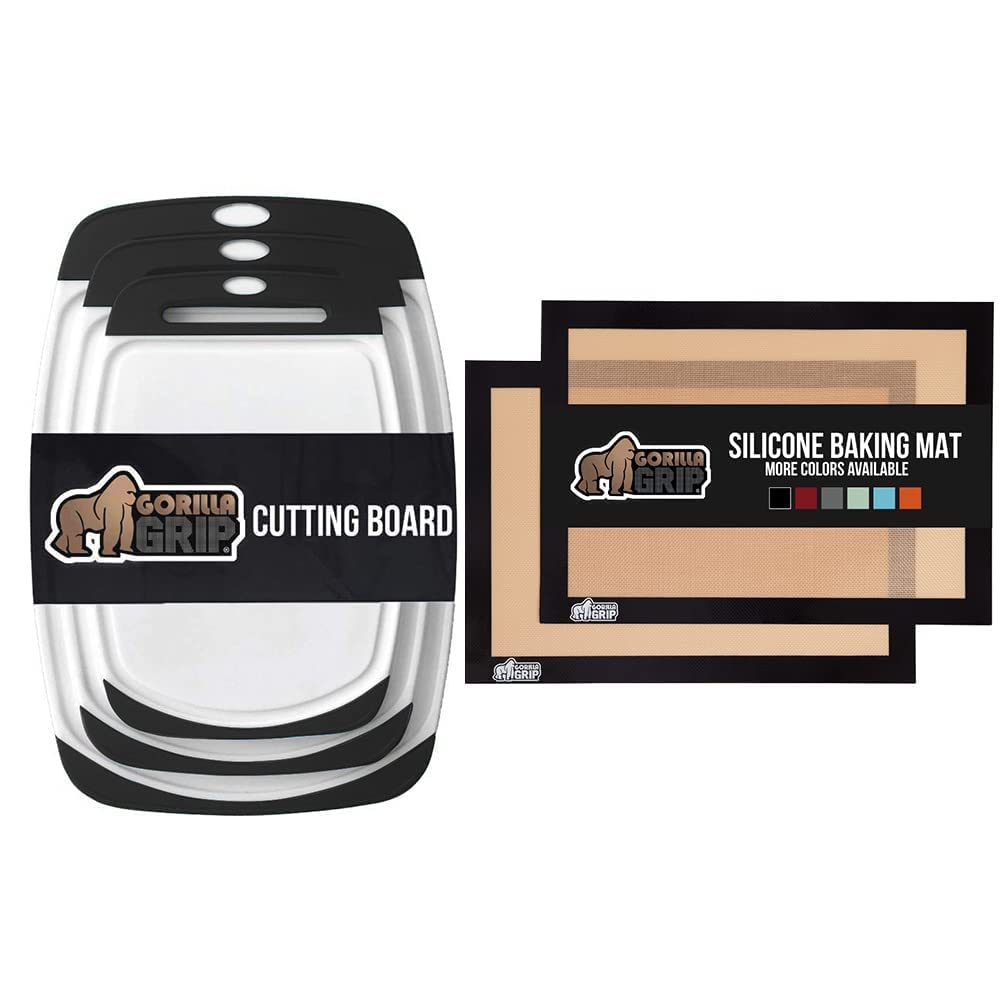
Gorilla Grip Original Silicone Non-Slip Cutting Board Mat
A silicone mat that prevents your cutting board or mandoline from sliding. It's flexible, easy to clean, and works on any counter surface. A simple safety upgrade.
Best for: Place under your cutting board or directly under the mandoline if it doesn't have a non-slip base. Essential for maintaining a stable workspace.
Price Range: $10 - $15