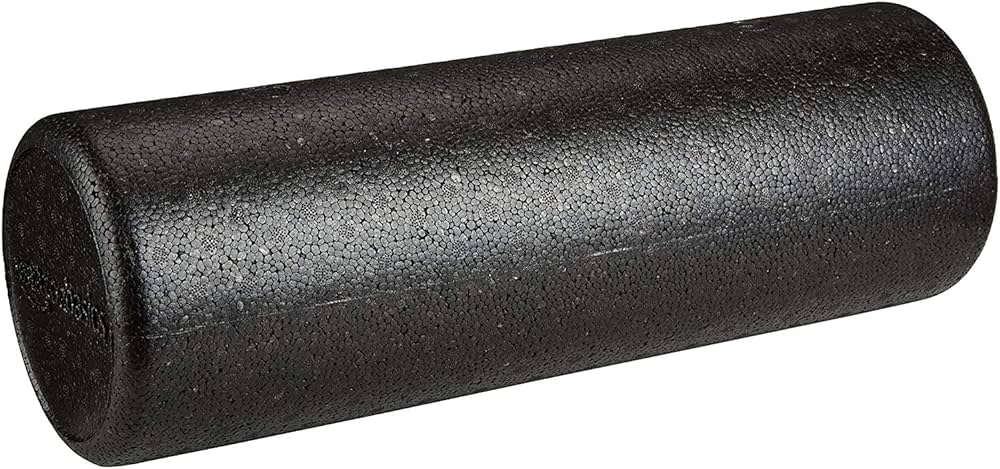
Waking up sore after a tough workout is something everyone knows. It makes simple things—walking down stairs, grabbing a coffee mug, rolling over in bed—feel like a chore. Foam rolling is one of the most effective, affordable ways to speed up muscle recovery, relieve tension, and get back to moving comfortably. But if you're new to it, that firm cylinder of foam can look a little intimidating.
Don't worry. In this guide, you'll learn exactly how to use a foam roller for recovery—no confusing fitness jargon, no advanced techniques. We'll walk you through the ten basic foam rolling techniques you need, common mistakes to avoid, and tips to get the most out of every session. By the end, you'll feel confident grabbing your roller and starting your own recovery routine.
Foam rolling, also called self-myofascial release, works by applying gentle, sustained pressure to tight muscles and trigger points. It's like giving yourself a deep-tissue massage at home, and it only takes 10–15 minutes a day. Let's get rolling.
▸What You'll Need
- •A foam roller (a smooth, medium to high-density roller is best for beginners)
- •Optional: a massage ball for hard-to-reach trigger points
- •A comfortable exercise mat (yoga mat or soft carpet)
- •Comfortable, flexible clothing
- •Water to stay hydrated
Estimated Time: 15–20 minutes (including warm-up)
Difficulty: beginner
▸Step-by-Step Instructions
Step 1: Choose the Right Foam Roller
Before you start rolling, it is essential to find a foam roller that matches your comfort and experience level. Foam rollers come in a wide range of firmness levels, from soft and squishy to hard and textured (like the ones that look like a meat grinder). For most beginners, a medium-density roller is the best place to begin. It's firm enough to get the benefits, but not so hard that it hurts.
A good way to test if a roller is right for you: press it against a muscle. If the pressure feels like a deep massage—uncomfortable but manageable—it's a good fit. If you're wincing and can't breathe, it's too hard. High-density rollers are common and durable, but if you have sensitive skin, a low pain tolerance, or are completely new to foam rolling, start with a smoother, plusher roller first.
💡 Tips:
- •Start with a smooth, medium-density roller before moving to a textured one as you build tolerance.
- •A 36-inch roller is more versatile for back and hamstrings; a 12-inch version is easier to carry.
⚠️ Warnings:
- •Avoid starting with an extremely hard, knobby roller—it can cause severe bruising and make you want to quit before you start.
Step 2: Do a Light Warm-Up First
Foam rolling on completely cold muscles is ineffective and feels more painful than it needs to. Spend five to ten minutes getting your blood flowing before picking up the roller. Options include a light jog in place, jumping jacks, a brisk walk, or a few minutes on a stationary bike. You want to feel warm and loose, not exhausted.
The reason warming up matters is that it increases blood flow and pliability in your muscle tissue. Think of a cold rubber band—it's stiff and snaps easily. Warm it up, and it stretches much better. Your muscles work the same way. A light warm-up also signals your nervous system to relax, which makes foam rolling more comfortable and effective.
💡 Tips:
- •Five minutes of dynamic movements—arm circles, leg swings, a few bodyweight squats—are plenty.
- •Take a hot shower before rolling if you're short on time and muscles are cold.
⚠️ Warnings:
- •If you feel sharp or shooting pain during your warm-up, stop and don't foam roll that area.
Step 3: Set Up Your Space and Learn the Basics
Find a clear, comfortable spot to roll. Use a yoga mat or carpeted floor so your back, hips, and hands aren't on hard flooring. Keep the roller within reach and your water nearby. You'll be lying down and shifting around, so give yourself enough room.
Learning the basic foam rolling technique is simple: place the roller under the muscle you want to target, then use your body weight and hands/feet to control the pressure. The more weight you place on the roller, the deeper the pressure. You're always in control—never let the roller control you. Keep your core engaged to stay stable and move the roller slowly in small back-and-forth motions.
💡 Tips:
- •If any position feels unstable, use your free hand or opposite foot to steady yourself.
- •Change pressure by shifting more or less weight onto the roller.
⚠️ Warnings:
- •Clear space around you to avoid hitting furniture or walls while rolling.
Step 4: Start with Your Upper Back
The upper back is one of the safest and most comfortable areas to start. Lie on your back and place the roller under your shoulder blades. Cross your arms over your chest (or place your hands behind your head gently) and lift your hips slightly off the ground. Slowly roll from where your neck meets your shoulders down to your mid-back, just below the shoulder blades.
Move slowly—about one inch per second—and pause over any areas that feel tight. Keep your neck relaxed and let your arms or hands support your head. You shouldn't feel neck strain at any point. Rolling your upper back helps relieve tension from sitting at a desk, looking at your phone, and upper body workouts.
💡 Tips:
- •When you hit a tight spot, stop and hold the pressure for 30 to 60 seconds while breathing deeply.
- •Try turning your body slightly left and right to target different parts of the upper back.
⚠️ Warnings:
- •Never roll directly over your lower back (lumbar spine). The discs and nerves aren't protected by muscle there—keep the roller above your rib cage.
Step 5: Target Your Glutes
Your glutes might be the most important muscle to roll—tightness here causes back pain, hip pain, and hamstring problems, especially if you sit a lot. Sit on the floor with the roller under one hip, then lean slightly to that side so your body weight rests on the roller. Support yourself with your hands behind you and roll slowly over the gluteal muscle.
You can also make small circles over specific spots. When you find a painful point, pause and hold for 30–60 seconds. Switch sides when you're done. If the roller feels too broad, try a massage ball, which can sink deeper into the glute muscles. This area tolerates more pressure than other muscles, but you should still work up gradually.
💡 Tips:
- •Cross the foot of the non-working leg over the knee of the working side to get a deeper stretch in the glute.
- •Use a massage ball for more focused trigger point release.
⚠️ Warnings:
- •If you feel the roller hitting bone (like your hip bone), adjust your position or add a thicker mat.
Step 6: Loosen Your Hamstrings
The hamstrings are a common trouble spot for runners, cyclists, and office workers. Sit on the floor with your legs extended in front of you and the roller under your thighs, just above the knees. Place your hands behind you for support, then slowly roll from above the knee to the base of the glutes. The roller should not go over the knee joint itself.
To adjust pressure, lean more weight onto your hands to lighten the load. Flexing or pointing your foot can also change the sensation. This attention to your hamstrings will help your back feel better too, because tight hamstrings can contribute to lower back pain.
💡 Tips:
- •If you want more pressure, cross one leg over the other to stack the weight.
- •Keep your toes pointed toward you (dorsiflexed) for a better stretch through the calf and hamstring.
⚠️ Warnings:
- •Never roll directly into the back of your knee—this area has sensitive nerves and veins.
Step 7: Release Your Quadriceps
The quads are the powerhouse of your legs, and they take a beating from running, squats, lunges, and even long periods of standing. To foam roll them, get into a plank-like position with the roller under your thighs. Support your upper body with your forearms, keep your core tight, and roll from the top of the thigh (just below the hip) to just above the knee.
Lean slightly to one side to target the outer quads, which often feel tight. Stacking one ankle over the other adds more pressure. Go slowly and pause on any spots that feel extra tense. It might feel a bit intense, but your legs will thank you for it.
💡 Tips:
- •Keep your hips lifted so you're not resting all your weight on the roller.
- •Repeat on both sides—and don't forget the inner and outer portions of the quads.
⚠️ Warnings:
- •Avoid rolling directly over the kneecap, and don't let your hips drop—it compresses your lower back.
Step 8: Loosen Your Calves
Calf tightness can lead to foot pain, ankle problems, and even knee issues. To roll your calves, sit on the floor with your legs straight out and the roller under one ankle. Place your hands behind you, lift your hips slightly, and roll from just above the Achilles tendon to just below the back of the knee. Keep moving slowly.
Change the angle of your foot—point your toes to hit the outer calf muscle, flex your foot to target the deeper soleus muscle. You can also cross one leg over the other for more pressure. Take your time, as calves can be surprisingly tender.
💡 Tips:
- •Roll one calf at a time for better control.
- •Try rotating your leg inward and outward to cover the entire calf.
⚠️ Warnings:
- •Avoid rolling directly over the Achilles tendon or the back of the knee joint.
Step 9: Approach the IT Band with Caution
The iliotibial (IT) band runs along the outside of your thigh from your hip to your knee. It's a thick, dense band of fascia, not muscle, which means foam rolling it can be quite intense. If you decide to roll it, lie on your side with the roller under your outer thigh, just below the hip. Support your upper body with your forearm and rest your bottom leg's knee or foot on the floor for stability. Roll very slowly from the hip down the outer thigh to just above the knee.
Keep your rolling time short—30 to 60 seconds per side is plenty. The IT band is notoriously sensitive, and experts have mixed opinions about the benefits of working directly on it. Instead of focusing all your time here, make sure you're rolling your glutes and quads, which are often the true culprits of IT band tightness.
💡 Tips:
- •Use your upper body and opposite leg to control pressure—don't drop all your weight onto the roller.
- •If you feel sharp, nerve-like pain, stop immediately and move on to the glutes.
⚠️ Warnings:
- •Skip IT band rolling entirely if you have knee pain, and never roll over the side of the knee joint.
Step 10: Finish with Stretching and Hydration
After you've finished rolling, take two to three minutes to do some static stretching. Gently stretch your hamstrings, quads, calves, and hip flexors, holding each stretch for 20–30 seconds. This helps reset your muscle length and increases blood flow to the areas you released. Take a few slow, deep breaths before standing up.
Then, drink a glass of water. Foam rolling releases fluid and metabolic waste that has built up in your tissues, and hydration helps your body flush it out. You can also take a quick walk to gently increase circulation. Consistency beats intensity—even five minutes of rolling a few times a week beats a marathon session once a month.
💡 Tips:
- •Use this time to check in with your body—note any areas that feel especially tight so you can give them extra attention next time.
- •If you feel sore after your first few sessions, that's normal. It usually fades within a day.
⚠️ Warnings:
- •Don't rush off the floor too quickly—get up slowly so your blood pressure can adjust.
▸Pro Tips
- •Roll slowly—about one inch per second. Fast rolling skims over the muscle, but slow pressure truly releases fibrous tissue and knots.
- •When you find a tight trigger point, hold for 30–60 seconds, breathe deeply, and wait until you feel the muscle release before moving on.
- •Breathe steadily and relax your body. Tensing up as you hit a tender spot will only make the muscle more guarded.
- •Start with 2–3 sessions per week if you're new, and gradually build up to 5–6 or even daily sessions as your body adapts.
- •Foam roll for 5 minutes before exercise to warm up and improve mobility; roll for 10–15 minutes after to boost recovery.
- •Use a massage ball for hard-to-reach areas like the glutes, chest, and along the shoulder blades.
- •Hydrate after rolling to help your body flush out the waste products released during the session.
- •Foam rolling alone isn't a magic fix—pair it with consistency, sleep, hydration, and a balanced routine to get the best results.
▸Common Mistakes to Avoid
- •Rolling too fast: You just skim over the muscle without giving the tissue time to release. Slow down to about an inch per second.
- •Rolling directly over joints, bones, and the lower back: This can cause injury and bruises. Keep the roller on soft tissue only.
- •Using too much pressure: As a beginner, your muscles aren't adapted to the sensation. Use your arms and legs to control how much body weight rests on the roller.
- •Holding your breath: It tenses the muscle you're trying to relax. Keep a steady, relaxed breathing pattern throughout.
- •Overdoing the IT band: It's intensely painful and offers little benefit when rushed. Focus on the glutes and surrounding muscle groups instead.
- •Skipping the warm-up: Rolling cold muscles is less effective and can be significantly more painful.
▸Troubleshooting
Problem: I'm getting bruises after foam rolling.
Solution: Reduce the amount of body weight you place on the roller, switch to a softer roller, and spend less time on each muscle. If bruising continues, check with your doctor.
Problem: I don't feel any relief after rolling.
Solution: You're likely rolling too fast or applying too little pressure. Slow down, hold on tight spots for 30–60 seconds, and be consistent—it can take several sessions to notice meaningful results.
Problem: I feel a lot of pain while rolling.
Solution: Sharp, shooting, or unbearable pain is a sign to stop immediately. Lessen the pressure, support more weight on your hands or feet, and target one area at a time gently.
Problem: I feel numbness or tingling in my legs or arms.
Solution: Stop rolling right away. Tingling often means you're putting pressure on a nerve. Move to a different position and consult a healthcare professional if the sensation continues.
Problem: When should I see a professional instead of rolling?
Solution: If you have an acute injury, joint pain, severe back pain, or no improvement after several weeks of consistent recovery work, see a physical therapist or sports medicine doctor.
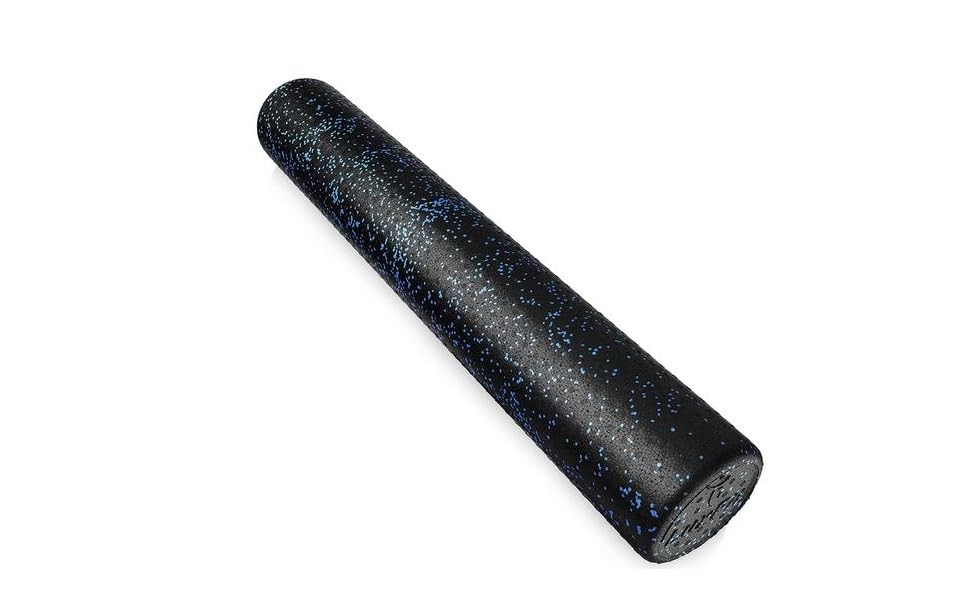
LuxFit High Density Foam Roller
This is a solid, high-density roller that offers medium firmness—firm enough to be effective, but forgiving enough for beginners. It's a well-reviewed, widely used roller that provides a consistent feel across all muscle groups.
Best for: Great all-purpose roller for full-body recovery and an ideal first roller.
Price Range: $15–$25
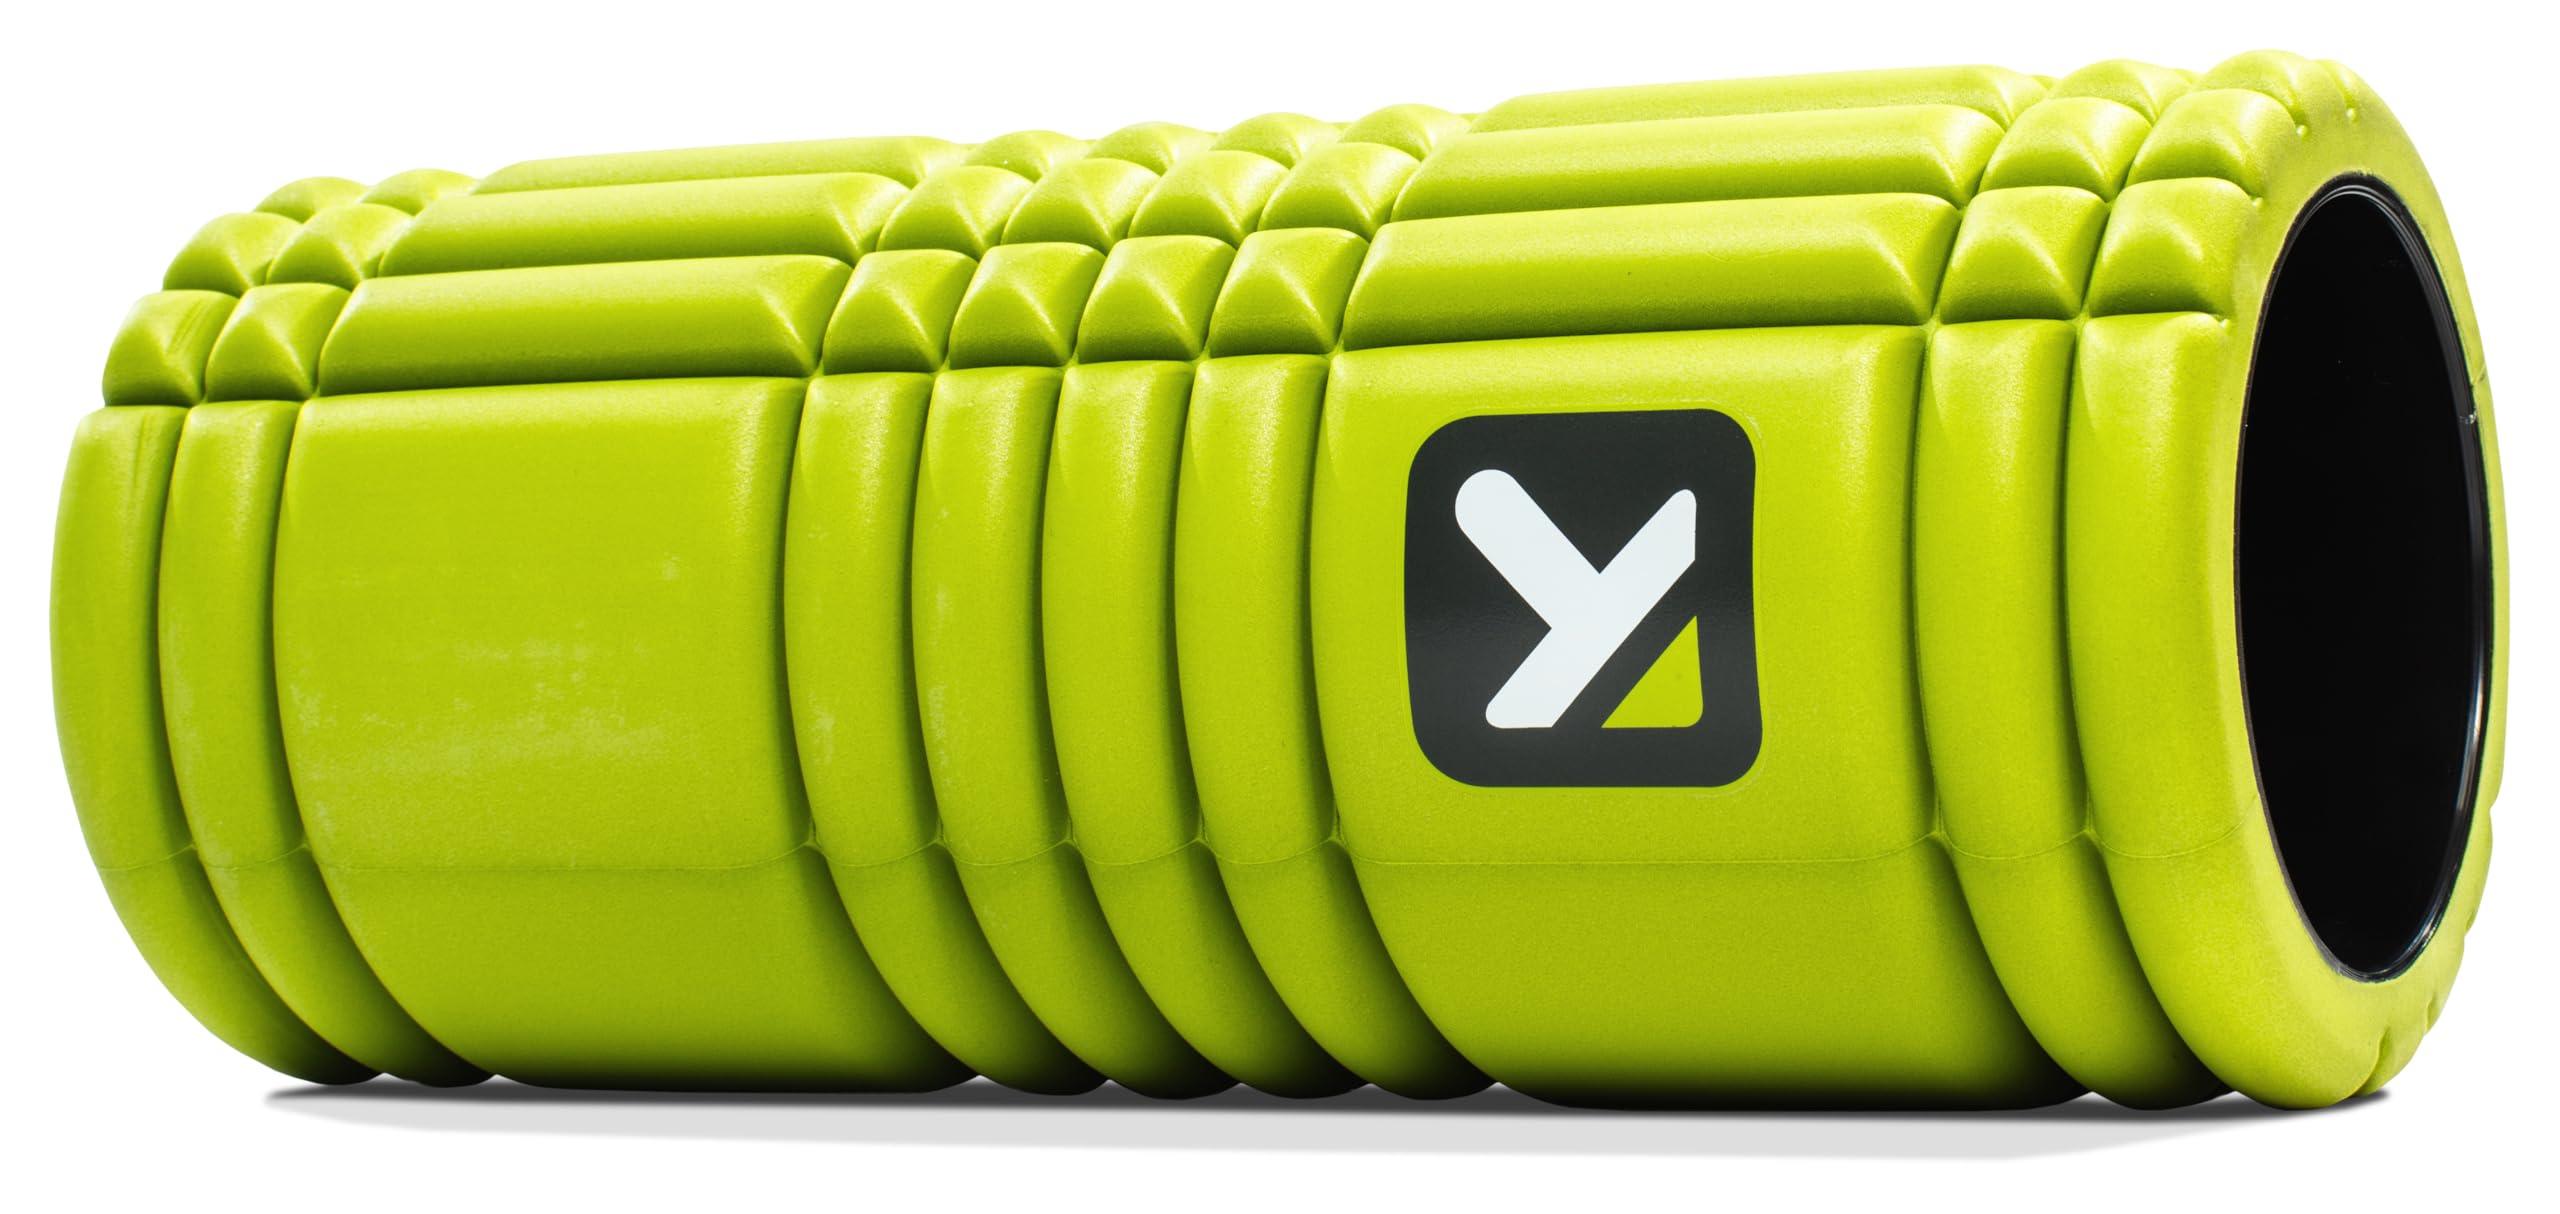
TriggerPoint GRID Foam Roller
The GRID features a patented multi-density surface designed to mimic the feel of palms and fingers. It's firm but kind to muscles, and its hollow core makes it lightweight and durable—one of the most popular recovery rollers available.
Best for: For those ready to step up from a smooth roller and want better balance between firmness and comfort.
Price Range: $40–$60
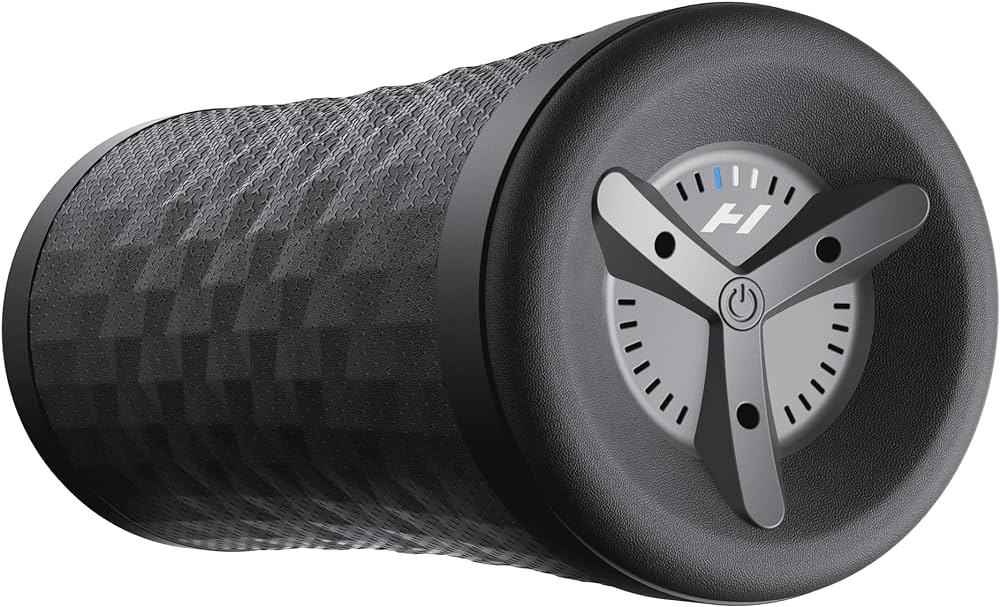
Hyperice Vyper 3.0 Vibrating Foam Roller
This vibrating roller pairs traditional foam rolling with vibration to help muscles relax more quickly and make the session feel more comfortable. It's a premium choice for people who take recovery seriously.
Best for: Time-efficient, deeper recovery sessions for frequent athletes or anyone wanting a premium feel.
Price Range: $150–$200
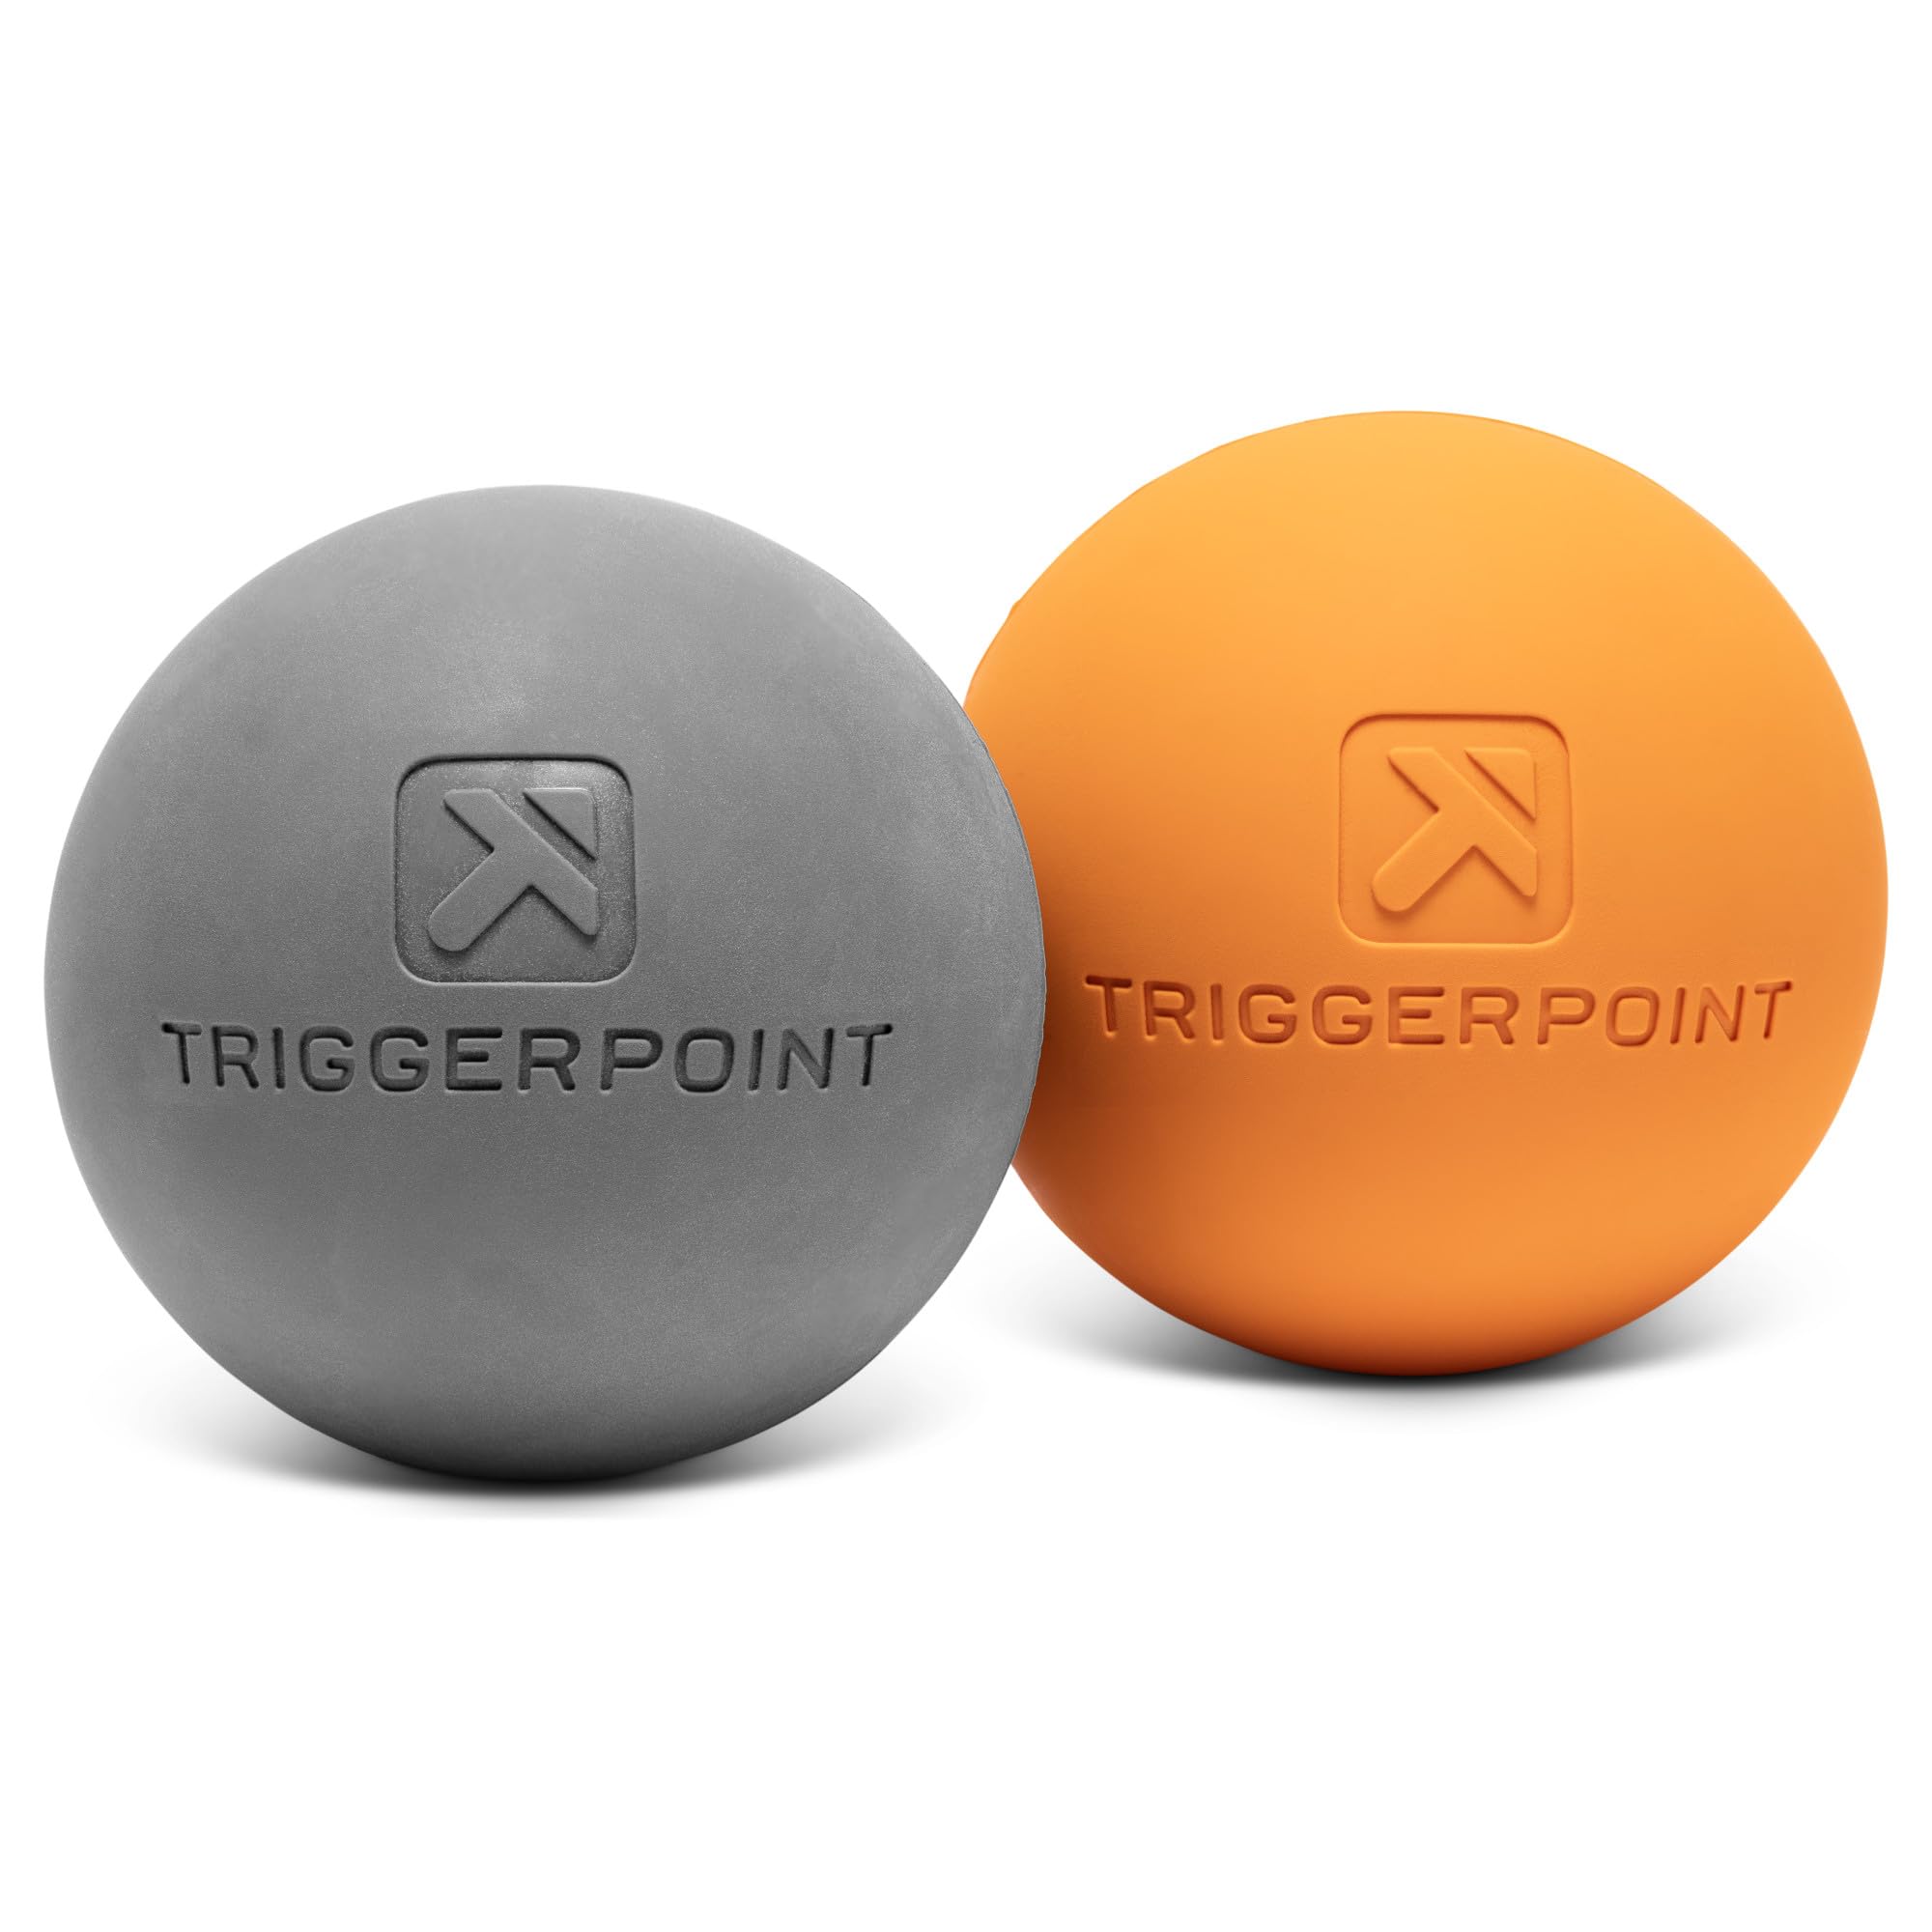
TriggerPoint CORE Massage Ball
A compact, firm massage ball that targets hard-to-reach trigger points in the glutes, chest, and shoulders. It offers deeper, more precise pressure than a wide roller.
Best for: Spot-treating stubborn knots and small muscle groups; pairs perfectly with a foam roller.
Price Range: $10–$20
Amazon Basics High-Density Foam Roller
A budget-friendly, no-frills foam roller that gets the job done for beginners and casual users. It's an excellent entry point if you want to test whether foam rolling fits your routine without a big investment.
Best for: Perfect starter roller for home or gym, and easy to travel with.
Price Range: $12–$20