Apex seals are the heart of a rotary engine's sealing system. Worn or broken seals lead to loss of compression, hard starting, and poor power. While replacing them is an advanced job, it's a critical skill for any rotary enthusiast. This guide walks you through the entire process—from disassembly to break-in—using a standard apex seal kit. Expect to spend 4–8 hours if you have experience; first-timers should budget a full weekend. By the end, you'll have a freshly sealed rotary ready to rev again.
▸What You'll Need
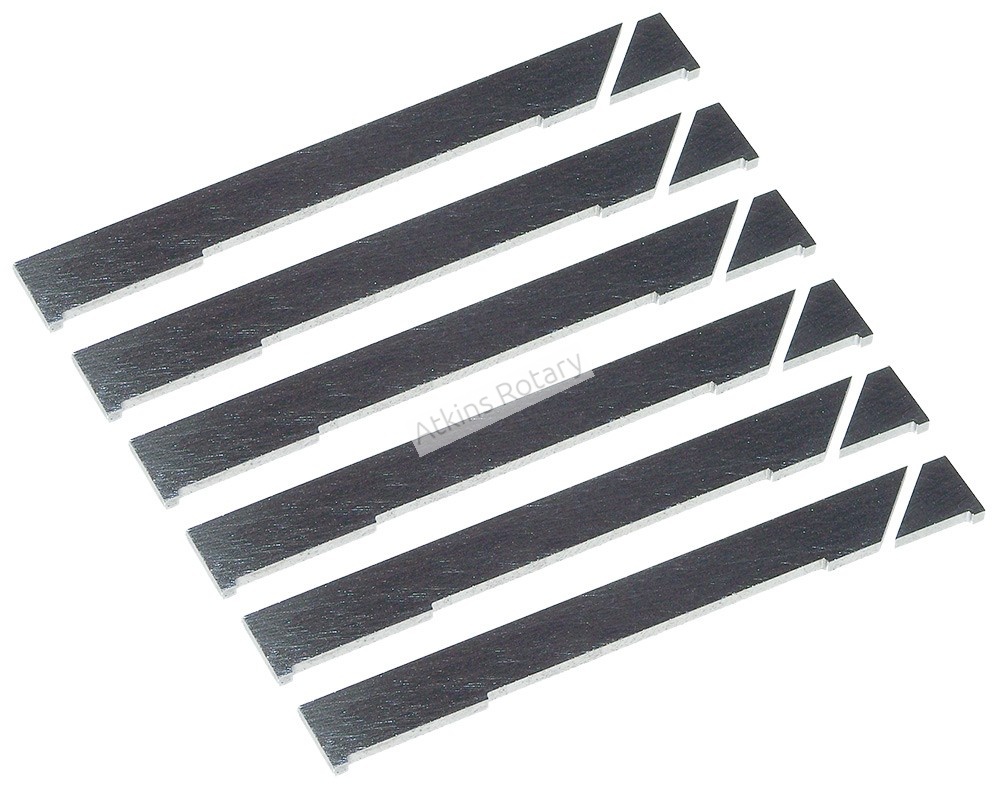
- •Apex seal kit (e.g., Atkins Rotary, Racing Beat, or OEM Mazda)
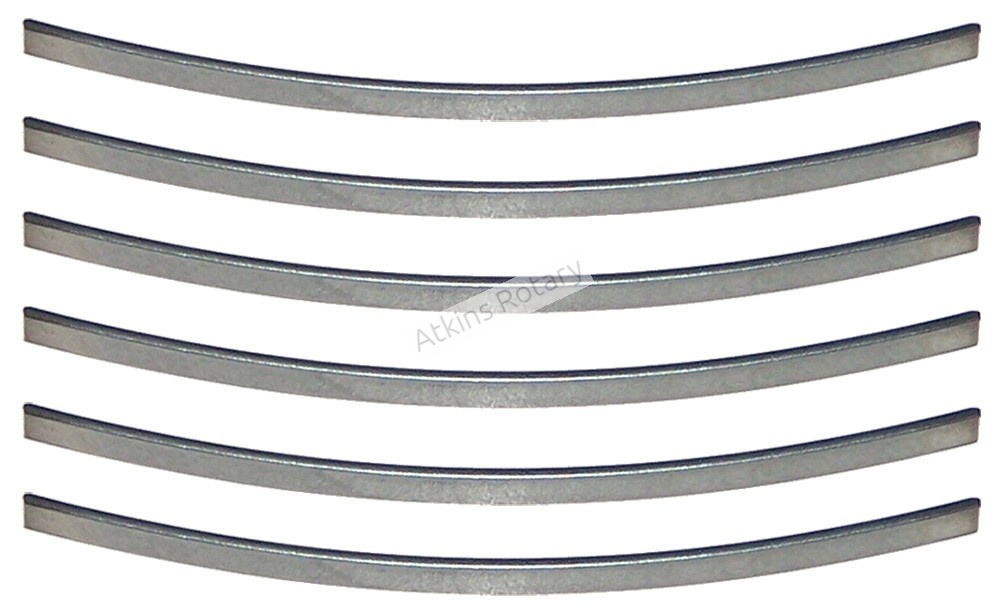
- •Apex seal springs (included in most kits or separate)
- •Full engine gasket set (including O-rings and corner seals)
- •Feeler gauge set (metric and imperial)
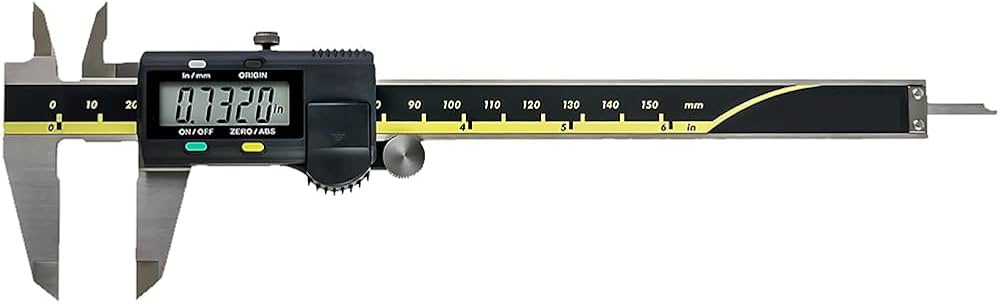
- •Digital caliper or micrometer (0.01mm resolution)
- •Torque wrench (ft-lb and in-lb ranges)
- •Rotary engine stand or sturdy workbench
- •Screwdrivers, allen keys, socket set
- •Assembly lube or clean engine oil
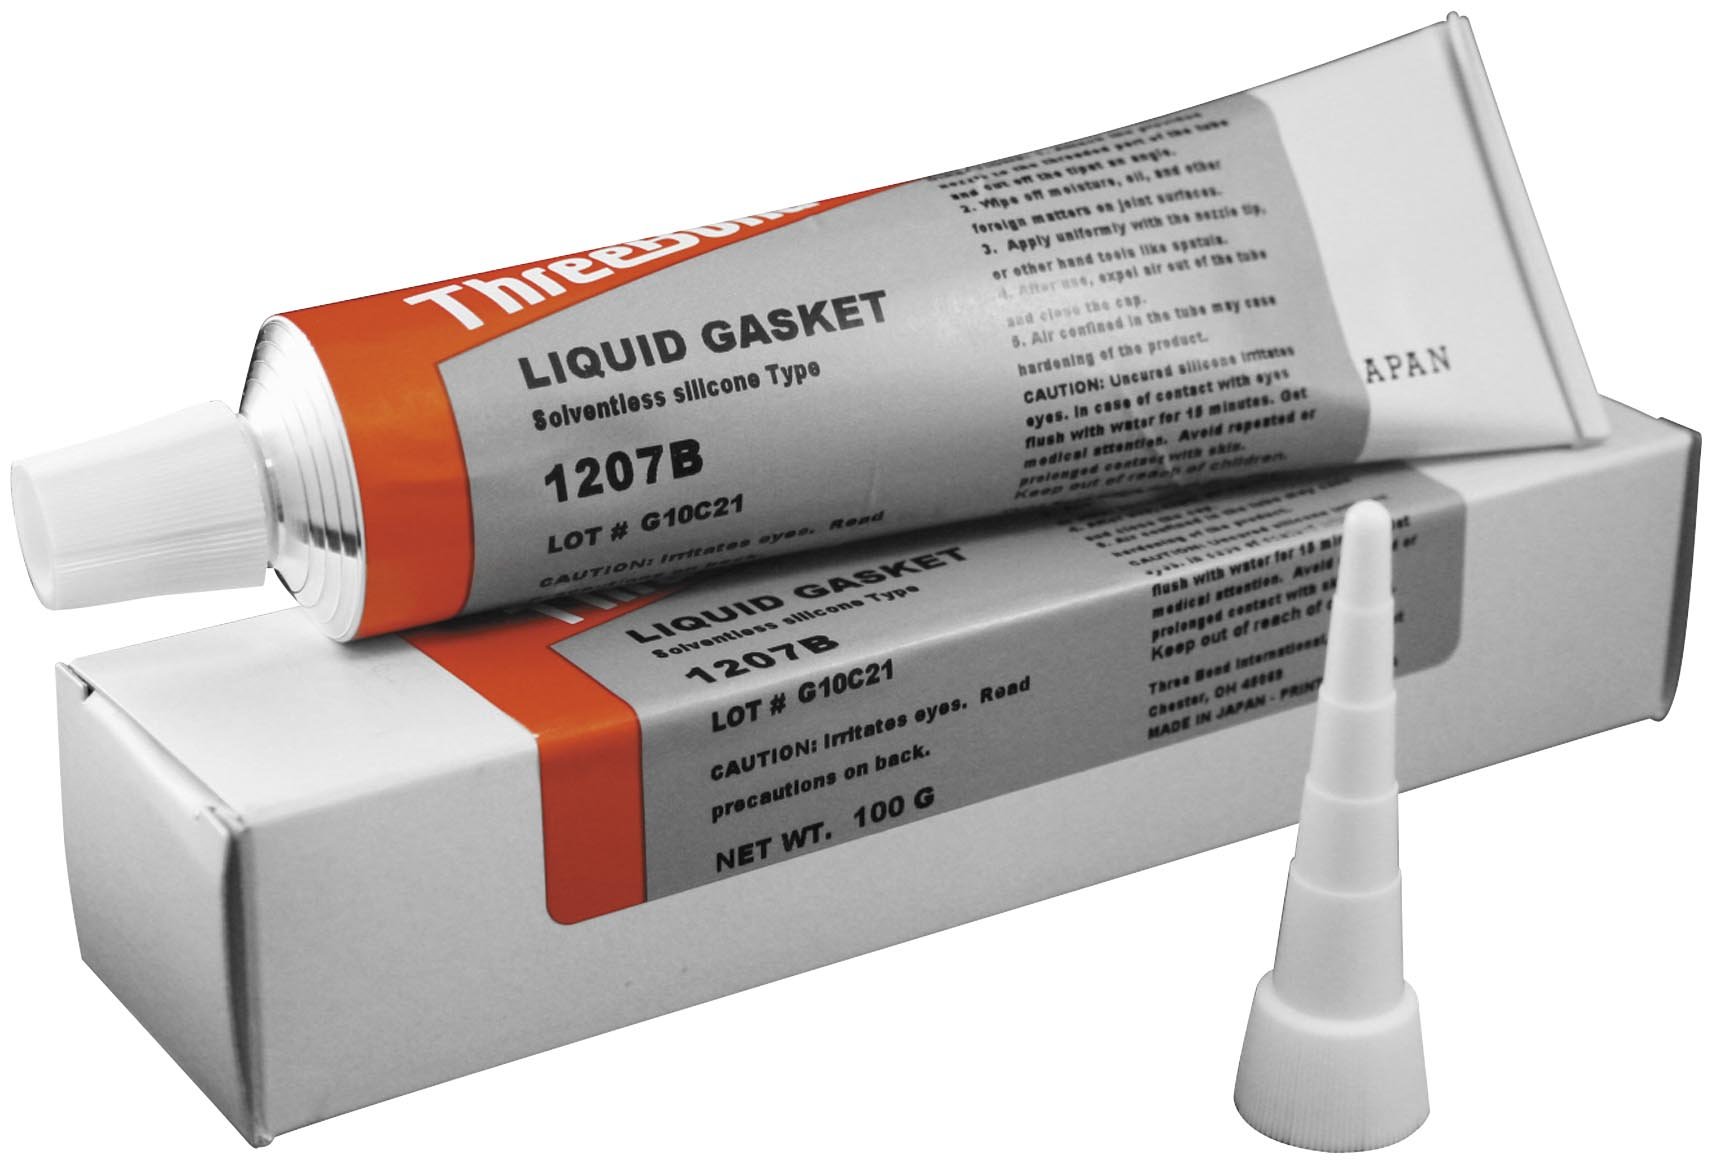
- •ThreeBond 1207B or equivalent anaerobic sealant
- •Razor blade and solvent for gasket removal
- •Clean rags and lint-free wipes
Estimated Time: 6–10 hours (advanced DIY) or 4–6 hours (experienced builder)
Difficulty: advanced
▸Step-by-Step Instructions
Step 1: Engine Removal and Preparation
Begin by removing the engine from the vehicle. Drain all fluids (coolant, oil, transmission fluid if attached). Remove the intake, exhaust, alternator, starter, and any accessories. Place the engine on a stand with the front cover facing up. Clean the exterior thoroughly to prevent debris from entering during disassembly. Remove spark plugs and ignition components. Mark the flywheel position relative to the eccentric shaft for easier reassembly.
💡 Tips:
- •Take photos at every stage for reference.
- •Label all vacuum lines and connectors.
⚠️ Warnings:
- •Rotary engines are heavy; use a proper engine hoist.
- •Never turn the engine over without oil in the rotors.
Step 2: Disassemble Front Cover and Rotor Housings
Remove the front cover (pulley side) by unbolting in a star pattern. Carefully pull it out, noting the position of the oil pump drive gear. Next, unbolt and remove the front rotor housing. Slide it off the eccentric shaft, keeping the rotor from falling out. Repeat for the intermediate housing and rear rotor housing. Keep all housings oriented as they came (mark them if needed). Remove the rotors and set them aside on a clean surface.
💡 Tips:
- •Use a housing puller if they are stuck.
- •Keep bearing clearances in mind—do not mix front/rear housings.
⚠️ Warnings:
- •The eccentric shaft is fragile; do not drop it.
- •Do not scratch the chrome plating on the housings.
Step 3: Remove Old Apex Seals and Springs
Using a small screwdriver or pick, gently pry out the old apex seals from the rotor slots. They may be stuck due to carbon buildup. Remove the small springs beneath each seal using needle-nose pliers. Dispose of old seals and springs. Clean the rotor slots with a solvent-soaked rag and a fine wire brush (brass or nylon) to remove carbon deposits. Inspect the slots for cracks or wear.
💡 Tips:
- •Wear gloves to avoid cuts from sharp seal edges.
- •Compare old seals to new ones to identify wear patterns.
⚠️ Warnings:
- •Do not use steel wire brushes on the rotor surface—only on the slot interior.
- •If a seal is broken, locate all fragments—they can damage the housing.
Step 4: Inspect Rotor Grooves and Housings
Examine each rotor groove for scoring, galling, or deformation. Check the housing inner wall (trochoid surface) for flaking, grooving, or heat spots. Measure the groove width with a feeler gauge—refer to your engine’s service manual for spec. If the groove is too wide, you may need a wider seal or a new rotor. Also inspect the side housings for wear on the seal contact area. Replace any components that are out of spec.
💡 Tips:
- •Use a straightedge on the housing to check for warpage.
- •A light honing with a fine stone can remove minor glaze on the housing.
⚠️ Warnings:
- •Do not assume old seals are the correct thickness—measure everything.
- •Housings with deep scoring must be replaced or professionally re-chromed.
Step 5: Measure and File New Apex Seals to Fit
New apex seals are often slightly oversized. Measure the width and height of each seal with a micrometer. Compare to your rotor’s groove width and housing clearance spec. If the seal is too wide, use a fine file or wet sandpaper (400–600 grit) to reduce width evenly. Check fit in the groove—it should slide freely with .001–.002 inch (0.025–0.05 mm) clearance. Also file the ends to match the groove length. Deburr edges with a fine stone.
💡 Tips:
- •Work slowly and measure frequently.
- •Mark each seal to its corresponding slot.
⚠️ Warnings:
- •Do not file the height (seal face) of the seal—that affects seal-to-housing clearance.
- •Oversized seals will cause binding and scoring.
Step 6: Install New Seals and Springs
Place a new spring into each rotor slot—ensure the spring sits flat and is oriented correctly (usually the curved side faces the seal). Apply a thin layer of assembly lube to the seal bottom and spring. Insert the seal into the slot with the bevel facing the direction of rotation (check your kit instructions). Press it down until it seats on the spring. Repeat for all seals on both rotors. Double-check that each seal moves freely and has slight spring tension.
💡 Tips:
- •Use a seal installation tool (or a blunt screwdriver) to avoid bending the spring.
- •Lubricate the seal face with oil before assembly.
⚠️ Warnings:
- •Do not mix up left and right side seals—they may have different profiles.
- •If a seal sticks, remove and re-check for burrs.
Step 7: Check Seal Clearance and Height
With the seals installed, place a straightedge across the rotor face (across the apex seals) and measure the gap between the seal and the straightedge using a feeler gauge. This is the seal-to-housing clearance—typically .004–.008 inch (0.10–0.20 mm). If too tight, the seal will not seal properly; if too loose, it will leak. Adjust by filing the seal height (if needed, though usually height is pre-set). Also verify that the seal doesn’t protrude excessively—it should sit slightly below the rotor surface.
💡 Tips:
- •Rotate the eccentric shaft slowly to ensure seals don't bind.
- •Check clearance with rotor in different positions.
⚠️ Warnings:
- •Do not skip this step—improper clearance leads to immediate failure.
- •Use a depth micrometer to measure how far the seal sits below the rotor face.
Step 8: Reassemble the Engine with New Gaskets
Begin reassembly by installing new corner seals, side seals, and O-rings on the rotors. Apply anaerobic sealant (ThreeBond) to the housing mating surfaces and gasket surfaces as per manual. Insert the rear rotor with its housing, then intermediate plate, then front rotor and housing, aligning all dowel pins. Torque the housing bolts in the specified sequence and incrementally (usually 20 ft-lb first, then final torque around 25–35 ft-lb). Install the front cover and oil pan with new gaskets.
💡 Tips:
- •Use a torque pattern that goes from center outward.
- •Apply a thin film of oil to all moving parts during assembly.
⚠️ Warnings:
- •Never reuse old O-rings or gaskets.
- •Do not overtighten—rotary housings are aluminum and can distort.
Step 9: Perform Leakdown and Compression Test (Optional but Recommended)
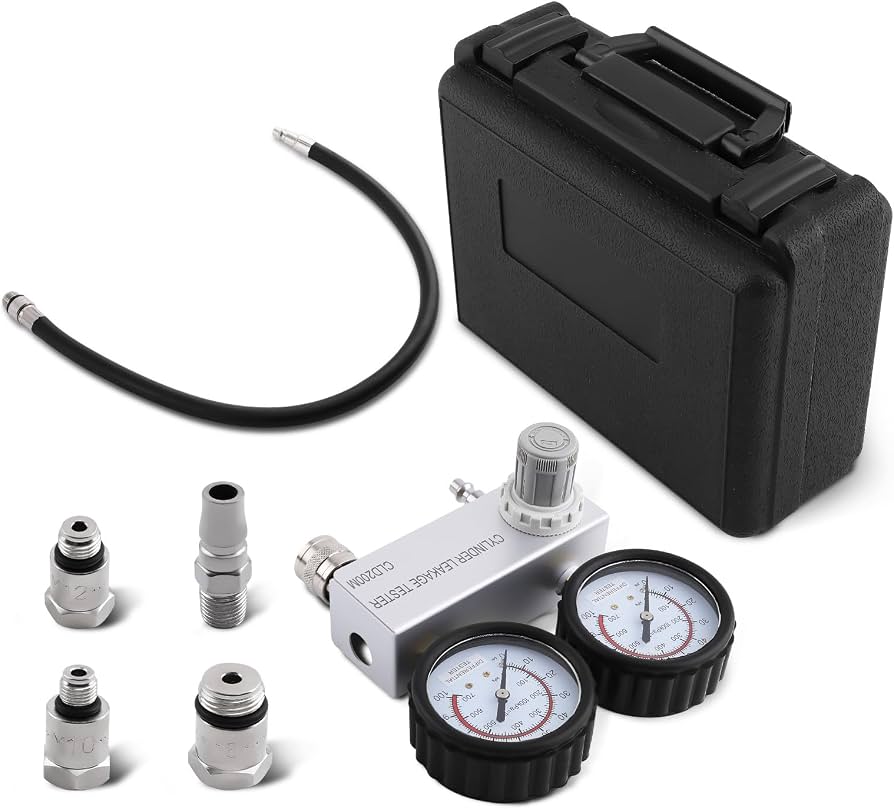
Before installing the engine, do a rotary leakdown test to confirm seal integrity. Use a rotary leakdown tester or a compression tester adapted for rotary engines. Rotate the eccentric shaft by hand and check that each rotor face holds pressure. Alternatively, a simple test: plug spark plug holes, turn engine over with starter (if starter is installed), and listen for even compression pulses. If you have a compression gauge, readings should be within spec (typically 90–120 psi per face).
💡 Tips:
- •Warm the engine oil to improve seal seating.
- •Record readings for each face—variation >15 psi indicates a problem.
⚠️ Warnings:
- •Do not run the engine dry—lubricate before cranking.
- •A leaking seal will cause starting issues and poor power.
Step 10: Break-In Procedure for New Apex Seals
After installing the engine, fill with fresh oil and coolant. Start the engine and let it idle at ~1500 RPM for 15–20 minutes without load. Do not rev above 3000 RPM during this period. Vary the RPM slightly to help the seals bed in. After the initial idle, change the oil and filter (mandatory). Then drive gently for 500 miles, avoiding full throttle or sustained high RPM. This allows the seals to mate with the housings. Re-torque the housing bolts after the first heat cycle (once engine is cool).
💡 Tips:
- •Use a non-synthetic break-in oil for the first 500 miles.
- •Monitor temperatures and listen for unusual noises.
⚠️ Warnings:
- •Do not use synthetic oil during break-in—it’s too slippery for seal seating.
- •If the engine smokes excessively after break-in, you may have a seal issue.
▸Pro Tips
- •Always replace apex seal springs with new ones—old springs lose tension and can't provide proper seal pressure.
- •Photograph every disassembly step; rotary engines have many small parts that look similar.
- •Use a rotary-specific assembly lube like Red Line Assembly Lube to prevent dry starts.
- •Label each rotor and housing with matching letters to avoid mixing up their orientation.
- •Before installing the housing, verify that the eccentric shaft rotates freely by hand—binding indicates a clearance issue.
- •Apply a light coat of oil to the housing trochoid surface before final assembly to protect the chrome plating.
- •Invest in a quality feeler gauge set that includes both standard and metric sizes.
- •For a 13B engine, the new apex seal height typically should be 8.0–8.1 mm; check your kit spec.
▸Common Mistakes to Avoid
- •Installing the apex seal backwards: The bevel on the seal must face the direction of rotation; a reverse orientation causes rapid wear and noise.
- •Skipping the seal clearance check: Assuming the seals are correctly sized without measuring leads to loss of compression or seal breakage.
- •Over-torquing housing bolts: Aluminum housings can warp, causing oil leaks and seal failure. Always follow the torque sequence and specs.
- •Reusing old corner seals or O-rings: These viton parts harden with age and will leak oil and compression immediately.
- •Not priming the oil system before first start: Dry starts can score the new seals against the housing; pre-lube the system by removing the oil pump drive and spinning it with a drill.
▸Troubleshooting
Problem: Engine won't start after rebuild
Solution: Check that the timing is correct (eccentric shaft and distributor/cas). Perform a leakdown test; if compression is low, you may have installed seals incorrectly or clearance is off. Also verify fuel delivery and spark.
Problem: Low compression on one rotor face
Solution: Remove the affected housing and inspect the seal for sticking or damage. The spring may be bent or the seal might be too tight in the groove. File or replace as needed.
Problem: Excessive smoke after break-in
Solution: Blue smoke indicates oil burning—likely a corner seal or side seal leak. Recheck the O-rings and sealant application on the side housings. White smoke could be coolant; check the coolant seals.
Problem: Rattling noise from engine
Solution: Apex seal chatter or slap is usually due to excessive seal-to-groove clearance. The seals can rock and make noise. If slight, it may be acceptable; if loud, disassemble and fit wider seals.
Atkins Rotary 13B Apex Seal Kit
High-quality cast iron seals with proper hardness and precise dimensions; includes springs and O-rings for a complete rebuild.
Best for: Ideal for street and mild performance 13B engines; reliable and proven in many builds.
Price Range: $200–$300
Racing Beat Apex Seal Spring Set
Premium heat-treated springs that maintain tension better than generic springs; reduces risk of seal flutter.
Best for: Recommended when using aftermarket seals to ensure correct spring force; also useful for high-RPM applications.
Price Range: $40–$60
ThreeBond 1207B Anaerobic Sealant
Specifically formulated for rotary engine housings; seals against oil and coolant leakage at high temperatures.
Best for: Must-have for coating housing mating surfaces and O-ring grooves; do not use silicone rtv.
Price Range: $15–$25
Mitutoyo Digital Caliper 500-196-30
Accurate to 0.01mm, essential for measuring seal width and groove dimensions; IP67 coolant-proof for shop use.
Best for: For precise measurement when filing seals to fit; also useful for checking housing thickness.
Price Range: $100–$150
Rotary Leakdown Tester (e.g., CompTest ROTARY-1)
Purpose-built for rotaries; allows you to pressurize each rotor face without removing the engine.
Best for: Verify seal integrity before final assembly; saves time vs. compression test only.
Price Range: $150–$250