Sharpening tools by hand can be tedious and inconsistent. A bench grinder offers a fast, powerful way to restore a keen edge to dull chisels, plane blades, knives, and even lawn mower blades. However, without proper technique, you can easily overheat the steel, ruining its temper, or create an uneven edge. This guide will teach you the essential steps to sharpen various tools safely and effectively on a bench grinder, including how to set up the tool rest, use the correct grinding wheel, and avoid common mistakes. By the end, you'll be able to put a razor-sharp edge on your tools in minutes.
▸What You'll Need
- •Bench grinder (preferably 6-inch or 8-inch wheel, 1725-3450 RPM)
- •Coarse grinding wheel (36-60 grit) for shaping and heavy material removal
- •Fine grinding wheel (80-120 grit) for finishing and sharpening
- •Dressing tool (diamond dresser or star wheel) to true and clean the wheels
- •Safety glasses or face shield
- •Hearing protection (earplugs or earmuffs)
- •Tool rest (most grinders include one, but a precision adjustable rest is better)
- •Water or coolant (a small container of water for dipping tools)
- •Tools to sharpen: chisels, plane irons, knives, axes, etc.
- •Optional: Sharpening jig or guide for consistent bevel angles
- •Optional: Honing stone or strop for final edge refinement
Estimated Time: 30 minutes to 1 hour for initial setup and first tool sharpening
Difficulty: beginner
▸Step-by-Step Instructions
Step 1: Safety First: Gear Up and Prepare Your Workspace
Before you touch the grinder, put on safety glasses or a face shield to protect your eyes from sparks and debris. Wear hearing protection, as grinders can be loud. Ensure your workbench is stable and there are no flammable materials nearby. Keep a container of water handy to dip hot tools. Tie back long hair and remove loose clothing or jewelry. Locate the on/off switch and emergency stop if available.
💡 Tips:
- •Consider using a dust mask if grinding for extended periods.
- •Check that the grinder is firmly bolted or clamped to the bench.
⚠️ Warnings:
- •Never grind without eye protection – sparks can fly unpredictably.
- •Keep fingers away from the rotating wheel at all times.
Step 2: Inspect and Dress the Grinding Wheels
Examine both wheels for cracks, chips, or signs of wear. If damaged, replace them immediately. A clean, true wheel is essential for accurate sharpening. Use a diamond dressing tool to true the wheel surface and expose fresh, sharp abrasive grains. Hold the dresser firmly against the rotating wheel, moving it back and forth across the face until the wheel runs smooth and concentric. Dress the fine wheel as well. This step ensures the wheel cuts efficiently and prevents burning the tool.
💡 Tips:
- •Dress the wheel lightly every few uses to maintain performance.
- •Wear gloves when handling a dressing tool to avoid slipping.
⚠️ Warnings:
- •Never use a wheel that is cracked or out of round – it can explode.
- •Always let the wheel come to full speed before dressing.
Step 3: Set Up the Tool Rest and Spark Guard
The tool rest must be positioned close to the wheel, typically 1/16 to 1/8 inch away, to prevent the tool from being pulled down. Set the angle of the rest to match the bevel of the tool you are sharpening (e.g., 25 degrees for most chisels). Adjust the spark guard (if present) to within 1/8 inch of the wheel to catch sparks. Tighten all locking knobs firmly. A precise, adjustable tool rest makes this step easier and more repeatable.
💡 Tips:
- •Use a protractor or angle gauge to set the bevel angle accurately.
- •For tools with different bevel angles (e.g., plane irons at 25°, sharpening micro-bevel at 30°), adjust accordingly.
⚠️ Warnings:
- •A gap larger than 1/4 inch can catch the tool and cause kickback.
- •Ensure the rest is parallel to the wheel face for even grinding.
Step 4: Choose the Correct Wheel and Determine Your Approach
For sharpening a dull tool, start with the coarse wheel to remove metal quickly and establish a new bevel. Switch to the fine wheel for the final edge. For tools that are already sharp but need a touch-up, use only the fine wheel. Hold the tool securely – for chisels and plane irons, grip the handle with one hand and press the bevel flat against the rest with fingers of the other hand (but keep fingers safely back). For knives, hold the blade at the correct angle relative to the wheel. Maintain a light, even pressure.
💡 Tips:
- •Mark the bevel with a permanent marker to see where you're removing metal.
- •For axes and large blades, use a slow speed grinder if possible (1750 RPM) to avoid overheating.
⚠️ Warnings:
- •Never force the tool into the wheel – let the wheel do the work.
- •Keep the tool moving across the wheel face to avoid creating a groove.
Step 5: Grind the Bevel – Coarse Wheel First
Turn on the grinder and let it reach full speed. Position the tool on the rest and gently bring the bevel into contact with the coarse wheel. Use a side-to-side sweeping motion across the wheel face to distribute wear. Apply light pressure – heavy pressure overheats the steel. Grind for 2-3 seconds, then dip the tool in water to cool it. Repeat until you see a consistent, even bevel across the entire edge. Check frequently: you should see a wire edge (burr) form on the back of the tool, indicating you've ground enough.
💡 Tips:
- •Count seconds: 2 seconds on, then dip. Repeat 5-10 times depending on dullness.
- •If the tool turns blue or black, you've overheated it – the temper is ruined and you'll need to grind past the discolored area.
⚠️ Warnings:
- •Never hold the tool in one spot – continuous contact without motion creates heat buildup.
- •Always keep the tool moving and use frequent dips.
Step 6: Refine on the Fine Wheel
Switch to the fine wheel. Repeat the same process: light pressure, sweeping motion, and frequent water dips. The fine wheel removes the scratches from the coarse wheel and sharpens the edge. Continue until the wire edge is very fine and the bevel has a polished appearance. You may want to do a final pass with very light pressure to hone the edge. For a razor-sharp finish, you can then use a fine honing stone or leather strop.
💡 Tips:
- •Finish with a few light passes on the fine wheel to polish the edge.
- •For knives, maintain a consistent angle; you can use a sharpening guide for precision.
⚠️ Warnings:
- •Avoid applying too much pressure on the fine wheel – it can burn the tip of thin blades.
- •Don't skip the fine wheel; a coarse edge will be rough and dull quickly.
Step 7: Deburr and Hone the Edge
After grinding, there will be a small burr (wire edge) on the back of the tool. Remove it by lightly running the back of the tool over a fine oil stone or a piece of MDF with polishing compound. Alternatively, use a leather strop loaded with green compound. For chisels and plane irons, a few strokes on the back flat will knock off the burr. Then strop the bevel side to polish the edge. The tool should now shave hair or cut paper easily.
💡 Tips:
- •Use a fine diamond stone (1000-6000 grit) for a professional finish.
- •Apply a few drops of honing oil or water to the stone during use.
⚠️ Warnings:
- •Don't bear down hard on the stone – light strokes are more effective.
- •Check your work frequently: a sharp edge should feel smooth and grab when drawn across your fingernail.
Step 8: Test the Edge and Make Final Adjustments
Test the sharpness by cutting a piece of paper or slicing a thin wood shaving. If the tool tears or requires excessive force, re-examine the bevel: it may be uneven or too blunt. Touch up with a few more passes on the fine wheel, ensuring you maintain a consistent angle. For knives, check for any uneven spots along the blade. A properly sharpened tool should feel effortless in use.
💡 Tips:
- •Use a magnifying glass or loupe to inspect the edge for burrs or nicks.
- •For plane irons, a quick test is planing end grain – a sharp iron produces a clean cut.
⚠️ Warnings:
- •A sharp edge is dangerous – handle with care and store tools safely.
- •If you see uneven wear on the grinding wheel, it may need dressing again.
▸Pro Tips
- •Use a sharpening guide or jig for consistent angles, especially for plane irons and chisels.
- •Keep a spark shield or a wet rag near the grinder to catch sparks and reduce fire risk.
- •Dress the wheel with a diamond dresser before each sharpening session for best results.
- •Use a slow-speed grinder (1725 RPM) for precision sharpening; high-speed (3450 RPM) is fine for rough work.
- •Dip tools in water every 2-3 seconds to prevent overheating – if you see blue, you've gone too far.
- •Mark the bevel with a sharpie; when the marker is completely gone, you've ground the entire bevel evenly.
- •For knives, maintain the original bevel angle (typically 20 degrees) by using a guide or your visual reference.
- •Clean the tool rest regularly – metal dust buildup can cause friction and inaccuracy.
▸Common Mistakes to Avoid
- •Applying too much pressure: forces the tool into the wheel, creating excessive heat and risking wheel damage.
- •Not using water or coolant: overheating causes loss of temper (blue discoloration) and a soft edge.
- •Using a worn or glazed wheel without dressing: reduces cutting efficiency and increases heat generation.
- •Setting the tool rest too far from the wheel: increases the risk of the tool catching and being pulled in.
- •Grinding a single spot without moving: creates a groove in the wheel and overheats a local area.
▸Troubleshooting
Problem: Tool turns blue or black during grinding
Solution: You've overheated the steel. Stop immediately. The temper is ruined; you must grind past the discolored area to fresh steel. Use lighter pressure and dip in water every 2 seconds.
Problem: Edge is uneven or wavy
Solution: The bevel angle was not consistent. Re-evaluate your setup: ensure the tool rest is parallel to the wheel and you are holding the tool at the same angle throughout. Use a sharpening guide for repeatability.
Problem: Grinding wheel vibrates or is out of round
Solution: Turn off the grinder. Inspect the wheel for cracks or loose mounting. Dress the wheel with a diamond dresser to true it. If vibration persists, replace the wheel or balance it using supplied washers.
Problem: Tool rest moves during grinding
Solution: Tighten the locking bolts firmly. If the rest still slips, consider adding a locking nut or replacing the hardware. A movable rest is dangerous.
Problem: Burr is too large or won't come off
Solution: A large burr indicates you've ground too much on one side. Switch to a finer wheel and take very light passes. Remove the burr by honing on a fine stone or stropping. For stubborn burrs, use a few strokes on the coarse wheel very lightly, then fine stone.
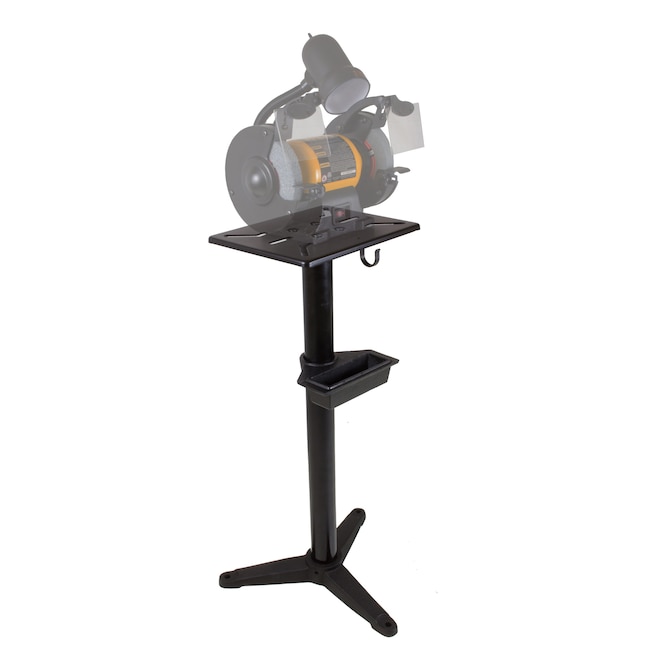
WEN 4288 6-Inch Bench Grinder
Affordable, reliable 6-inch grinder with 2.1-amp motor, ideal for beginners. Includes 36 and 60 grit wheels, adjustable tool rests, and eye shields.
Best for: Entry-level sharpening of chisels, knives, and small tools.
Price Range: $50 – $70
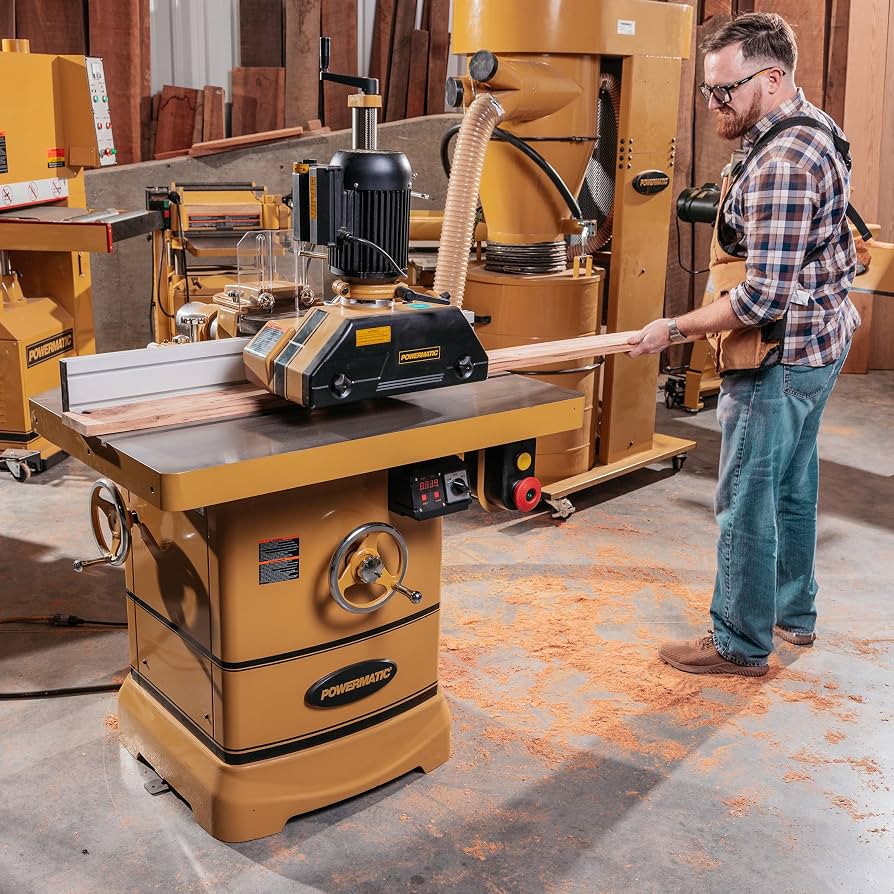
Powermatic PM2700 8-Inch Bench Grinder
High-end 8-inch grinder with 3/4 HP motor, variable speed (1725/3450 RPM), and precision cast iron tool rests. Perfect for serious sharpening without overheating.
Best for: Sharpening plane irons, chisels, and large knives with consistent results.
Price Range: $400 – $500
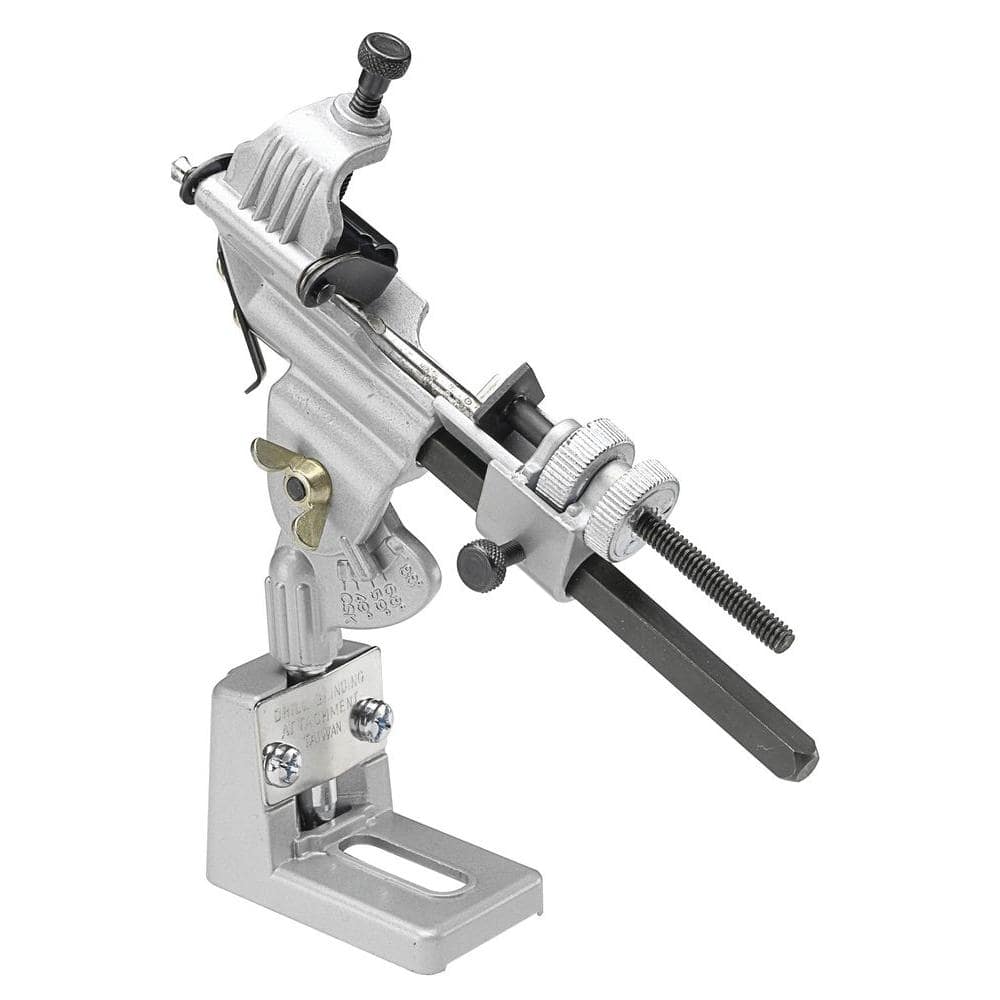
Sharpening Guide Jig for Bench Grinder - General Tools 825
An adjustable jig that clamps onto chisels and plane irons, ensuring exact bevel angles every time. Takes the guesswork out of hand-holding.
Best for: Attaining precise, repeatable bevel angles on chisels and plane blades.
Price Range: $20 – $30
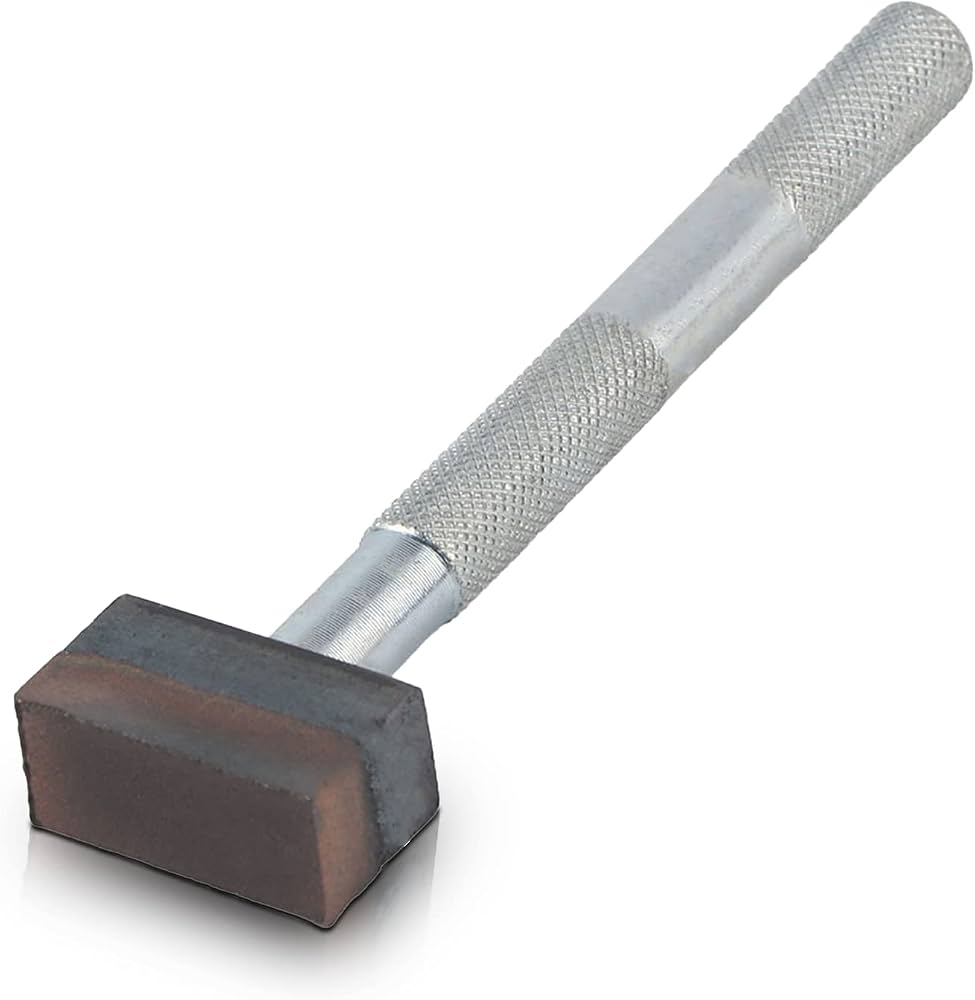
Diamond Wheel Dressing Tool - Eagle America Diamond Dresser
A quality diamond dresser quickly trues and cleans grinding wheels, prolonging their life and ensuring efficient cutting.
Best for: Maintaining grinding wheel flatness and sharpness.
Price Range: $15 – $25
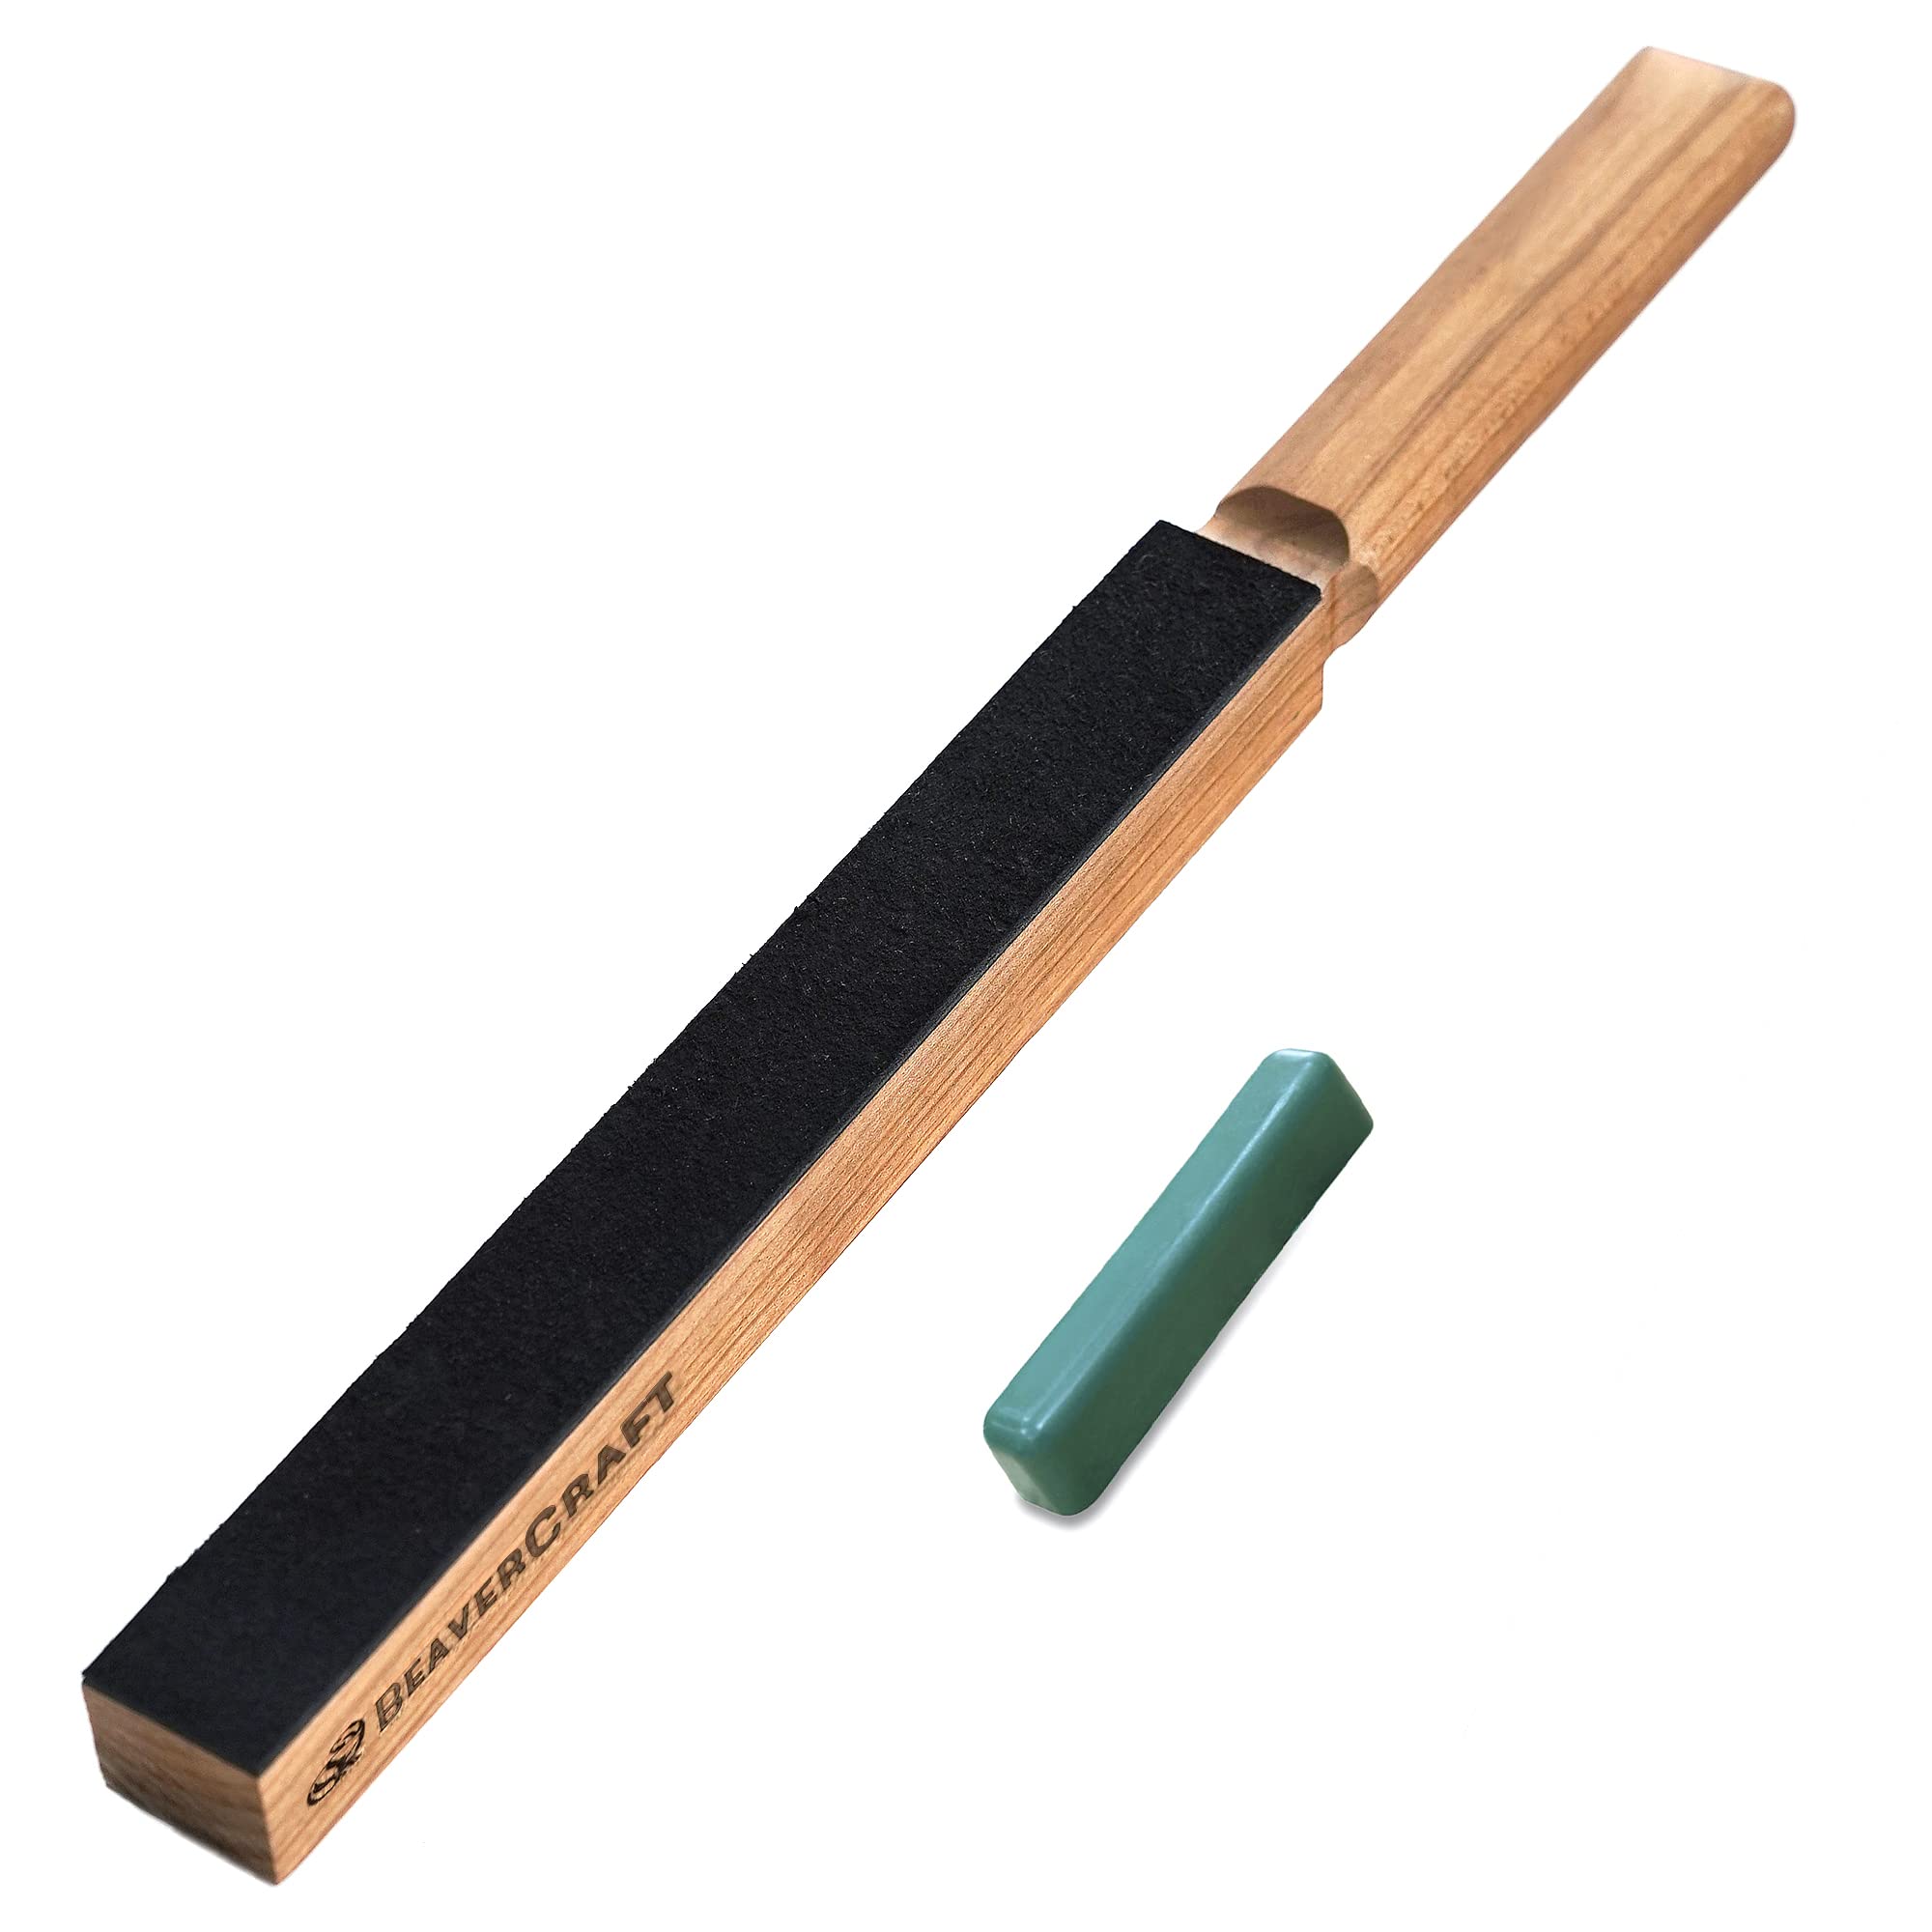
Leather Honing Strop with Polishing Compound - BeaverCraft
A double-sided leather strop loaded with green compound for final edge refinement after grinding.
Best for: Removing the burr and polishing the edge to a razor finish.
Price Range: $10 – $20