If you’re starting out in woodworking, a belt sander is one of the most powerful tools for quickly removing material and smoothing rough surfaces. But using it incorrectly can lead to gouges, uneven surfaces, or even injury. In this guide, you’ll learn the essential techniques for using a belt sander like a pro – from choosing the right grit to mastering the proper motion. Whether you’re flattening a butcher block or shaping a curved edge, these step-by-step instructions will help you achieve smooth, professional results with confidence.
▸What You'll Need
- •Belt sander (e.g., a variable-speed model for versatility)
- •Assorted sanding belts (coarse, medium, fine grits)
- •Safety glasses or face shield
- •Dust mask or respirator (NIOSH-approved N95 or higher)
- •Hearing protection (earplugs or earmuffs)
- •Workbench or sturdy table with clamps
- •Workpiece (wood to be sanded)
- •Vacuum or dust collection system (optional but recommended)
- •Pencil or marker (for identifying high spots)
- •Soft brush or compressed air for cleaning
Estimated Time: 30 minutes to learn basic technique; 1–2 hours for a typical project
Difficulty: beginner
▸Step-by-Step Instructions
Step 1: Put on Safety Gear
Before turning on the sander, protect yourself. Wear safety glasses to shield your eyes from flying debris. Use a dust mask or respirator to avoid inhaling fine wood dust, which can be harmful over time. Hearing protection is also important because belt sanders are loud (typically 85–95 dB). Finally, remove any loose clothing, jewelry, and tie back long hair to prevent entanglement.
💡 Tips:
- •Consider a full-face shield if you’re sanding overhead or near your face.
- •Choose a dust mask with an exhaust valve for easier breathing.
⚠️ Warnings:
- •Never wear gloves while using a belt sander – they can get caught and pull your hand into the belt.
Step 2: Secure Your Workpiece
Clamp the wood firmly to your workbench. Even light sanding can cause the workpiece to shift if it isn’t fixed. Use at least two clamps to prevent movement. If you’re sanding a small piece, attach it to a larger backing board with double-sided tape or hot glue to keep it stable. A moving workpiece can ruin the sanding pattern or cause the sander to kick back.
💡 Tips:
- •Place a non-slip mat under the workpiece for extra grip.
- •Use quick-release clamps to speed up changes.
⚠️ Warnings:
- •Never hold the workpiece by hand while sanding – the sander can easily pull it away.
Step 3: Select and Install the Correct Sanding Belt
Choose a grit based on your task: coarse (40–60 grit) for heavy material removal, medium (80–100 grit) for smoothing, and fine (120–150 grit) for finishing. Ensure the belt is the right size for your sander (common sizes: 3x18, 3x21, 4x24 inches). To install, release the tension lever, slide the belt over the rollers, and align it so the arrow on the belt points in the same direction as the arrow on the sander. Then retension the lever and give the belt a spin to check it runs centered.
💡 Tips:
- •Buy an assortment pack of belts so you have all grits on hand.
- •Mark the grit on the belt with a marker for quick identification.
⚠️ Warnings:
- •A misaligned belt can snag or tear. Always test by spinning the sander by hand before plugging it in.
Step 4: Connect Dust Collection
Most belt sanders have a dust port that can attach to a shop vac or dust collector. Connect the hose to minimize airborne dust. If you don't have a vac, at least point the dust port away from your face. A dust-free workspace improves visibility and health. Some sanders also have a built-in dust bag, but they’re less effective.
💡 Tips:
- •Use a cyclone separator to keep your vacuum filter from clogging.
- •Wear the dust mask even with collection – no system captures 100%.
⚠️ Warnings:
- •Do not let the dust bag overfill; empty it frequently to maintain suction.
Step 5: Position the Sander and Start It
Hold the sander with both hands: one on the rear handle (where the trigger is) and one on the front handle. Place the sander flat on the wood with the belt not touching the workpiece. Then pull the trigger and let the belt reach full speed before contacting the wood. This prevents a sudden jerk and ensures even sanding. For variable-speed models, start at a lower speed (around 600–800 SFPM) for better control.
💡 Tips:
- •Practice on scrap wood first to get a feel for the sander’s weight and vibration.
- •Use the sander’s built-in speed dial if available – slower for delicate work, faster for heavy removal.
⚠️ Warnings:
- •Never start the sander in the air – always have it resting on the workpiece or on its side (off the wood) to avoid damage.
Step 6: Sand with the Grain in a Steady Motion
Lower the sander gently onto the wood and move it in long, overlapping passes along the grain direction. Keep the sander moving constantly – stopping in one spot will create a dip. Use light pressure; the weight of the sander is usually enough. Overlap each pass by about 50% for a uniform finish. When you reach the end of the board, lift the sander slightly and pull it back, then start the next pass.
💡 Tips:
- •Tilt the sander slightly on its edge when feathering into corners or near edges.
- •For large surfaces, use a random orbital pattern (side-to-side and back-and-forth) only after mastering straight passes.
⚠️ Warnings:
- •Do not rock the sander – keep the base flat to avoid gouging.
- •Watch the cord; avoid running over it.
Step 7: Check Your Progress and Switch Grits
After a few passes, stop the sander and inspect the surface. If you see rough areas or tool marks, continue with the same grit. Once the surface is uniformly smooth, switch to a finer grit for a polished finish. Always sand with successively finer grits (e.g., 60 → 80 → 120 → 150). Wipe away dust between grit changes to prevent scratches from leftover coarse particles.
💡 Tips:
- •Use a bright light at an angle to reveal imperfections.
- •Raise the grain by wetting the surface slightly before the final sanding – let it dry, then sand again.
⚠️ Warnings:
- •Skipping grits can leave deep scratches that are hard to remove.
Step 8: Sand Edges and Curves (If Needed)
For edges, you can let the belt overhang slightly to round them, but be careful not to gouge. For curved surfaces, use the sander on its narrow side (if the belt is exposed) or switch to a finishing sander. Some belt sanders have a removable platen that allows the belt to wrap around curves. Always move with the curve and keep the sander moving.
💡 Tips:
- •For inside curves, consider a spindle sander or detail sander instead.
- •Mark the desired profile with a pencil before sanding.
⚠️ Warnings:
- •Edge sanding can quickly eat away material – go slowly and check often.
Step 9: Finish with a Fine Grit and Hand Sanding
Once you’re satisfied with the belt-sanded surface, do a final pass with a fine grit (120–150). Then, for the smoothest finish, hand sand with the grain using 220-grit sandpaper on a sanding block. This removes any swirl marks left by the belt sander and prepares the wood for staining or finishing.
💡 Tips:
- •Use a tack cloth to remove all dust before applying finish.
- •If you plan to stain, sand to 220 grit – finer than that can close the pores and reduce stain absorption.
⚠️ Warnings:
- •Don’t over-sand with fine grit – it can burnish the surface and cause blotchy stain.
▸Pro Tips
- •Always let the sander do the work – pushing down hard only slows the belt and can burn the wood.
- •Use a sharp pencil to scribble a grid on the wood; sand until the grid is gone – that shows you’ve removed high spots evenly.
- •Vacuum or blow out the dust bag regularly to maintain suction and belt life.
- •To keep belts from clogging, use a belt cleaning stick (rubber eraser) while the sander runs.
- •Sand in a well-ventilated area to reduce dust inhalation and fire risk from fine particles.
- •If you’re sanding multiple pieces, do all rough sanding first, then all fine sanding – saves time switching grits.
- •For a perfectly flat surface, use a sanding frame or jig that holds the sander at a fixed height.
▸Common Mistakes to Avoid
- •Pressing too hard: This overheats the belt, leaves burn marks, and can create dips. Let the sander’s weight do the work.
- •Staying in one place: The belt removes material quickly; stopping creates a divot. Keep the sander moving constantly.
- •Tilting the sander: Rocking the sander on its edge gouges the wood. Keep the base flat against the surface.
- •Using the wrong grit sequence: Skipping grits or jumping from coarse to fine leaves scratches that require extra work. Always step through grits gradually.
- •Not securing the workpiece: A loose board can shift or kick back, ruining your work and possibly causing injury. Always clamp.
▸Troubleshooting
Problem: Belt slips or stops spinning during use.
Solution: Check belt tension – release and re-tension the lever. Also ensure the belt isn’t worn out or loaded with pitch. Clean or replace the belt.
Problem: Sander leaves deep scratch marks.
Solution: You may be using too coarse a grit for the final pass, or the belt is damaged. Switch to a finer grit and sand with overlapping passes. Also check that the belt isn’t torn.
Problem: Wood surface has burn marks.
Solution: You applied too much pressure or stayed in one spot too long. Reduce pressure, increase speed, and keep moving. If burn marks are deep, sand them out with a coarse grit and re-sand finer.
Problem: Sander vibrates excessively.
Solution: The belt may be misaligned or worn unevenly. Adjust the tracking knob while the sander is running (if safe) to center the belt. Also check that the rollers are clean and the belt is the correct size.
Problem: Dust collection is poor.
Solution: Clean the dust port and hose. Ensure the vacuum is powerful enough. If using a bag, empty it. Consider upgrading to a dedicated dust extractor for best results.
DEWALT DWE43114 3x21 Inch Variable-Speed Belt Sander
This sander has a powerful 10-amp motor, variable speed for different tasks, and a dust-sealed switch for durability. It's a top choice for beginners and pros alike.
Best for: General woodworking – flattening, smoothing, and shaping. Good for large surfaces and heavy material removal.
Price Range: $130-$160
3M Cubitron II Cloth Belts 967A (Assorted Grits, 3x21 inch)
These belts feature precision-shaped ceramic grain that cuts fast and lasts long. They stay sharp and resist clogging, making them ideal for wood sanding.
Best for: All sanding tasks – use coarse for stock removal, fine for finishing. Fits most 3x21 inch sanders.
Price Range: $20-$40 per pack of 10
3M 6200 Series Half Facepiece Reusable Respirator
NIOSH-approved for particulate protection. Comfortable, durable, and can be fitted with P100 filters for wood dust. Essential for health.
Best for: Protecting lungs from fine dust during sanding. Use with any woodworking project.
Price Range: $25-$35
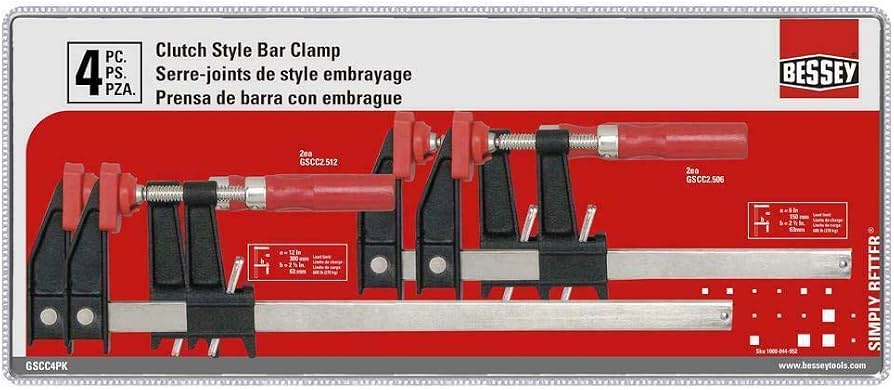
Bessey Clutch Style Bar Clamps (2-Pack, 12-inch)
Quick-clamping action and high clamping force keep your workpiece secure. The clutch system allows one-handed operation, saving time.
Best for: Securing boards and panels to the workbench for sanding.
Price Range: $30-$50 per pair
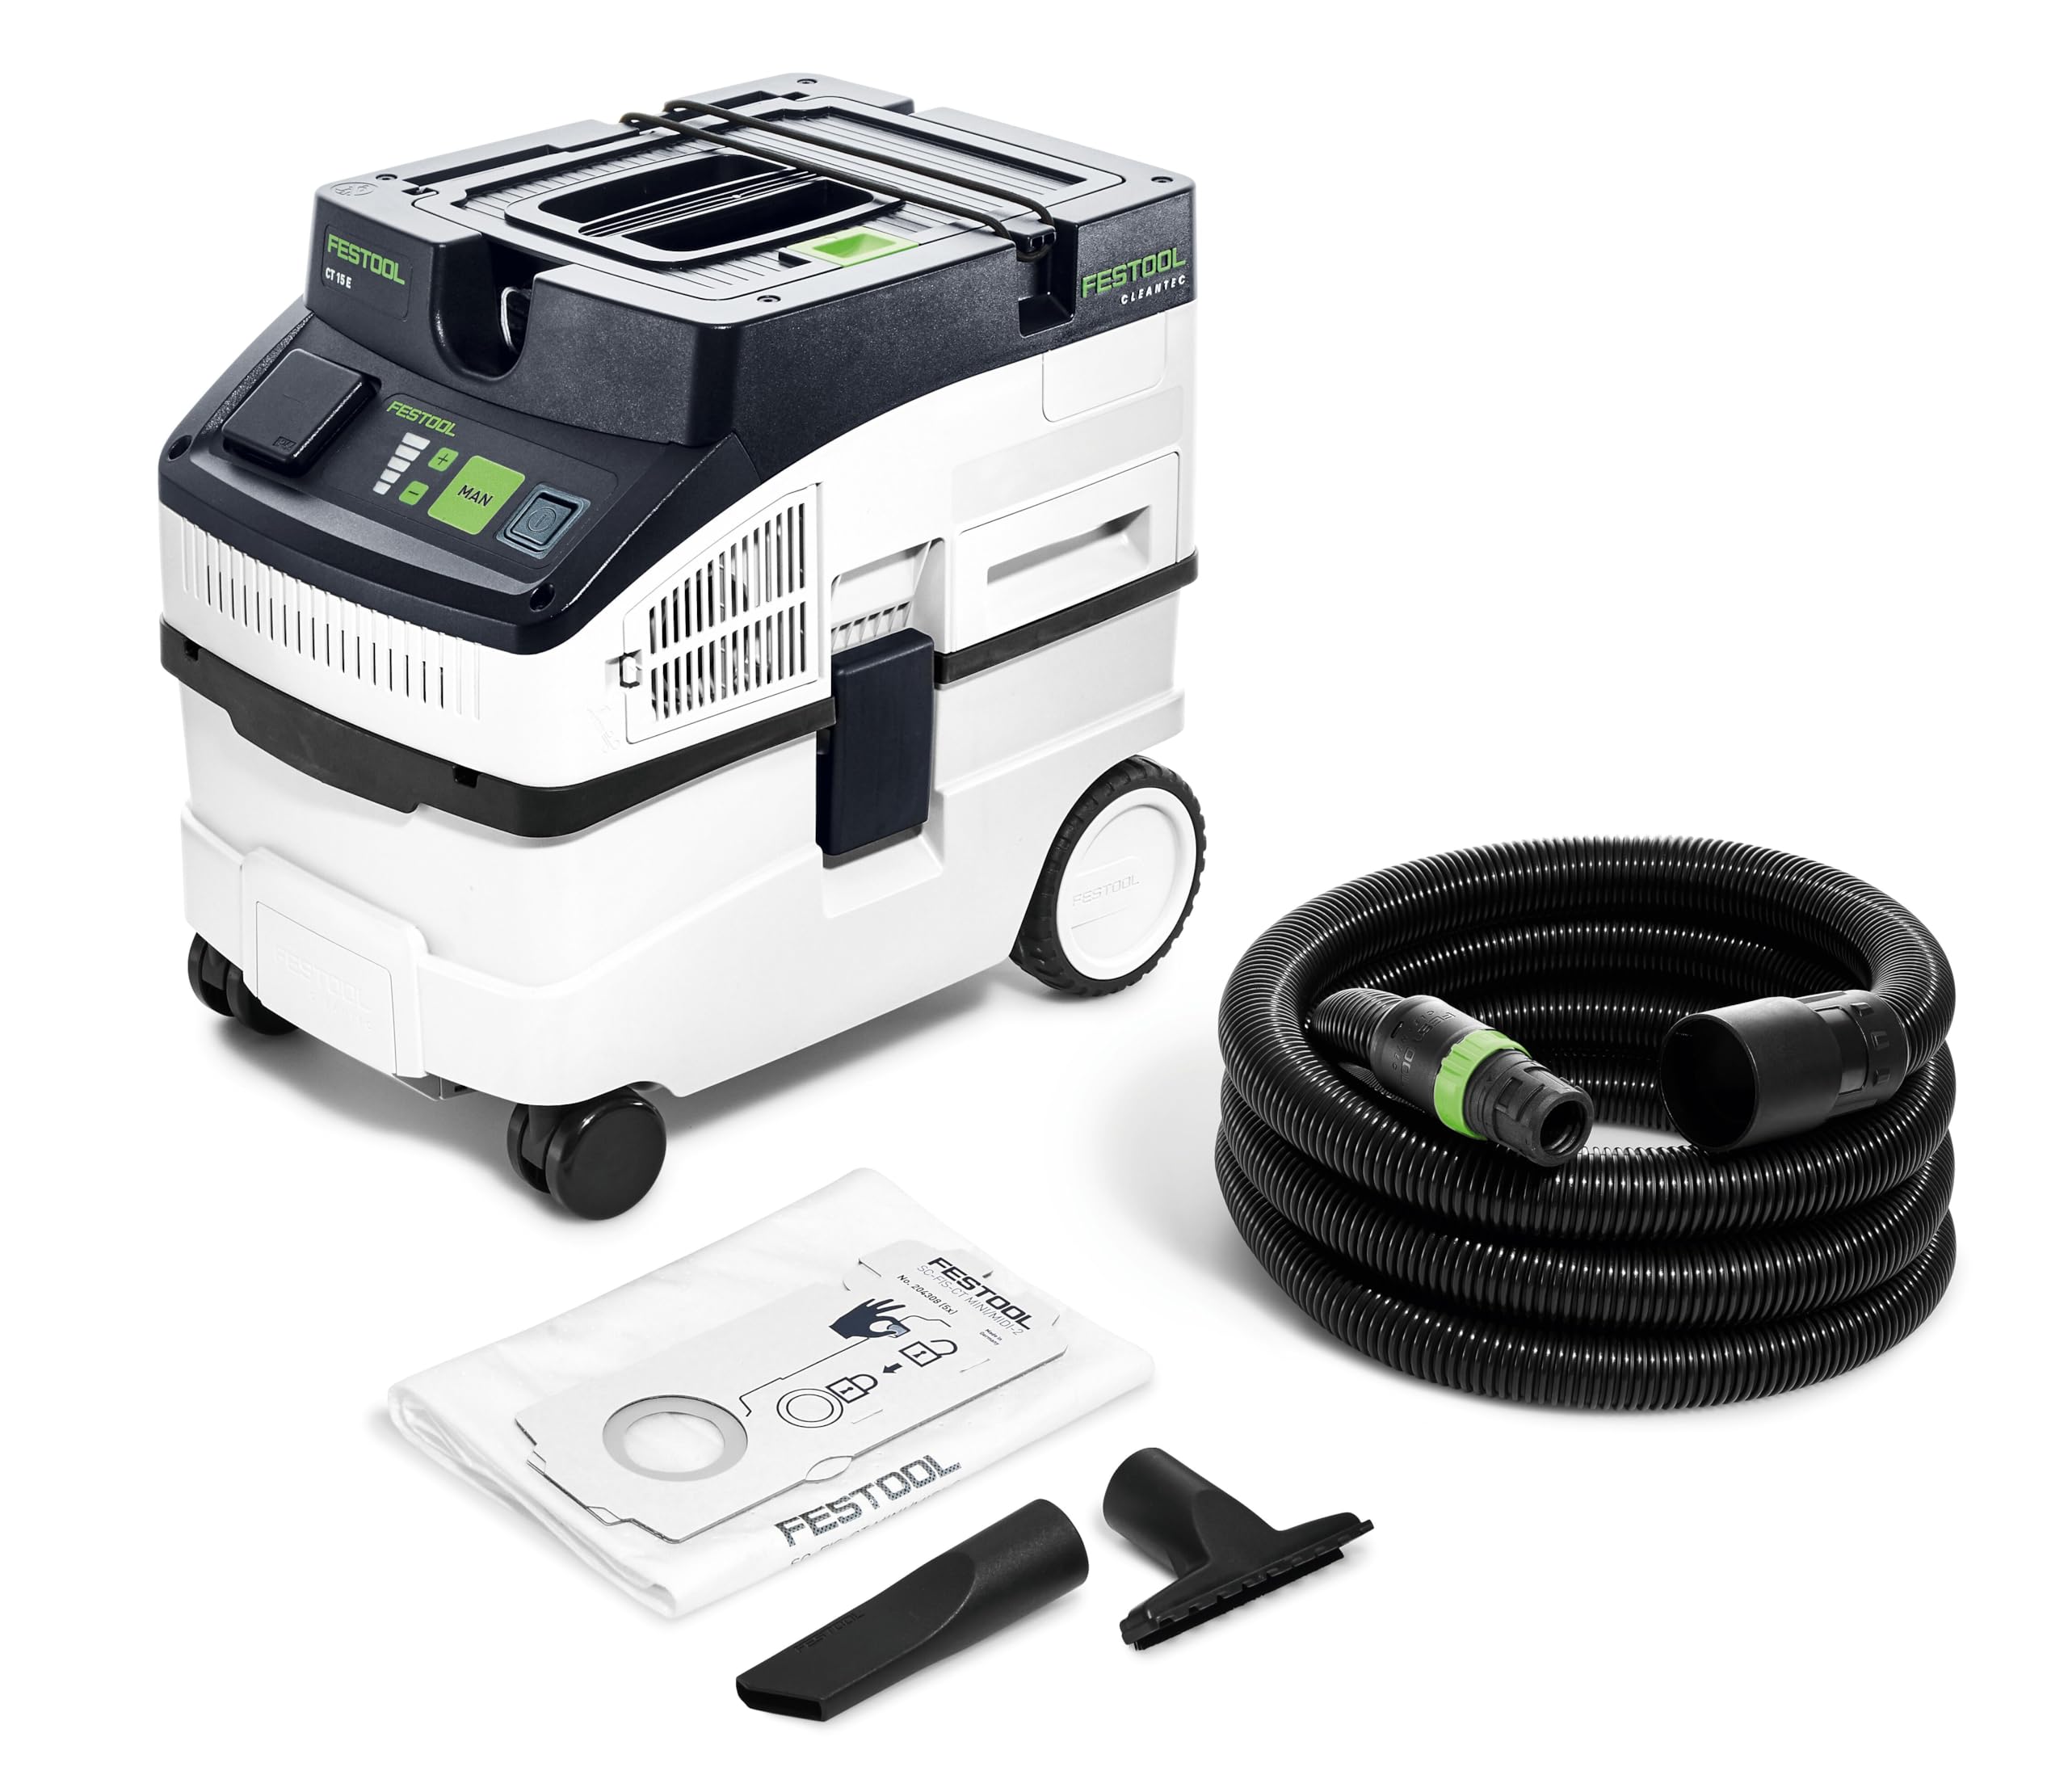
Festool CT 15 Midi Dust Extractor
High-performance HEPA-rated dust extraction with a small footprint. Keeps air clean and belts dust-free, extending their life.
Best for: Dust collection for belt sanders and other power tools. Best for serious woodworkers prioritizing health and cleanliness.
Price Range: $350-$450