
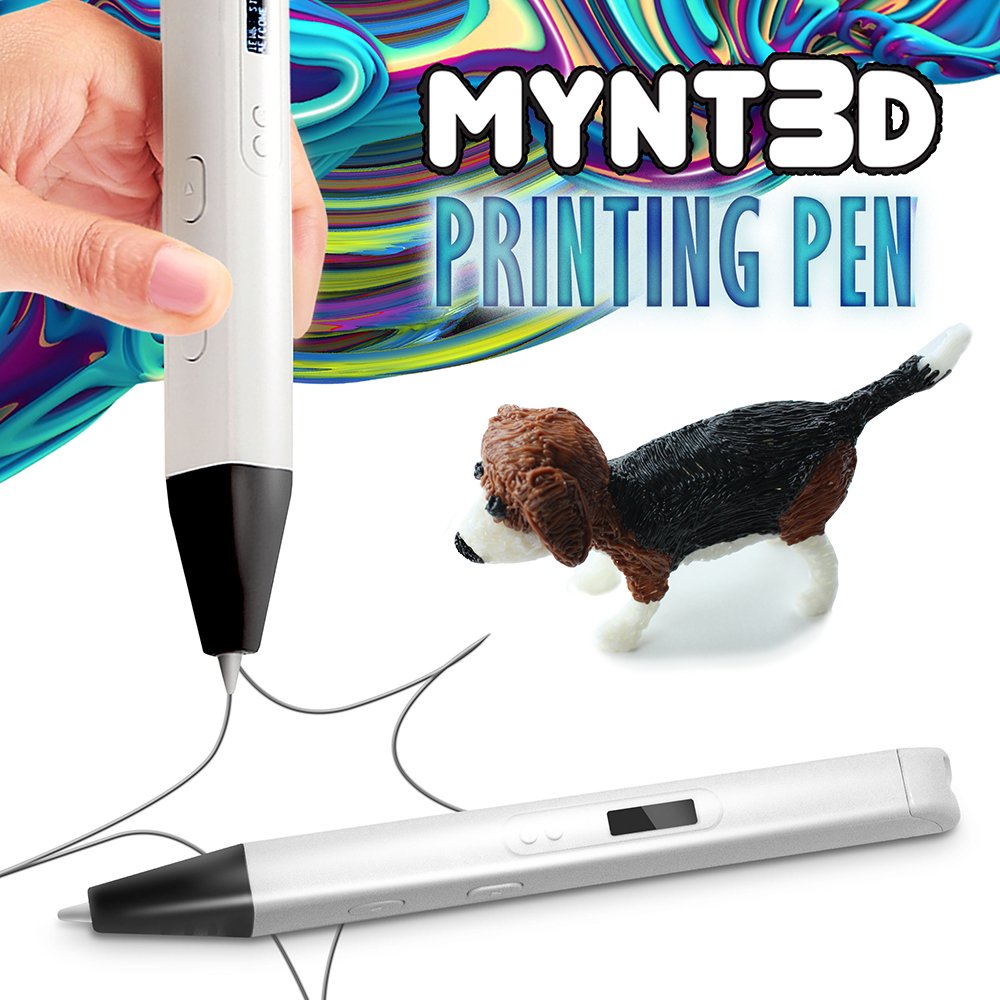
MYNT3D Professional 3D Printing Pen
Ideal for first-time users who want reliable performance and precise control.
$50-$100
MYNT3D Professional 3D Printing Pen Best for beginners: adjustable speed, OLED display, and works with PLA and ABS.
Get the App
Better experience on mobile
Learn the basics of 3D pen drawing, from setup to creating your first 3D object in under 30 minutes.
3D printing pens are a fun and creative way to bring your drawings to life in three dimensions. Unlike traditional 3D printers, these handheld devices let you draw freely in the air or on surfaces, making them perfect for beginners, artists, and hobbyists. In this guide, you'll learn how to set up your 3D pen, load filament, practice basic techniques, and complete your first simple project. No prior experience needed—just a steady hand and a bit of patience. By the end, you'll be able to create 3D doodles, repair plastic items, or even make custom jewelry.
Estimated Time: 30 minutes (including setup and first project) Difficulty: beginner
Unbox your 3D pen and locate the power adapter, filament, and user manual. Plug the pen into a power source using the provided cable. Most pens have an on/off switch and a temperature control button. Turn on the pen and select the appropriate temperature for your filament type: 180-220°C for PLA, 220-260°C for ABS. Wait for the indicator light to signal that it's ready (usually a solid LED).
💡 Tips:
⚠️ Warnings:
Take a piece of filament (about 10 inches long) and straighten any bends. Insert one end into the filament intake port on the back or top of the pen. Press the 'load' or 'forward' button—the pen will pull the filament in and heat it. You'll see a small amount of molten plastic extruded from the nozzle. To unload, press the 'reverse' button and gently pull out the filament while it's hot.
💡 Tips:
⚠️ Warnings:
Place a piece of ordinary paper or a stencil on your work surface. Begin by drawing simple lines, dots, and circles. Press the extrusion button and move the pen at a steady, moderate speed—too fast will create thin strings, too slow will cause blobs. Try writing your name or drawing a star. This helps you get a feel for the pen's flow rate and your hand speed.
💡 Tips:
⚠️ Warnings:
Choose a simple stencil, like a butterfly or a geometric shape. Place it under a transparent sheet or directly on a silicone mat. Carefully trace the outline with your 3D pen, keeping the nozzle slightly above the stencil. Once the outline is complete, you can fill in the shape by drawing back and forth (like coloring). Let each section cool for a few seconds before moving on.
💡 Tips:
⚠️ Warnings:
Once comfortable on flat surfaces, try making 3D shapes like a cube or a tree. Start by drawing a base shape on paper. Then, while the plastic is still warm and flexible, gently lift the pen upward in a straight line to create a vertical pillar. Connect pillars with horizontal lines to form walls. This technique is called 'freehand 3D drawing.'
💡 Tips:
⚠️ Warnings:
When building multi-part objects, use molten plastic as 'glue' to attach pieces. Apply a small bead of plastic along the seam and press the parts together. For extra strength, run a line of plastic along the inside corner of the joint. Let it cool completely before handling.
💡 Tips:
⚠️ Warnings:
After completing your creation, trim any excess plastic or strings with scissors or a craft knife. Sand rough edges with fine-grit sandpaper (optional). To clean the pen, remove the filament by pressing 'reverse' and wipe the nozzle with a damp cloth (while cool) or a brass brush if stubborn residue remains. Store the pen in a cool, dry place.
💡 Tips:
⚠️ Warnings:
Problem: Filament won't feed into the pen.
Solution: Check that the nozzle is hot enough. Straighten the filament and trim the tip at a 45° angle. If still stuck, use the cleaning needle to clear the nozzle.
Problem: Extrusion is uneven or sputtering.
Solution: Lower the temperature slightly (if too hot) or increase it (if too cold). Also ensure the filament path is clear and the spool isn't tangled.
Problem: Plastic doesn't stick to the work surface.
Solution: Use a heated bed or place a piece of paper under the drawing. Some surfaces like glass or silicone work better than plain paper.
Problem: The pen's nozzle is clogged.
Solution: Heat the pen to the filament's upper temperature range, then press reverse while pulling gently. Use the cleaning needle to push out debris. For stubborn clogs, soak the nozzle in acetone (if metal) overnight.
Problem: The pen becomes too hot to hold.
Solution: Most pens have a heat sink, but if it's uncomfortable, reduce temperature if possible, or take breaks. Ensure the fan (if any) is spinning.
Best for beginners: adjustable speed, OLED display, and works with PLA and ABS.
Best for: Ideal for first-time users who want reliable performance and precise control.
Price Range: $50-$100
Designed specifically for beginners and kids with a low-temp, safety-focused design.
Best for: Perfect for younger users or those who prefer a child-safe pen with included activity kits.
Price Range: $50-$70
Affordable multi-pack to experiment with different colors without buying individual spools.
Best for: Great for practicing techniques and creating colorful projects without breaking the bank.
Price Range: $15-$25
Non-stick surface and pre-designed stencils help beginners create accurate shapes easily.
Best for: Use the mat as a work surface and the stencils for guided practice projects.
Price Range: $10-$20
Essential for maintenance: includes various nozzles, a cleaning needle, tweezers, and brush.
Best for: Keep your pen in top shape by clearing clogs and swapping nozzles for different effects.
Price Range: $8-$15
Ideal for first-time users who want reliable performance and precise control.
MYNT3D Professional 3D Printing Pen Best for beginners: adjustable speed, OLED display, and works with PLA and ABS.
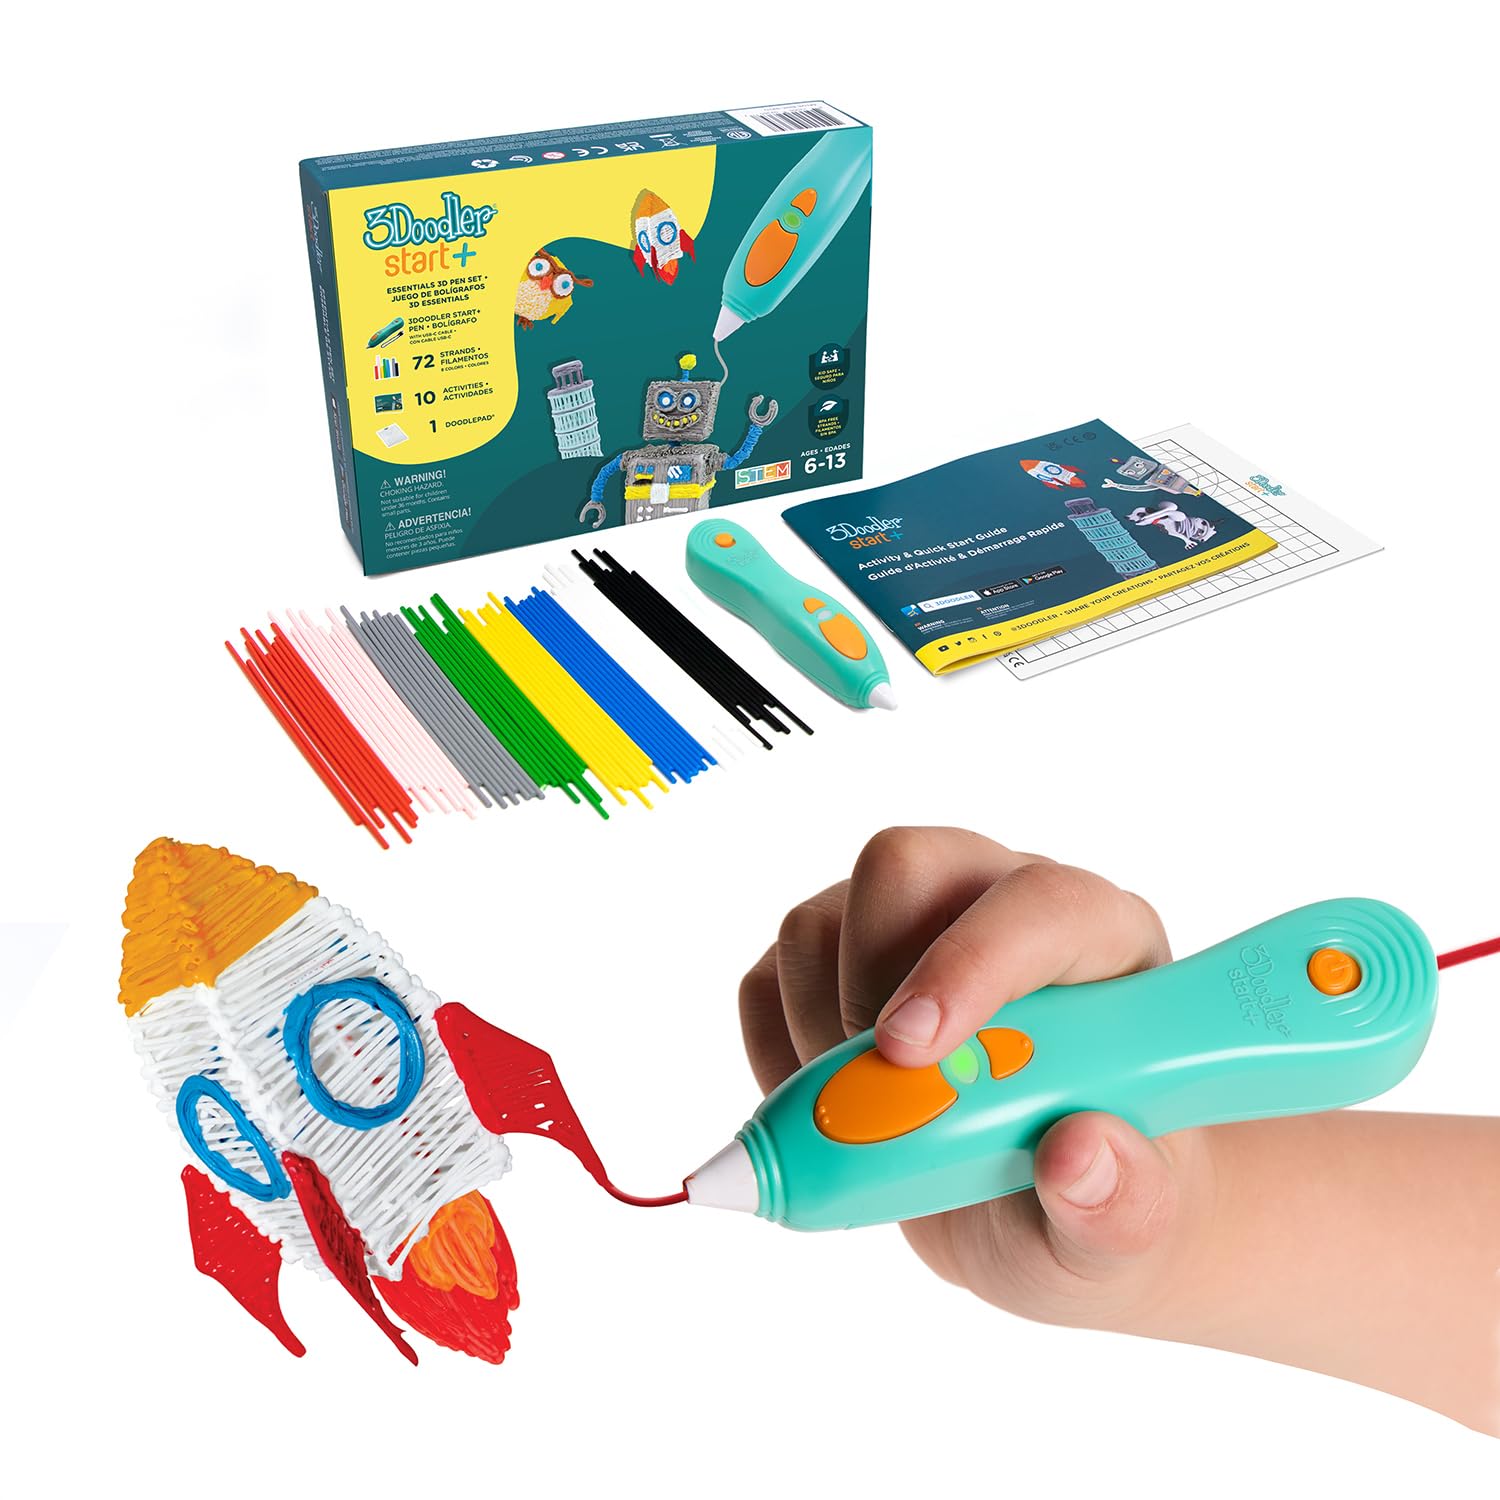
Perfect for younger users or those who prefer a child-safe pen with included activity kits.
3Doodler Start+ Essentials Set Designed specifically for beginners and kids with a low-temp, safety-focused design.
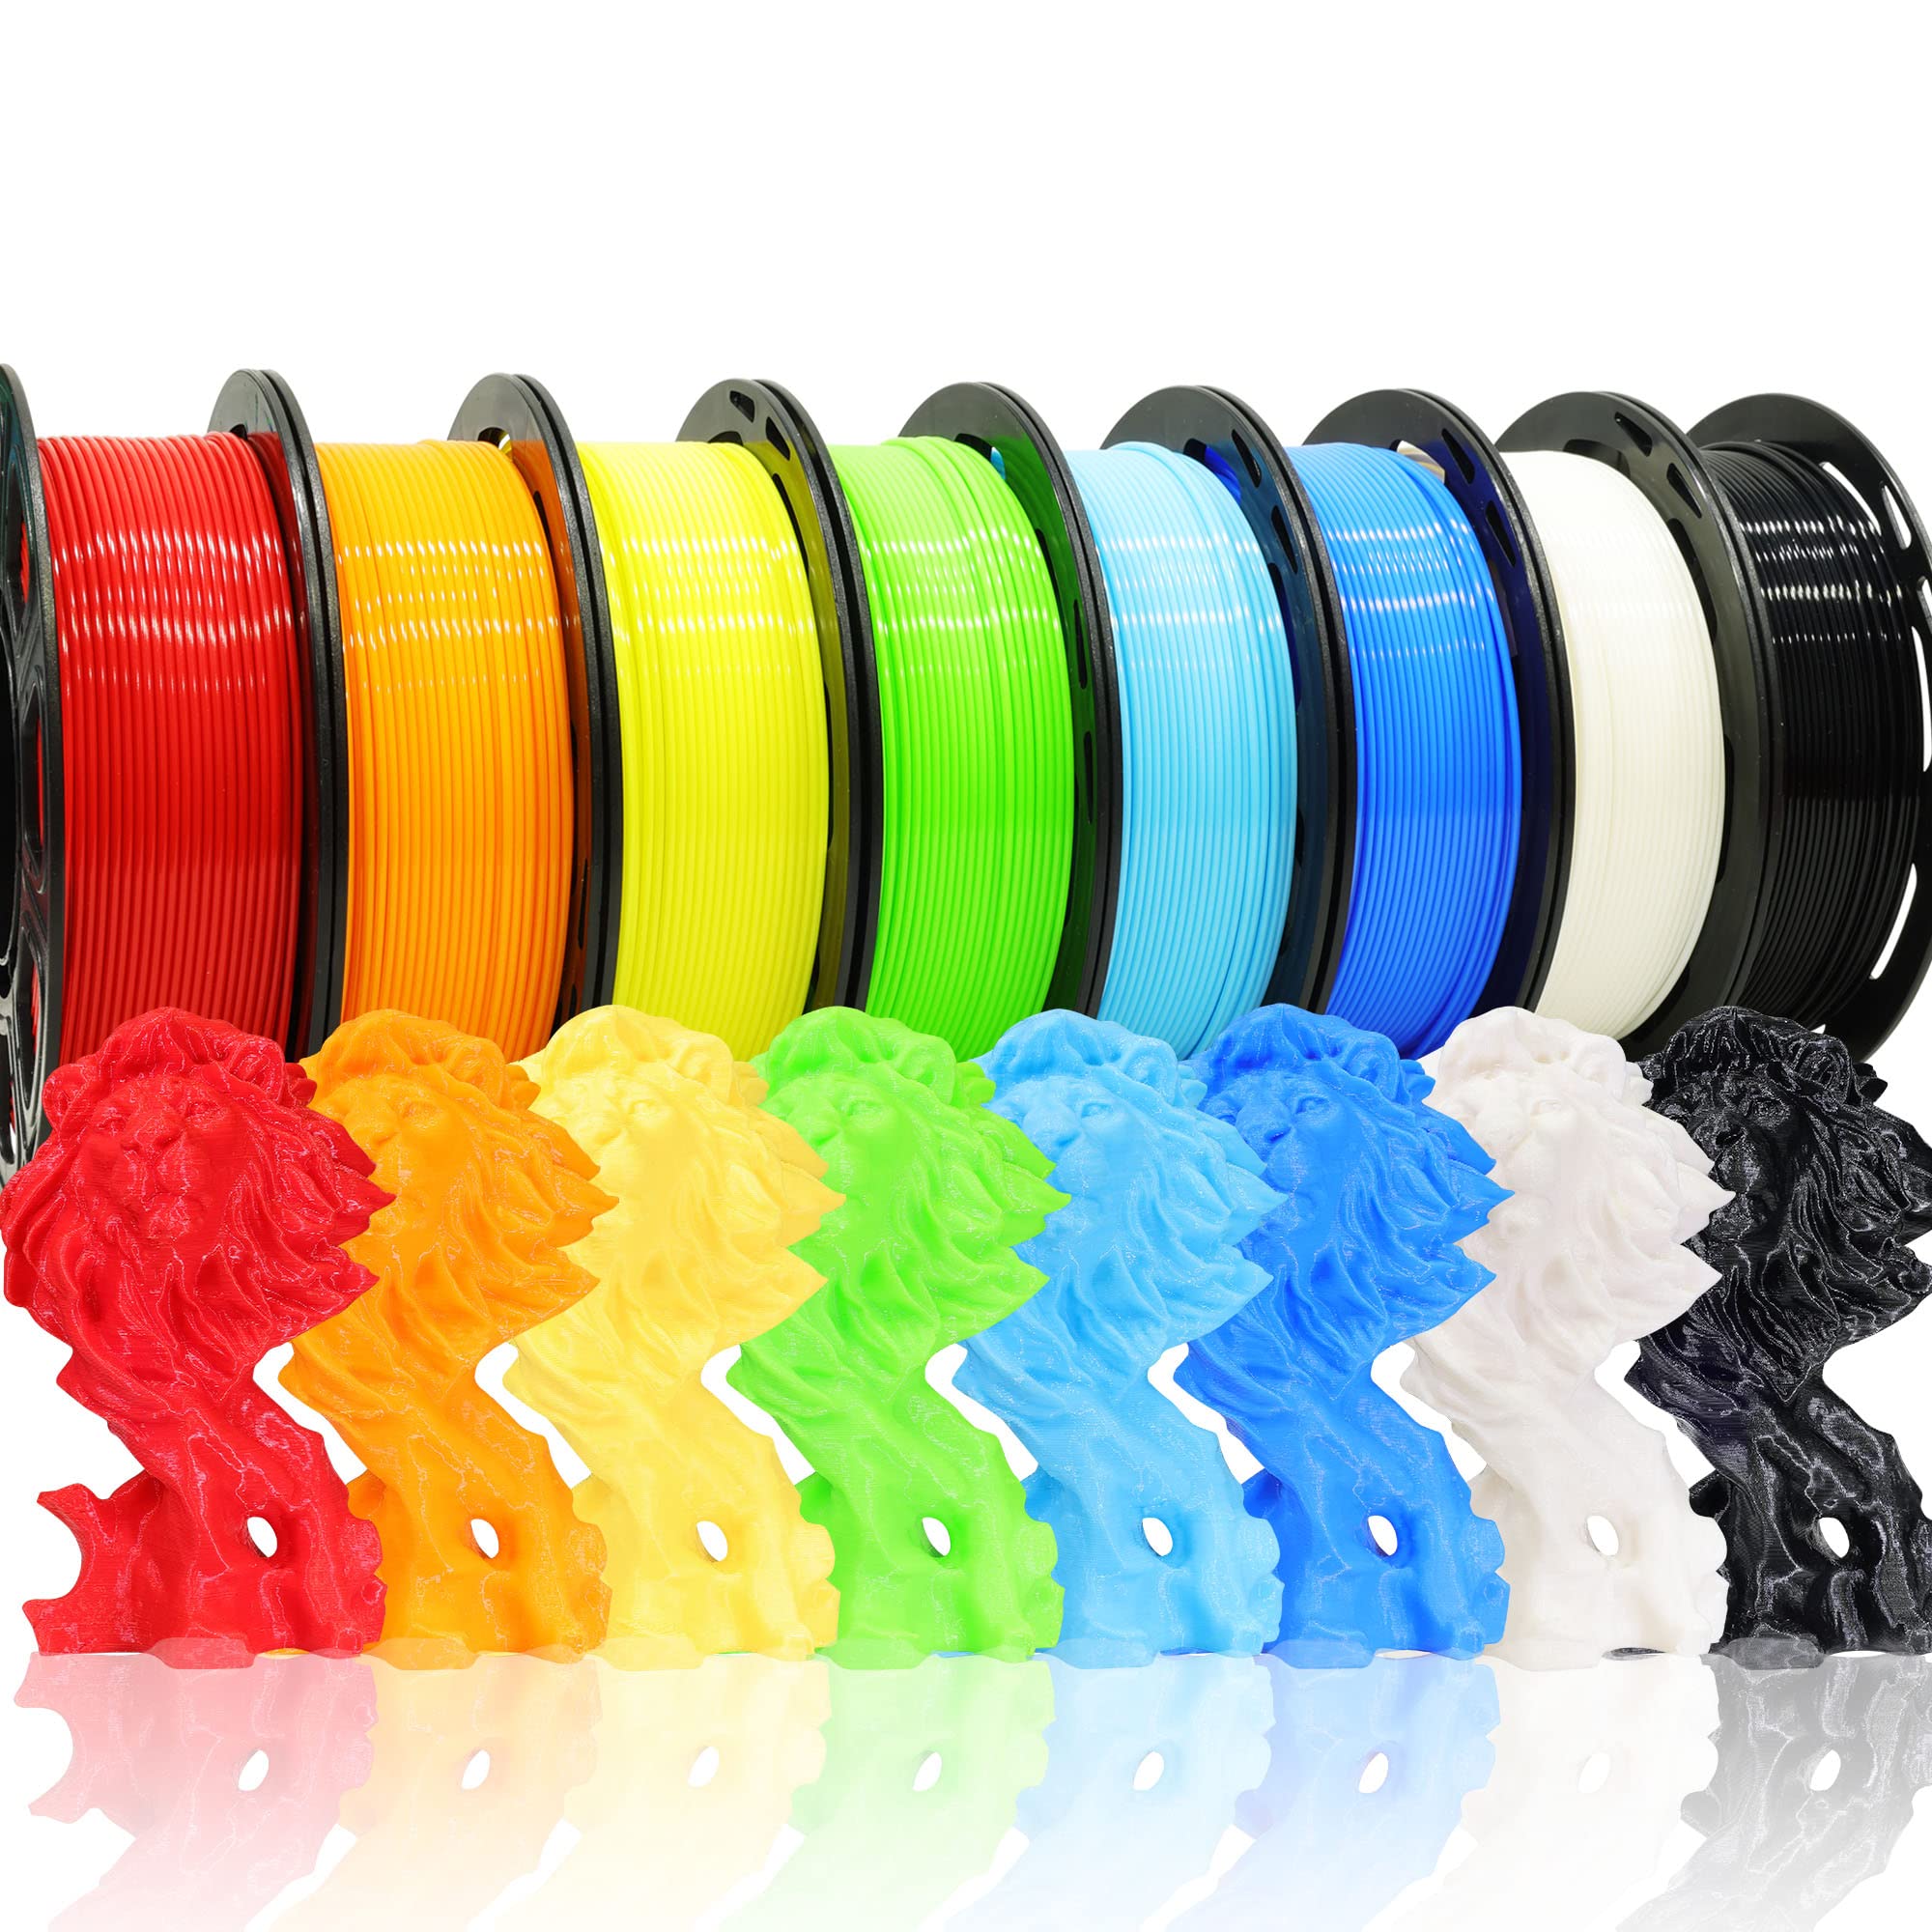
Great for practicing techniques and creating colorful projects without breaking the bank.
PLA Filament Variety Pack (1.75mm, 10 colors) Affordable multi-pack to experiment with different colors without buying individual spools.
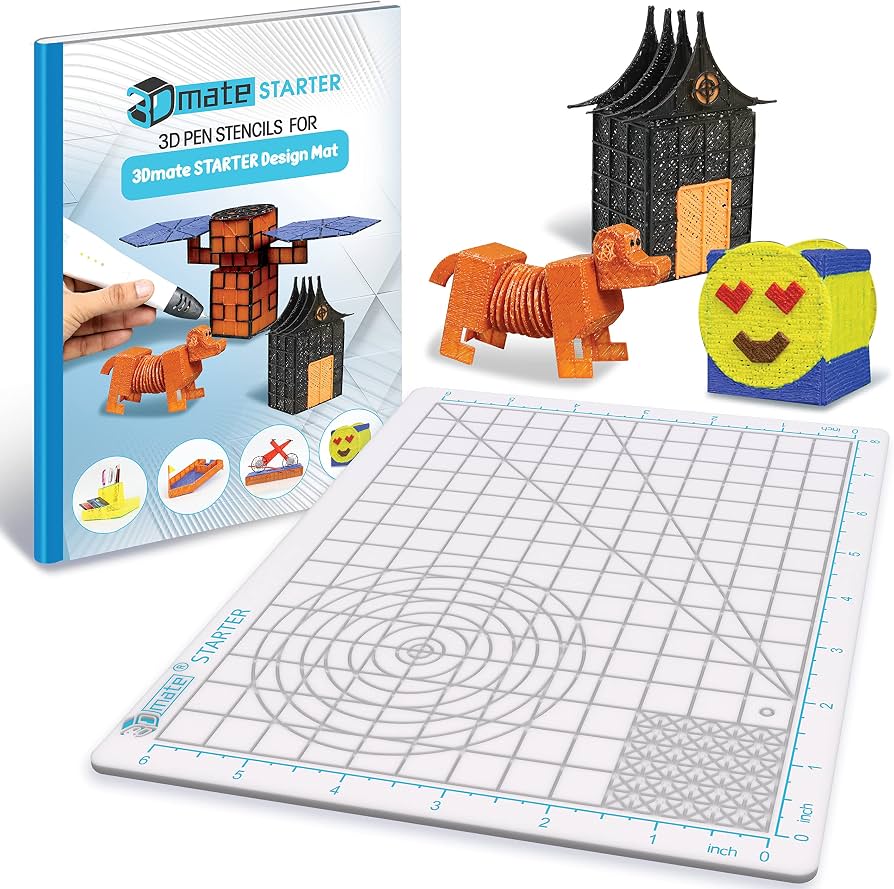
Use the mat as a work surface and the stencils for guided practice projects.
Silicone 3D Pen Mat and Stencil Set Non-stick surface and pre-designed stencils help beginners create accurate shapes easily.
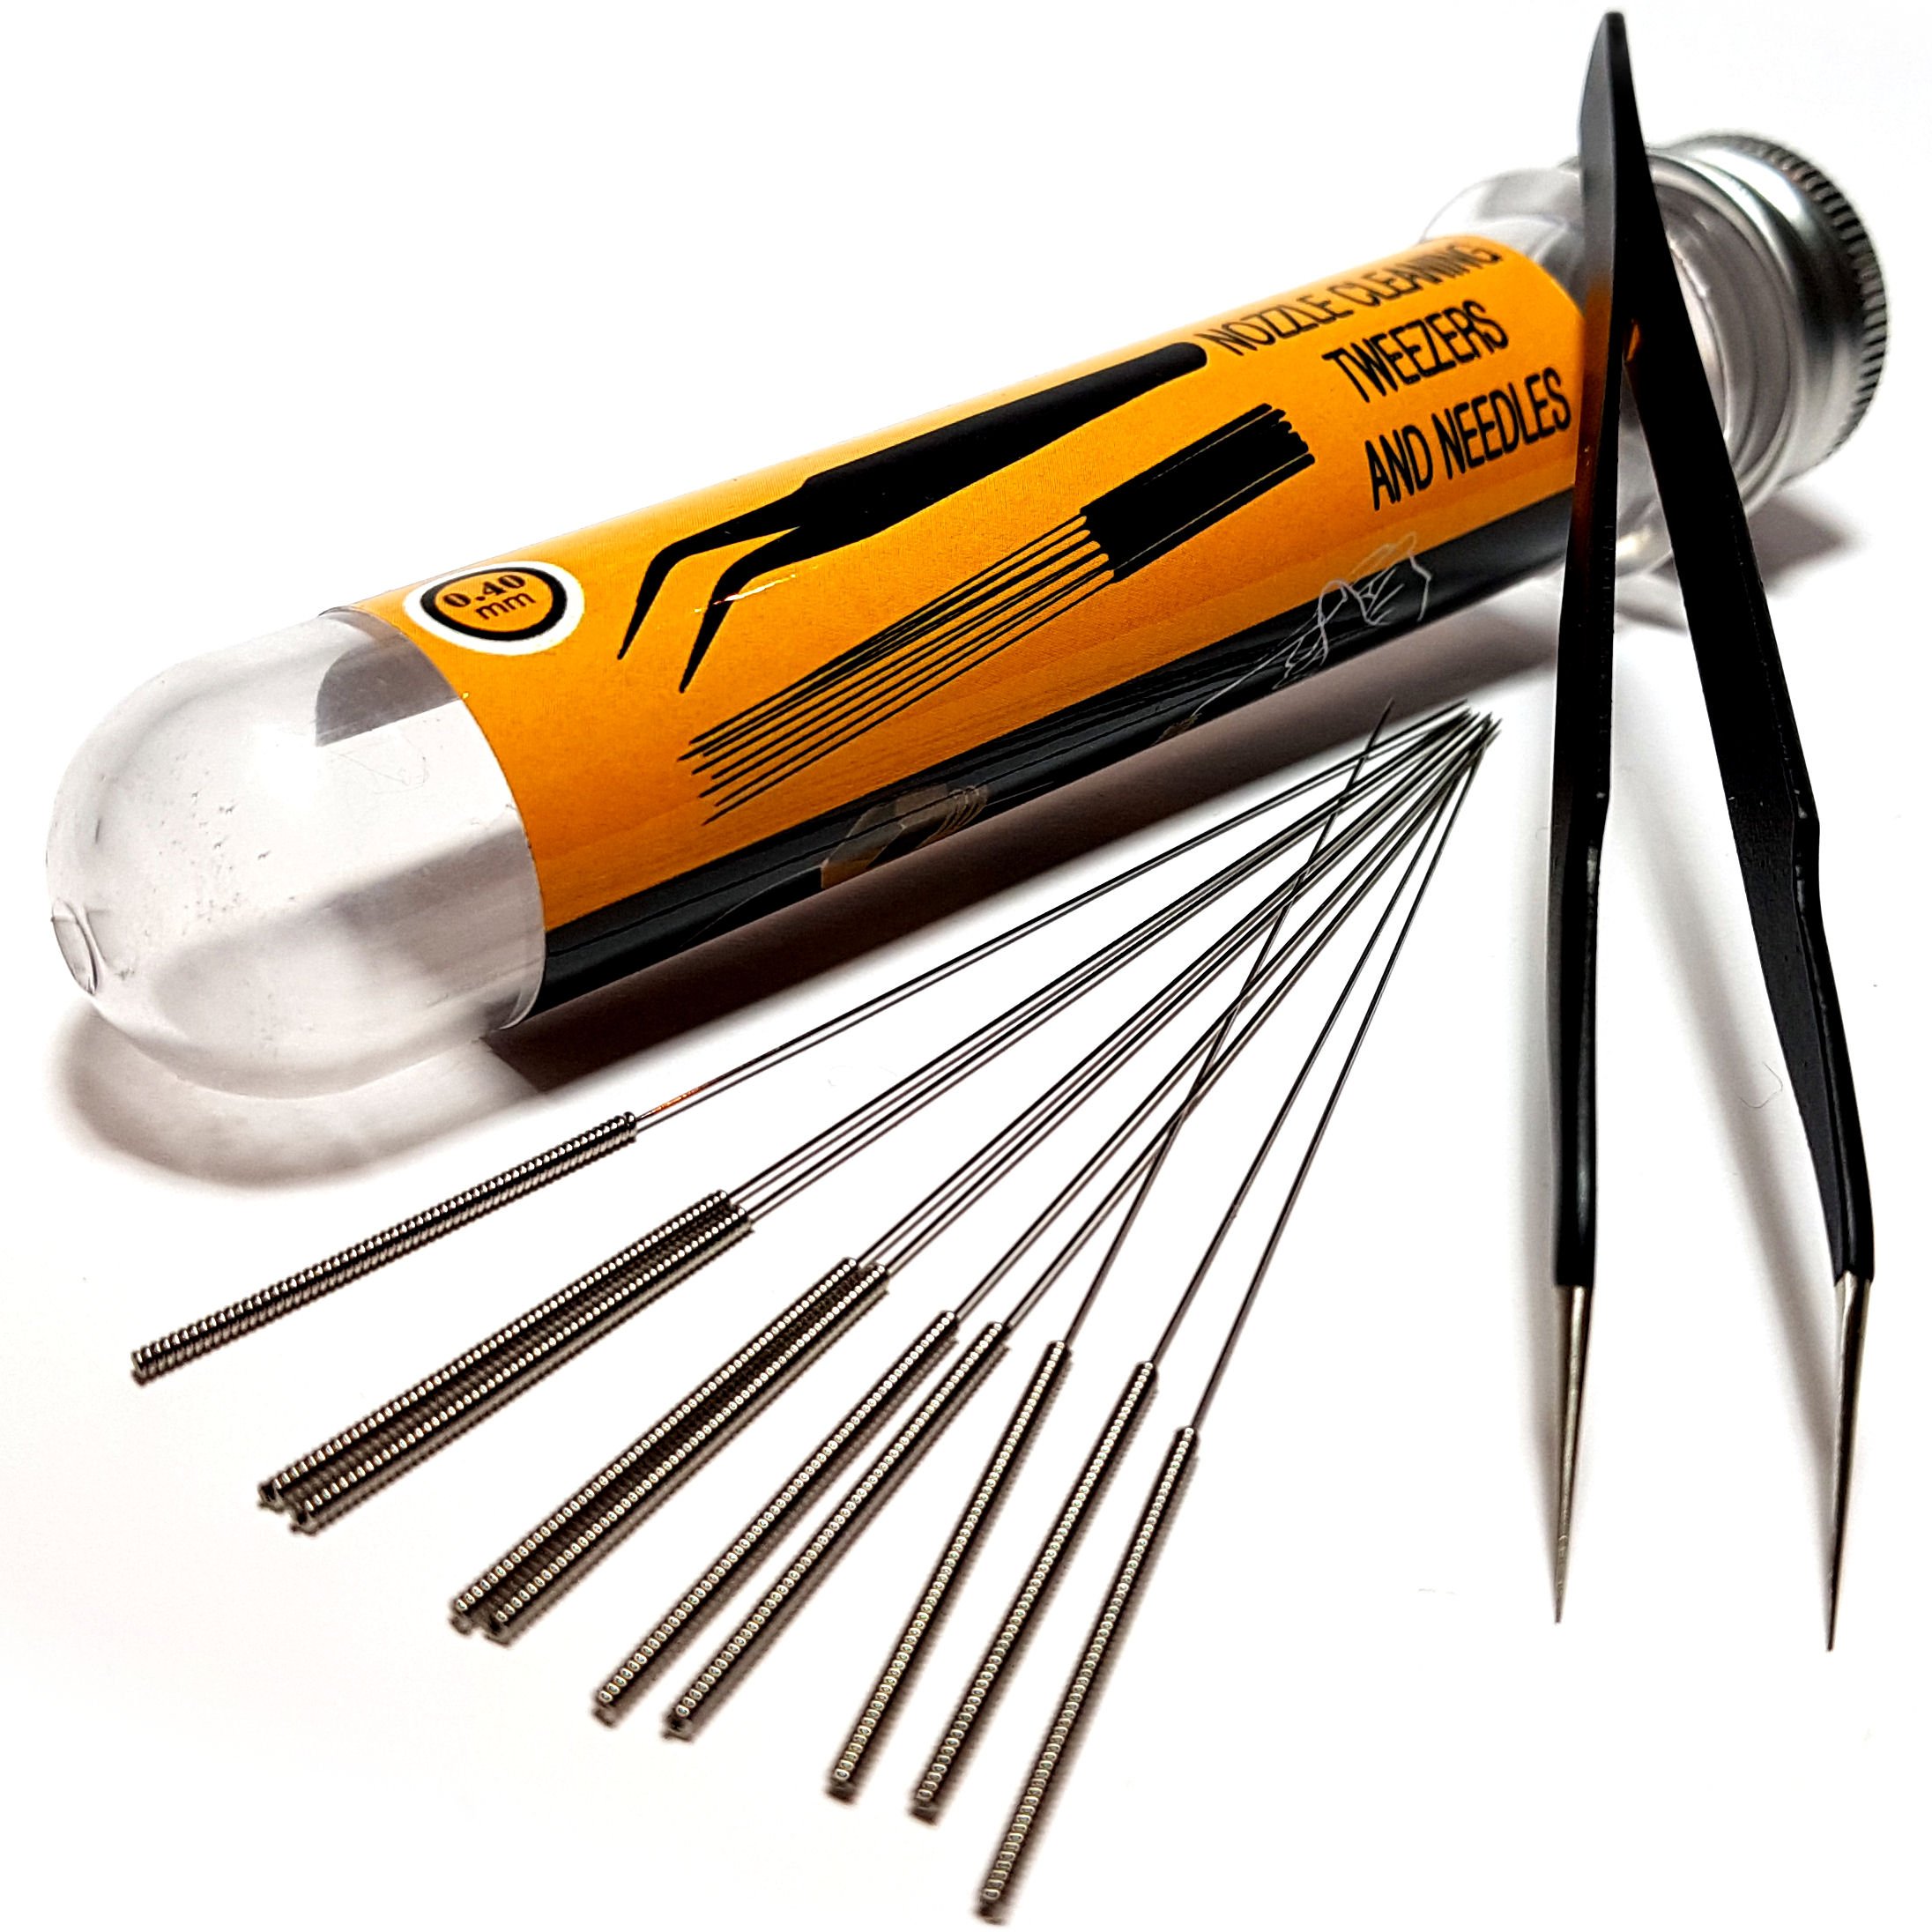
Keep your pen in top shape by clearing clogs and swapping nozzles for different effects.
3D Pen Replacement Nozzle and Cleaning Kit Essential for maintenance: includes various nozzles, a cleaning needle, tweezers, and brush.