Ever wished you could draw in mid-air or quickly mend a cracked toy without glue? A 3D printing pen makes this possible by extruding melted plastic filament, allowing you to build three-dimensional creations or repair items effortlessly. Whether you're an artist at heart or just tired of disposable plastics, this tool bridges creativity and practicality for hobbyists and DIYers alike.
In this guide, you'll learn the basics of operating a 3D printing pen safely and effectively. We'll cover everything from setup to creating a simple 3D art piece—like a floating heart—and performing a basic repair on a plastic item. No prior experience is needed; expect to spend 30-45 minutes on your first project, with results that look professional and feel rewarding.
By the end, you'll have the confidence to experiment with designs, avoid common pitfalls, and even troubleshoot issues. Let's turn your ideas into tangible forms!
▸What You'll Need
- •3D printing pen (e.g., a beginner model like the 3Doodler Start)
- •PLA filament (1.75mm diameter, in colors of your choice; required for safe, low-temp use)
- •Safety glasses (required to protect eyes from hot filament)
- •Non-stick surface or silicone mat (for drawing base; required)
- •Small plastic item with a crack (for repair demo; optional if focusing on art)
- •Scissors or filament cutter (to trim excess)
- •Heat-resistant gloves (optional, for handling warm parts)
Estimated Time: 30-45 minutes for setup and first project
Difficulty: beginner
▸Step-by-Step Instructions
Step 1: Unbox and Assemble Your 3D Printing Pen
Start by carefully unboxing your 3D printing pen. Most models come with the pen, a power adapter, spare nozzles, and filament samples. Check the user manual for any model-specific parts, like attaching the tip or inserting batteries if it's cordless.
Why this matters: Proper assembly ensures safe operation and prevents frustration later. You'll expect a lightweight, pen-like device ready for filament loading. For beginners, models with LCD screens show temperature settings clearly.
Plug in the pen if it's corded, or insert batteries for portability. Test the power button to confirm it lights up without issues.
💡 Tips:
- •Read the manual thoroughly—it's your best friend for model quirks.
- •Keep all parts organized to avoid losing small nozzles.
⚠️ Warnings:
- •Avoid forcing parts; if something doesn't fit, consult the manual to prevent damage.
Step 2: Load the Filament
Insert the PLA filament into the pen's loading slot, usually at the back or top. Gently push it until it reaches the extruder mechanism inside. Press the load button (often marked with an arrow) to feed the filament forward.
This step is crucial because correct loading prevents clogs and ensures smooth extrusion. Success looks like the filament disappearing into the pen without resistance, and you might hear a soft whirring as it advances.
If your pen has a temperature display, note the default setting for PLA (around 180-220°C). Wait 1-2 minutes for it to heat up after loading.
💡 Tips:
- •Choose PLA over ABS for beginners—it's safer with lower fumes and easier to handle.
- •Cut the filament tip at a 45-degree angle for smoother insertion.
⚠️ Warnings:
- •Don't overload; stop pushing once it meets resistance to avoid jamming the gears.
Step 3: Set Up Your Workspace and Safety Gear
Clear a flat, heat-resistant surface like a silicone mat or glass plate. Put on safety glasses to shield your eyes from any hot plastic splatters. Ensure good ventilation, as melting plastic can produce mild odors.
Safety first: This setup minimizes risks and creates a stable base for drawing. Expect a clean, organized area where you can practice lines without mess.
For art, have a design sketch ready on paper underneath a transparent surface; for repairs, clean the cracked item with soap and water, then dry it.
💡 Tips:
- •Work in a well-lit room to see filament flow clearly.
- •Keep a damp cloth nearby for quick cleanup of drips.
⚠️ Warnings:
- •Never leave the pen unattended while powered on—hot ends can cause burns.
Step 4: Practice Basic Drawing Lines
Turn on the pen and press the extrude button to start flowing plastic. Hold the pen like a regular one and draw slow, straight lines on your surface to get a feel for the flow.
Why practice? It builds control over speed and pressure, essential for art and precise repairs. Success: Smooth, even lines without blobs or breaks; the plastic should harden almost instantly.
Adjust temperature if needed—too low causes stringing, too high leads to droops. Draw 5-10 lines, varying speed from slow (for thick lines) to fast (for thin).
💡 Tips:
- •Start with the nozzle 1-2mm above the surface for freehand air drawing.
- •Pause extrusion by releasing the button to avoid waste.
⚠️ Warnings:
- •Don't touch the nozzle—it's over 180°C and can cause serious burns.
Step 5: Create a Simple 3D Art Piece: The Floating Heart
Sketch a heart outline on paper under a transparent mat. Trace it slowly with the pen, building layers: first the base outline, then extrude upward for the 3D effect by drawing in the air.
This demonstrates art potential—layering creates dimension. Expect a sturdy, heart-shaped sculpture about 5-10cm tall after 5-7 minutes; trim excess with scissors once cool.
Fill gaps by going over lines multiple times. For stability, attach the base firmly to the mat before lifting.
💡 Tips:
- •Use contrasting filament colors for multi-layer effects.
- •Draw in short bursts to maintain shape accuracy.
⚠️ Warnings:
- •Avoid rushing curves; uneven speed warps the design.
Step 6: Perform a Basic Repair on Plastic
For a cracked item like a toy, match filament color to the plastic. Heat the pen, then gently melt filament into the crack by holding the nozzle close and extruding slowly.
Repairs save items from the trash—fusing plastic creates a strong bond. Success: The crack fills seamlessly, and after cooling (1-2 minutes), the item flexes without breaking.
Sand smooth if needed once cool. Test the repair by applying light pressure.
💡 Tips:
- •Clean the crack first to ensure adhesion.
- •Use low speed for precise filling.
⚠️ Warnings:
- •Only repair non-food, non-electronic plastics—heat can damage sensitive items.
Step 7: Unload Filament and Clean Up
Press the unload button to reverse the filament out. Wipe the nozzle with a cloth (when cool) or use the cleaning tool if provided.
Proper cleanup extends pen life and prevents clogs. Expect a tidy pen ready for next use; store in a cool, dry place.
Dispose of scraps responsibly—PLA is biodegradable but recycle if possible.
💡 Tips:
- •Unload while warm for easier removal.
- •Clean nozzles weekly for heavy use.
⚠️ Warnings:
- •Never clean a hot nozzle directly—use tools to avoid injury.
▸Pro Tips
- •Practice on scrap paper first to master hand steadiness without wasting filament.
- •Use a fan for faster cooling in humid environments, improving shape retention.
- •Experiment with filament speeds: slower for details, faster for fills.
- •Keep spare nozzles handy—swap if one clogs mid-project.
- •For art, draw on a rotating stand to build symmetrical shapes easily.
- •Store filament in airtight bags to prevent moisture absorption and brittleness.
- •Combine colors by swapping mid-draw for vibrant, multi-hued designs.
▸Common Mistakes to Avoid
- •Overheating the pen: Causes filament to ooze uncontrollably; avoid by sticking to PLA temps (180-220°C) and monitoring the display.
- •Drawing too fast: Leads to weak, stringy structures; slow down for solid bonds, especially in repairs.
- •Ignoring safety gear: Eye splatters or burns happen; always wear glasses and gloves.
- •Using wrong filament: ABS can release fumes; stick to PLA for beginners to ensure safety.
- •Not cleaning the nozzle: Builds up residue, causing clogs; wipe after each session.
▸Troubleshooting
Problem: Filament won't extrude
Solution: Check if it's loaded fully and heated (wait 2 minutes). If clogged, unload, clean the nozzle with a wire tool, and reload.
Problem: Plastic is too stringy or blobs
Solution: Lower the temperature by 10-20°C or increase drawing speed. Ensure filament is dry—bake at 50°C for 4 hours if needed.
Problem: Designs warp or fall apart
Solution: Build on a stable base and let each layer cool before adding more. Use a fan for quicker hardening in warm rooms.
Problem: Pen overheats and shuts off
Solution: Let it cool for 5-10 minutes; this is a safety feature. Avoid continuous use over 20 minutes—take breaks.
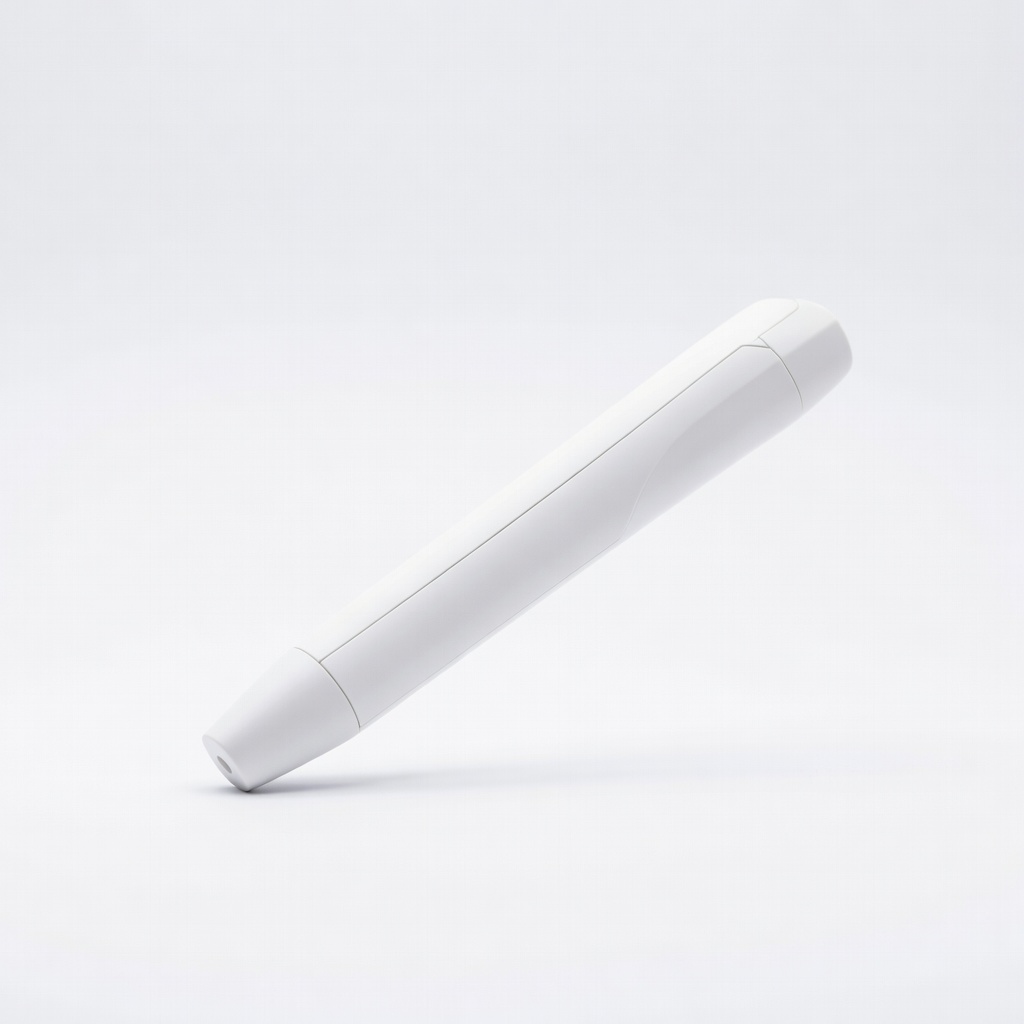
3Doodler Start 3D Printing Pen
Designed for beginners with easy controls, low-heat PLA compatibility, and built-in safety features like no-burn nozzles.
Best for: Ideal for kids and first-time art projects or simple repairs without frustration.
Price Range: $30-50
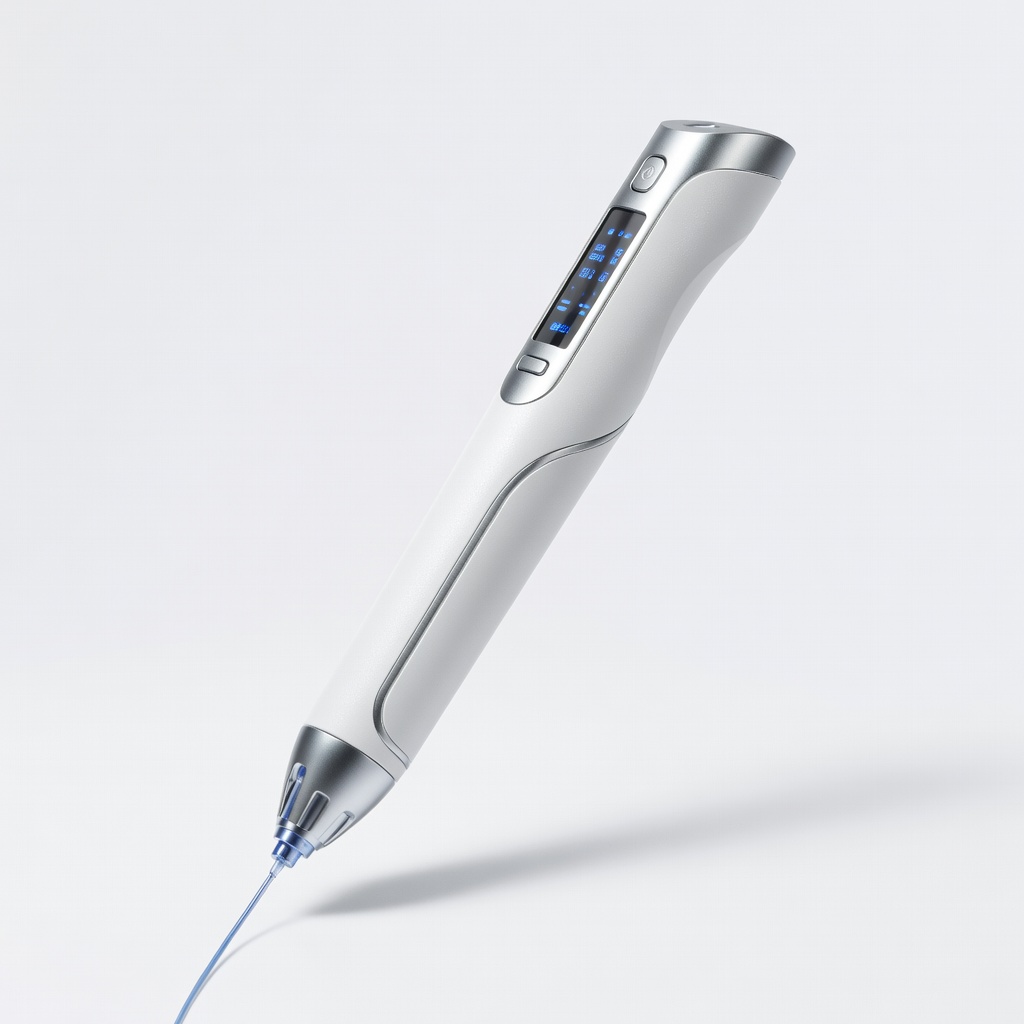
MYNT3D Super 3D Printing Pen
Offers dual extrusion for multi-color work and precise temperature control, making it versatile for detailed art and accurate repairs.
Best for: Great for creating complex 3D sculptures or fixing larger cracks with color matching.
Price Range: $50-70
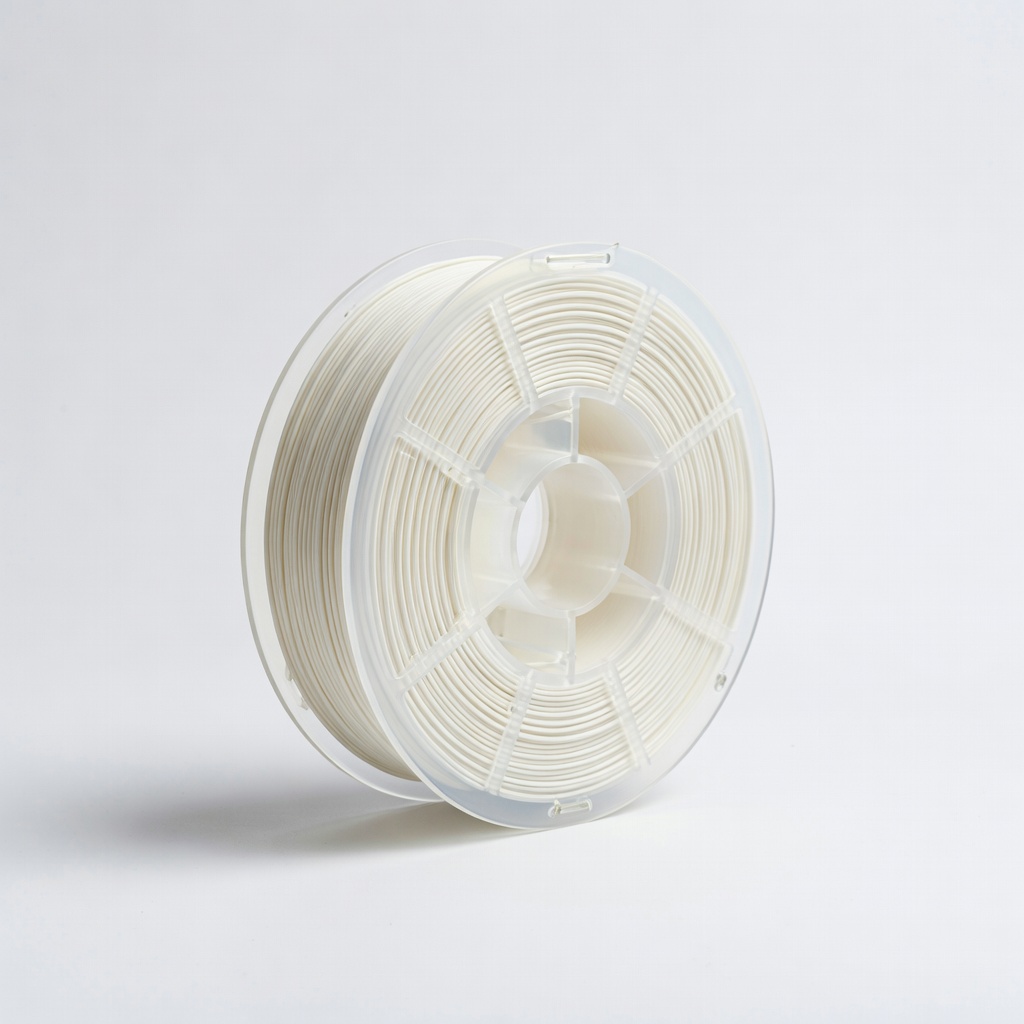
HATCHBOX PLA Filament 1.75mm
High-quality, consistent diameter filament that's easy to extrude and comes in many colors for creative freedom.
Best for: Essential for both art (vibrant designs) and repairs (matching plastics); eco-friendly and low-odor.
Price Range: $20-30 per spool
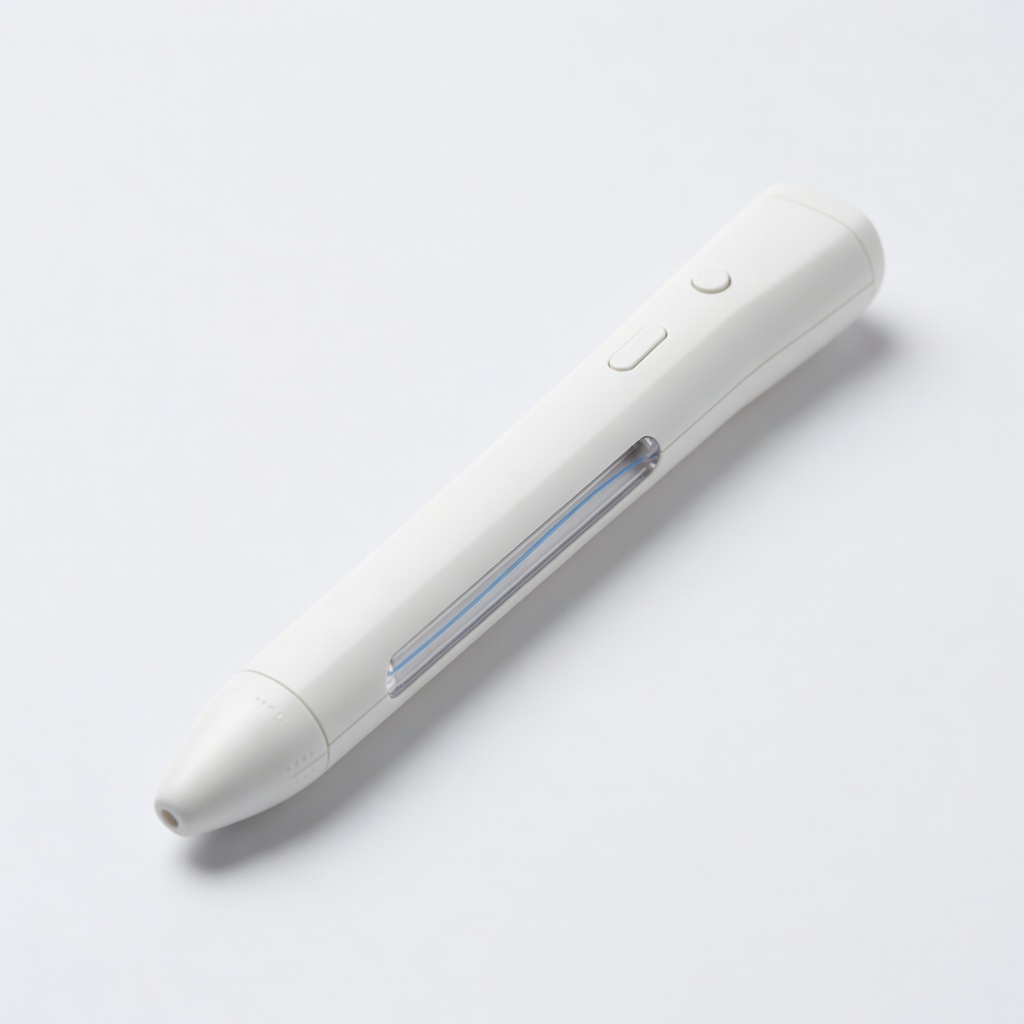
Scrib3D P1 3D Printing Pen
Affordable entry-level option with LCD display for temp monitoring and quiet operation, perfect for quiet home use.
Best for: Budget-friendly for basic line drawing in art or quick fixes on household items.
Price Range: $20-40