3D printing your own tabletop miniatures is a game-changer for hobbyists and game masters. Instead of spending a fortune on official miniatures or settling for proxy tokens, you can create custom, high-detail models for game night. However, getting crisp, print-ready miniatures requires more than just hitting “print.” In this guide, we’ll cover the entire process—from finding or designing 3D model files, slicing them properly, printing with a resin printer, to post-processing and curing. By the end, you’ll be able to produce gaming-ready miniatures that are durable, detailed, and ready to paint. Expect to spend about 2–3 hours total (spread across a day or two) on a typical small batch of minis.
▸What You'll Need
- •Resin 3D printer with a build plate (e.g., Anycubic Photon Mono series or Elegoo Mars series)
- •Washable resin (standard or water-washable, like Siraya Tech or Anycubic)
- •UV curing station or DIY UV light box
- •Isopropyl alcohol (IPA, 99% recommended) or water for water-washable resin
- •Nitrile gloves and safety goggles
- •Silicone mat or newspaper for work area
- •Flush cutters (for supports)
- •Small files or sandpaper (400–1000 grit)
- •Spare FEP film (just in case)
- •3D model file (.stl or .obj) – from free sites like Thingiverse or paid Patreon creators
Estimated Time: 2–3 hours per batch (print time varies, plus 30 min post-processing)
Difficulty: intermediate
▸Step-by-Step Instructions
Step 1: Prepare Your 3D Model – Positioning and Orientation
Load your model into a slicer program (e.g., Chitubox, Lychee Slicer, or PrusaSlicer for resin). Rotate the model to minimize support marks on visible faces. For a miniature, orient it at a 30–45° angle with the base slightly tilted to reduce suction forces. This orientation helps the print succeed and hides support marks on less visible areas (like the back or underside). Check that all details are facing upward as much as possible. Use the ‘Auto-Orient’ tool if available, but manually fine-tune for best results.
💡 Tips:
- •Use a slight tilt (20–45°) to reduce layer adhesion issues.
- •Avoid flat surfaces parallel to the build plate.
⚠️ Warnings:
- •Do not orient the model flat on the build plate—it can cause warping or failure.
Step 2: Add Supports to Your Model
Supports are crucial for resin printing—they hold the model to the build plate and prevent drooping. In your slicer, use the auto-support feature with light or medium settings. For miniatures, dense, light supports work best: set support tip diameter to 0.3–0.5 mm and contact depth to 0.2 mm. Add extra heavy supports to the thickest parts (like the base). Manually place supports on any islands or overhangs that the auto-generator misses. After generating, inspect each layer to ensure all islands are supported.
💡 Tips:
- •Use ‘lift’ settings to avoid supports breaking during print.
- •Try different support styles (e.g., ‘touch’ or ‘sphere’) for easier removal.
⚠️ Warnings:
- •Insufficient supports cause print failures or deformities.
Step 3: Configure Slicer Settings for Miniatures
Set layer height to 0.03–0.05 mm for high detail; 0.05 mm is a good balance. Exposure time depends on your resin—common for standard resin is 2–3 seconds for first layers and 1.5–2 seconds for normal layers (check your resin’s datasheet). Set bottom layer count to 6–8 with an exposure of 30–40 seconds for good adhesion. Lift speed: 60–80 mm/min, and retract speed: 150–200 mm/min. Enable anti-alias (4–8 times) to smooth edges. If your resin is water-washable, reduce normal exposure slightly.
💡 Tips:
- •Print a test exposure calibration (e.g., ‘Validation Matrix’) to dial in your settings.
- •Use smaller lift distances for miniatures (3–5 mm) to speed up prints.
⚠️ Warnings:
- •Over-exposure blurs details; under-exposure makes parts brittle.
Step 4: Prepare the Printer and Resin
Put on gloves and goggles. Level the build plate per your printer’s manual—this is critical for first layer adhesion. Mix your resin gently (don’t shake too hard—avoid bubbles). Pour resin into the vat, filling about 1/3 to 1/2 full. Load the sliced file (.ctb or .cbddlp) onto your USB drive and insert into printer. Preheat the printer to ambient temperature (20–25°C) for consistent viscosity. Ensure there are no debris in the vat. Start the print.
💡 Tips:
- •Use a micro filter to strain resin if you’ve had failures before.
- •Keep a spare FEP film ready in case of puncture.
⚠️ Warnings:
- •Cold resin prints poorly—use a heater or warm resin bottle in warm water (not hot).
Step 5: Print the Miniature
Select the file on the printer’s interface and start the print. The printer will build the model layer by layer. Do not disturb the printer during printing. Typical miniature prints take 2–6 hours depending on size and settings. Watch the first few layers to ensure adhesion—you can see the base outline on the build plate. If the print fails (e.g., peels off), stop and adjust settings or re-level.
💡 Tips:
- •Place the printer on a stable surface to reduce vibrations.
- •Check the first 20 layers through the vat—if they stick to the FEP, it’s okay.
⚠️ Warnings:
- •Never touch the vat’s FEP film with tools—it can scratch or puncture.
Step 6: Remove the Print from the Build Plate
Once printing finishes, allow the build plate to drip for 10–15 seconds. Use a plastic spatula to gently pry the print off the build plate—avoid metal scrapers on the build plate itself (use aluminum if needed). Alternatively, use a flex plate system for easier removal. Place the print in a catch tray. If supports break, that’s okay; you’ll clean them up later.
💡 Tips:
- •Twist the spatula while prying to minimize force.
- •Wash the build plate with IPA after removal.
⚠️ Warnings:
- •Do not use bare hands—wet resin is toxic before curing.
Step 7: Wash the Miniature
Place the printed miniature in a container of 99% isopropyl alcohol (or water for water-washable resin). Slosh it around for 2–3 minutes, using a soft brush to reach crevices. If using a wash station (e.g., Anycubic Wash & Cure), run the cycle for 3–5 minutes. After washing, inspect for any uncured resin. Rinse with clean IPA or water. Let it air dry for a few minutes. The miniature should be tacky but not sticky.
💡 Tips:
- •Use two-stage washing: first dirty IPA, then clean IPA.
- •Avoid leaving miniatures in alcohol for too long—they can swell.
⚠️ Warnings:
- •IPA is flammable—keep away from heat sources and work in a ventilated area.
Step 8: Remove Supports and Clean Up
Use flush cutters to snip the supports off as close to the model as possible. For stubborn bumps, gently sand with 400–600 grit sandpaper. Use a hobby knife to trim any small nubs. If a support tip left a small pit, fill with a tiny drop of resin and cure with UV light. Be careful not to damage delicate details like swords or fingers.
💡 Tips:
- •Cut supports in a direction away from the model to avoid cracking.
- •Use a soft toothbrush to remove dust after sanding.
⚠️ Warnings:
- •Don't sand excessively—it will remove detail.
Step 9: Cure the Miniature
Place the washed and dried miniature in a UV curing station (or under a UV lamp). Cure for 2–6 minutes depending on the resin and lamp intensity. Rotate the model to ensure all sides are exposed. If using a cure station, follow the manufacturer’s time. The miniature will become harder and slightly more opaque. Over-curing can make the plastic brittle, so err on the side of under-curing.
💡 Tips:
- •Cure in water or glycerin to reduce oxygen inhibition and get a tack-free surface.
- •Use a slow rotating turntable inside a UV box for even curing.
⚠️ Warnings:
- •UV light is harmful to eyes—wear UV-blocking glasses or use a closed station.
Step 10: Final Sanding and Priming
After curing, use fine grit sandpaper (600–1000) to smooth any support bumps or layer lines. Rinse with water to remove dust. The miniature is now ready for primer. Use a spray primer designed for miniatures (e.g., Games Workshop or Army Painter). Apply light coats from 15–20 cm away. Let dry for 30 minutes before painting.
💡 Tips:
- •A final dip in hot water can straighten slightly warped parts.
- •Use a magnifying lamp for sanding small details.
⚠️ Warnings:
- •Do not skip priming; resin is slippery and paint won't adhere well.
▸Pro Tips
- •Print multiple small miniatures in one batch to save time, but avoid crowding—leave at least 5mm between models.
- •Use a small 'drain hole' in hollow models to prevent suction and resin pooling.
- •Label your USB drives—multiple slicer profiles can cause confusion.
- •Store unused resin in opaque bottles away from UV light.
- •Invest in a flex plate system—makes removing prints much easier.
- •Calibrate your exposure with a validation print each time you open a new resin bottle.
▸Common Mistakes to Avoid
- •Skipping support inspection: auto-supports often miss islands, causing failed prints or blobbed details.
- •Over-curing resin: leaves the model brittle and prone to breakage on the game table.
- •Not leveling the build plate properly, leading to first layer failure or prints sticking to FEP.
- •Using low-quality resin: cheaper resins may not cure properly, leading to tacky surfaces or poor detail retention.
- •Printing models too flat on the plate: causes warping and larger support marks.
▸Troubleshooting
Problem: Print fails to stick to build plate.
Solution: Re-level the build plate; increase bottom exposure time by 5–10 seconds; ensure resin is mixed and room is warm.
Problem: Layers are separating or delaminating.
Solution: Increase normal exposure time by 0.5 seconds; reduce lift speed; check for loose FEP film.
Problem: Blobs or missing details on the model.
Solution: Insufficient supports on overhangs; add more supports; reduce lift speed; smaller layer height.
Problem: Miniature is sticky even after curing.
Solution: Increase wash time or use fresh IPA; cure for additional 2 minutes; ensure thorough drying before curing.
Problem: Support tips leave deep marks or holes.
Solution: Reduce support contact diameter; use ball or touch tips; sand and apply a drop of resin then spot cure.
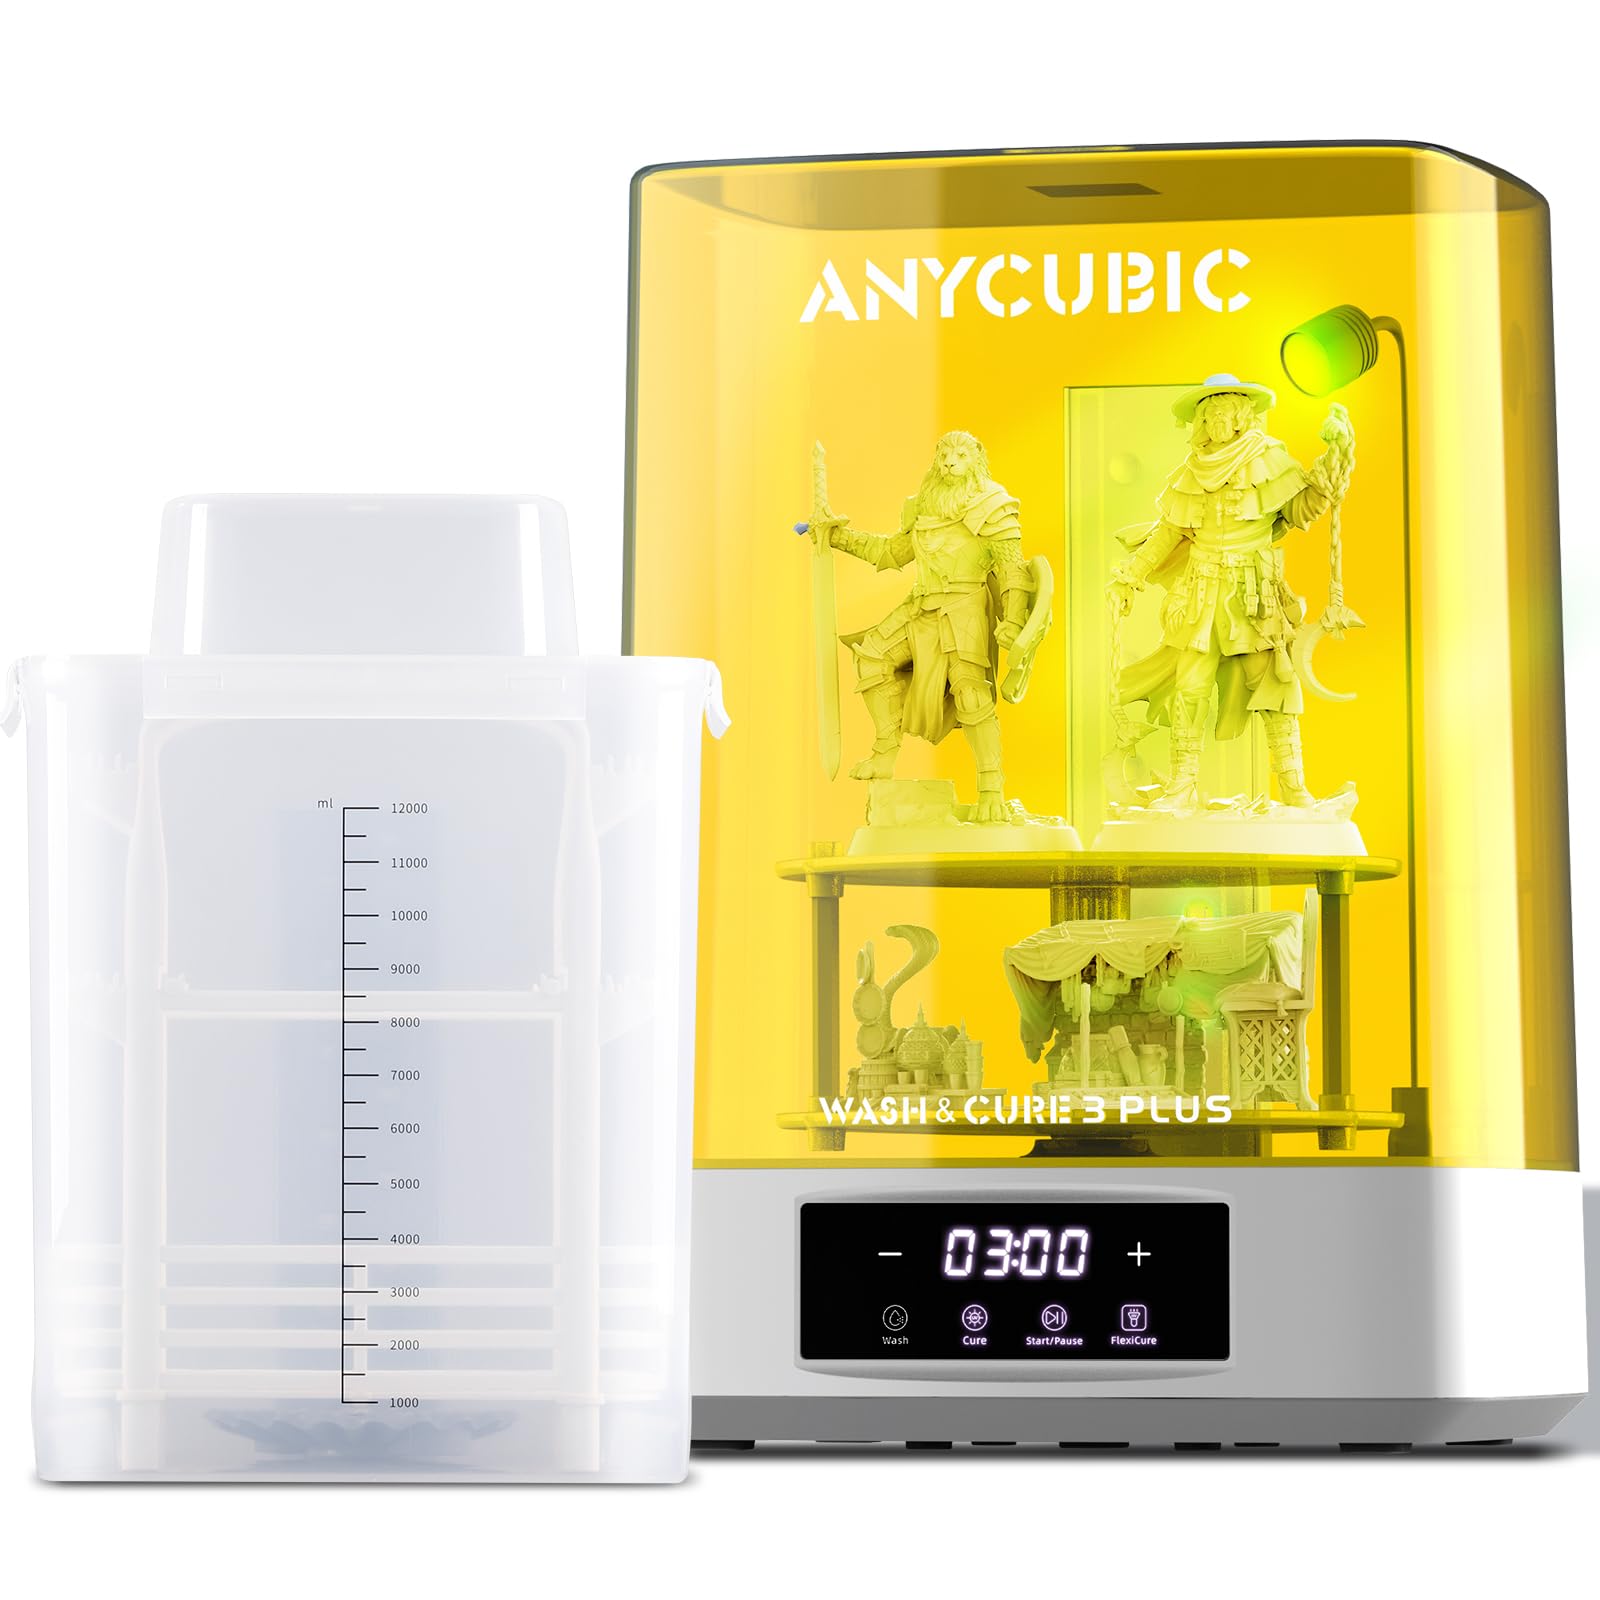
Anycubic Wash & Cure 3.0
A combined washing and curing station that simplifies post-processing dramatically. It automates agitation and UV curing, saving time and ensuring consistent results.
Best for: After printing, place miniature in basket for IPA wash, then on turntable for curing. Ideal for batch processing.
Price Range: $150–$200
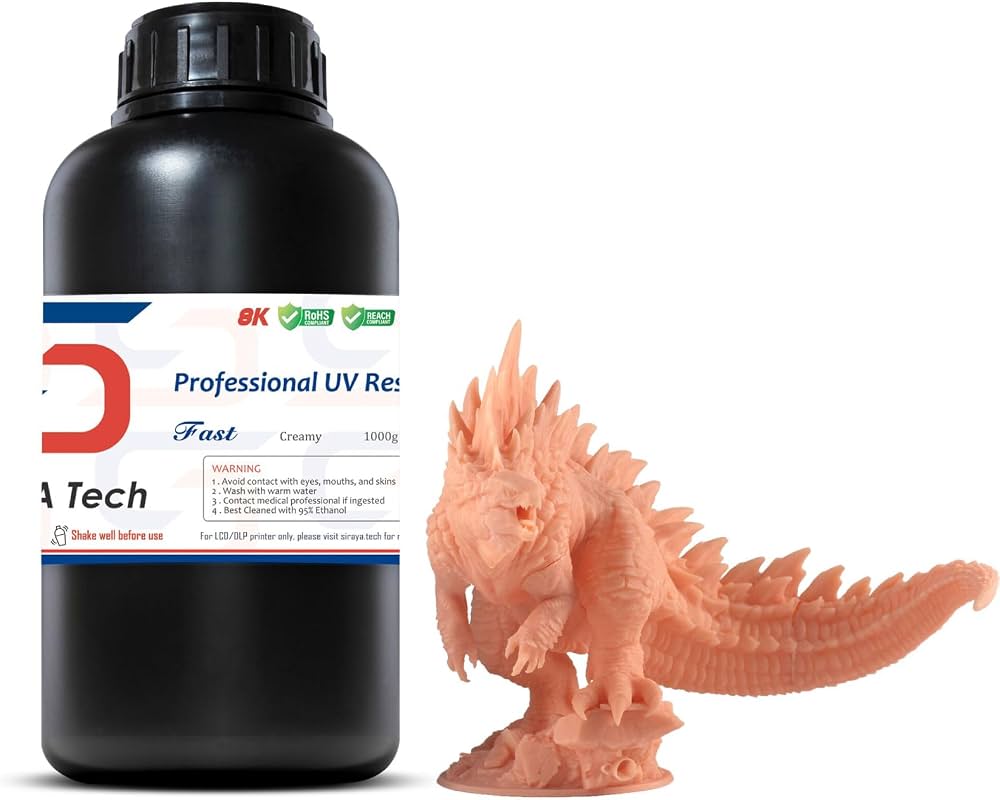
Siraya Tech Fast Gray Resin
Popular resin among mini painters for its low odor, high detail reproduction, and ease of printing. Cures to a slightly matte finish great for priming.
Best for: General purpose miniature printing; works well with standard 405nm printers. Can be mixed with a bit of tenacious for flexibility.
Price Range: $30–$40 per kg
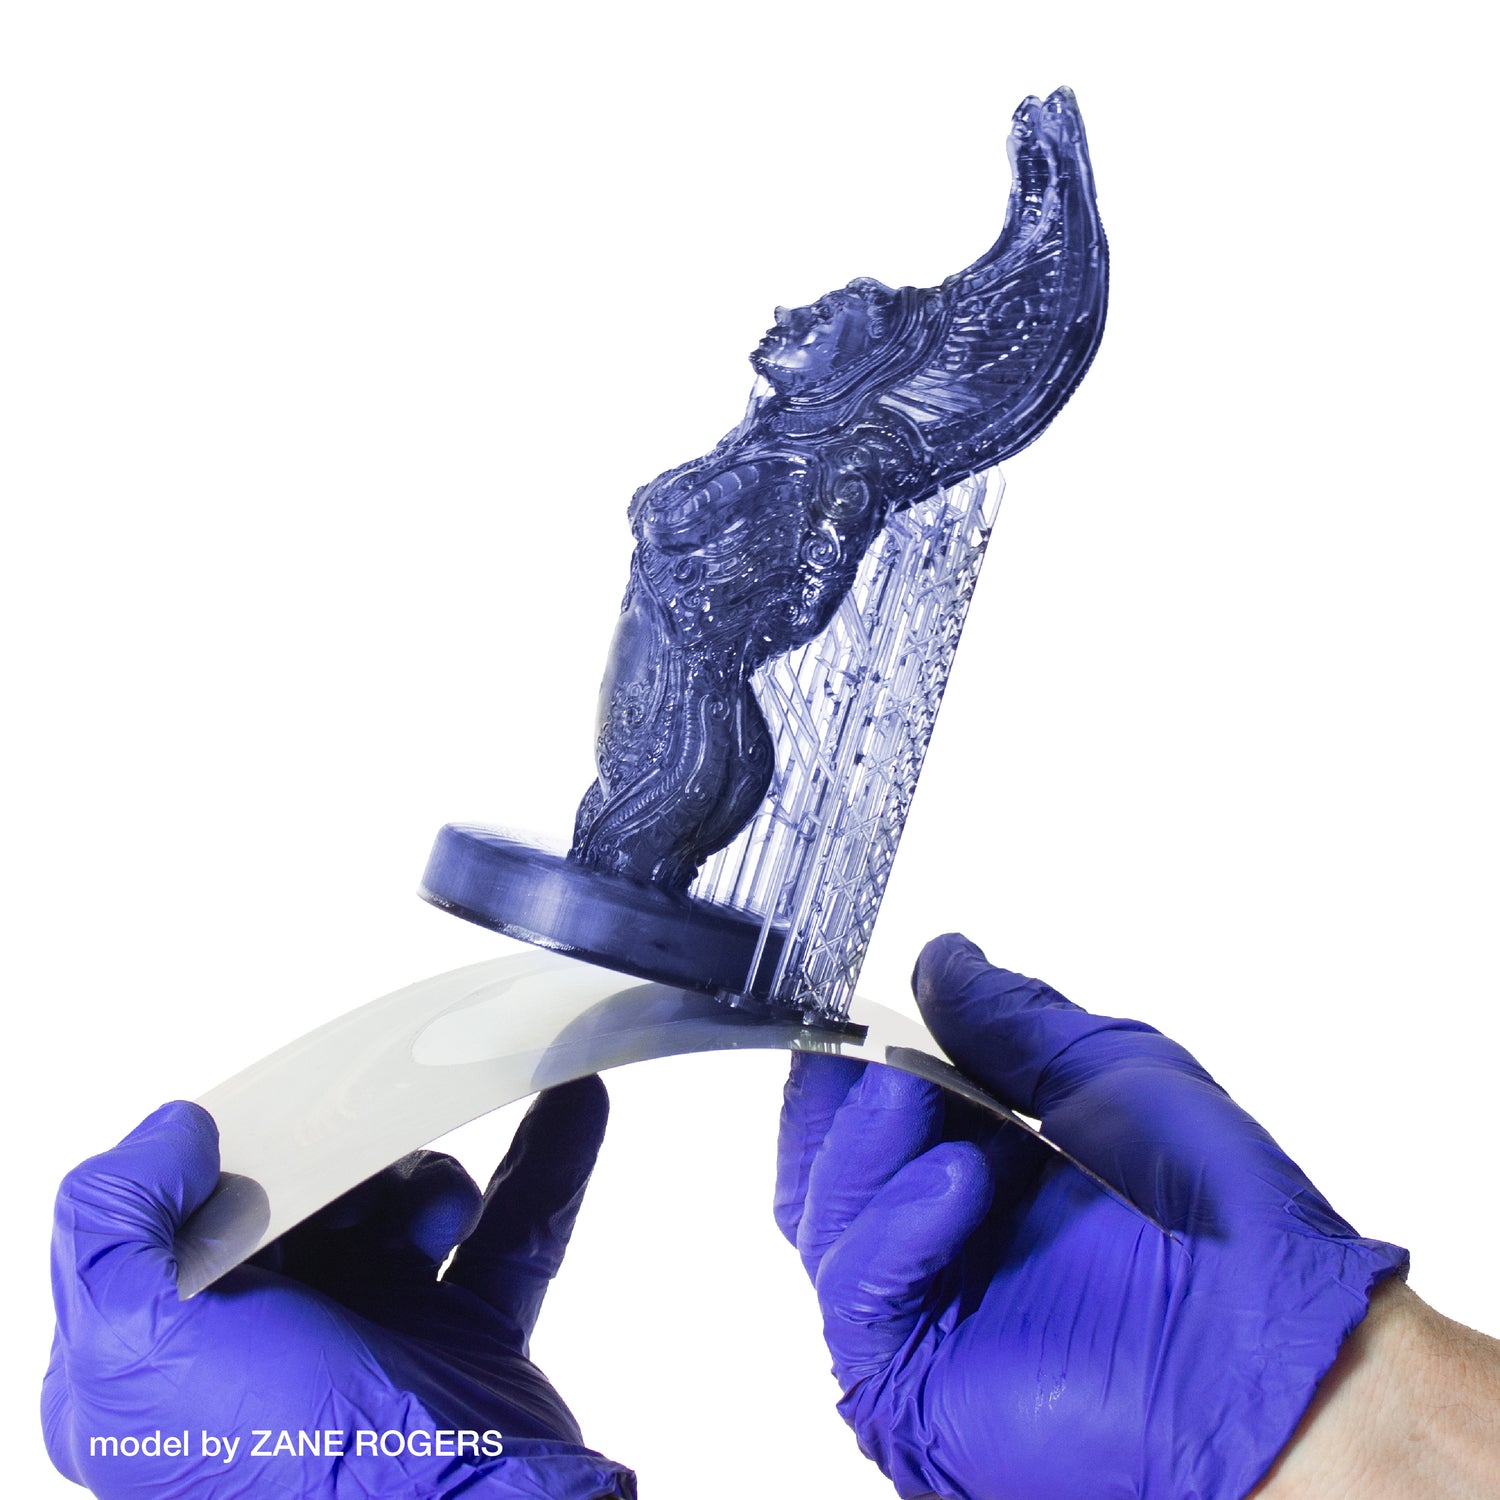
Wham Bam Flex Plate System for Resin Printers
Magnetic flex plate that sticks to the build plate; after printing, flex the plate to pop off prints without prying, reducing risk of damage.
Best for: Anyone printing multiple miniatures per batch; saves time and frustration, especially on delicate models.
Price Range: $25–$40
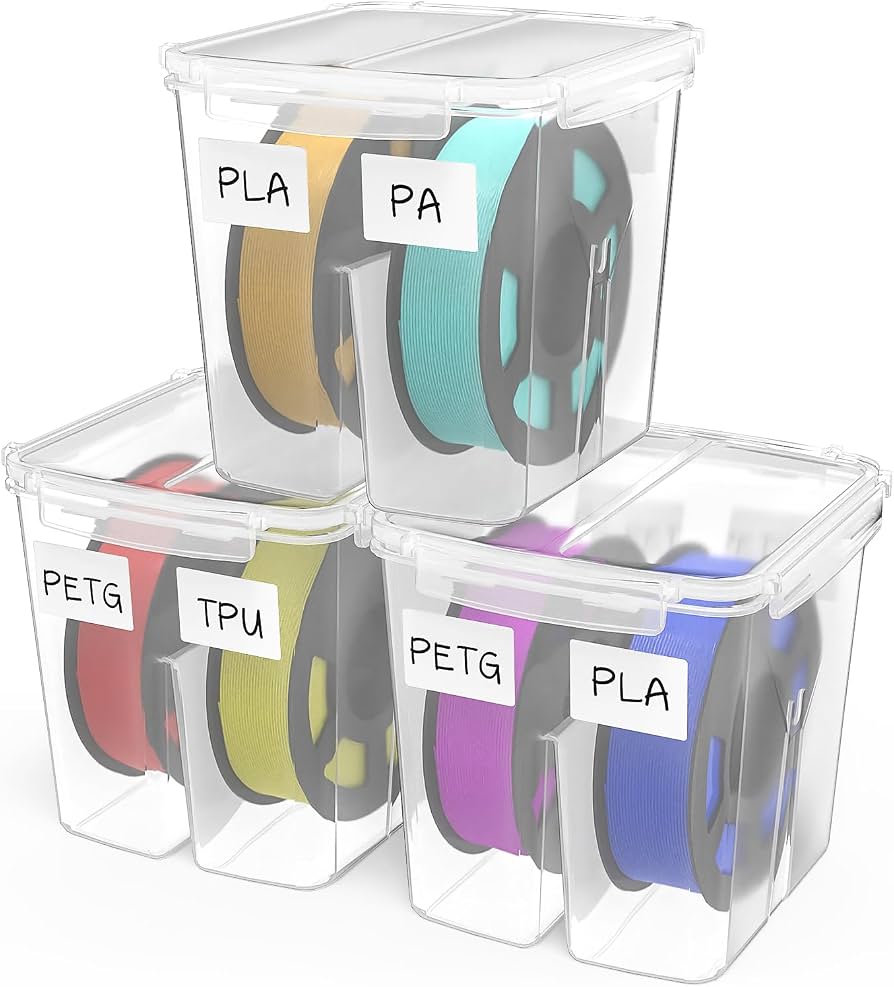
3Dprinting Standard Plastic Storage Containers
A set of small, sealable containers for dirty and clean IPA, and for storing resin-printed parts before curing. Helps organize workspace.
Best for: Wash step and temporary storage. Use one for first wash, one for second rinse.
Price Range: $10–$20
Resin Printing Gloves – Latex Free Nitrile
Essential safety: nitrile gloves protect hands from toxic uncured resin. Choose a box of 100 for repeated use.
Best for: Handling resin, removing prints, and washing. Change gloves frequently.
Price Range: $15–$25 per box