
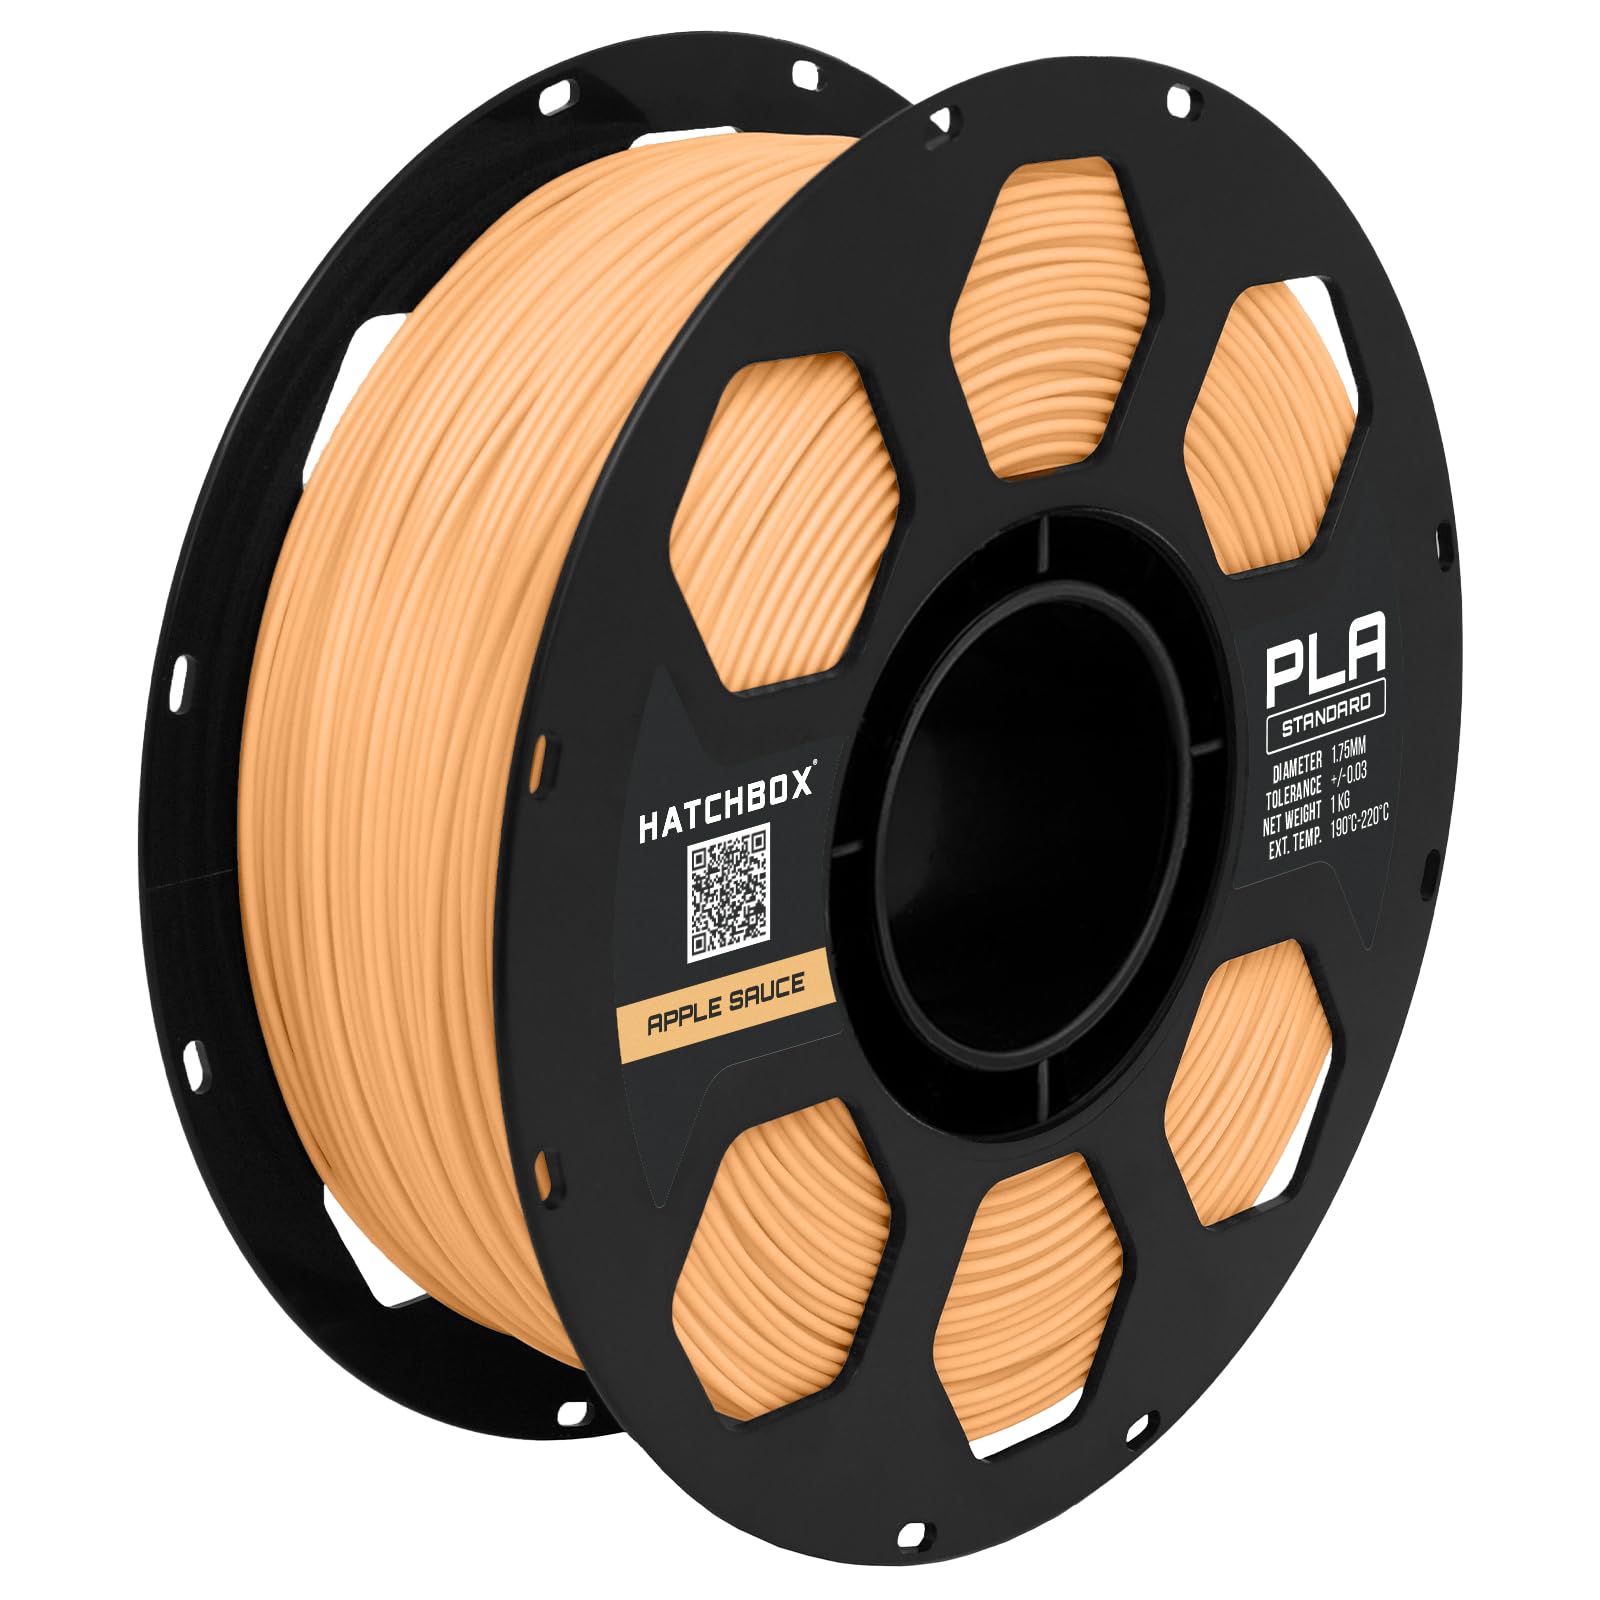
Hatchbox PLA Filament 1.75mm
General printing of props, helmets, and armor pieces.
$20–$25 per kg
Hatchbox PLA Filament 1.75mm Consistent diameter, wide color range, and low price make it the go-to for cosplay props.
Get the App
Better experience on mobile
Learn to design, print, and finish professional-quality cosplay props using your 3D printer.
Cosplay props can be expensive or hard to find, but with a 3D printer you can create custom, movie-accurate pieces from the comfort of your home. This guide takes you from finding the right 3D model to applying the final paint coat, covering everything an intermediate maker needs to produce show-ready results. Expect to spend a few hours on each stage, with the entire project taking 2–5 days depending on complexity. By the end, you'll have a finished prop that looks like it came from a professional studio.
Estimated Time: 2–5 days (depending on prop size and complexity) Difficulty: intermediate
Start by sourcing a 3D model for your prop. Websites like Thingiverse, MyMiniFactory, and Cults3D have thousands of cosplay files. Look for models with high ratings and good previews—check for visible supports or thin sections that might break. If you can't find exactly what you need, you can modify an existing model in Blender or Tinkercad, or create your own from scratch. For custom pieces, use photogrammetry apps or design from reference images. Ensure the model is manifold (watertight) to avoid slicing errors.
💡 Tips:
⚠️ Warnings:
Import the model into your slicer or editing software. Scale it to match your body measurements—for armor pieces, measure the relevant body part and add a few millimeters for clearance. Use a scale tool in your slicer (e.g., Cura's scale function) or edit the mesh in Meshmixer. For large props that won't fit the build plate, split the model into parts using a program like Meshmixer or 3D Builder. Add alignment pins or registration marks to help later assembly. Also check for geometry issues: use 'Fix' tools in your slicer or Meshmixer to repair holes or inverted normals.
💡 Tips:
⚠️ Warnings:
Open your slicer with a profile tuned for cosplay props. For FDM printers, use a layer height of 0.12–0.2mm for a balance of speed and detail. Enable supports for overhangs steeper than 45°, and consider tree supports for easy removal. Set infill to 15–25% for most props (use gyroid or grid pattern). For load-bearing parts like sword handles, increase infill to 40%. Also enable a brim or raft if bed adhesion is a concern. For resin printers, 0.05mm layer height is standard; orient the model to minimize suction cups and add heavy supports in hidden areas.
💡 Tips:
⚠️ Warnings:
Transfer your sliced file to the printer via SD card or direct connection. Ensure the build plate is clean and level. For FDM, heat the bed to 60°C (PLA) or 70°C (PETG), and the nozzle to 200–220°C (PLA) or 230–250°C (PETG). Start the print and watch the first few layers to confirm adhesion. If parts warp, use a glue stick or painters tape on the bed. For resin, shake the bottle, pour into the vat, and start the print. After printing, remove the prints carefully to avoid damage. Let FDM parts cool before handling.
💡 Tips:
⚠️ Warnings:
Once the prints are done, use flush cutters to snip away support structures. Work carefully to avoid gouging the model. For stubborn supports, use needle-nose pliers or a deburring tool. For resin prints, wash in isopropyl alcohol (IPA) for 5 minutes, then remove supports before curing. After support removal, file down any nubs or rough edges with a hobby knife or fine grit sandpaper (120 grit). Check for any gaps or misalignment between parts that were printed separately.
💡 Tips:
⚠️ Warnings:
If your prop was printed in multiple pieces, now it's time to join them. Dry-fit the parts to check alignment. Use cyanoacrylate (super) glue for quick bonds—apply accelerator to speed curing. For larger seams, use two-part epoxy or a 3D pen to weld the seam with the same filament. Fill gaps with modeling putty or an epoxy putty like Milliput, then sand smooth. For hinges or moving parts, insert metal pins or screws before gluing. Use clamps or rubber bands to hold pieces together while the adhesive cures.
💡 Tips:
⚠️ Warnings:
Sanding is key to hiding layer lines. Start with 120–180 grit to remove major imperfections, then move to 220, 320, and finish with 400 grit. Wet sanding (using water and sandpaper) reduces dust and gives a smoother finish. After sanding, wash the part with soapy water and let dry. Apply a coat of automotive filler primer spray—this fills tiny scratches and creates a uniform surface. Let it dry, then sand again with 400 grit. Repeat filler primer and sanding until the surface is glass-smooth. For resin prints, a final coat of clear gloss can enhance detail.
💡 Tips:
⚠️ Warnings:
Mask off areas you don't want painted with painters tape. Start with a base coat of acrylic spray paint in the prop's primary color. Apply 2–3 thin coats, letting each dry for 15–20 minutes. For details, use a small brush or airbrush with acrylic paints. Add weathering effects like dry brushing (black wash for shadows) or silver rub for worn edges. For a glossy finish, apply a clear topcoat (matte or gloss as desired). Let the paint cure for 24 hours before handling or wearing.
💡 Tips:
⚠️ Warnings:
For an extra wow factor, incorporate LEDs, sound modules, or moving parts. Plan wiring channels before printing (or drill small holes after). Use a small soldering iron and heat shrink tubing for connections. Secure components with hot glue. For magnetic closures, embed neodymium magnets during assembly. Add foam padding inside wearable parts for comfort. Seal the electronics with a removable panel for battery access. Finally, do a full test of the prop—check fit, movement, and lights—before the cosplay event.
💡 Tips:
⚠️ Warnings:
Problem: Warping or poor bed adhesion
Solution: Clean the build plate with isopropyl alcohol. Increase bed temperature by 5°C. Apply a thin layer of glue stick or use a PEI sheet. Ensure the first layer is squished enough (adjust Z-offset). Use a brim if needed.
Problem: Stringing or oozing on FDM prints
Solution: Increase retraction distance (5–6mm for Bowden, 1–2mm for direct drive) and speed (40–60mm/s). Lower nozzle temperature by 5–10°C. Enable 'wipe' or 'coasting' in your slicer.
Problem: Supports leave bad marks on the print
Solution: Use tree supports (in Cura) or support blockers to minimize contact area. Increase support interface density. For better surface finish, print the part so that the most visible face is not on the build plate.
Problem: Parts don't fit together (too tight or loose)
Solution: Check scaling and tolerance. For tight fits, sand the male part or use a file. For loose fits, apply a layer of primer or super glue to build up the surface. Consider re-printing with a 0.2mm gap added to the model.
Problem: Paint doesn't stick or peels off
Solution: Ensure the model is clean and free of oils after sanding. Always use a primer designed for plastics. Allow each coat to dry fully. If using acrylics, seal with a clear coat.
Consistent diameter, wide color range, and low price make it the go-to for cosplay props.
Best for: General printing of props, helmets, and armor pieces.
Price Range: $20–$25 per kg
High-quality sandpaper lasts longer and gives a smoother finish than cheap brands.
Best for: Sanding down layer lines and smoothing primer between coats.
Price Range: $10–$15
Fills small imperfections and provides an excellent base for paint. Widely available.
Best for: Priming and smoothing 3D printed surfaces before painting.
Price Range: $6–$10 per can
Non-toxic, easy to shape, and bonds to PLA perfectly for filling gaps and adding details.
Best for: Filling large seams, adding sculpted details, or repairing broken parts.
Price Range: $25–$35
Self-leveling epoxy that eliminates layer lines in one coat, saving hours of sanding.
Best for: Quick smoothing of PLA prints before primer for a glass-like finish.
Price Range: $25–$35
General printing of props, helmets, and armor pieces.
Hatchbox PLA Filament 1.75mm Consistent diameter, wide color range, and low price make it the go-to for cosplay props.
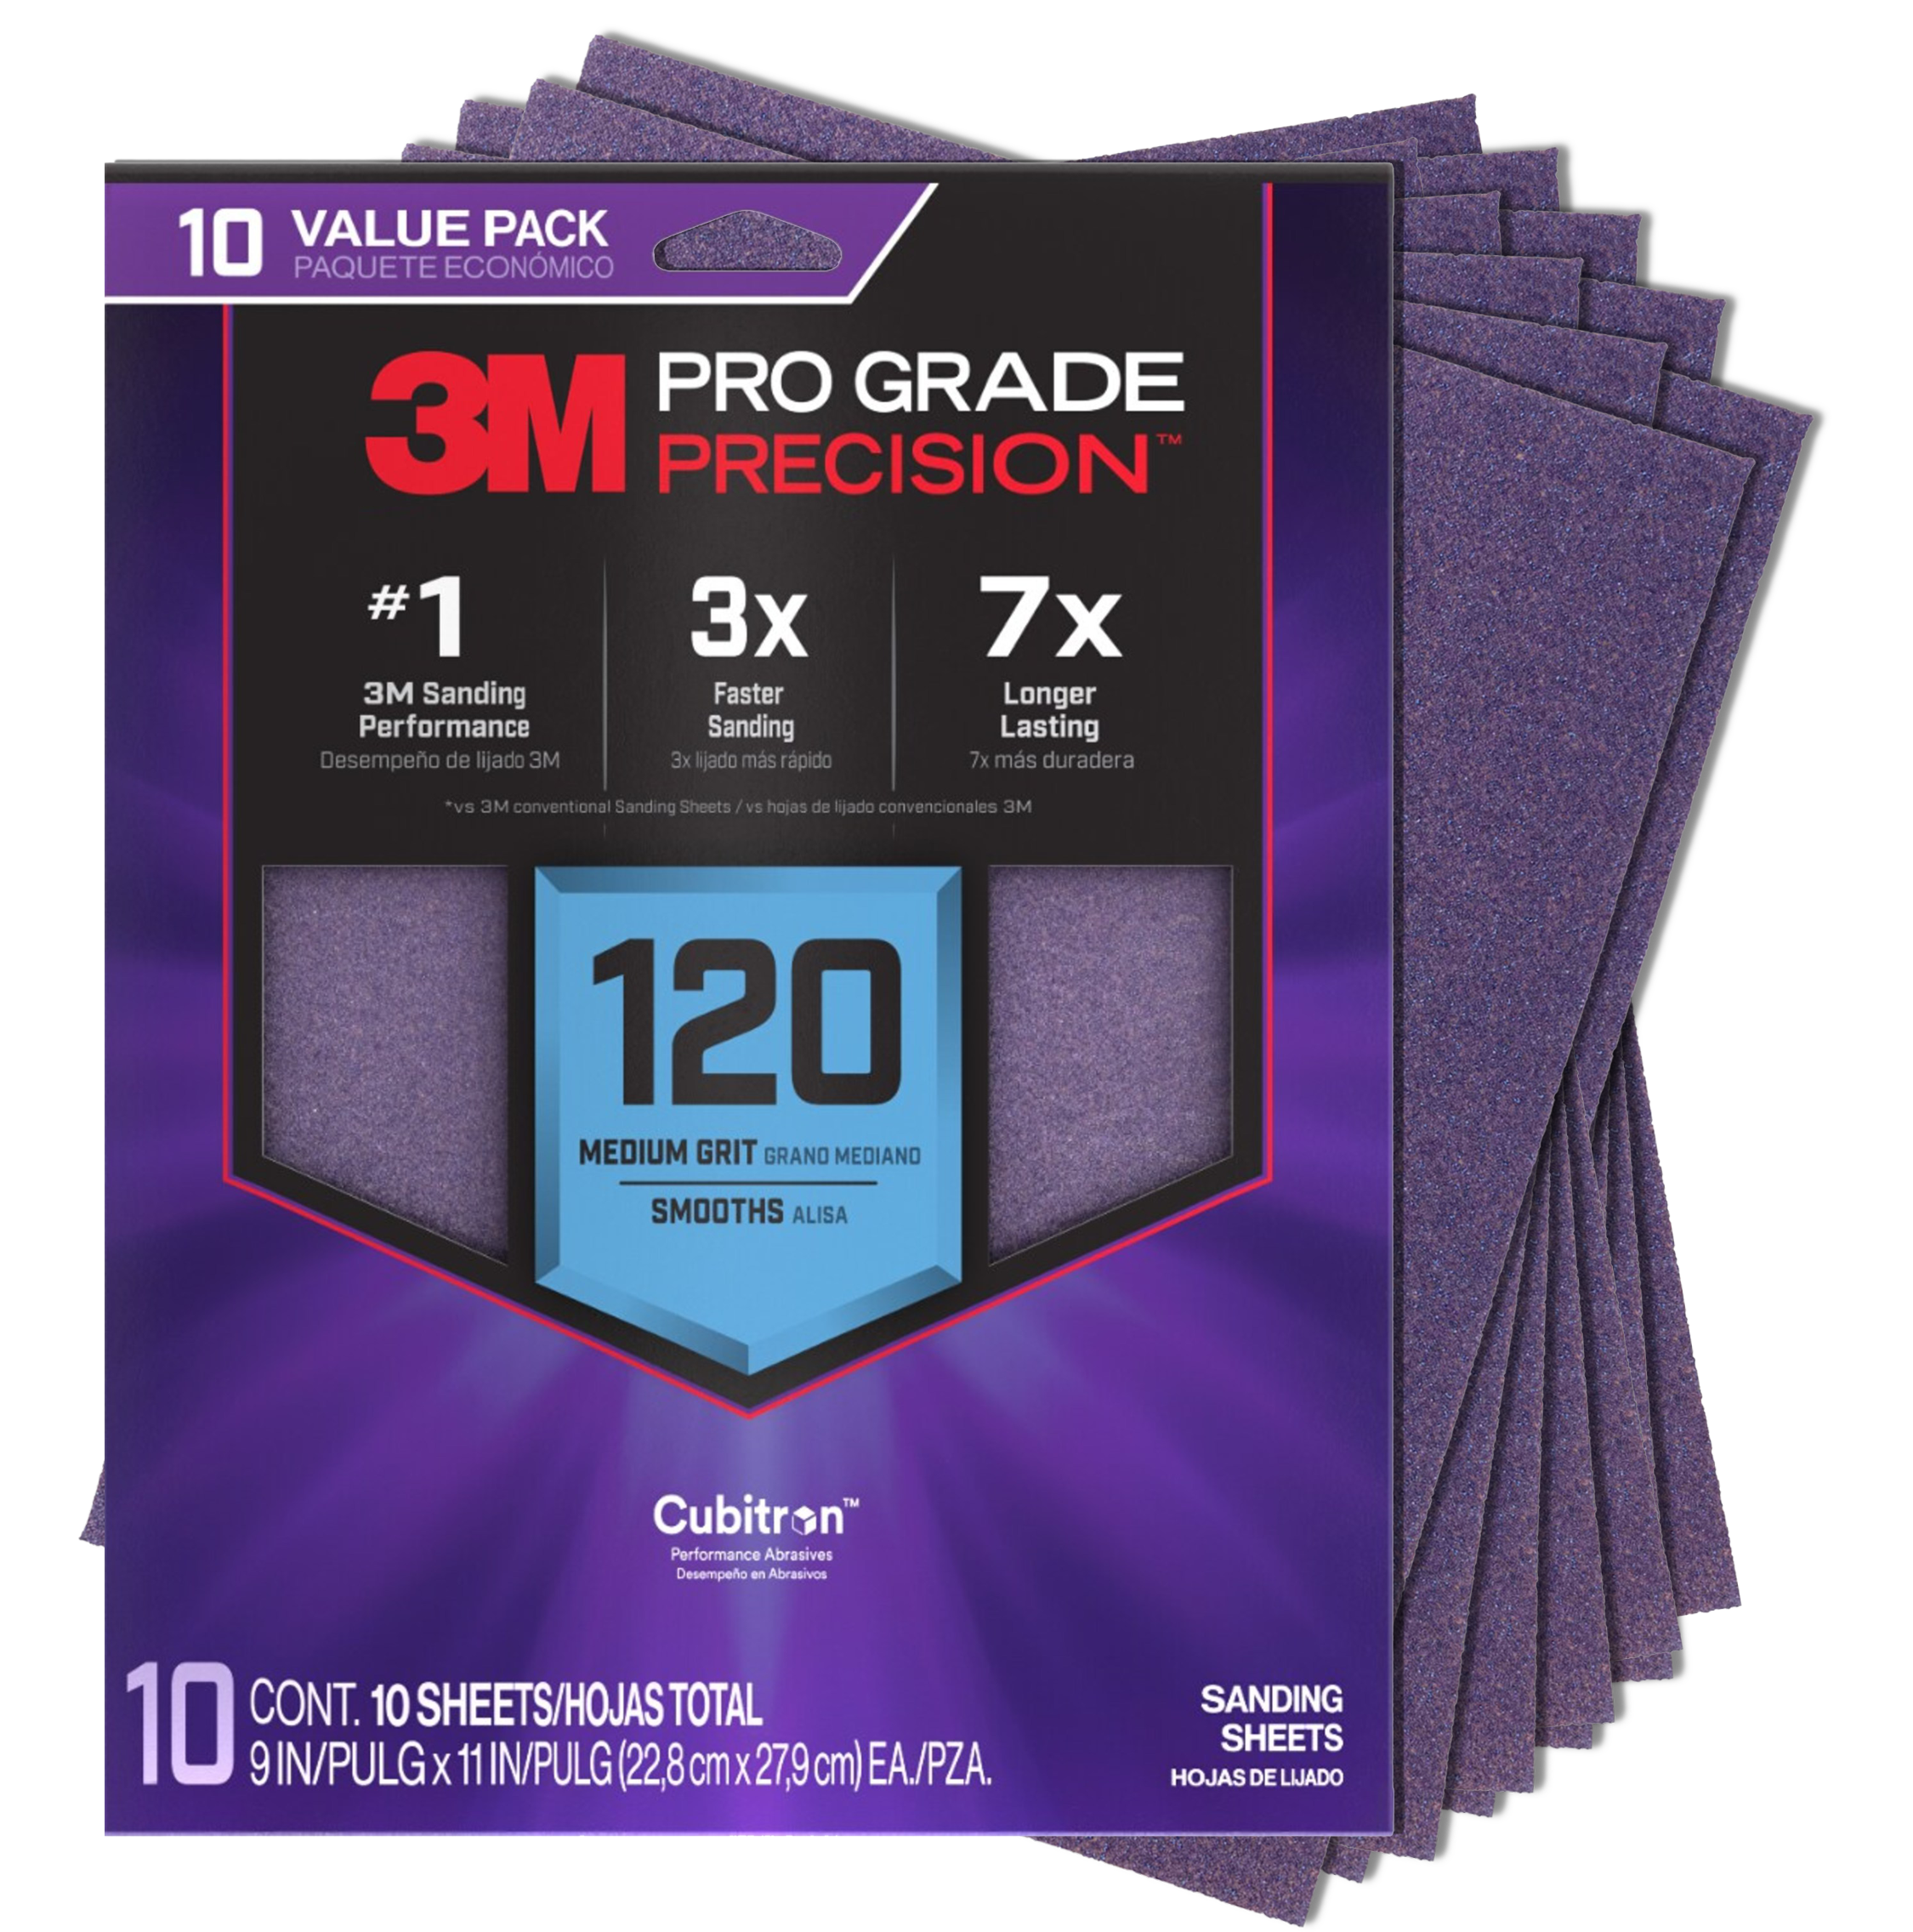
Sanding down layer lines and smoothing primer between coats.
3M Sandpaper Variety Pack (120–600 grit) High-quality sandpaper lasts longer and gives a smoother finish than cheap brands.
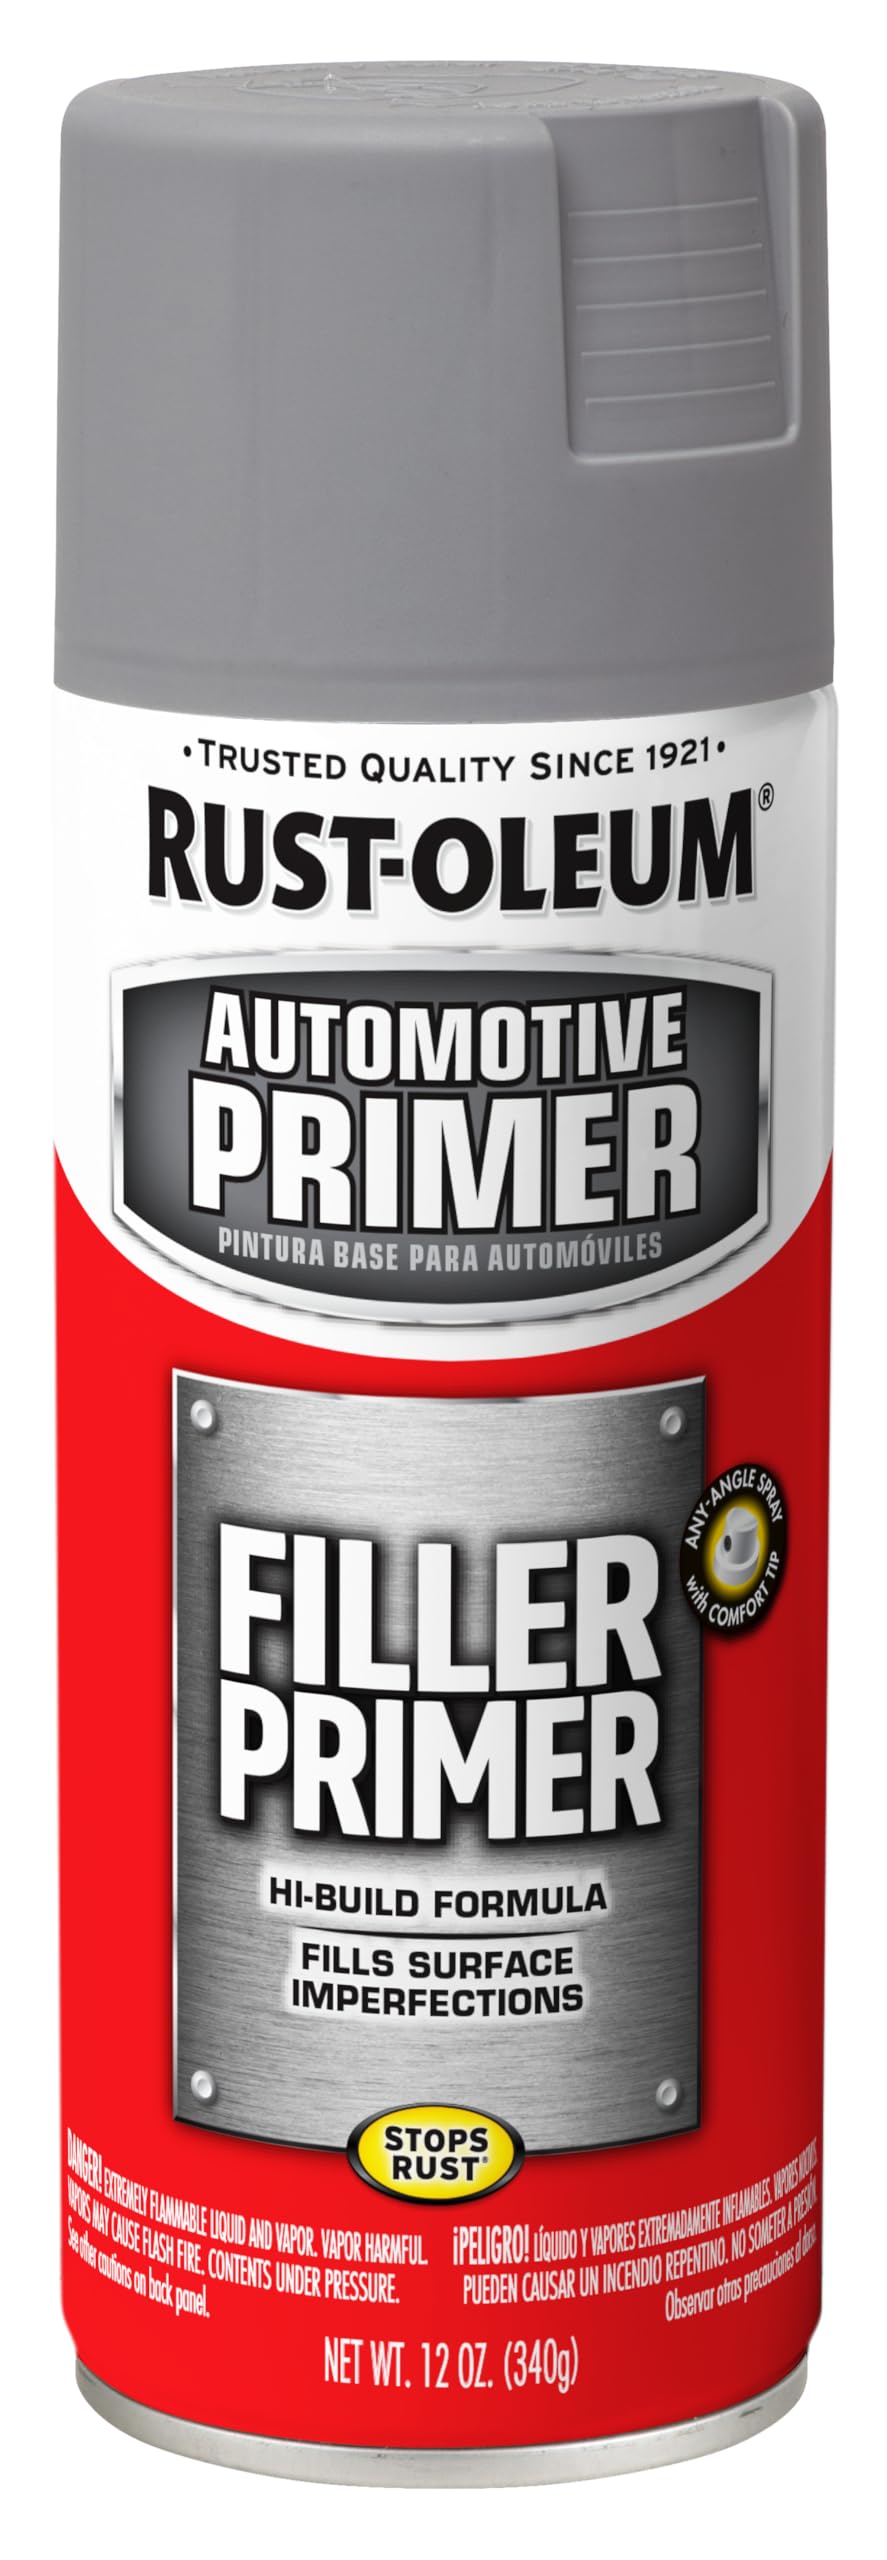
Priming and smoothing 3D printed surfaces before painting.
Rust-Oleum Automotive Filler Primer Spray Fills small imperfections and provides an excellent base for paint. Widely available.
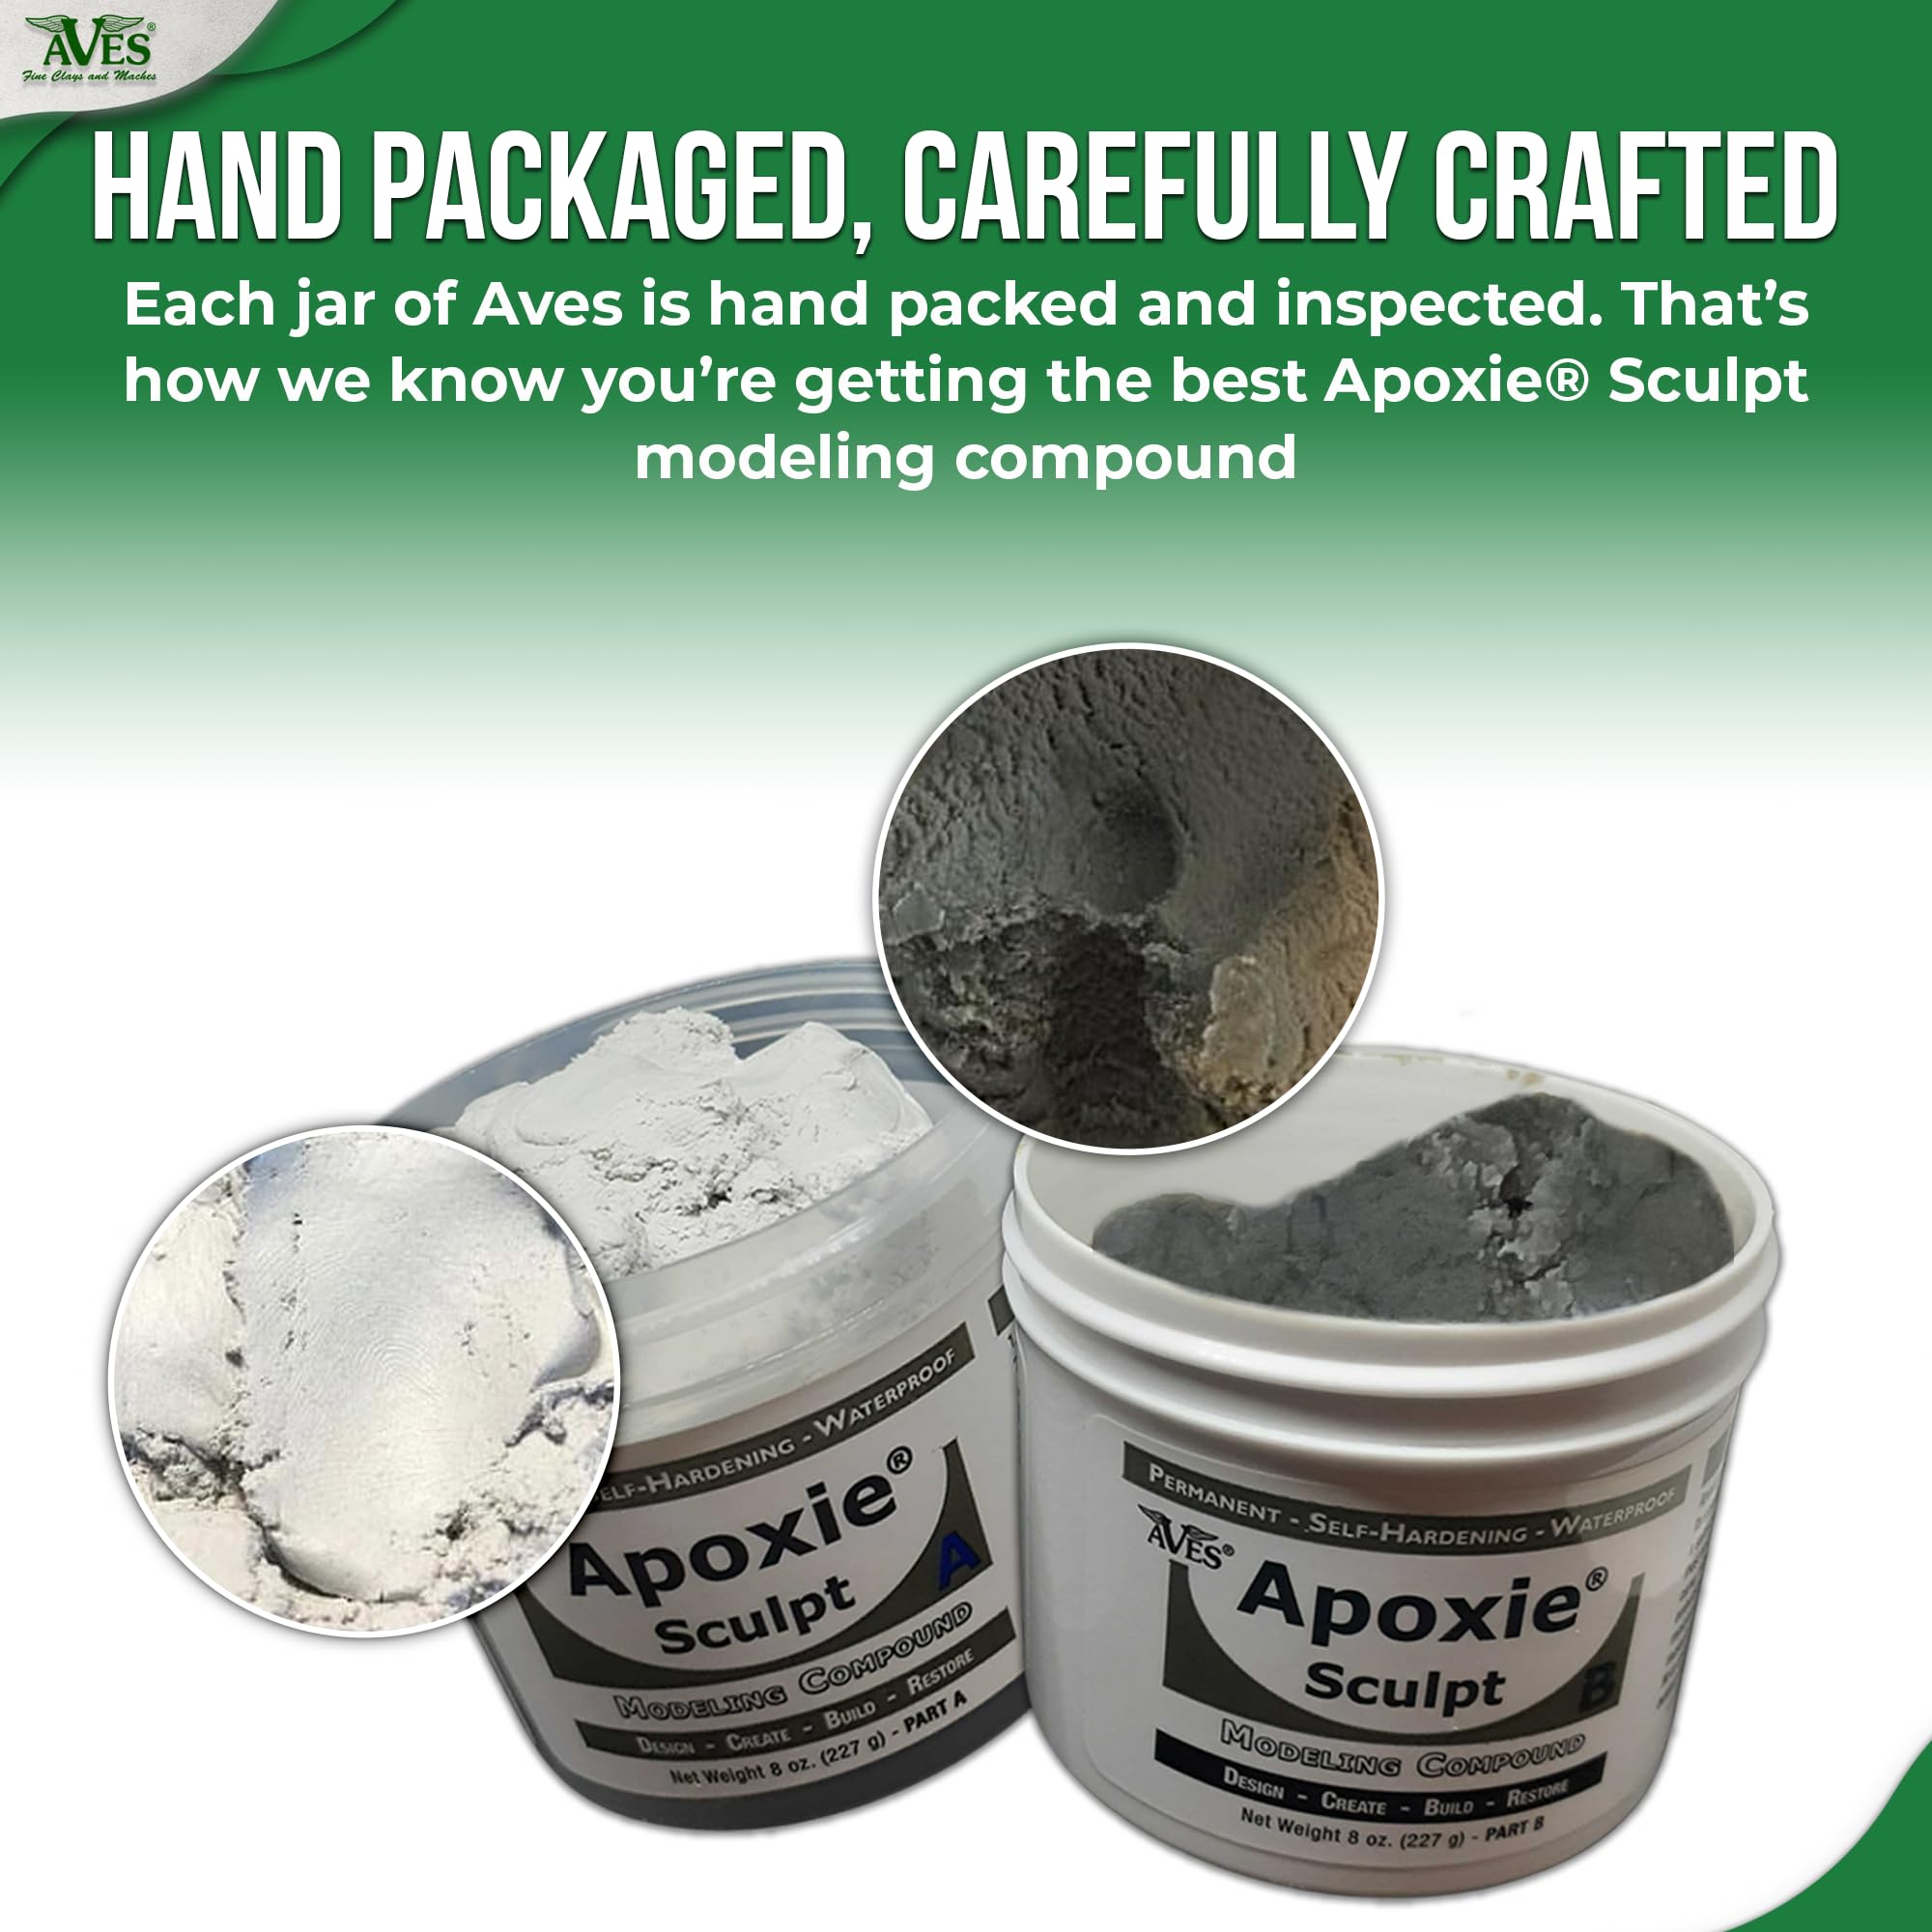
Filling large seams, adding sculpted details, or repairing broken parts.
Apoxie Sculpt Epoxy Putty Non-toxic, easy to shape, and bonds to PLA perfectly for filling gaps and adding details.
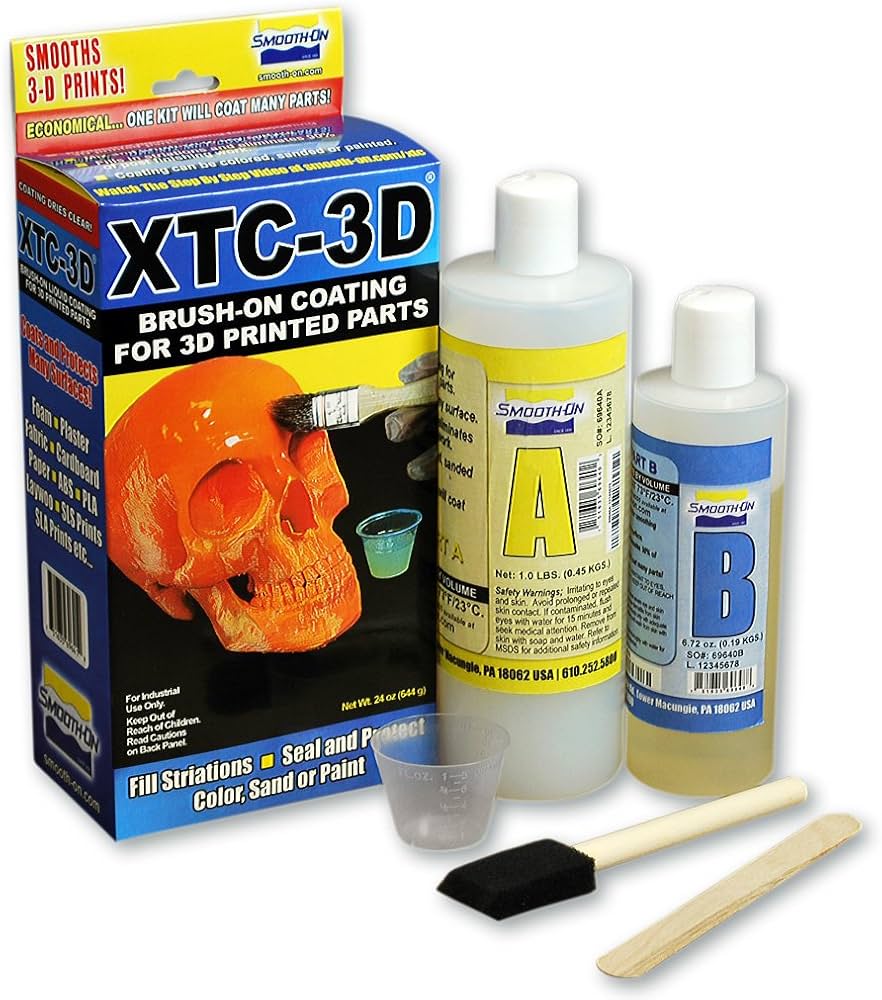
Quick smoothing of PLA prints before primer for a glass-like finish.
XTC-3D High Performance Epoxy Coating Self-leveling epoxy that eliminates layer lines in one coat, saving hours of sanding.