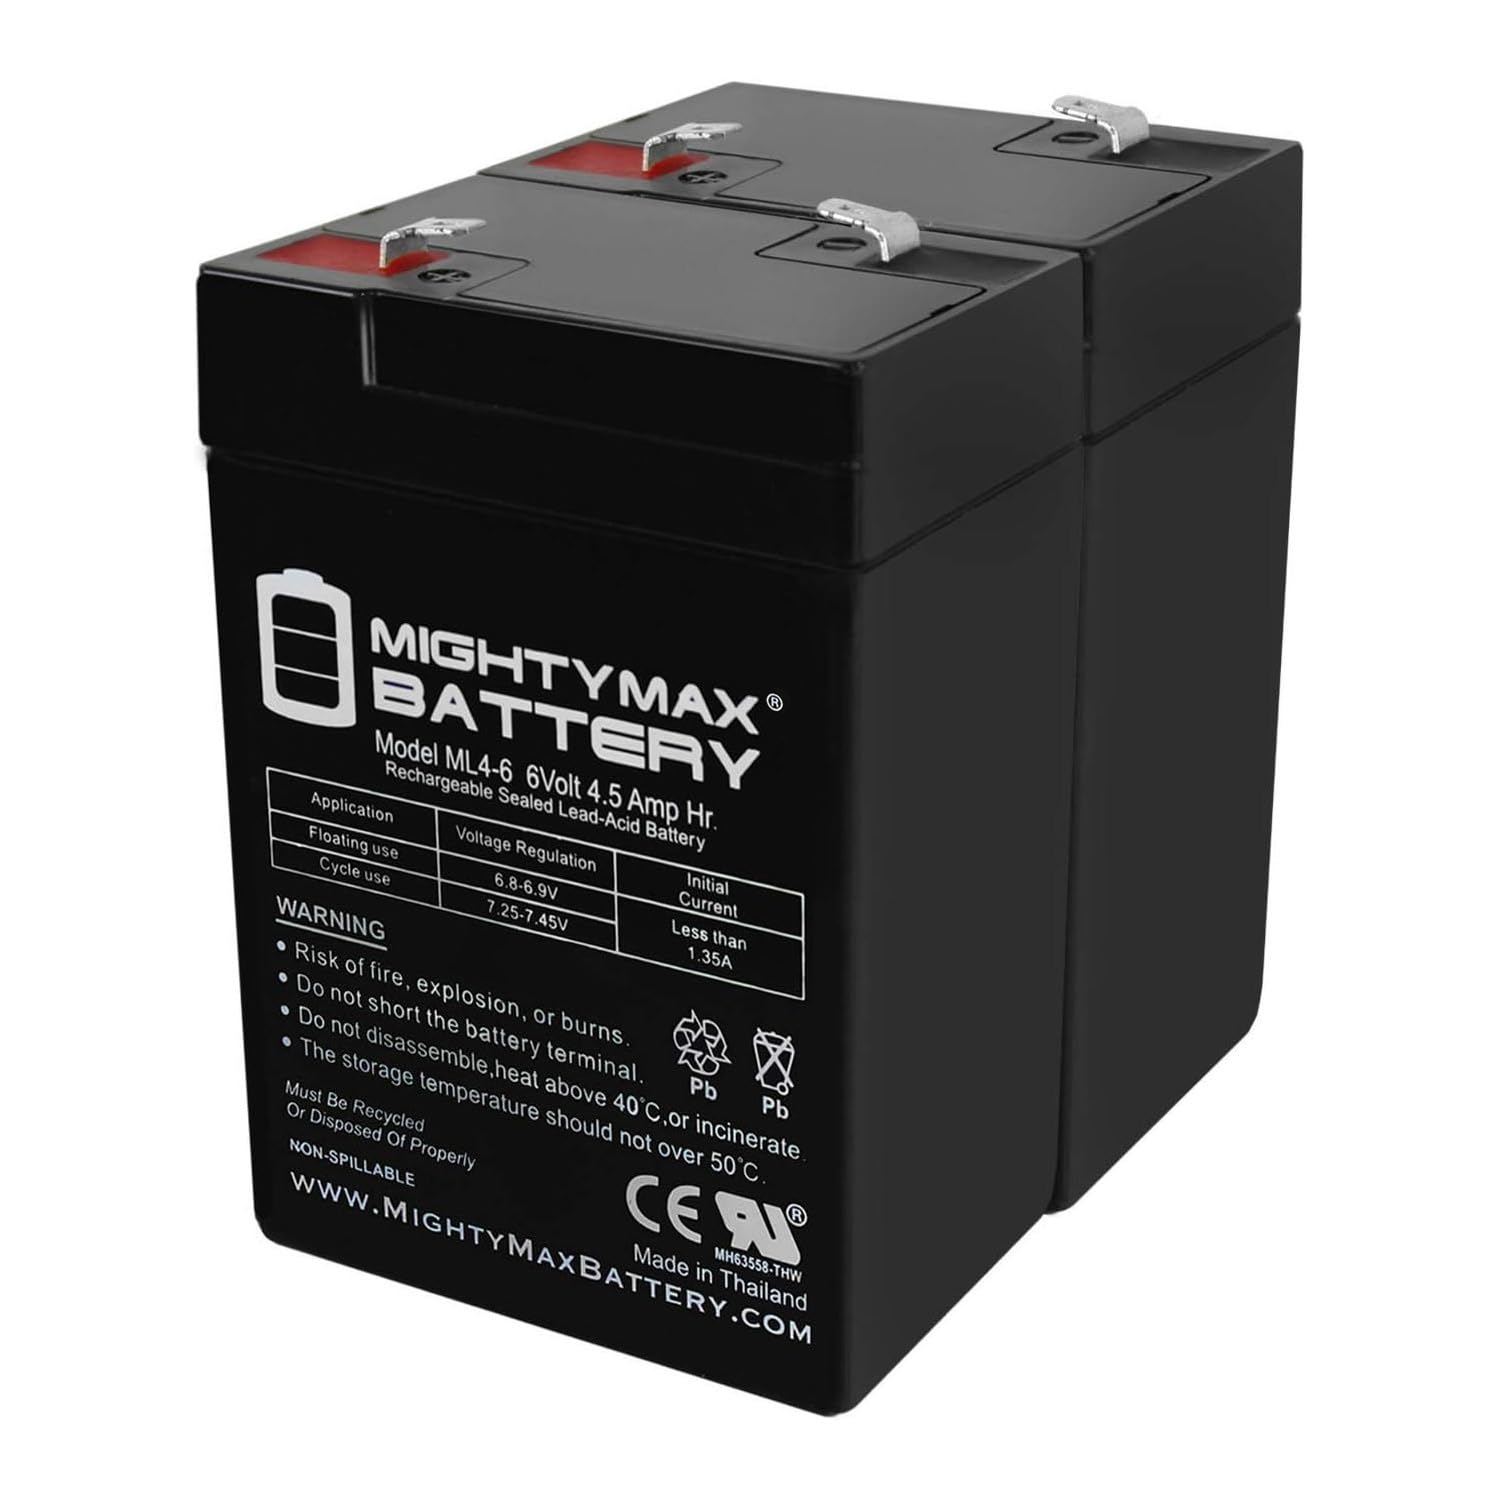
Mighty Max ML4-6 6V 4Ah SLA Battery
Direct swap for dead stock batteries in small cars/trucks.
$15-$20
Mighty Max ML4-6 6V 4Ah SLA Battery Reliable replacement for most 6V ride-ons like Power Wheels; leak-proof and long-lasting (300+ cycles).
Get the App
Better experience on mobile
Master installing, charging, and maintaining 6V batteries to keep your child's ride-on toy powered up safely and reliably in under 30 minutes.
Nothing dashes a child's fun faster than a dead battery in their ride-on toy. Whether it's a Power Wheels jeep or a mini motorcycle, 6V batteries are the heart of these beginner-friendly vehicles, but improper use leads to short lifespans or safety issues. This guide fixes that.
You'll learn everything from checking compatibility to safe installation, charging, and ongoing care. By the end, your toy will zoom again, lasting 1-2 hours per charge. Perfect for parents new to toy maintenance—no advanced skills needed.
Expect a straightforward process: 20-30 minutes for setup (plus 4-12 hours charging), using basic tools. Let's get rolling!
Estimated Time: 20-30 minutes for installation + 4-12 hours initial charge Difficulty: beginner
Before touching anything, put on gloves and safety glasses. Locate your ride-on toy's owner's manual—it's crucial for model-specific battery size, polarity, and compartment location.
Why it matters: Manuals prevent mismatches that could damage the motor or cause fires. Unplug any charger if connected and ensure the toy is off. Work in a well-ventilated, dry area away from kids and pets.
Success looks like: Manual open to battery section, you're geared up, and workspace clear.
💡 Tips:
⚠️ Warnings:
Find the battery compartment (usually under the seat or hood). Disconnect wires first: red (positive, +) then black (negative, -). Use screwdriver to loosen any hold-down straps or screws.
Gently lift out the old battery. Why? This order prevents short circuits. Dispose of old batteries at a recycling center—do not trash them.
Success: Old battery out, wires dangling safely, no sparks.
💡 Tips:
⚠️ Warnings:
Clean compartment with a dry cloth—remove corrosion with baking soda/water mix (rinse and dry fully). Check new 6V battery for damage, leaks, or expiration date (typically 1-2 years shelf life).
Verify specs: Voltage (6V), Ah rating (matches or slightly higher), terminals (bolt or clip). Why? Clean setup ensures longevity; mismatches fry electronics.
Success: Spotless compartment, battery inspected and ready.
💡 Tips:
Place battery in compartment (terminals facing accessible side). Secure with straps/screws—snug but not overtight.
Connect wires: black (-) to negative first, then red (+) to positive. Tug gently to confirm snug fit. Polarity is critical—reverse damages toy.
Success: Battery locked in, wires connected without exposed metal.
💡 Tips:
⚠️ Warnings:
Connect charger to battery (match leads), then plug into outlet. Use only a 6V charger—12V overcharges and explodes cells. Initial charge: 4-12 hours until light turns green.
Monitor for heat/swelling. Why first? New batteries self-discharge; full charge calibrates for max life (300+ cycles).
Success: Charger indicates full; battery warm but not hot.
💡 Tips:
⚠️ Warnings:
Close compartment, replace seat/hood. Turn on toy—listen for smooth motor hum, check lights/horn.
Drive test: Short 5-min run. Success? Full power, no straining.
Why? Confirms install; early issues easier to fix.
💡 Tips:
After play, charge immediately if under 50%. Store at 40-60% charge in cool (50-77°F), dry place.
Monthly checks: Clean terminals, inspect wires. Replace every 1-2 years.
Success: Toy ready for next adventure, battery lasting seasons.
💡 Tips:
Problem: Toy won't power on after install
Solution: Double-check connections/polarity. Test battery voltage (>6V). Clean corrosion.
Problem: Runs weak or slow
Solution: Fully recharge (12+ hrs). Check for loose wires or low Ah mismatch.
Problem: Battery hot or bulging during charge
Solution: Unplug immediately, ventilate. Use new charger/battery. Seek pro if damaged.
Problem: Short runtime (under 30 min)
Solution: Overloaded toy? Reduce weight. Charge fully; test alternates.
Reliable replacement for most 6V ride-ons like Power Wheels; leak-proof and long-lasting (300+ cycles).
Best for: Direct swap for dead stock batteries in small cars/trucks.
Price Range: $15-$20
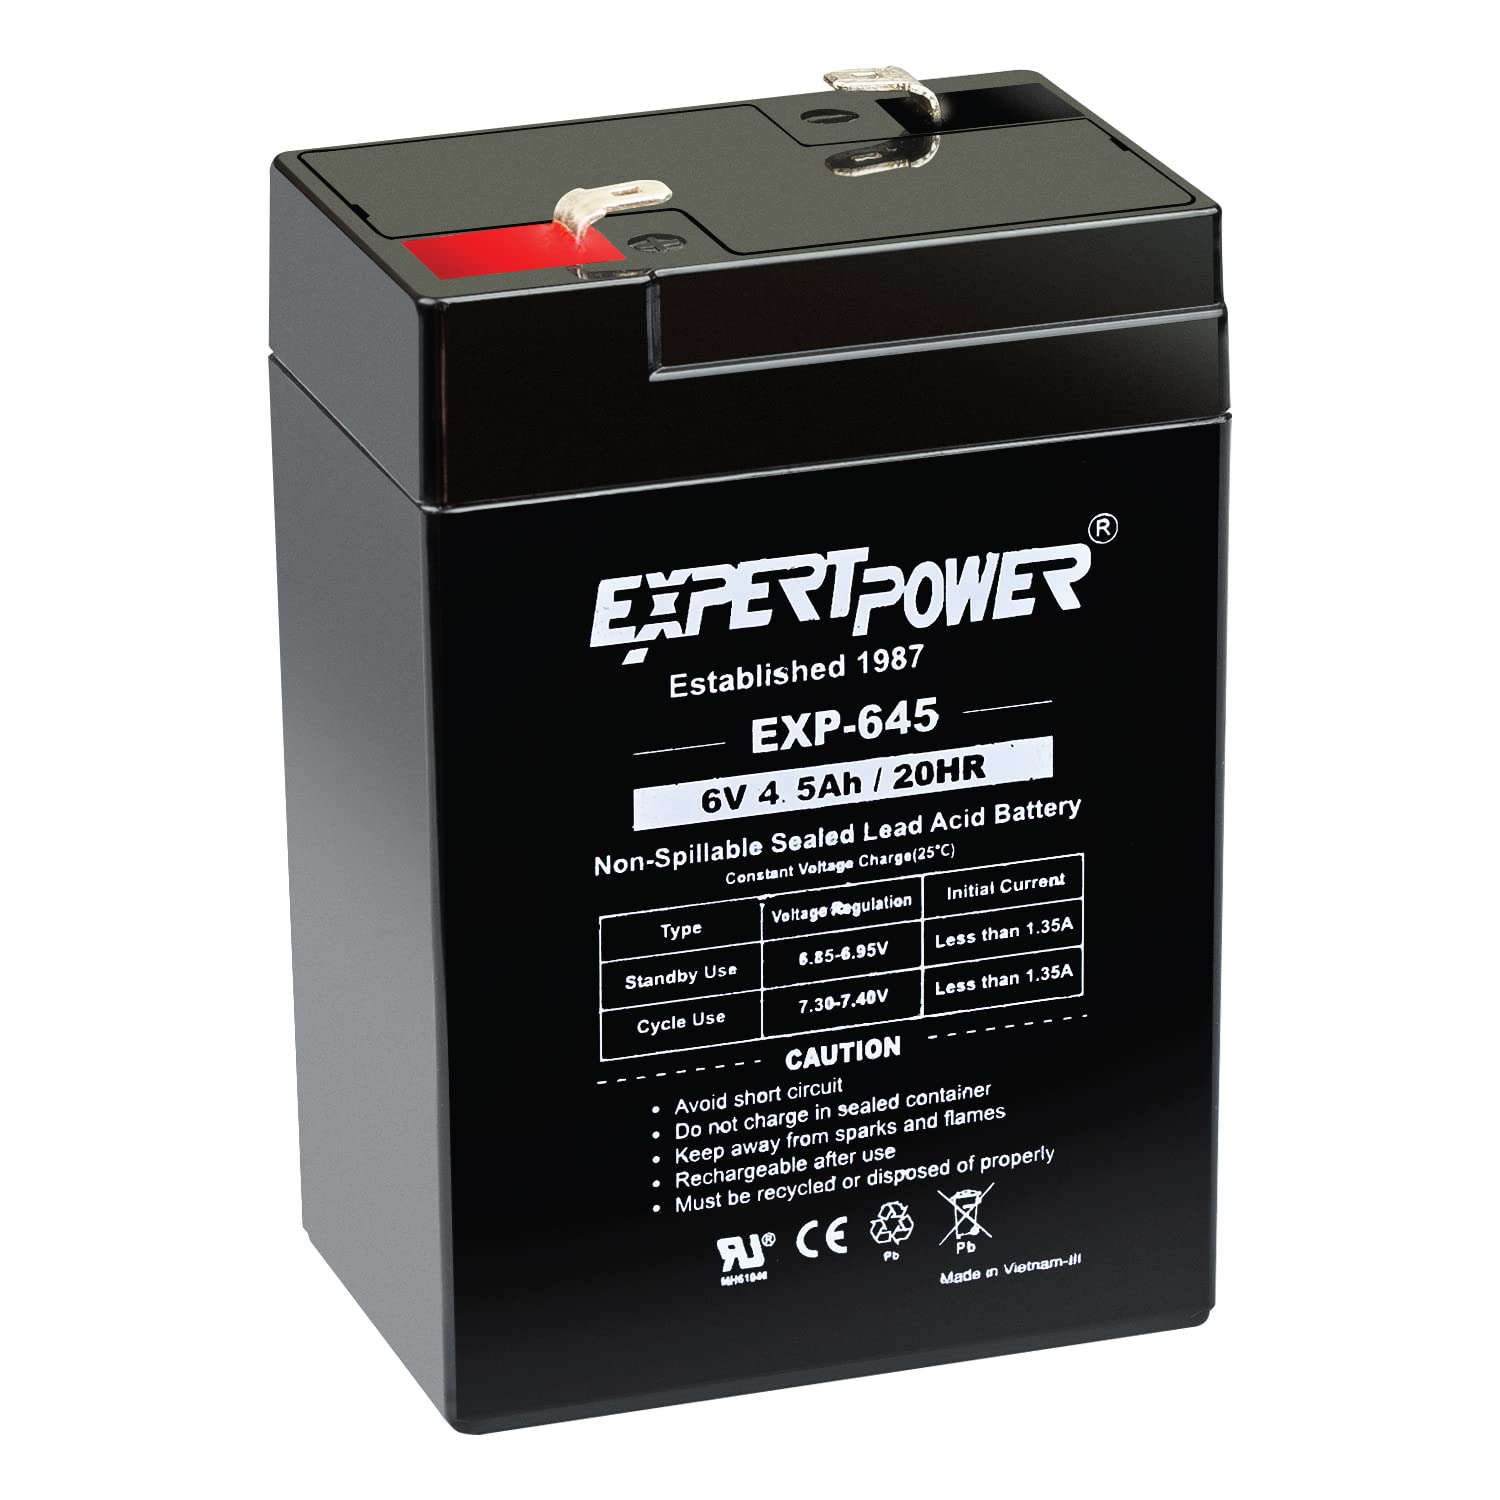
Higher capacity for longer playtime; maintenance-free with sturdy terminals.
Best for: Upgrading runtime on frequently used toys.
Price Range: $18-$25
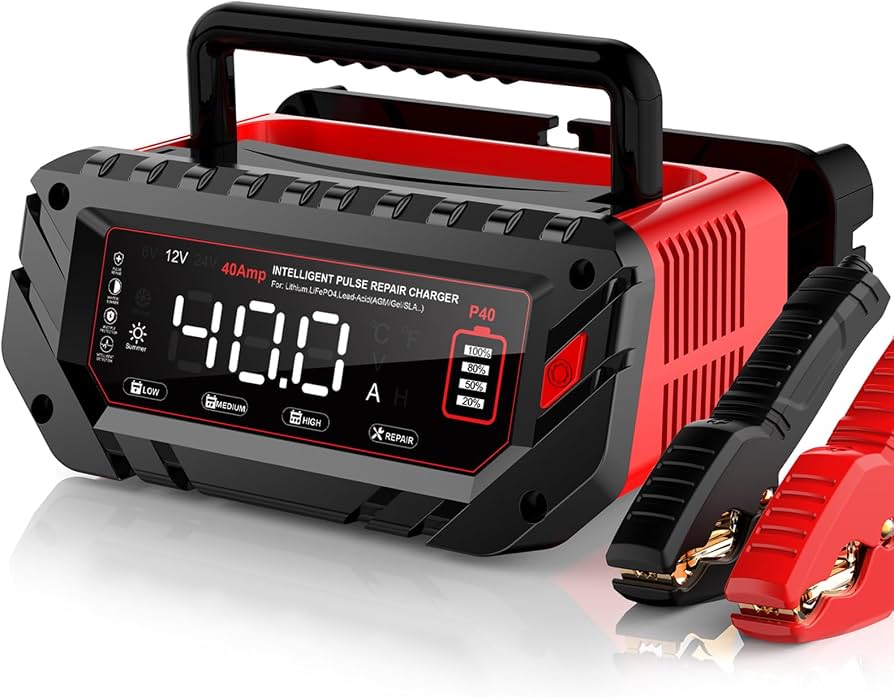
Auto-detects voltage, prevents overcharge; LED indicators for easy monitoring.
Best for: Safe charging for all 6V toys without guesswork.
Price Range: $20-$30
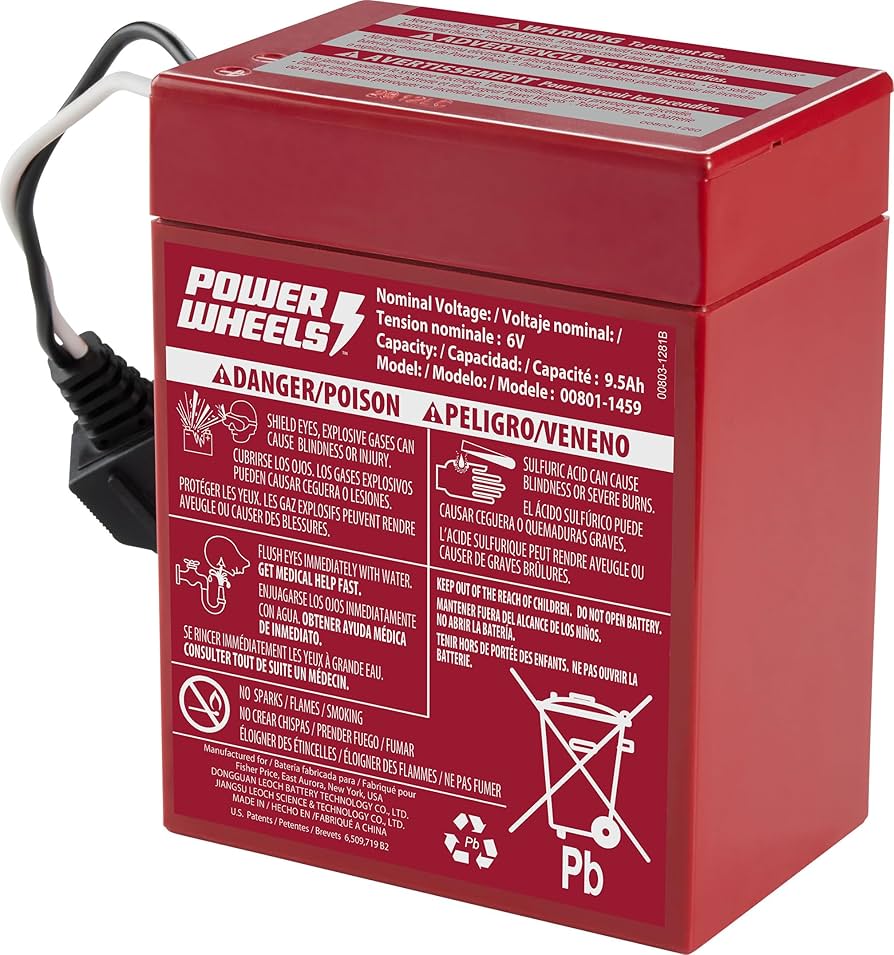
OEM exact fit for Fisher-Price toys; guaranteed compatibility.
Best for: Stock replacement to match original specs perfectly.
Price Range: $30-$40
Quick corrosion remover for clean connections, extends battery life.
Best for: Maintenance during inspections.
Price Range: $8-$12
Direct swap for dead stock batteries in small cars/trucks.
Mighty Max ML4-6 6V 4Ah SLA Battery Reliable replacement for most 6V ride-ons like Power Wheels; leak-proof and long-lasting (300+ cycles).
Upgrading runtime on frequently used toys.
ExpertPower 6V 4.5Ah Rechargeable SLA Battery Higher capacity for longer playtime; maintenance-free with sturdy terminals.
Safe charging for all 6V toys without guesswork.
ACTECMAX 6V/12V Smart Battery Charger Auto-detects voltage, prevents overcharge; LED indicators for easy monitoring.
Stock replacement to match original specs perfectly.
Fisher-Price Power Wheels 6V Battery (00801-1801) OEM exact fit for Fisher-Price toys; guaranteed compatibility.
Maintenance during inspections.
Weiman Battery Terminal Cleaner Kit Quick corrosion remover for clean connections, extends battery life.