
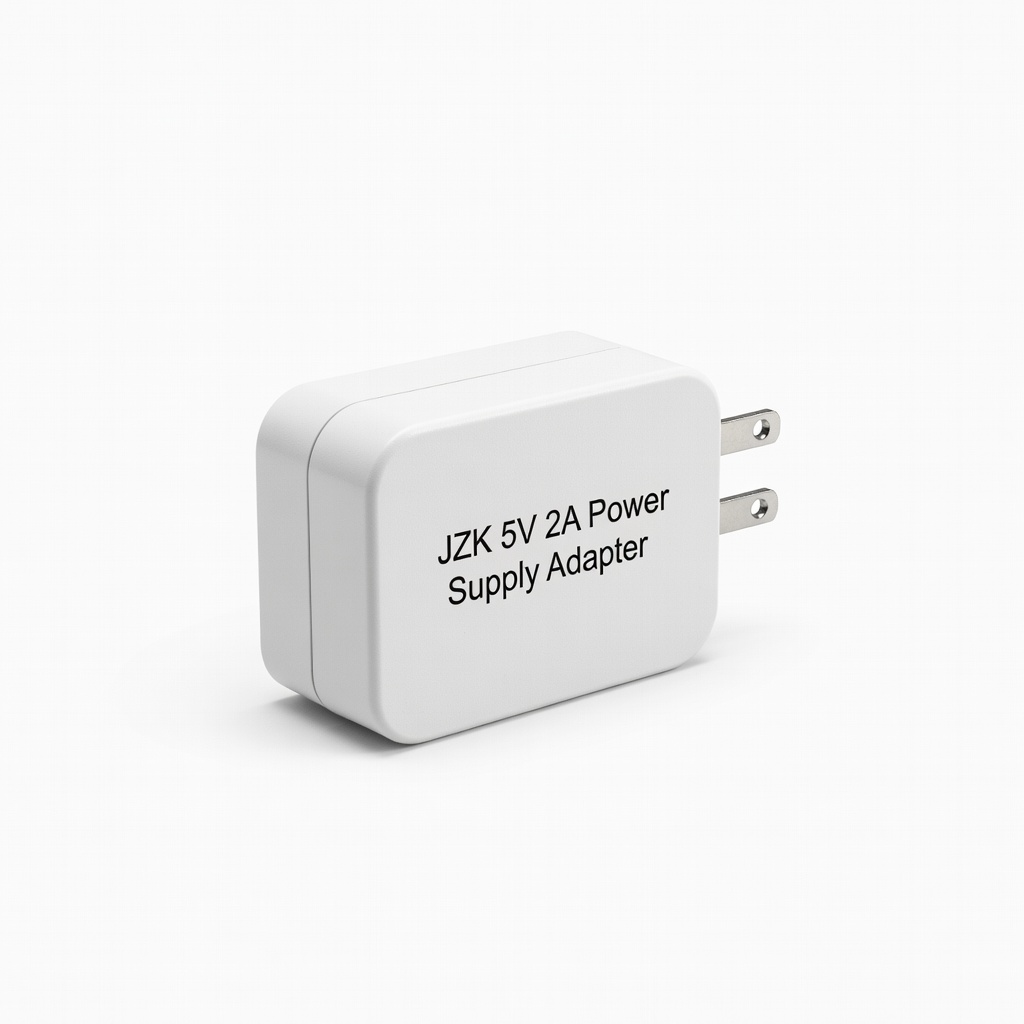
JZK 5V 2A Power Supply Adapter
General Arduino Uno/Mega setups with moderate loads like sensors and relays.
$8.99-$12.99
JZK 5V 2A Power Supply Adapter Reliable regulated output with low ripple, UL-listed for safety in long-run projects.
Get the App
Better experience on mobile
Power your advanced Arduino projects reliably and safely with step-by-step instructions on selecting, connecting, and optimizing 5V adapters.
In advanced Arduino projects—like IoT sensors, motor controls, or multi-board setups—unstable power can cause crashes, data loss, or hardware damage. Many makers struggle with voltage drops, overheating adapters, or polarity mishaps when scaling beyond USB power. This guide solves that by teaching you to master 5V adapters for consistent, high-current delivery.
You'll learn to choose the right adapter, verify compatibility, make secure connections, test under load, and troubleshoot like a pro. Expect to cover specs like ripple voltage and current ratings, perfect for handling relays or LED strips. The process takes 30-45 minutes and assumes you're comfortable with soldering, multimeters, and Arduino IDE.
By the end, your projects will run stably for hours, even with power-hungry peripherals, unlocking reliable prototyping for complex builds.
Estimated Time: 30-45 minutes Difficulty: advanced
Calculate total current draw: sum peripherals (e.g., 500mA for servo + 200mA sensors = 700mA). Choose a 5V adapter rated 2x your max draw (e.g., 2A for 1A projects) to handle surges.
Why? Arduino's onboard regulator drops from VIN (7-12V ideal), but direct 5V bypasses it for efficiency in advanced setups. Expect <5% voltage sag under load.
Pro tip: Use Arduino's analogRead(A0) with voltage divider for in-sketch monitoring.
💡 Tips:
⚠️ Warnings:
Pick a regulated 5V adapter with low ripple (<50mV). Check label: 5VDC, center-positive (+ inside barrel). Verify connector: 5.5x2.1mm standard for Arduino shields.
Inspect for UL/CE certification. Test unloaded output with multimeter: aim for 4.9-5.1V. Why? Poor regulation causes brownouts in timing-critical code.
💡 Tips:
⚠️ Warnings:
For temporary: Use barrel jack to VIN pin via jumper (Uno VIN accepts 5V direct). For permanent: Solder to DC jack breakout, route to 5V/GND rails.
Bypass USB: Remove any USB power. Why? USB limits ~500mA; adapters deliver 2A+ for relays.
💡 Tips:
⚠️ Warnings:
Plug in adapter, measure at Arduino 5V pin: 4.95-5.05V DC. Check polarity with multimeter diode mode.
Upload blink sketch; LED should pulse steadily. Success: No flickering, serial stable at 115200 baud.
💡 Tips:
⚠️ Warnings:
Attach load (e.g., 4 servos drawing 1.5A). Monitor voltage (>4.8V) and temp (<60°C on adapter).
Run loop stressing peripherals. Why? Reveals if adapter handles peaks without reset loops.
💡 Tips:
⚠️ Warnings:
Strain-relief wires, mount adapter externally. Add switch for safety.
Final test: 24hr run with logging. Success: Zero reboots, consistent ADC readings.
💡 Tips:
⚠️ Warnings:
For ultra-stable: Use bench PSU set to 5.000V. Monitor ripple with scope (<20mV p-p ideal).
Implement software watchdog for power glitches. Why? Pro-level for production prototypes.
💡 Tips:
⚠️ Warnings:
Problem: Voltage drops under load
Solution: Upgrade to higher amp adapter or add electrolytic caps (470uF+). Check wire gauge (18AWG min).
Problem: Arduino resets randomly
Solution: Measure ripple; add LC filter. Ensure >4.7V min.
Problem: Adapter overheating
Solution: Derate load or add fan/heatsink. Verify no short.
Problem: No power, but LED off
Solution: Check polarity, continuity. Test adapter on dummy load.
Problem: Erratic sensor readings
Solution: Separate analog/digital grounds. Use dedicated 5V regulator.
Reliable regulated output with low ripple, UL-listed for safety in long-run projects.
Best for: General Arduino Uno/Mega setups with moderate loads like sensors and relays.
Price Range: $8.99-$12.99
Adjustable bench supply for precise 5V tuning and current limiting in advanced testing.
Best for: Prototyping high-current projects or ripple analysis with loads up to 5A.
Price Range: $35.99-$45.99
Industrial-grade with minimal ripple (<50mV) and high efficiency for production-level stability.
Best for: Multi-board clusters or motor-heavy projects needing 5A continuous.
Price Range: $25-$35
Short circuit protection and compact design, perfect for shielded enclosures.
Best for: IoT projects with ESP32 + peripherals drawing 2-3A peaks.
Price Range: $12.99-$15.99
General Arduino Uno/Mega setups with moderate loads like sensors and relays.
JZK 5V 2A Power Supply Adapter Reliable regulated output with low ripple, UL-listed for safety in long-run projects.
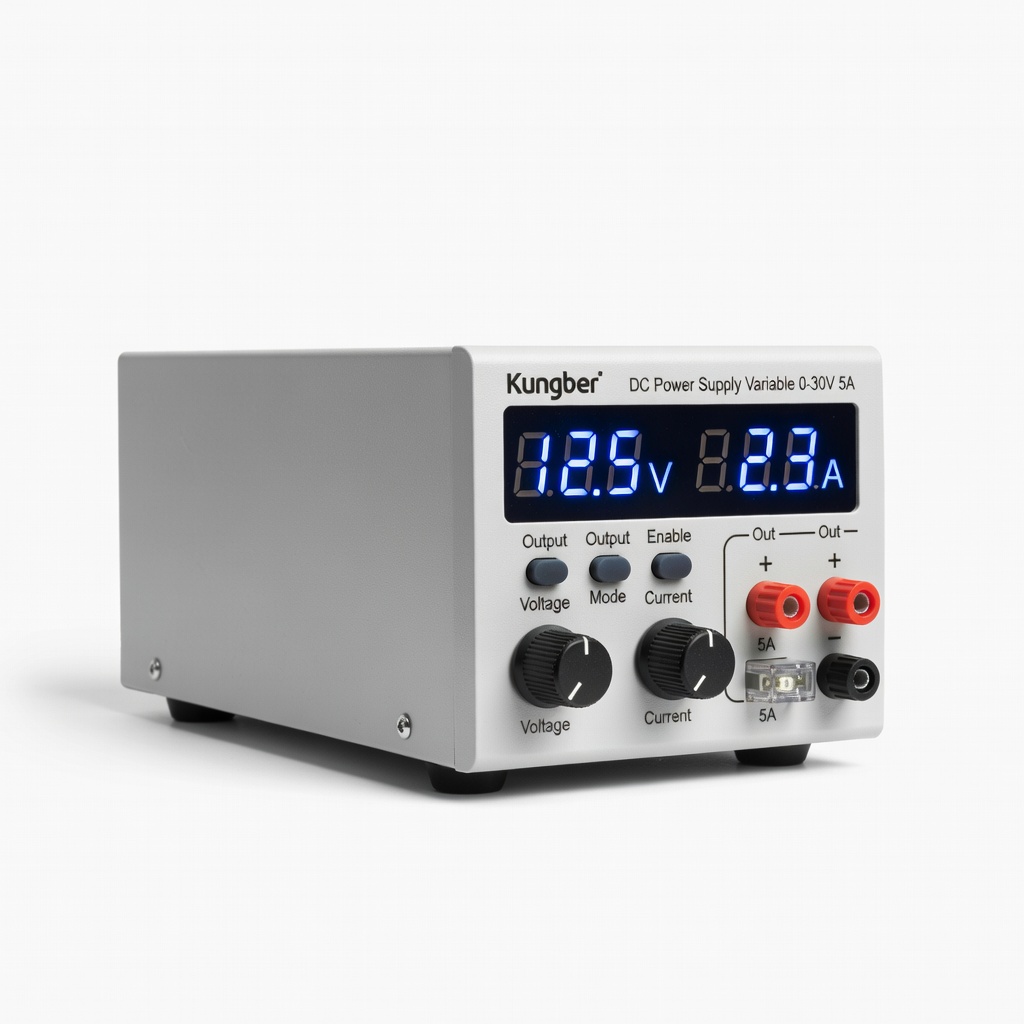
Prototyping high-current projects or ripple analysis with loads up to 5A.
Kungber DC Power Supply Variable 0-30V 5A Adjustable bench supply for precise 5V tuning and current limiting in advanced testing.
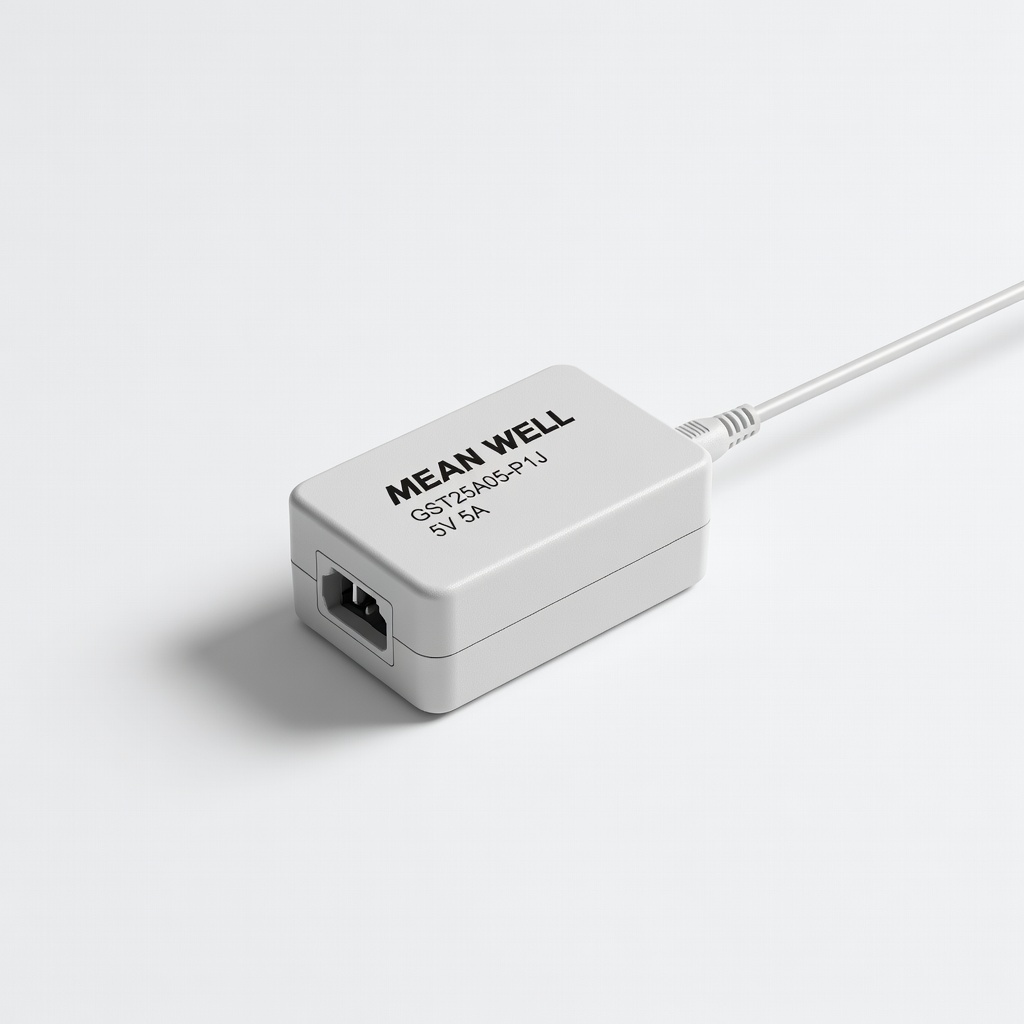
Multi-board clusters or motor-heavy projects needing 5A continuous.
MEAN WELL GST25A05-P1J 5V 5A AC-DC Adapter Industrial-grade with minimal ripple (<50mV) and high efficiency for production-level stability.
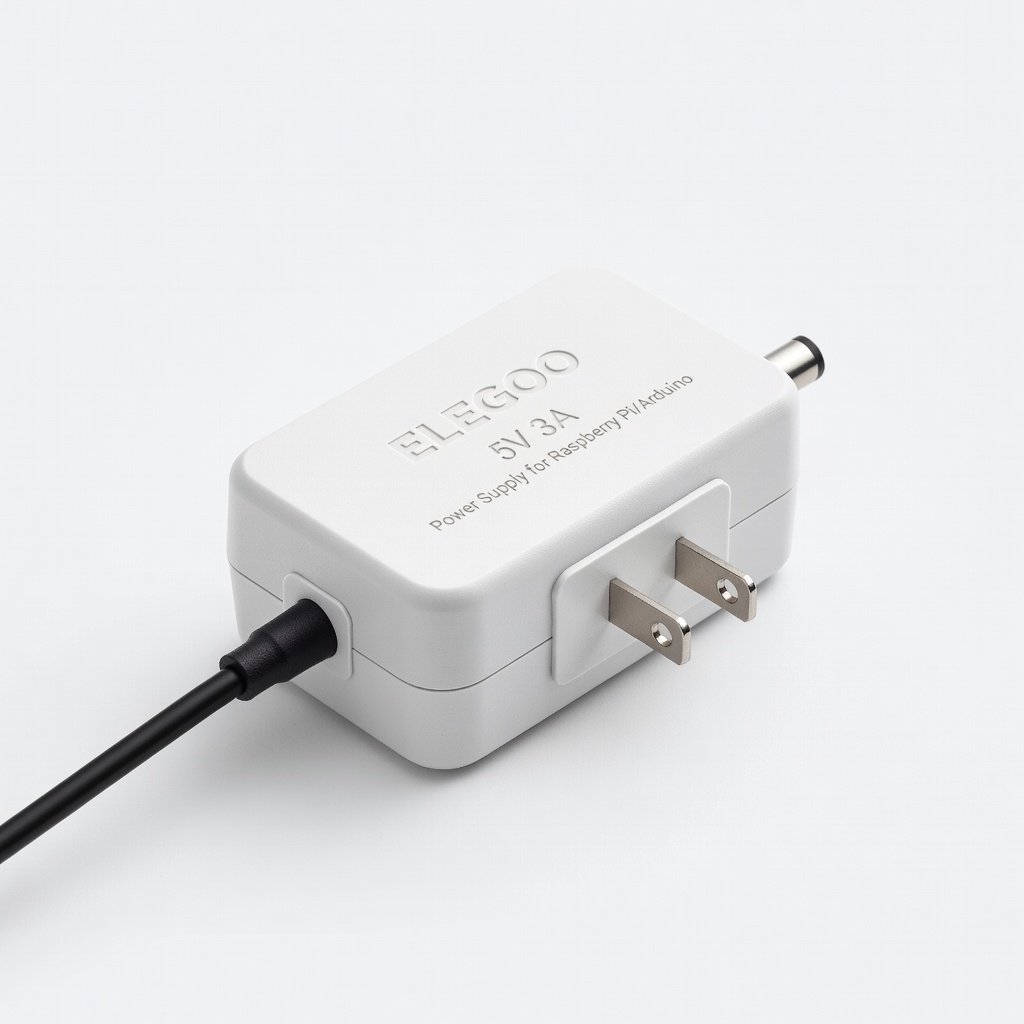
IoT projects with ESP32 + peripherals drawing 2-3A peaks.
ELEGOO 5V 3A Power Supply for Raspberry Pi/Arduino Short circuit protection and compact design, perfect for shielded enclosures.