▸Why 3V Batteries Matter for Your Wearables
Wearable tech like smartwatches, fitness trackers, and Bluetooth earbuds often rely on compact 3V lithium coin cell batteries (e.g., CR2032). But dead batteries, improper installation, or wrong types can lead to frustrating downtime, inaccurate tracking, or even device damage. If you've ever struggled with a fitness tracker that won't hold a charge, this guide is for you.
In this beginner-friendly tutorial, you'll learn how to safely identify, replace, and maintain 3V batteries in your devices. We'll cover everything step-by-step, from safety checks to testing. Expect to complete the process in under 20 minutes with no prior experience needed—just basic care to keep your wearables powered up.
By the end, your device will be running smoothly, and you'll avoid common pitfalls like polarity mix-ups.
▸What You'll Need
- •3V lithium coin cell battery (e.g., CR2032, CR2016—match your device model; required)
- •Small Phillips or flathead screwdriver (if compartment is screwed shut; required for some devices)
- •Plastic pry tool or guitar pick (optional, to avoid scratching)
- •Clean, dry cloth (required for wiping contacts)
- •Battery disposal bag or local recycling info (required for old battery)
Estimated Time: 10-20 minutes
Difficulty: beginner
▸Step-by-Step Instructions
Step 1: Power Off Your Wearable Device
Start by turning off your wearable tech completely. Press and hold the power button (usually on the side) until the screen goes blank or it vibrates to confirm shutdown. For devices like Fitbit or Apple Watch, follow the specific shutdown sequence in the user manual—often holding the side button for 10-15 seconds.
Why it matters: Working with a live device risks short-circuiting the battery or damaging internals. Expect a dark screen and no lights—this confirms success.
Remove from your wrist or charger for safety.
💡 Tips:
- •Check the manual app for model-specific shutdown if unsure.
⚠️ Warnings:
- •Never force shutdown if it's unresponsive—proceed to troubleshooting later.
Step 2: Locate and Open the Battery Compartment
Flip your device over to find the battery cover—often a small slot on the back marked with a battery icon. For snap-fit covers (common in fitness trackers), insert a plastic pry tool into the notch and gently twist to pop it open. For screw covers (e.g., some Garmin watches), use a small Phillips screwdriver to loosen 1-4 tiny screws counterclockwise.
Why it matters: Proper access prevents case damage. Success looks like an exposed round metal compartment with the old battery visible.
Place screws in a magnetic tray if using any.
💡 Tips:
- •Work on a soft surface like microfiber cloth to catch small parts.
⚠️ Warnings:
- •Avoid metal tools on plastic cases to prevent scratches or cracks.
Step 3: Remove the Old Battery
Gently pry the old battery out using the plastic tool under the edge—never use fingernails or metal. Note the polarity: positive (+) side (usually stamped) faces up toward contacts.
Why it matters: Correct removal avoids bending contacts. Expect the old battery to slide out easily; if stuck, clean corrosion with a dry cloth first.
Place the used battery aside in a safe spot—do not touch terminals with bare hands.
💡 Tips:
- •Take a photo of the orientation for reference.
⚠️ Warnings:
- •If you see swelling or leakage, stop and dispose safely—do not reuse.
Step 4: Clean the Battery Contacts
Wipe the compartment contacts and battery holder with a dry microfiber cloth. For light corrosion, use a cotton swab dipped in isopropyl alcohol (90%+), then dry immediately.
Why it matters: Dirty contacts cause poor connections and short life. Clean contacts should shine like new—no residue means success.
💡 Tips:
- •Let alcohol evaporate fully (1-2 minutes) before proceeding.
⚠️ Warnings:
- •No water or excessive liquid—electronics hate moisture.
Step 5: Insert the New 3V Battery
Match the new battery's positive (+) side to the compartment markings. Press it flat into place—it should sit snug without forcing.
Why it matters: Wrong polarity can fry circuits. Success: battery lies flush, contacts touch cleanly.
💡 Tips:
- •Buy lithium batteries (CR series)—they last 2-5x longer than alkaline.
⚠️ Warnings:
- •Confirm voltage (3V) and size (e.g., 20mm diameter for CR2032).
Step 6: Secure the Compartment and Power On
Snap or screw the cover back tightly—hand-tight only, no overtightening. Power on by holding the button; watch for boot-up screen or lights.
Why it matters: Secure seal prevents dust/moisture entry. Expect full functionality within 30 seconds.
💡 Tips:
- •Test immediately to confirm.
⚠️ Warnings:
- •Loose cover leads to battery ejection during wear.
Step 7: Test and Dispose of Old Battery
Wear the device for 5-10 minutes, sync with app, and check battery level. Recycle the old battery at a store or e-waste center—never trash.
Why it matters: Verifies install; proper disposal is eco-friendly/legal. Full bars or normal drain confirms success.
💡 Tips:
- •Mark install date to track life (typically 6-12 months).
⚠️ Warnings:
- •Lithium batteries can explode if landfilled.
▸Pro Tips
- •Always store spares in a cool, dry place—heat kills lithium batteries fast.
- •Use a battery tester ($10 tool) to check new batteries before install.
- •For water-resistant wearables, apply dielectric grease to contacts post-clean.
- •Buy in bulk (4-6 packs) for cost savings—CR2032s are under $0.50 each.
- •Update device firmware after battery swap for optimal power management.
- •Label devices with battery type/size for future swaps.
- •Wear anti-static wristband if handling sensitive GPS wearables.
▸Common Mistakes to Avoid
- •Installing backwards (wrong polarity)—fries electronics; always check + markings.
- •Using non-lithium batteries—drain faster, leak; stick to CR/BR series.
- •Skipping contact cleaning—causes intermittent power; always wipe.
- •Forcing stuck batteries—bends tabs; pry gently.
- •Trashing old batteries—fire hazard; recycle properly.
▸Troubleshooting
Problem: Device won't power on after install
Solution: Double-check polarity and reseat battery. Clean contacts again. Wait 1 minute for reset.
Problem: Battery drains too fast
Solution: Confirm correct size/type. Disable unused features in app. Test with multimeter for 3V.
Problem: Compartment won't close
Solution: Ensure battery is flat. Check for debris. Use less force.
Problem: Corroded contacts
Solution: Use vinegar or baking soda paste, rinse with alcohol, dry fully. Seek pro if severe.
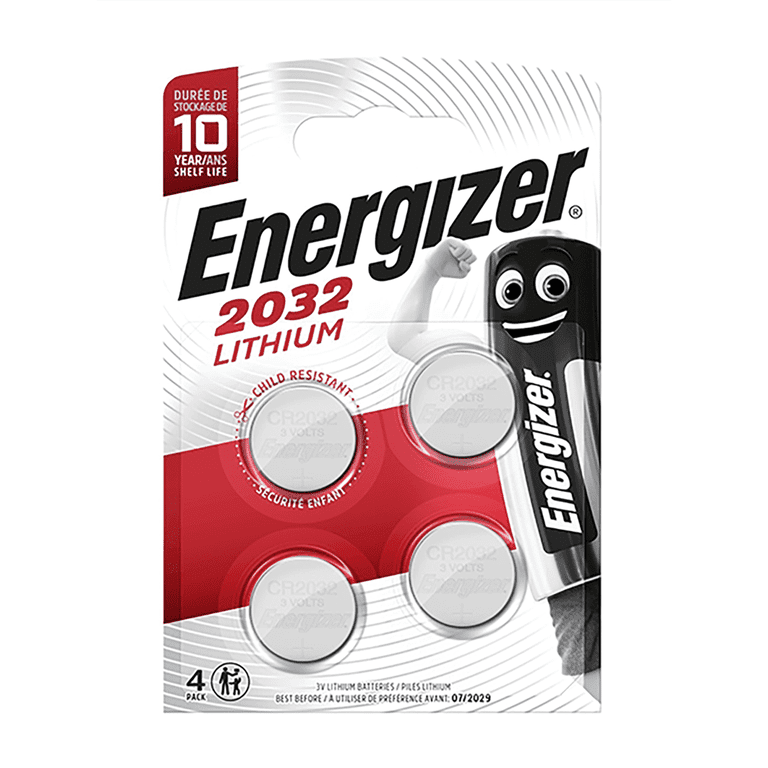
Energizer CR2032 Lithium Coin Batteries, 4 Count
Reliable, long-lasting lithium cells perfect for most wearables like Fitbit and Galaxy Watch.
Best for: Standard replacement for trackers and watches needing CR2032.
Price Range: $6.99
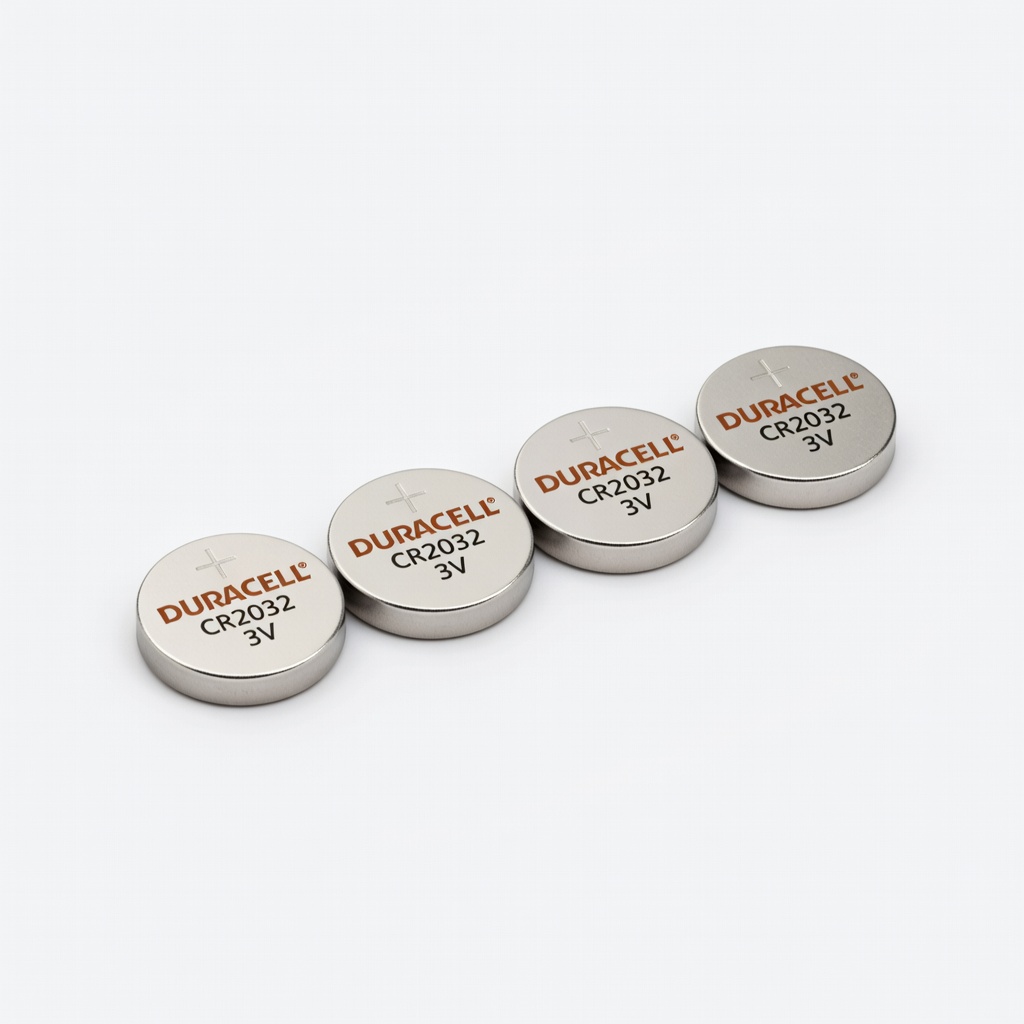
Duracell CR2032 3V Lithium Battery, 4 Count
High-capacity with leak protection, trusted brand for sensitive wearables.
Best for: Apple Watch or Garmin devices requiring dependable power.
Price Range: $9.99
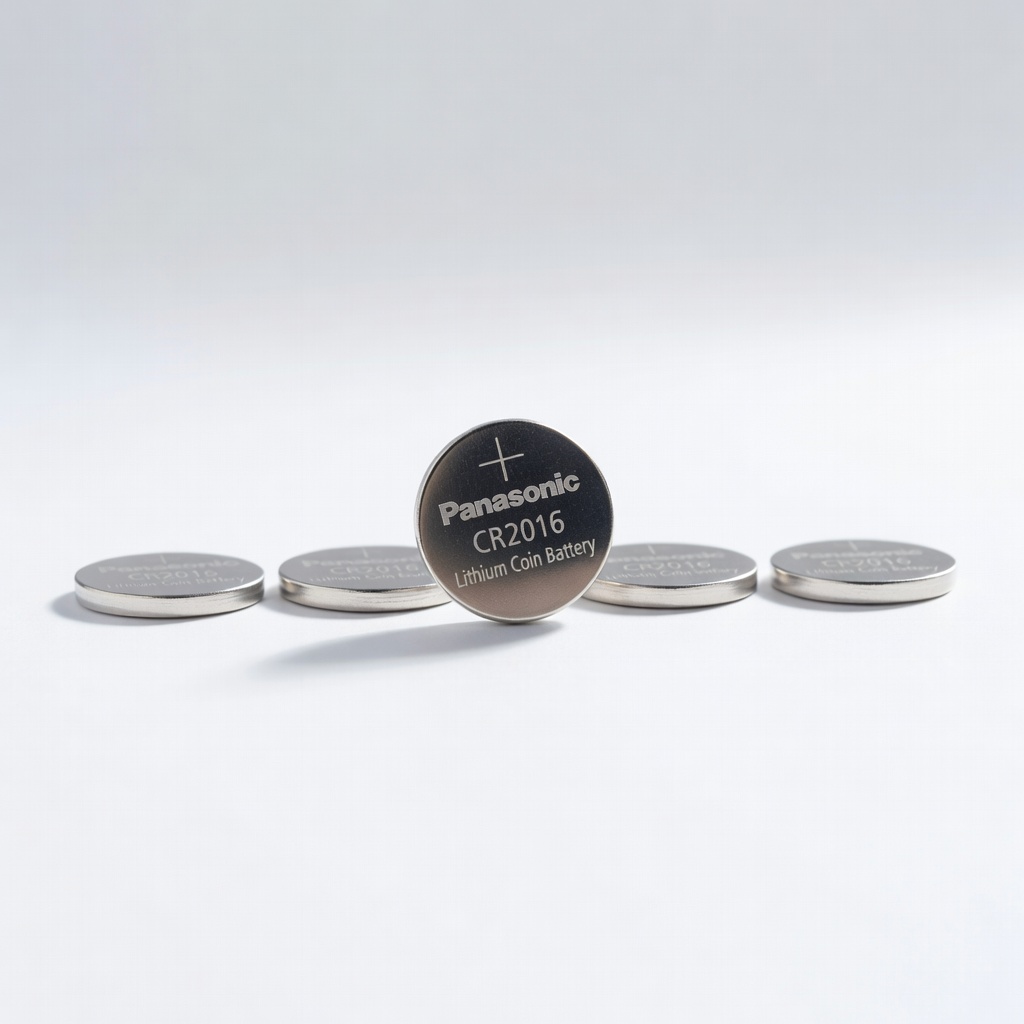
Panasonic CR2016 Lithium Coin Batteries, 5 Count
Slimmer size for compact earbuds/fitness bands, OEM quality.
Best for: Smaller wearables like AirPods cases or slim trackers.
Price Range: $9.49
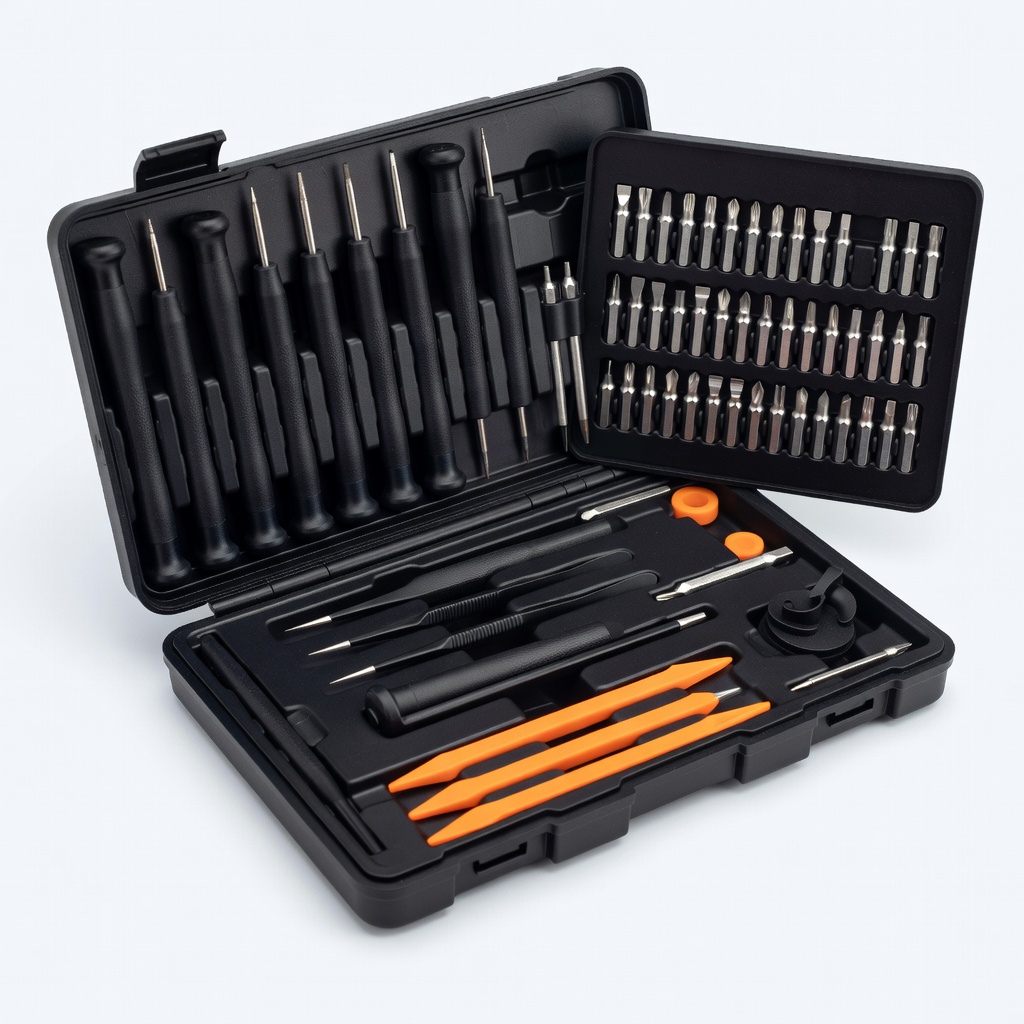
iFixit Pro Tech Toolkit
Precision screwdrivers and pry tools designed for wearables without damage.
Best for: Opening stubborn compartments safely.
Price Range: $29.95-$49.95
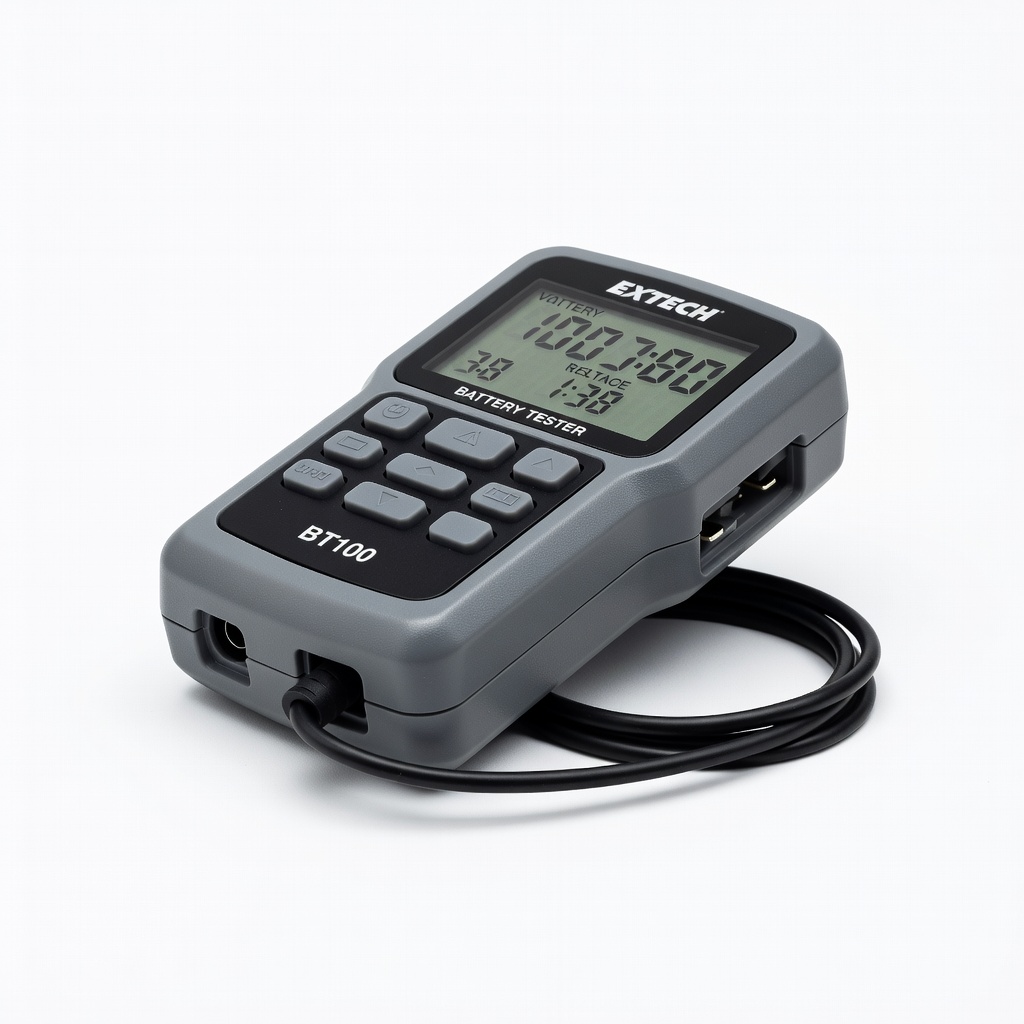
Extech BT100 Battery Tester
Quickly verifies new batteries hold 3V, prevents DOA installs.
Best for: Testing spares before use.
Price Range: $19.99