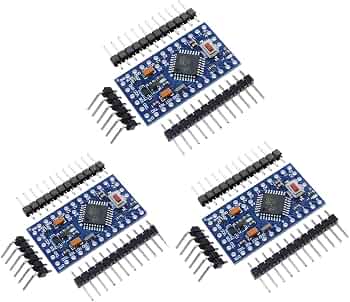
HiLetgo Nano V3.0 ATmega328P 3.3V/8M (5 Pack)
Core board for portable projects like sensors.
$12.99
HiLetgo Nano V3.0 ATmega328P 3.3V/8M (5 Pack) Perfect beginner 3.3V Arduino with USB—direct 3V power on 3V3 pin.
Get the App
Better experience on mobile
Power your beginner Arduino projects portably with 3V coin cells like CR2032 for battery-operated gadgets in under 30 minutes.
Struggling to make your Arduino projects portable without a bulky USB power bank? Many beginners face dead projects when unplugging from the computer. This guide shows you how to safely use 3V batteries, like CR2032 coin cells, to power low-energy Arduino setups.
You'll learn step-by-step how to select compatible hardware, wire everything correctly, test your circuit, and optimize for longer battery life. By the end, you'll have a blinking LED project running solely on a tiny 3V battery—no USB needed.
This beginner-friendly tutorial takes 20-30 minutes, requires no soldering, and uses a breadboard for easy prototyping. Perfect for wearables, sensors, or remote gadgets.
Estimated Time: 20-30 minutes Difficulty: beginner
Download and install the Arduino IDE from arduino.cc. Open the IDE, go to File > Preferences, and add https://downloads.arduino.cc/packages/package_index.json to Additional Boards Manager URLs if needed.
Then, Tools > Board > Boards Manager, search for 'Arduino Nano 33' or select 'Arduino AVR Boards', and install. Under Tools > Board, choose Arduino Nano and set Processor to ATmega328P (Old Bootloader) if using a clone; for 3.3V, ensure Port is selected.
Success looks like: IDE opens without errors, board detected.
💡 Tips:
⚠️ Warnings:
Insert the Arduino Nano into the breadboard. Connect a 220Ω resistor from pin D13 to one leg of the LED. Connect the LED's other leg to GND via a jumper wire.
This test circuit blinks the onboard LED too but adds external visibility. Why? It draws minimal current (~10-20mA peak), perfect for 3V batteries.
Success looks like: Wires neat, no shorts; LED doesn't light yet without power.
💡 Tips:
⚠️ Warnings:
Copy this code into IDE:
void setup() { pinMode(13, OUTPUT); }
void loop() { digitalWrite(13, HIGH); delay(1000); digitalWrite(13, LOW); delay(1000); }
Connect Nano via USB. Click Upload. Watch for 'Done uploading' in console.
Success looks like: Onboard and external LEDs blink every second.
💡 Tips:
⚠️ Warnings:
Insert CR2032 battery into holder (+ side up usually). Confirm polarity with multimeter: + should read ~3V to -.
Twist or solder holder leads if loose (no solder needed for beginners). Trim excess wire.
Success looks like: Steady 3.0-3.2V reading across leads.
💡 Tips:
⚠️ Warnings:
Disconnect USB. Use jumper wires: battery + (red) to Nano 3V3 pin, battery - (black) to GND pin (any GND works).
Why 3V3 pin? Nano 3.3V boards bypass the regulator, accepting direct 3-5V input there safely.
Success looks like: LEDs blink immediately—project runs on battery!
💡 Tips:
⚠️ Warnings:
Time how long it blinks before dimming (expect 1-2 hours continuous). Optional: Insert multimeter in series on GND (amps mode, 200mA range) to measure ~5-15mA average.
Low draw = longer life.
Success looks like: Stable blinking for 30+ minutes.
💡 Tips:
⚠️ Warnings:
Modify code: Add sleep modes or longer delays. Example: delay(5000); for 5s blinks.
Re-upload via USB, then switch to battery.
Success looks like: Battery lasts days in low-duty projects.
💡 Tips:
LowPower library for sleep: install via Library Manager.avr/sleep.h library cuts draw to μA.Problem: No blink on battery, works on USB
Solution: Check voltage at 3V3 pin (>2.8V). Wrong pin? Use 3V3 not 5V. Loose wires?
Problem: Upload fails after battery test
Solution: Reconnect USB only. Reset board. Try different cable/port.
Problem: Battery drains fast
Solution: Measure current—>30mA? Remove extras, add delays/sleep.
Problem: Dim LEDs
Solution: Battery low (<2.7V). Replace. Voltage drop on thin wires?
Perfect beginner 3.3V Arduino with USB—direct 3V power on 3V3 pin.
Best for: Core board for portable projects like sensors.
Price Range: $12.99
Secure holder with breadboard-friendly pins, no soldering needed.
Best for: Easy connection to Arduino power rails.
Price Range: $6.99
Reliable, long-shelf-life 3V cells with high capacity for Arduino.
Best for: Primary power for low-drain blink/wearable projects.
Price Range: $9.99
Assorted lengths/colors for clean prototyping.
Best for: Wiring battery, LED, and board without mess.
Price Range: $6.98
Cheap, accurate for voltage/current—essential for battery checks.
Best for: Verify 3V output and draw before/after.
Price Range: $12.99
Core board for portable projects like sensors.
HiLetgo Nano V3.0 ATmega328P 3.3V/8M (5 Pack) Perfect beginner 3.3V Arduino with USB—direct 3V power on 3V3 pin.

Easy connection to Arduino power rails.
Taidacent CR2032 Coin Cell Battery Holder 2 Pin Secure holder with breadboard-friendly pins, no soldering needed.

Primary power for low-drain blink/wearable projects.
Panasonic CR2032 Lithium Coin Batteries (5 Pack) Reliable, long-shelf-life 3V cells with high capacity for Arduino.

Wiring battery, LED, and board without mess.
ELEGOO 120pcs Breadboard Jumper Wires Kit Assorted lengths/colors for clean prototyping.
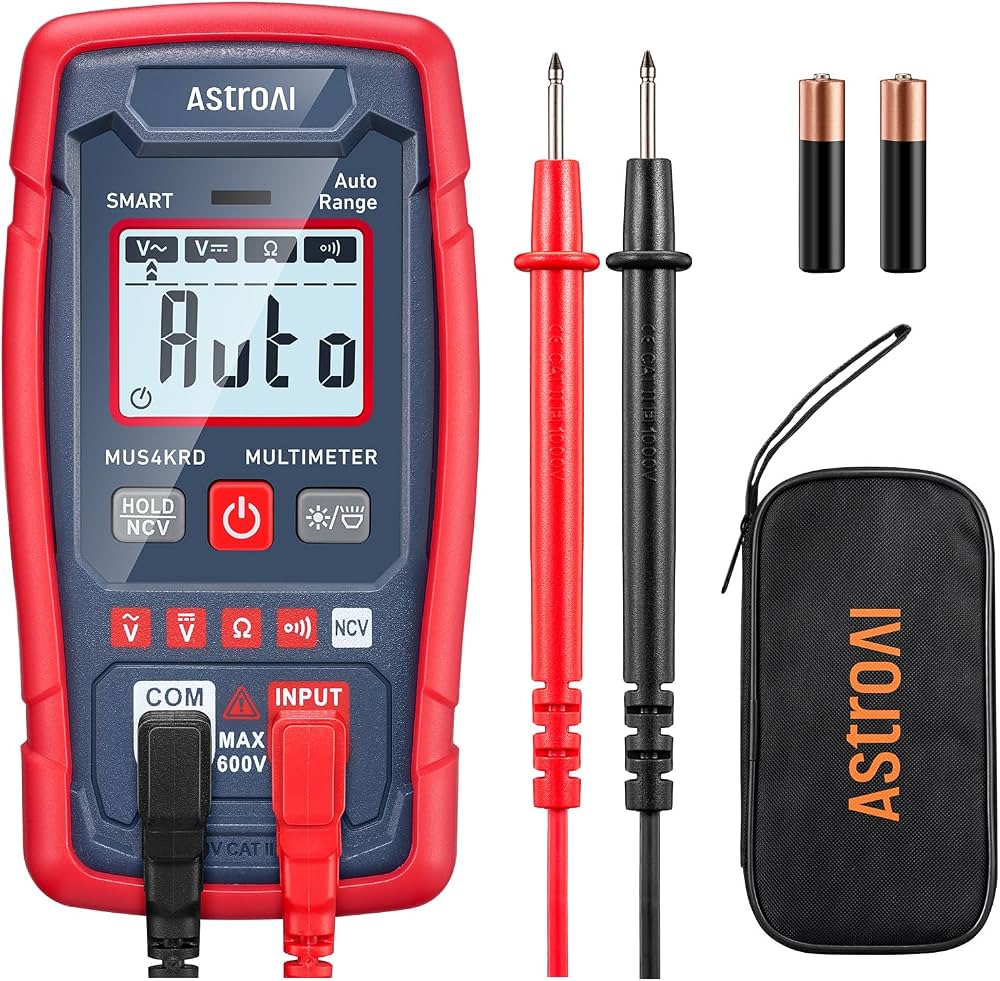
Verify 3V output and draw before/after.
AstroAI Digital Multimeter Cheap, accurate for voltage/current—essential for battery checks.