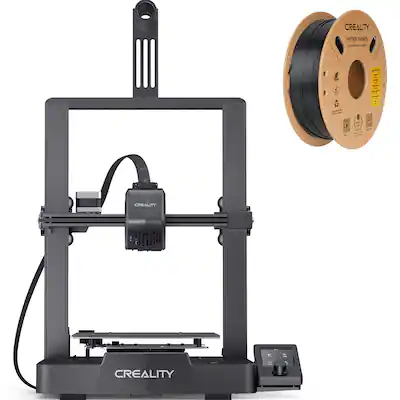
Creality Ender 3 V3 SE 3D Printer
Ideal for first phone stand prints—fast setup.
$199-$219
Creality Ender 3 V3 SE 3D Printer Best beginner printer with auto-leveling for hassle-free starts.
Get the App
Better experience on mobile
Create personalized phone stands at home in 1-2 hours using free designs and beginner tools—no prior experience needed.
Ever knocked your phone off a flimsy stand during a video call or binge-watch? Generic phone holders from stores are boring and often don't fit your device perfectly. With a 3D printer, you can design and print custom stands tailored to your phone's size, angle, and style.
In this beginner guide, you'll learn to find free models, slice them for printing, and produce a sturdy stand that holds any smartphone securely. The process uses free software like Ultimaker Cura and takes just 1-2 hours total, including print time. No CAD skills required—we stick to ready-made designs.
Expect a fun, rewarding project that sparks your 3D printing hobby. By the end, you'll have a custom stand and the know-how to make more.
Estimated Time: 1-2 hours (30 min prep + 30-90 min printing) Difficulty: beginner
Head to Thingiverse.com, a free repository of 3D models. Search for 'phone stand' and filter by 'remixable' or 'beginner.' Look for models with good ratings (4+ stars) and recent makes. Popular ones like 'Adjustable Phone Stand' by "3DPrintBunny" work great for most phones.
Select a model compatible with your phone (e.g., iPhone or Android). Download the STL file (the 3D model's format). Save it to your desktop. Success looks like a small .STL file (under 10MB) ready for slicing.
Why it matters: Free models save design time for beginners.
💡 Tips:
⚠️ Warnings:
Download Cura from ultimaker.com/software/ultimaker-cura. It's free and beginner-friendly. Install like any app (next-next-finish).
Launch Cura and set up your printer profile: Go to Settings > Printer > Add Printer, select your model (e.g., Creality Ender 3). This configures bed size and defaults. Success: Cura opens with your printer selected, ready for models.
Why: Slicer converts STL to printer instructions (G-code).
💡 Tips:
Click 'Open File' or drag your STL into Cura. The model appears on the virtual build plate. Use the rotate/move/scale tools to fit your phone—aim for 10-15cm wide base for stability.
Position it flat on the bed (Z=0). Add supports if overhanging (auto-generate via Preview). Success: Model previews green/orange without red errors.
Why: Proper positioning prevents print failures.
💡 Tips:
⚠️ Warnings:
Use Standard Quality profile (0.2mm layer height). Set infill to 20%, supports on if needed, material PLA at 200°C nozzle/60°C bed. Preview slices (should take 30-60 min).
Slice the model (button at bottom). Success: G-code generated, time estimate shown.
Why: These settings balance speed and strength for PLA.
💡 Tips:
⚠️ Warnings:
Save G-code to USB/SD card via 'Save to File.' Eject safely.
Insert into printer. Success: File appears on printer LCD menu.
💡 Tips:
Level your printer bed (paper test: slight drag). Heat up, home axes. Select file from menu, start print.
Monitor first layers for adhesion. Success: Even first layer, no warping.
Why: Bed leveling is 90% of print success.
💡 Tips:
⚠️ Warnings:
Watch for issues (pause if needed). When done, let cool 10 min, remove from bed.
Sand rough edges. Test with phone—should hold steady at eye level. Success: Stable, custom-fit stand!
Why: Post-processing polishes your creation.
💡 Tips:
Problem: Print won't stick to bed
Solution: Clean bed with IPA, re-level, add glue stick or hairspray.
Problem: Stringy or blobby prints
Solution: Lower temp to 195°C, increase travel speed, enable retraction.
Problem: Layer shifts or misalignment
Solution: Check belts tight, reduce speed to 40mm/s.
Problem: Model too small/big
Solution: Rescale in Cura preview before slicing.
Best beginner printer with auto-leveling for hassle-free starts.
Best for: Ideal for first phone stand prints—fast setup.
Price Range: $199-$219
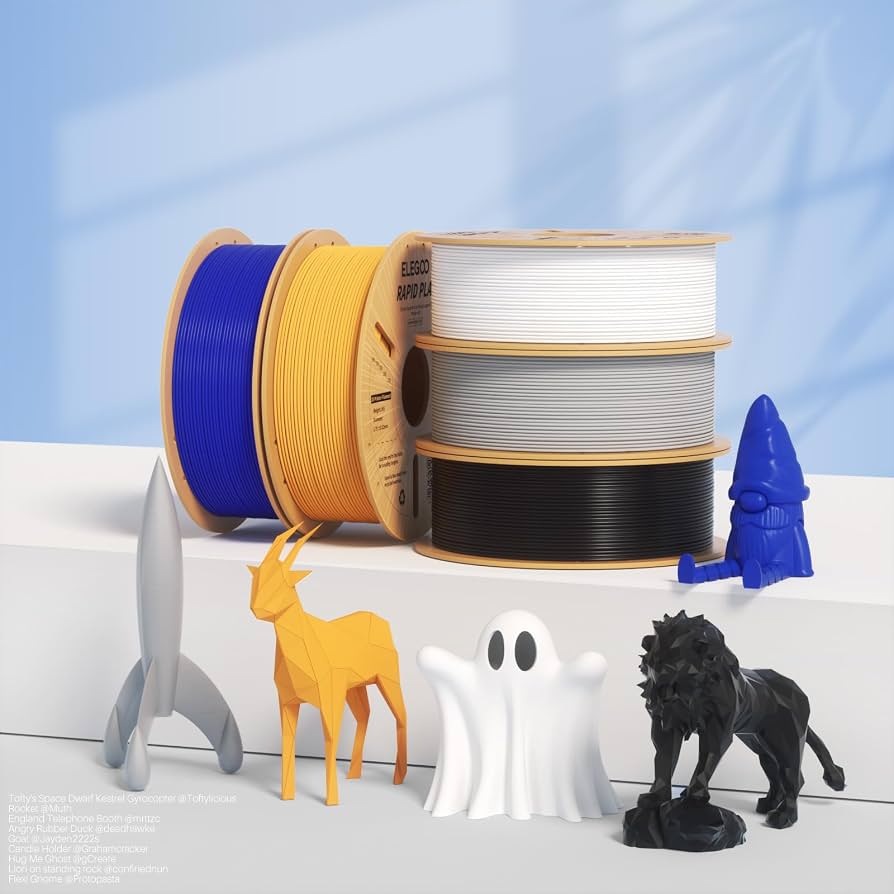
Reliable, affordable PLA that's easy to print without clogs.
Best for: Perfect for custom stands—vibrant colors, strong hold.
Price Range: $15-$20
High-quality with consistent diameter for smooth prints.
Best for: Budget pro option for multiple stand prototypes.
Price Range: $20-$25
Fast, reliable file transfer for printers without USB.
Best for: Transfer G-code quickly during sessions.
Price Range: $8-$12
Faster print speeds for quicker stands.
Best for: High-speed printing without quality loss.
Price Range: $18-$22
Ideal for first phone stand prints—fast setup.
Creality Ender 3 V3 SE 3D Printer Best beginner printer with auto-leveling for hassle-free starts.
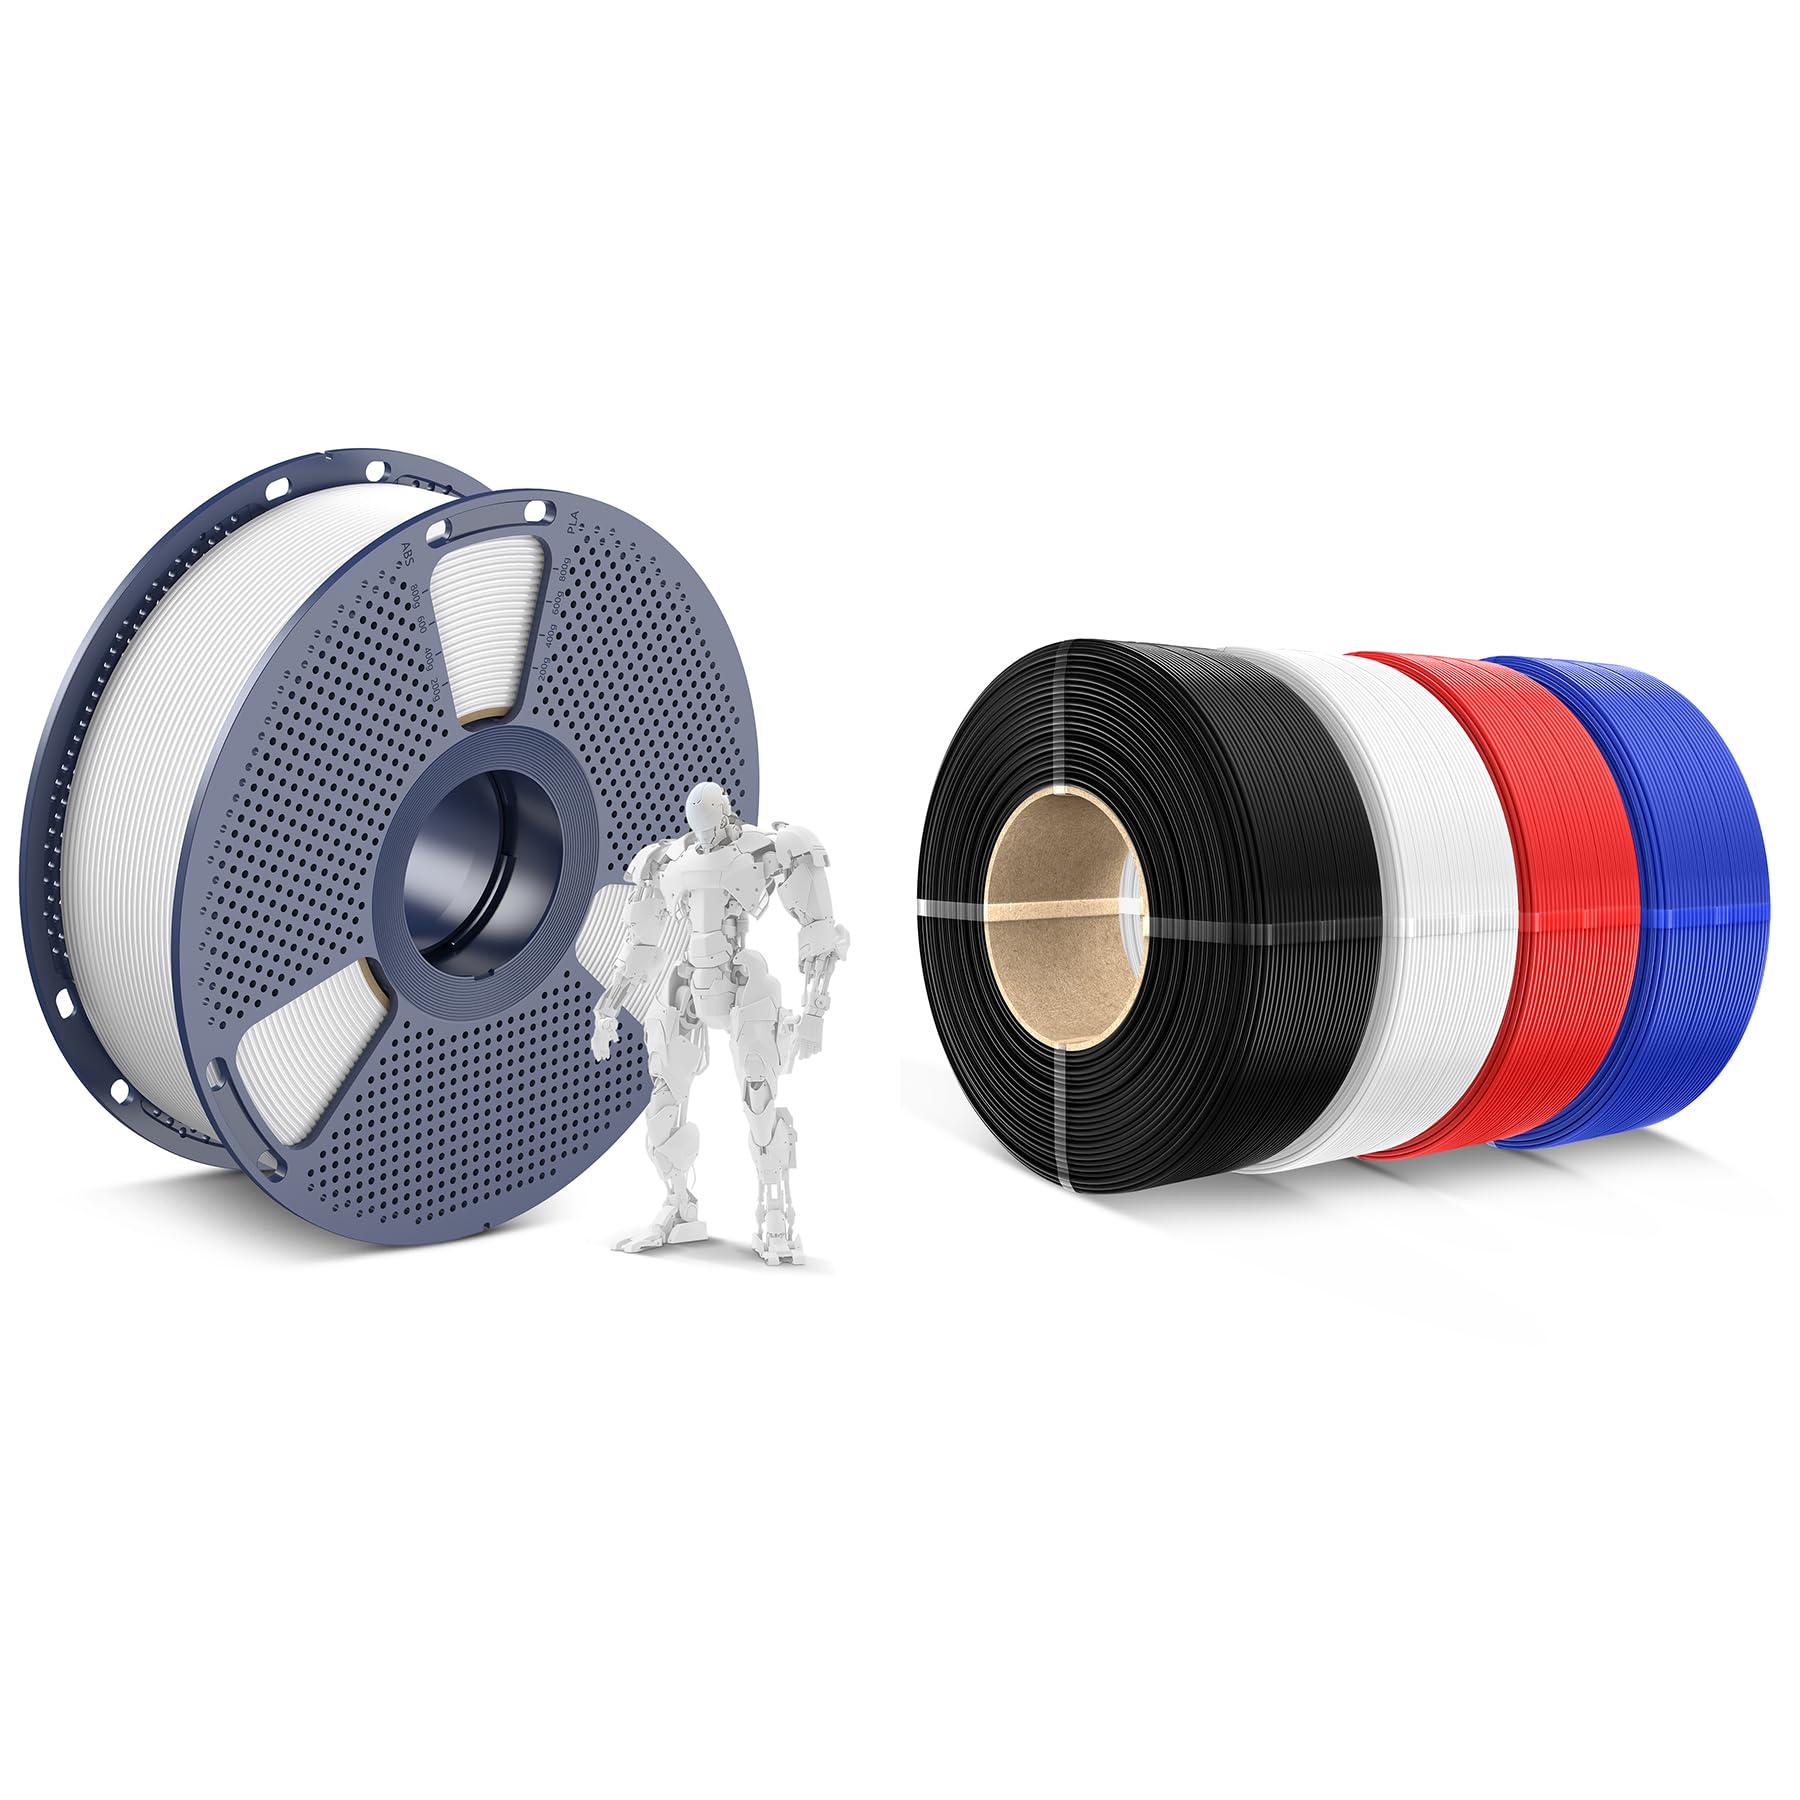
Perfect for custom stands—vibrant colors, strong hold.
SUNLU PLA 3D Printer Filament 1.75mm Reliable, affordable PLA that's easy to print without clogs.
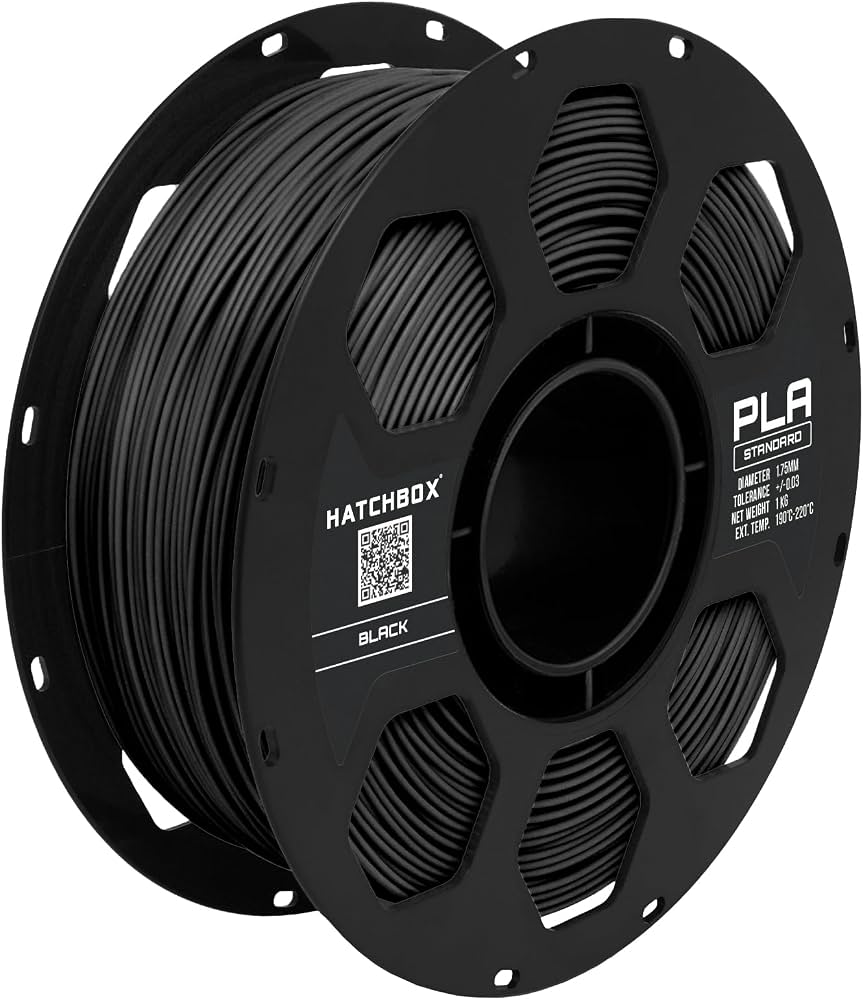
Budget pro option for multiple stand prototypes.
HATCHBOX PLA Filament 1.75mm 1KG High-quality with consistent diameter for smooth prints.
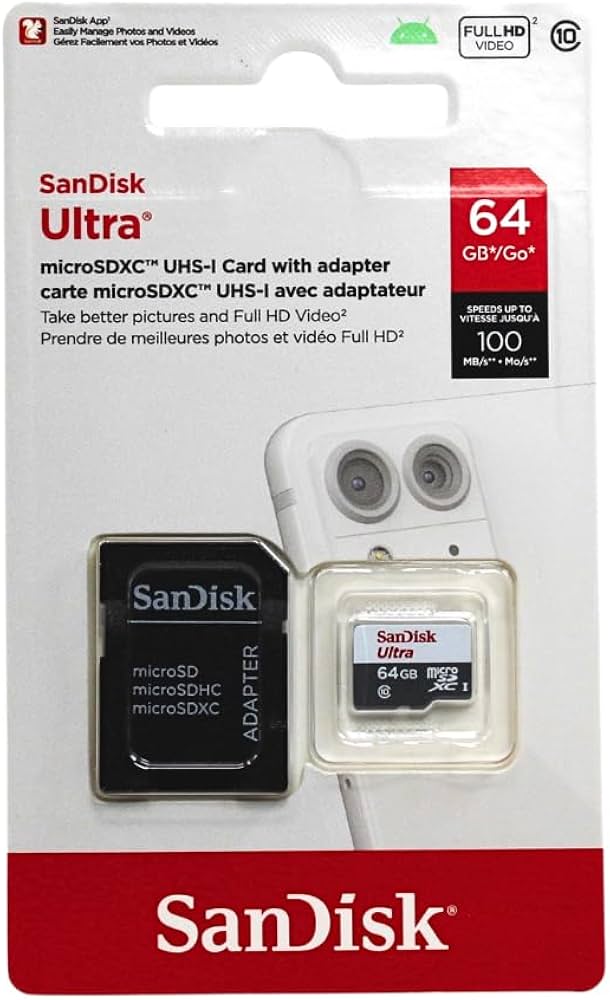
Transfer G-code quickly during sessions.
SanDisk Ultra microSDXC Card Fast, reliable file transfer for printers without USB.
High-speed printing without quality loss.
ELEGOO Upgraded 3D Printer Resin? Wait, PLA: ELEGOO Rapid PLA Filament Faster print speeds for quicker stands.