
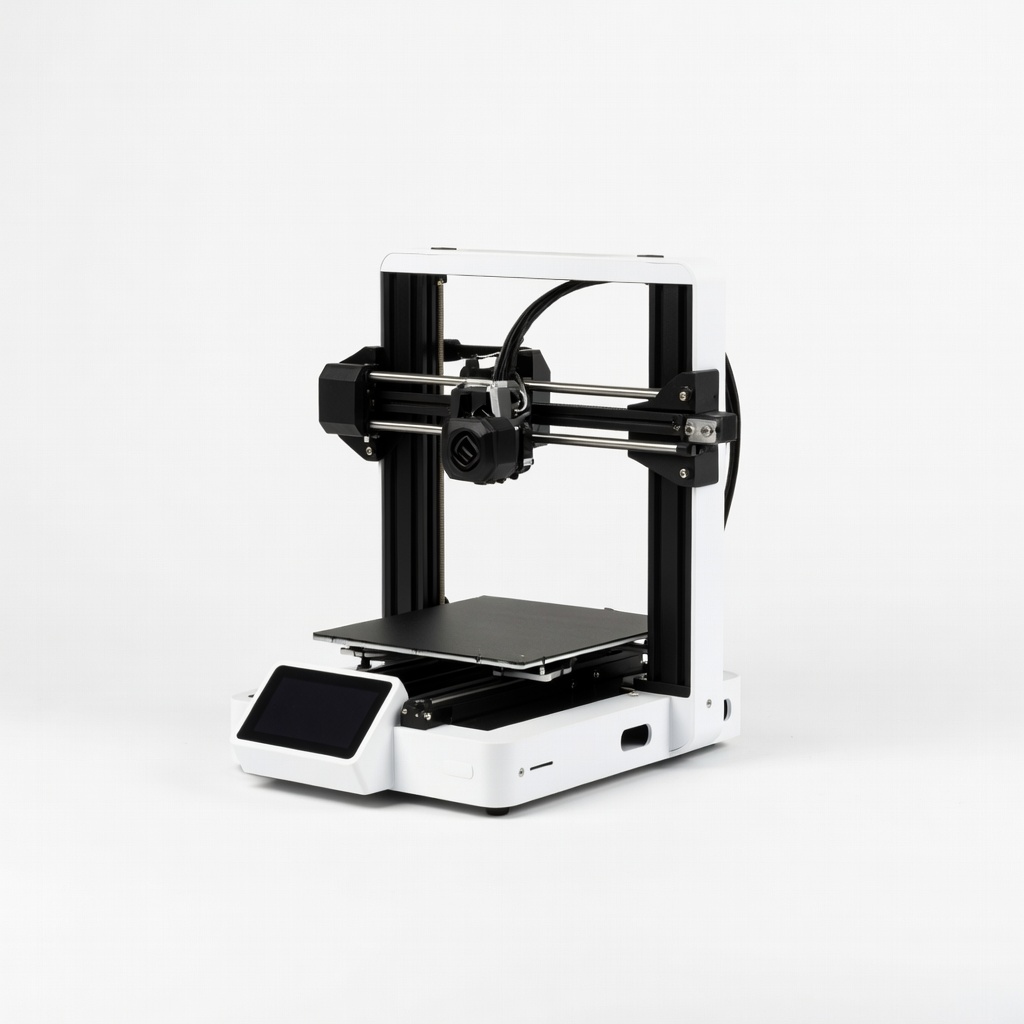
Creality Ender 3 V3 SE 3D Printer
All steps, especially printing; handles PLA flawlessly.
$199-$220
Creality Ender 3 V3 SE 3D Printer Affordable, easy-to-level beginner printer with auto bed leveling—perfect for first phone cases.
Get the App
Better experience on mobile
Beginners: Design, slice, and print personalized phone cases in hours with free tools and affordable printers.
Tired of generic phone cases that don't fit your style or your exact phone model? 3D printing lets you create custom phone cases tailored to your phone's dimensions, adding unique designs, textures, or even functional features like stands or wallets. It's a fun, empowering project that saves money long-term.
In this beginner-friendly guide, you'll learn everything from measuring your phone to printing and finishing a perfect case. No prior experience needed—we'll cover free software like Tinkercad and Cura. The process takes 4-6 hours total (mostly printing time) and results in a durable, professional-looking case.
Expect a straightforward workflow: measure, model, slice, print, and polish. By the end, you'll have skills to make cases for friends or sell them!
Estimated Time: 4-6 hours (1 hour prep/design, 2-4 hours printing, 30 min finishing) Difficulty: beginner
Start by accurately measuring your phone's dimensions to ensure a perfect fit. Use digital calipers for the length, width, height, camera bump, and button placements. Note the screen size and any cutouts needed.
Why it matters: A case that's too tight cracks the phone; too loose slips off. Record measurements in mm (e.g., iPhone 15: 147.6 x 71.6 x 7.8mm). Success looks like a detailed sketch or table of specs.
Tip: Measure with and without case if upgrading an existing one.
💡 Tips:
⚠️ Warnings:
Search Thingiverse or Printables for 'phone case [your model]' (e.g., 'iPhone 15 case'). Download a parametric model you can customize. Or use free Tinkercad: sign up at tinkercad.com, import your measurements, and build a shell around a phone-shaped box.
Why: Custom models fit perfectly. Extrude walls 2-3mm thick, add vents for heat. Success: A 3D preview that matches your phone.
Export as STL file.
💡 Tips:
⚠️ Warnings:
In Tinkercad, add text, logos, or grips. Scale to match measurements (e.g., 101% for tolerances). Test fit virtually by grouping a phone model inside.
Why: Personalization makes it yours. Add rubber-like textures with wavy patterns. Success: Model previews without overlaps or gaps.
Export updated STL.
💡 Tips:
Download Ultimaker Cura (free). Import STL, set bed size to your printer's (e.g., 220x220mm). Choose PLA profile, 0.2mm layer height, 15% infill, 2 walls.
Why: Slicing converts to printer instructions (G-code). Preview layers for issues. Success: Color-coded preview shows solid case, ~2-3 hour print time.
Adjust supports if overhanging.
💡 Tips:
⚠️ Warnings:
Heat bed/nozzle, home axes. Level bed (paper test: slight drag under nozzle). Load PLA filament—extrude 100mm to check flow.
Why: Poor leveling causes warping/failures. Success: Perfect first layer squishes evenly.
Insert SD card with G-code.
💡 Tips:
⚠️ Warnings:
Slice start print. Watch first layers, then check hourly. Pause if needed via LCD.
Why: Early issues fixable. Success: Layer-by-layer build, no stringing/warping, total 2-4 hours.
Enclosure optional for better quality.
💡 Tips:
Cool completely, flex off bed. Remove supports, sand rough edges (220 grit then 400). Spray primer if painting.
Why: Smooth finish feels premium. Test: Snaps on/off securely, buttons accessible.
Success: Flawless fit, ready to use!
💡 Tips:
⚠️ Warnings:
Problem: Print doesn't stick to bed
Solution: Re-level bed, clean with alcohol, add brim or glue stick. Increase bed temp to 60°C.
Problem: Stringy or blobby prints
Solution: Retraction 5-6mm, lower temp 195-205°C, slow speed.
Problem: Warping or lifting edges
Solution: Enclose printer, use PEI sheet, dry filament.
Problem: Poor fit
Solution: Scale model 0.5-1% larger, sand internals.
Affordable, easy-to-level beginner printer with auto bed leveling—perfect for first phone cases.
Best for: All steps, especially printing; handles PLA flawlessly.
Price Range: $199-$220
Reliable, vibrant colors with low warping—ideal for smooth case surfaces.
Best for: Printing durable, matte-finish cases.
Price Range: $15-$20
Precise 0.01mm accuracy for phone measurements—essential for custom fits.
Best for: Step 1 measuring; stainless steel for durability.
Price Range: $25-$30
Fast wash/cure station for resin if upgrading, but PLA bundle for sanding tools.
Best for: Post-processing; optional for flexible TPU cases.
Price Range: $50-$70
Compact, high-speed for small prints like cases; beginner-friendly app.
Best for: Space-saving alternative printer.
Price Range: $299-$350
All steps, especially printing; handles PLA flawlessly.
Creality Ender 3 V3 SE 3D Printer Affordable, easy-to-level beginner printer with auto bed leveling—perfect for first phone cases.
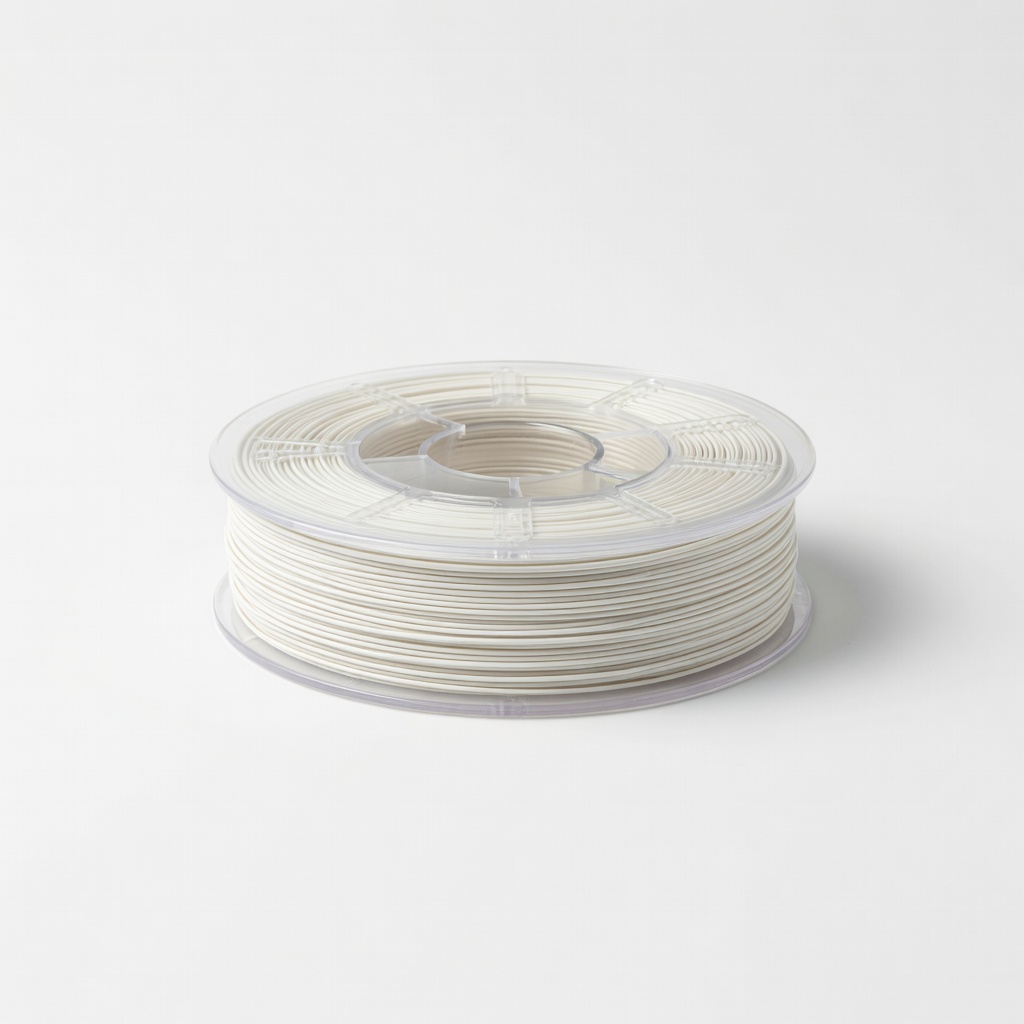
Printing durable, matte-finish cases.
SUNLU PLA 3D Printer Filament 1.75mm 1KG Reliable, vibrant colors with low warping—ideal for smooth case surfaces.

Step 1 measuring; stainless steel for durability.
Neiko 01407A Electronic Digital Caliper Precise 0.01mm accuracy for phone measurements—essential for custom fits.
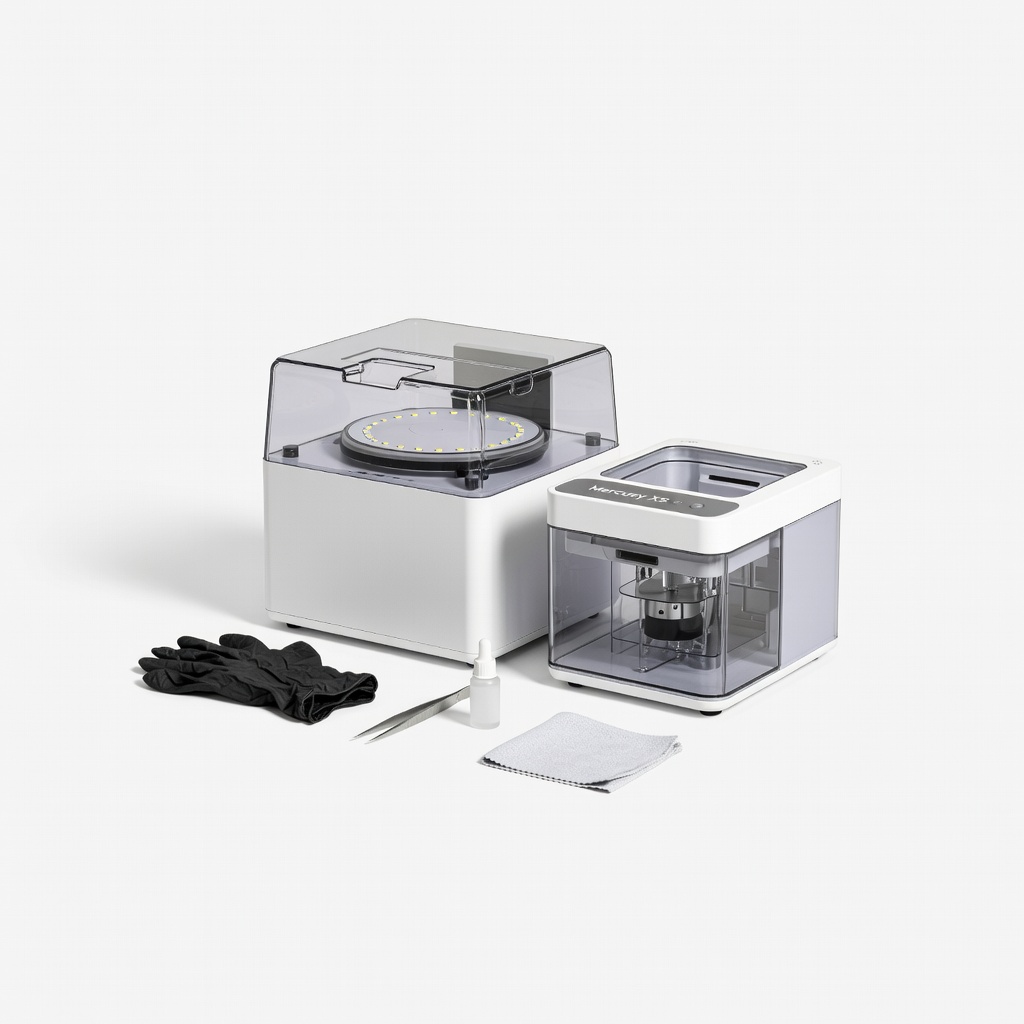
Post-processing; optional for flexible TPU cases.
ELEGOO Mercury XS Bundle Fast wash/cure station for resin if upgrading, but PLA bundle for sanding tools.
Space-saving alternative printer.
Bambu Lab A1 Mini Compact, high-speed for small prints like cases; beginner-friendly app.