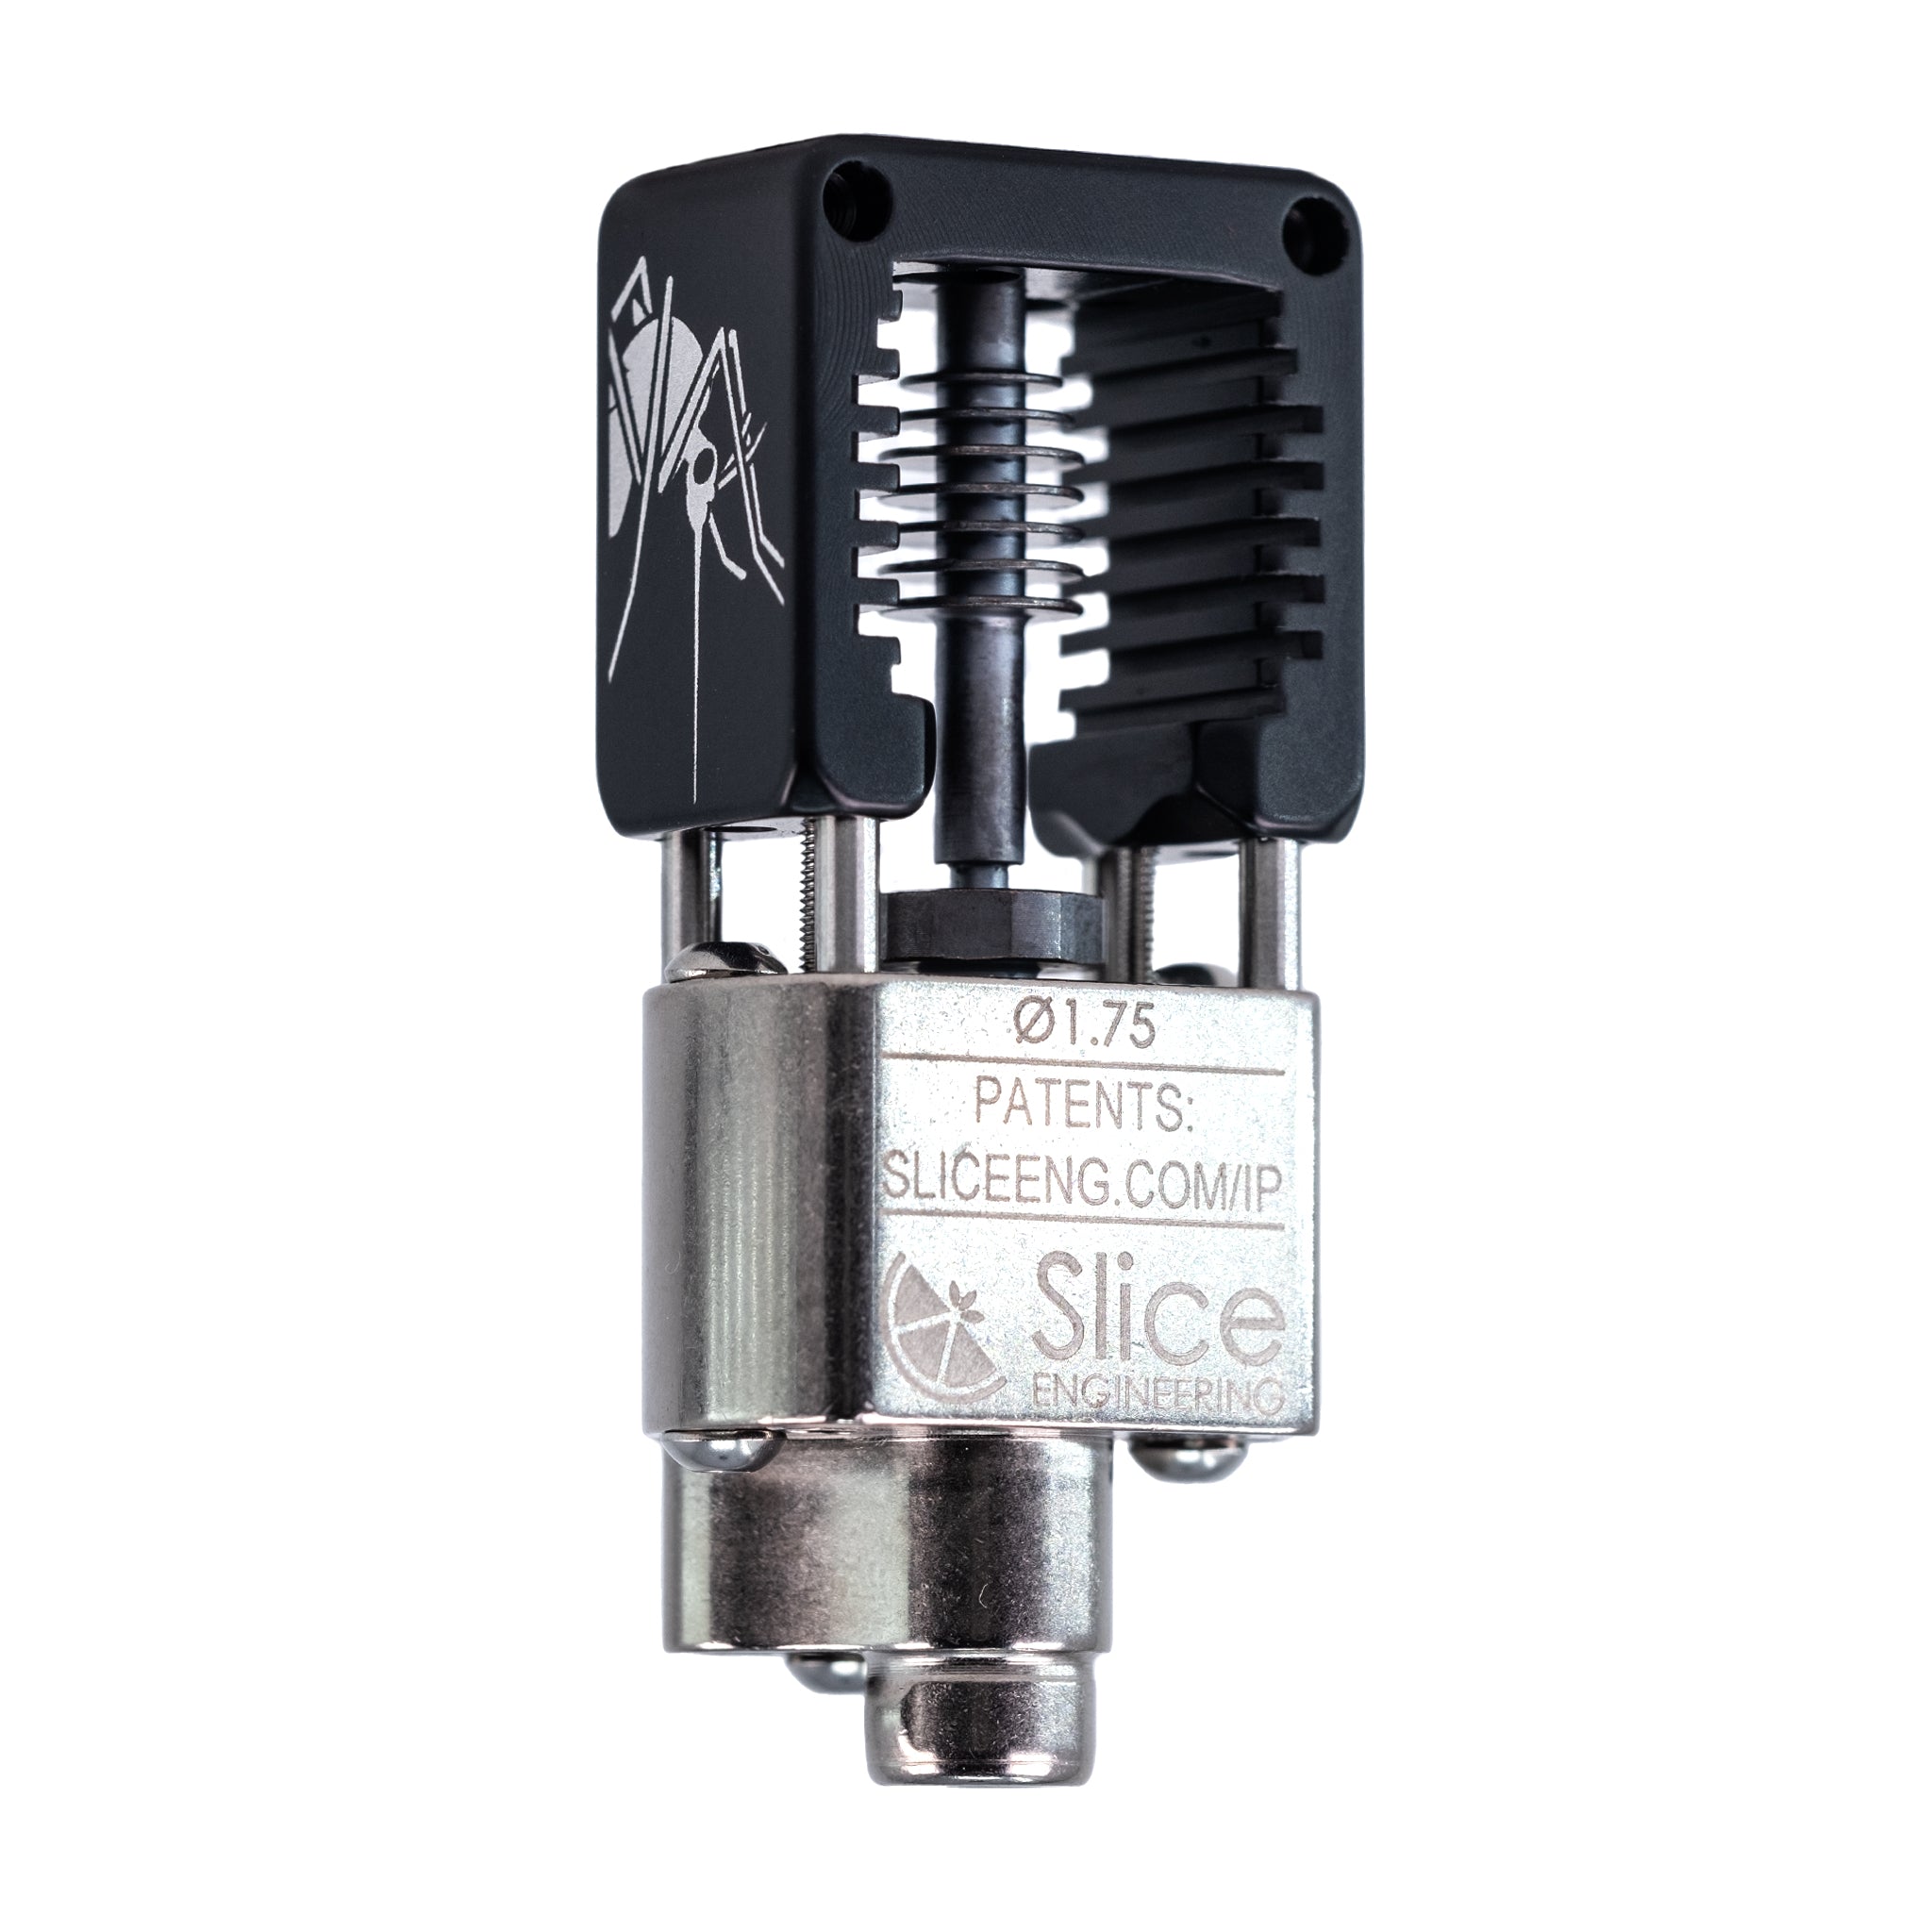
Slice Engineering Mosquito Hotend
Toolhead upgrade for flow-limited printers.
$130-$150
Slice Engineering Mosquito Hotend Ultra-lightweight (55g) with 30mm³/s flow for high-speed printing.
Get the App
Better experience on mobile
Boost print speeds by 2-3x using targeted 3D printer parts upgrades for advanced users.
Slow print times are a major bottleneck for advanced 3D printing enthusiasts pushing for production-level output. Whether you're on a CoreXY like Voron or Cartesian like Ender 3, stock setups max out at 50-100mm/s, but with smart part swaps, you can hit 200-500mm/s reliably. This guide shows you how to identify and upgrade key components.
You'll learn to assess bottlenecks, install high-flow hotends, lighten toolheads, upgrade motion systems, and tune firmware. Expect 4-8 hours total, spread over a weekend, with advanced soldering, wiring, and flashing skills required. Success means buttery-smooth high-speed prints without artifacts.
Estimated Time: 4-8 hours (plus print testing) Difficulty: advanced
Print a speed tower test (e.g., from Teaching Tech) at increasing speeds to identify limits: extrusion (stringing/underextrusion), vibration (ghosting), or cooling (poor bridging).
Measure accel/jerk in your slicer (e.g., SuperSlicer) and note max viable speed. Use an accelerometer app or Klipper's input shaper if installed. This step ensures you target the right upgrades—e.g., hotend for flow issues.
Success: A data log showing your printer's weak points (e.g., 'max 80mm/s clean prints').
💡 Tips:
⚠️ Warnings:
Swap stock hotend for a high-flow model like Mosquito or Phaetus Dragon. Disassemble toolhead, heat block first, then remove. Mount new hotend with M3 screws, ensuring cartridge heater and thermistor align.
Why? Stock V6 maxes at 10-15mm³/s; high-flow hits 30+mm³/s for faster layer times. Prime with 5m filament purge.
Success: Extrudes smoothly at 15mm³/s+ without clogs.
💡 Tips:
⚠️ Warnings:
Replace bowden/geared extruder with direct drive like Bondtech BMG. Remove old, mount new with idler tension adjusted to 1-2mm slip. Rewire to mainboard or add UART driver.
Reduces inertia for faster accel (5k+ mm/s²). Retraction improves to 100mm/s.
Success: Toolhead weighs <300g, accelerates snappily.
💡 Tips:
⚠️ Warnings:
Swap stock 20T GT2 for 16T pulleys and 6mm Gates belts. Loosen idlers, thread new belt, tension to 110Hz pluck tone (app like Belt Tension Meter).
Narrower belts + smaller pulleys cut backlash and mass, enabling 10k+ steps/mm resolution at speed.
Success: Minimal cogging, straight 200mm test lines.
💡 Tips:
Ditch V-wheels/rods for MGN12H rails. Measure axes, cut rails, mount with T-nuts. Lube with dry PTFE, attach carriages.
Rails slash friction 80%, allow 20k mm/s² accel without wear.
Success: Ultra-smooth motion, no wobble on 300mm travels.
💡 Tips:
⚠️ Warnings:
Install 5015 ducted blower for part cooling (40CFM+), 4010 for hotend (30CFM). 3D print custom ducts (e.g., Petsfang).
Prevents overhang failure at 150mm/s+.
Success: Bridges 100mm at speed without sagging.
💡 Tips:
Install Klipper on Pi + BTT SKR board. Configure printer.cfg with new kinematics, run resonance tests for input shaper (ADXL345).
Enable pressure advance (0.02-0.05). Set accel 10k+, speed 300mm/s.
Success: Clean benchy at 200mm/s, 0.2mm layers.
💡 Tips:
⚠️ Warnings:
Run flow calibration, PA tower, then full print (e.g., 3DBenchy). Iterate slicer profiles (200% flow linear advance).
Monitor temps, vibes.
Success: Production-quality prints at 3x stock speed.
💡 Tips:
Problem: Underextrusion at speed
Solution: Increase PA value, check flow rate, clean hotend.
Problem: Vibrations/ghosting
Solution: Re-run input shaper, check belt tension, balance pulleys.
Problem: Rail binding
Solution: Realign rails, clean/lube carriages.
Problem: Hotend clogs
Solution: Cold pull, verify filament diameter, lower temp.
Ultra-lightweight (55g) with 30mm³/s flow for high-speed printing.
Best for: Toolhead upgrade for flow-limited printers.
Price Range: $130-$150
Dual-gear 5:1 ratio with low mass for precise fast extrusion.
Best for: Direct drive conversion on Cartesian/CoreXY.
Price Range: $80-$100
Precision rails reduce friction by 80% vs rods.
Best for: X/Y axis upgrades for smooth high-accel motion.
Price Range: $30-$50 each
Fewer teeth, lower stretch for high-speed accuracy.
Best for: Belt replacement in CoreXY setups.
Price Range: $15-$25
50CFM cooling for overhangs at 200mm/s+.
Best for: Part cooling duct installs.
Price Range: $10-$15
Toolhead upgrade for flow-limited printers.
Slice Engineering Mosquito Hotend Ultra-lightweight (55g) with 30mm³/s flow for high-speed printing.

Direct drive conversion on Cartesian/CoreXY.
Bondtech BMG Extruder Dual-gear 5:1 ratio with low mass for precise fast extrusion.
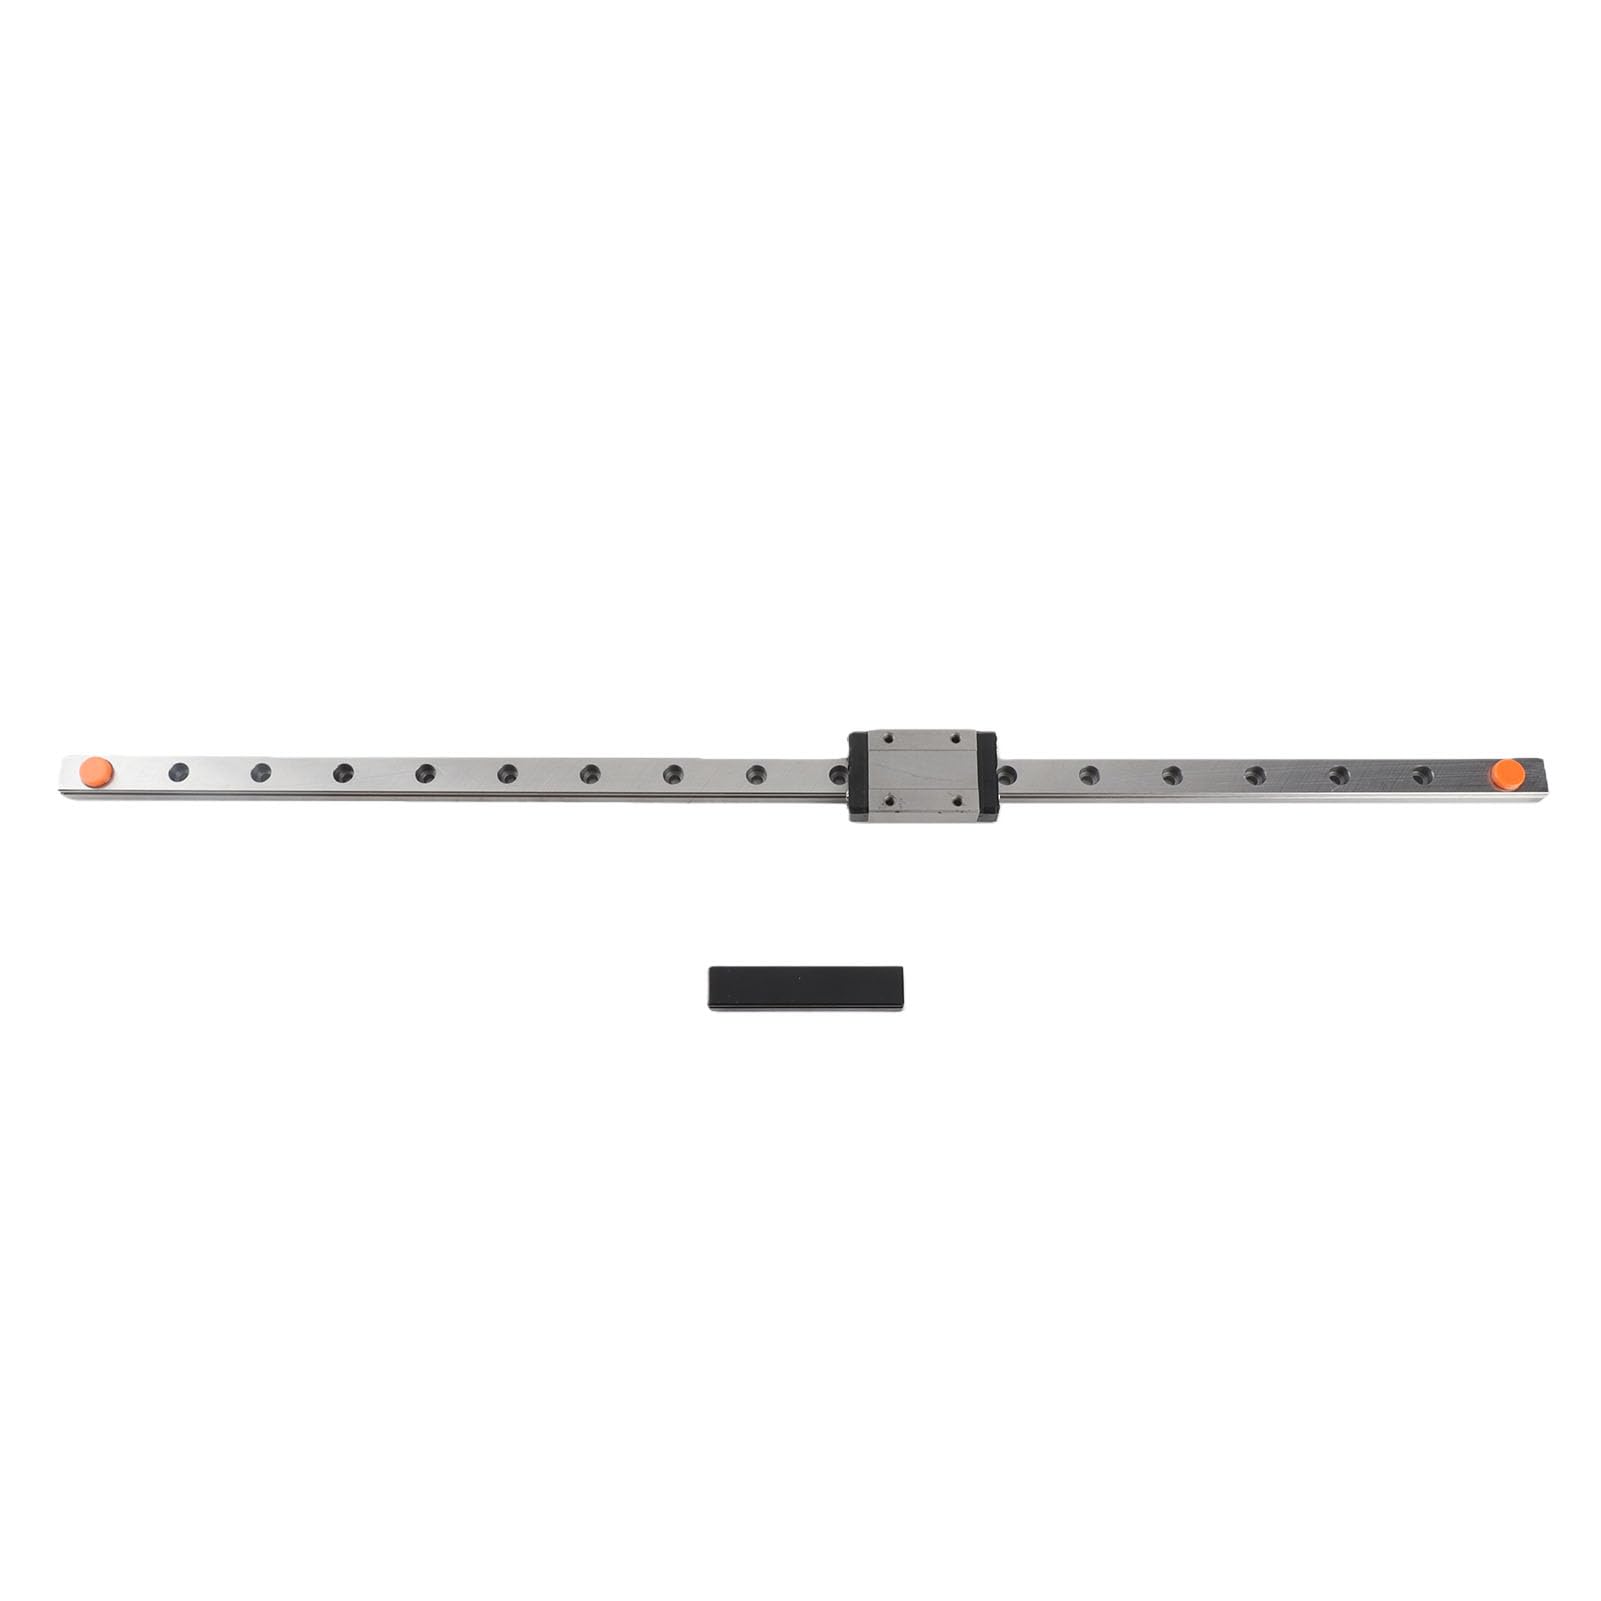
X/Y axis upgrades for smooth high-accel motion.
MGN12H Linear Rail 450mm Precision rails reduce friction by 80% vs rods.
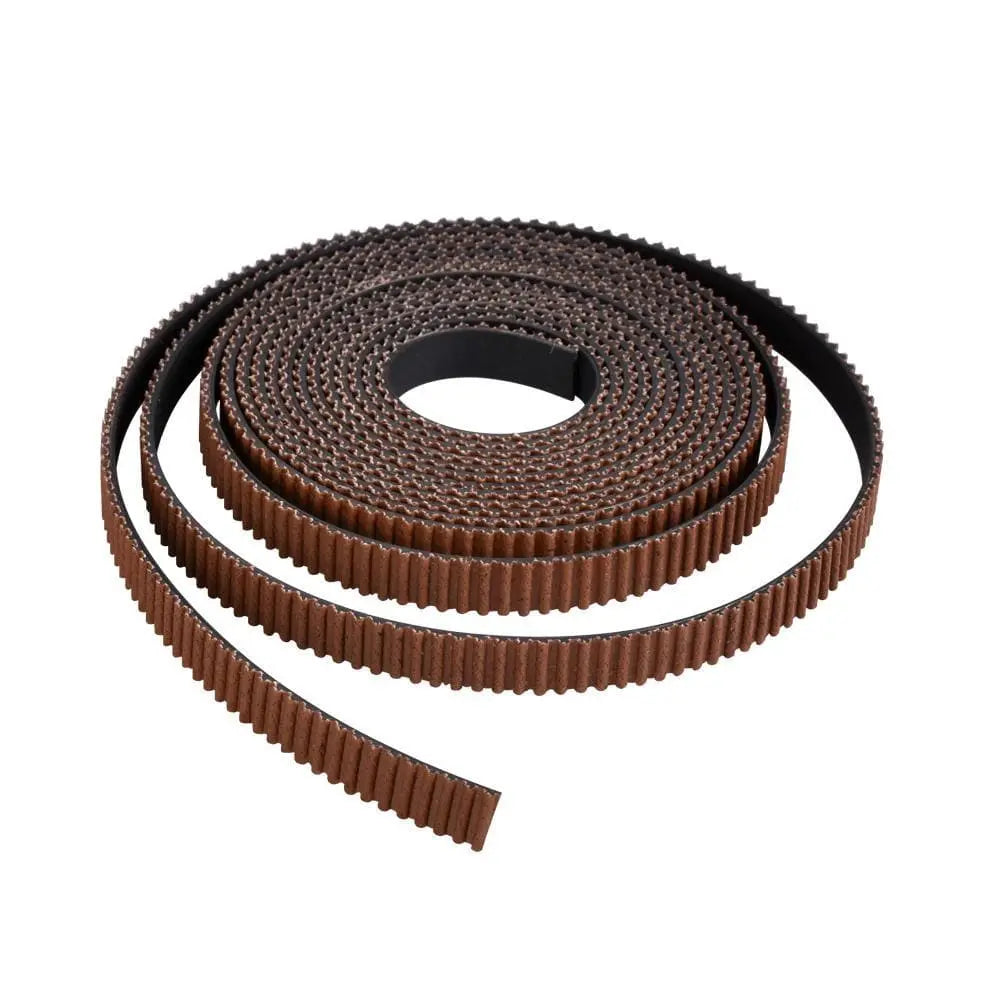
Belt replacement in CoreXY setups.
Gates PowerGrip GT2 Belt 6mm Fewer teeth, lower stretch for high-speed accuracy.
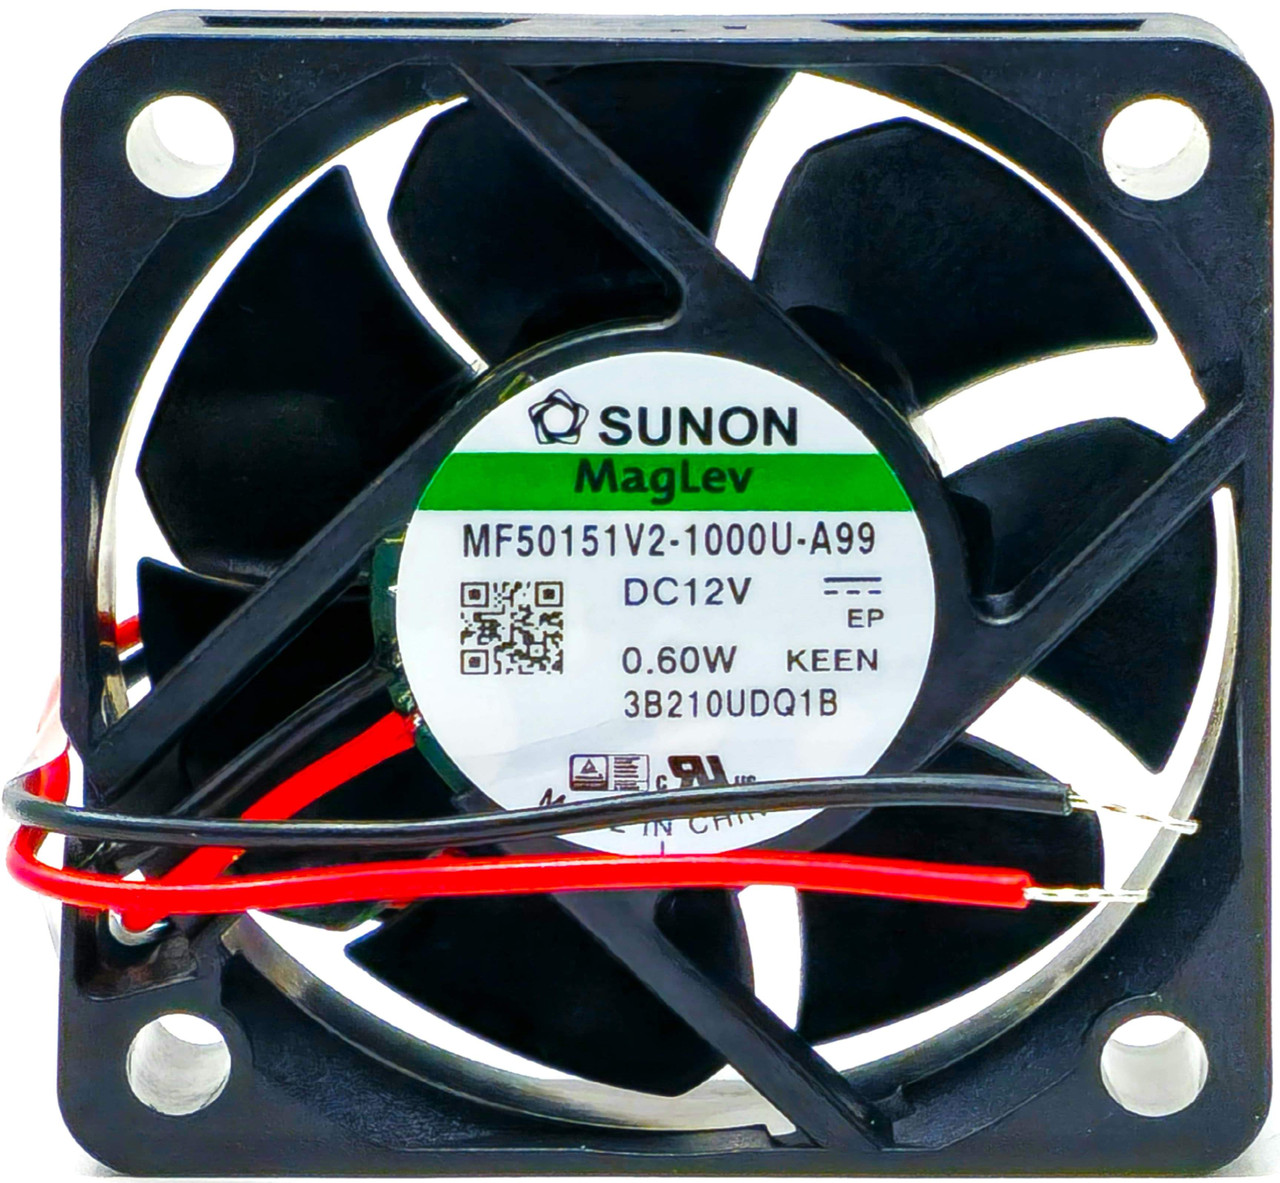
Part cooling duct installs.
Sunon MF50151V2-1000U-A99 5015 Fan 50CFM cooling for overhangs at 200mm/s+.