
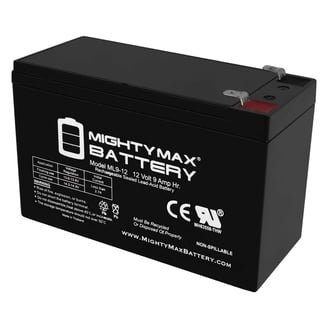
Mighty Max ML24-12 24V 12Ah SLA Battery
Direct swap for MX350/500 or E200; heavy-duty vibration resistance.
$55-$65
Mighty Max ML24-12 24V 12Ah SLA Battery Reliable replacement for most 24V Razor scooters; deep cycle for 300+ rides.
Get the App
Better experience on mobile
Master safe installation, charging, and maintenance of 24V batteries to boost your electric scooter's range and performance in under an hour.
Electric scooters are a fun, eco-friendly way to get around, but weak or failing batteries can cut your rides short and leave you stranded. Upgrading to or properly using a 24V battery system is a game-changer for intermediate riders looking for longer range, faster acceleration, and reliability—especially on popular models like Razor Pocket Rocket or Big Wheel scooters.
In this guide, you'll learn everything from compatibility checks to secure installation, initial charging, and ongoing maintenance. Whether you're replacing a dead battery or optimizing your setup, these steps ensure safety and peak performance. Expect 30-60 minutes for the core install (plus 4-8 hours charging), with intermediate skills like basic wiring needed—no advanced electrical knowledge required.
Follow along sequentially for hassle-free results, and you'll be cruising farther than ever.
Estimated Time: 30-60 minutes for installation + 4-8 hours initial charge Difficulty: intermediate
Before touching anything, confirm your scooter's specs. Check the manual or label for '24V' voltage and Ah (amp-hour) rating—most kids' or mini scooters like Razor E100 use 24V systems. Ensure your new battery matches exactly (e.g., two 12V 7Ah in series for 24V 7Ah).
Why it matters: Mismatched batteries cause fires, controller damage, or no power. Unplug the scooter from any charger and turn it off. Wear safety goggles and gloves to protect against sparks or acid leaks from SLA batteries.
Success: Specs match, scooter powered off, you're geared up.
💡 Tips:
⚠️ Warnings:
Locate the battery compartment (usually under the deck or seat). Use a multimeter set to DC volts to confirm 0V across terminals—scooter should read ~24V when on.
Disconnect wires: Note polarity (red positive +, black negative -). Loosen terminals with wrench (counter-clockwise), remove red first, then black. Tape exposed ends to prevent shorts.
Expect: Wires labeled or color-coded; some scooters have quick-connects.
💡 Tips:
⚠️ Warnings:
Unscrew or unclip battery straps/holders. Slide out the old battery carefully—SLA types weigh 10-15 lbs.
Inspect for damage: Bulging, leaks, or corrosion mean immediate replacement. Clean compartment with baking soda/water mix if corroded (dry fully after).
Success: Old battery out, area clean and dry.
💡 Tips:
Place new battery in compartment, positive terminal toward front (per photo). Secure with straps or brackets—don't overtighten.
Why: Proper fit prevents vibration damage during rides.
Test fit: Ensure it doesn't rattle; use foam padding if loose.
💡 Tips:
⚠️ Warnings:
Connect black (-) wire first to negative terminal, then red (+) to positive. Tighten clockwise firmly but not crushingly. Use electrical tape or heat-shrink over connections.
Multimeter check: Should read ~25-26V (fully charged) or match expected.
Success: No sparks, steady voltage reading.
💡 Tips:
Close compartment, power on scooter. Throttle gently—LEDs/motor should respond without smoking or odd noises.
Why: Catches loose connections early.
If no power, recheck polarity.
💡 Tips:
⚠️ Warnings:
Plug in the 24V charger (match amp rating). Initial charge: 4-8 hours for SLA, 2-4 for lithium. Monitor—LED should go green when done.
Unplug after; don't leave overnight initially.
Success: Voltage at 27-28.8V fully charged.
💡 Tips:
Short 5-10 min test ride. Note range/performance. Check terminals post-ride for heat.
Ongoing: Charge after every use, store at 50-80% if off-season.
Success: Smooth ride, no issues.
💡 Tips:
Problem: Scooter won't power on
Solution: Check voltage (should be >22V), clean terminals, verify fuses intact. Reconnect wires.
Problem: Short range or weak acceleration
Solution: Fully charge (27V+), check connections for voltage drop. Battery may need replacement if <80% capacity.
Problem: Battery overheating during charge
Solution: Unplug immediately, check charger amp match. Use in cool area; test charger output.
Problem: Sparks on connection
Solution: Disconnect power first, tape wires separately. Seek pro if controller damaged.
Reliable replacement for most 24V Razor scooters; deep cycle for 300+ rides.
Best for: Direct swap for MX350/500 or E200; heavy-duty vibration resistance.
Price Range: $55-$65
Automatic shutoff prevents overcharge; fits most 24V SLA packs.
Best for: Daily charging post-ride; LED indicators for status.
Price Range: $18-$25
Accurate DC voltage/AC current testing; auto-ranging for beginners.
Best for: Verify battery health and connections during install.
Price Range: $30-$40
Lighter (6 lbs vs. 15 lbs SLA), 2000+ cycles, BMS protection.
Best for: Upgrade for longer range on mini/adult scooters.
Price Range: $120-$150
Trickle charges to maintain without overcharge; waterproof.
Best for: Off-season storage to extend battery life.
Price Range: $25-$35
Direct swap for MX350/500 or E200; heavy-duty vibration resistance.
Mighty Max ML24-12 24V 12Ah SLA Battery Reliable replacement for most 24V Razor scooters; deep cycle for 300+ rides.
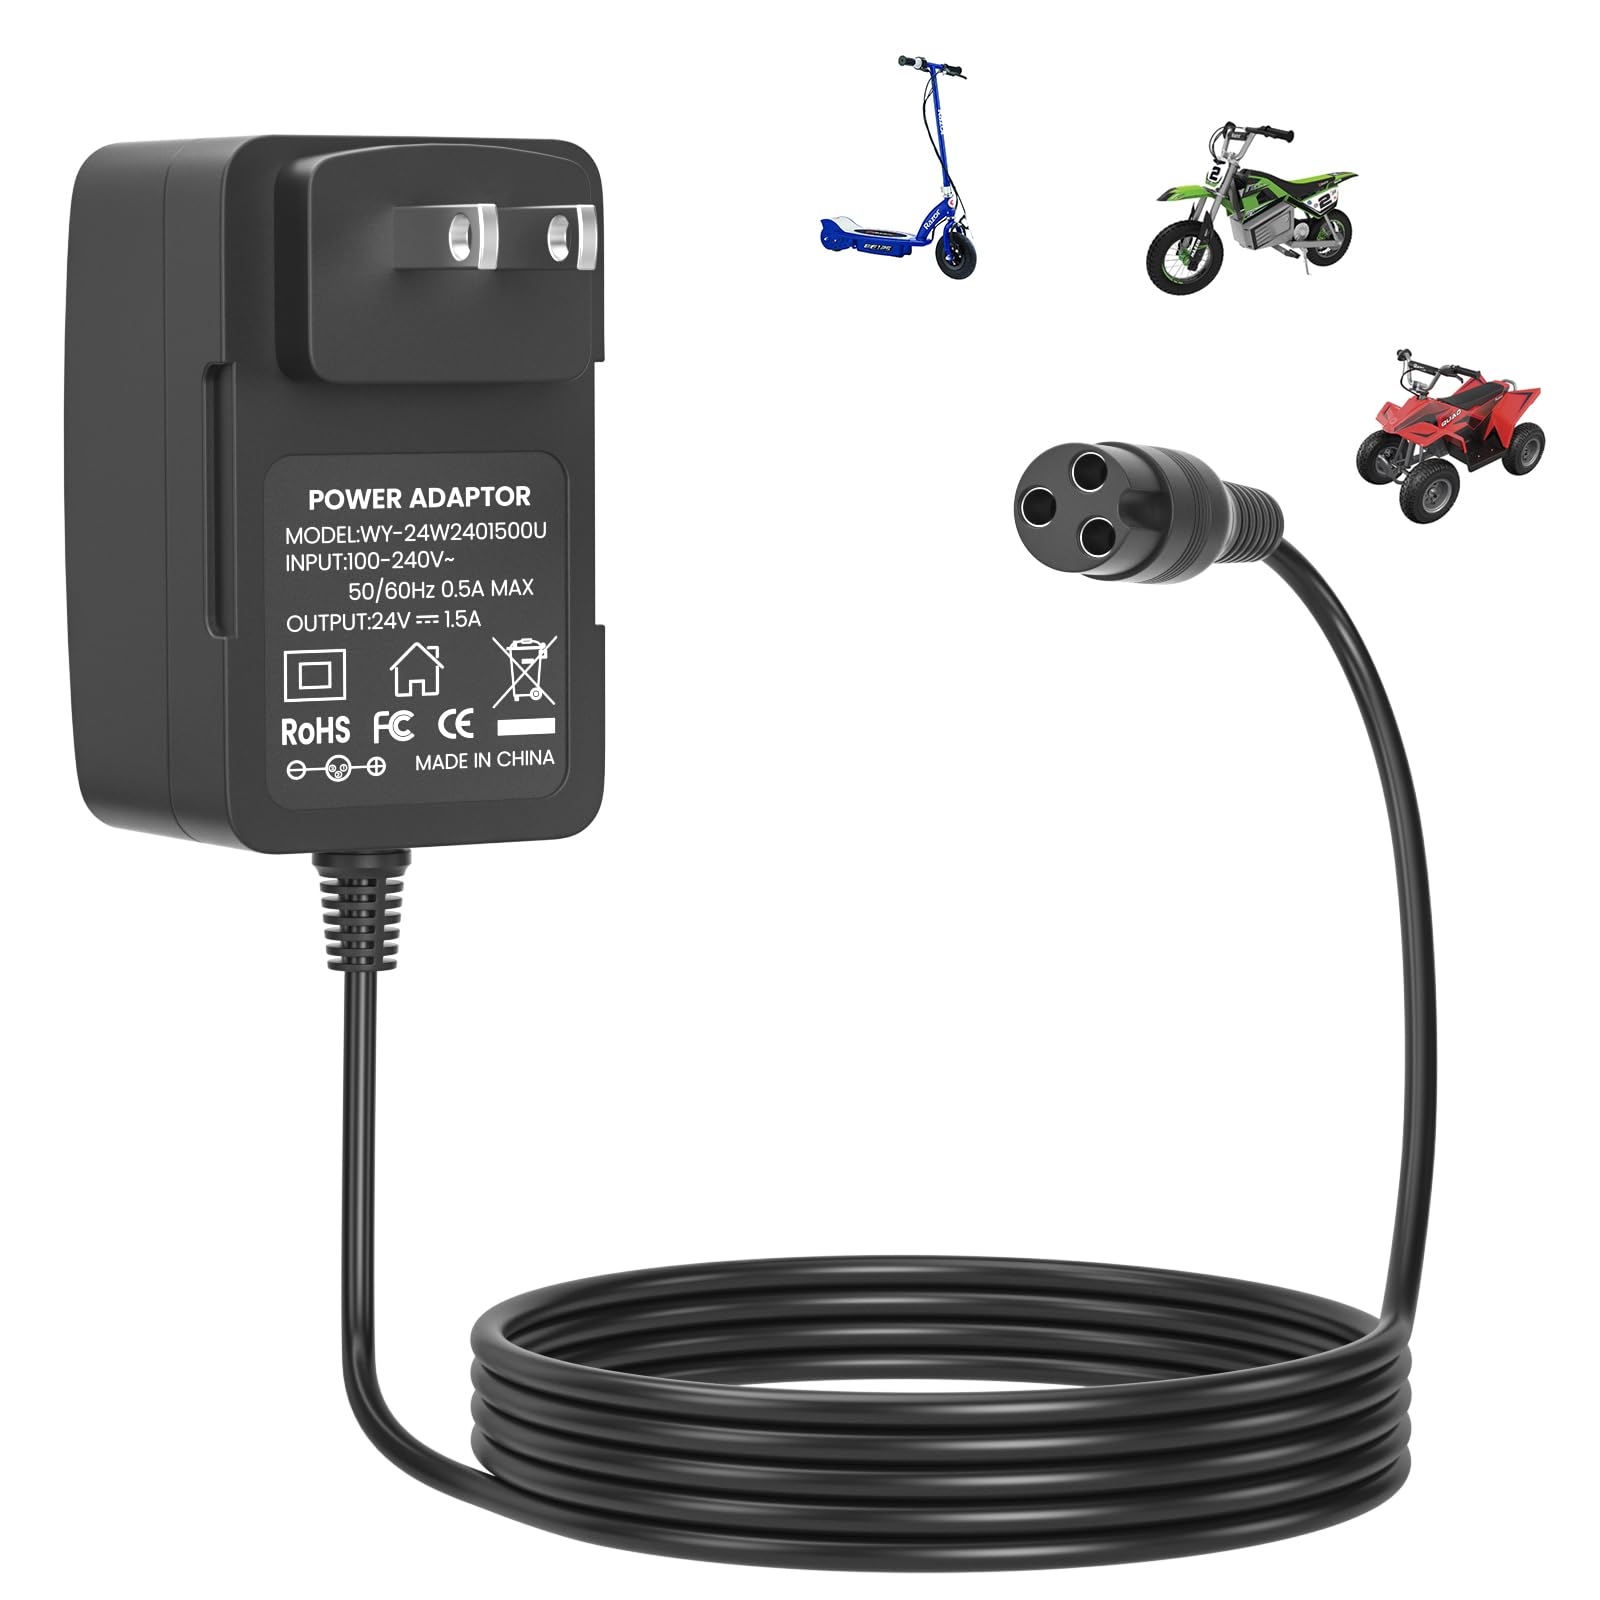
Daily charging post-ride; LED indicators for status.
24V 1.5A Battery Charger for Razor Scooters Automatic shutoff prevents overcharge; fits most 24V SLA packs.
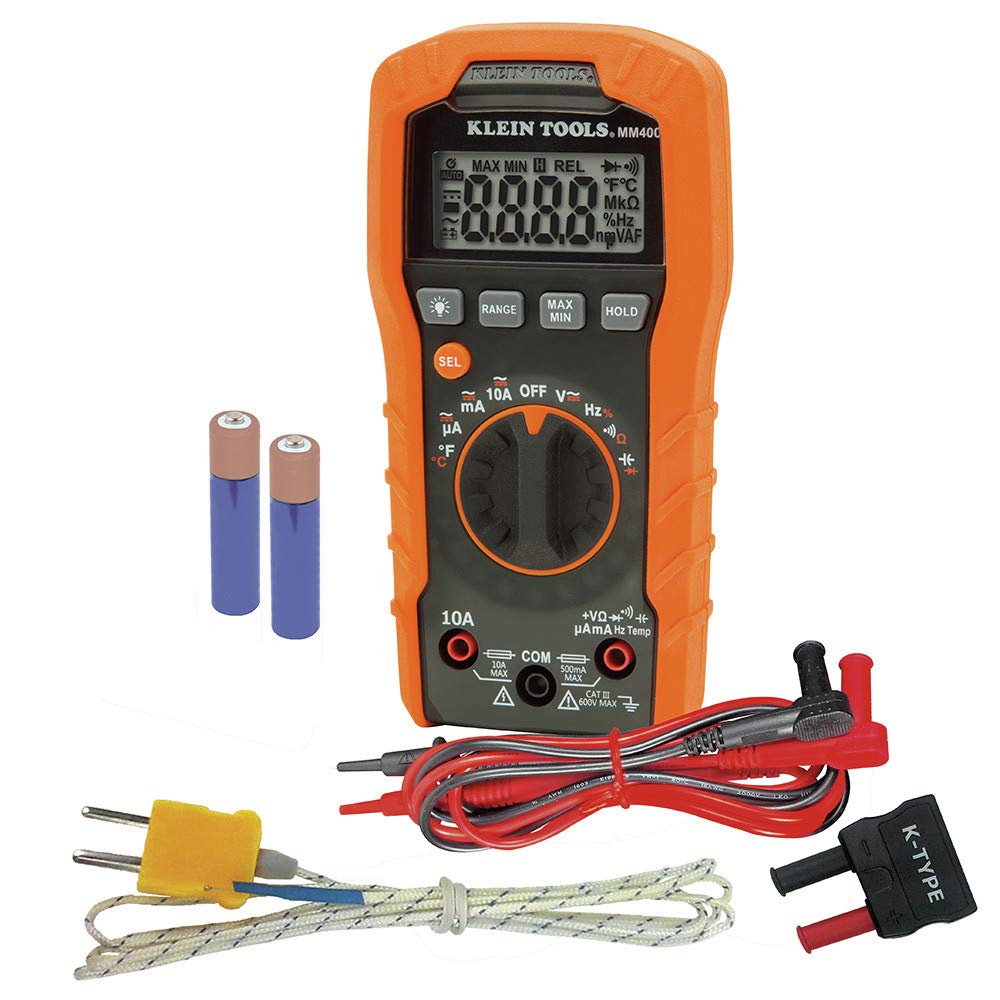
Verify battery health and connections during install.
Klein Tools MM400 Digital Multimeter Accurate DC voltage/AC current testing; auto-ranging for beginners.
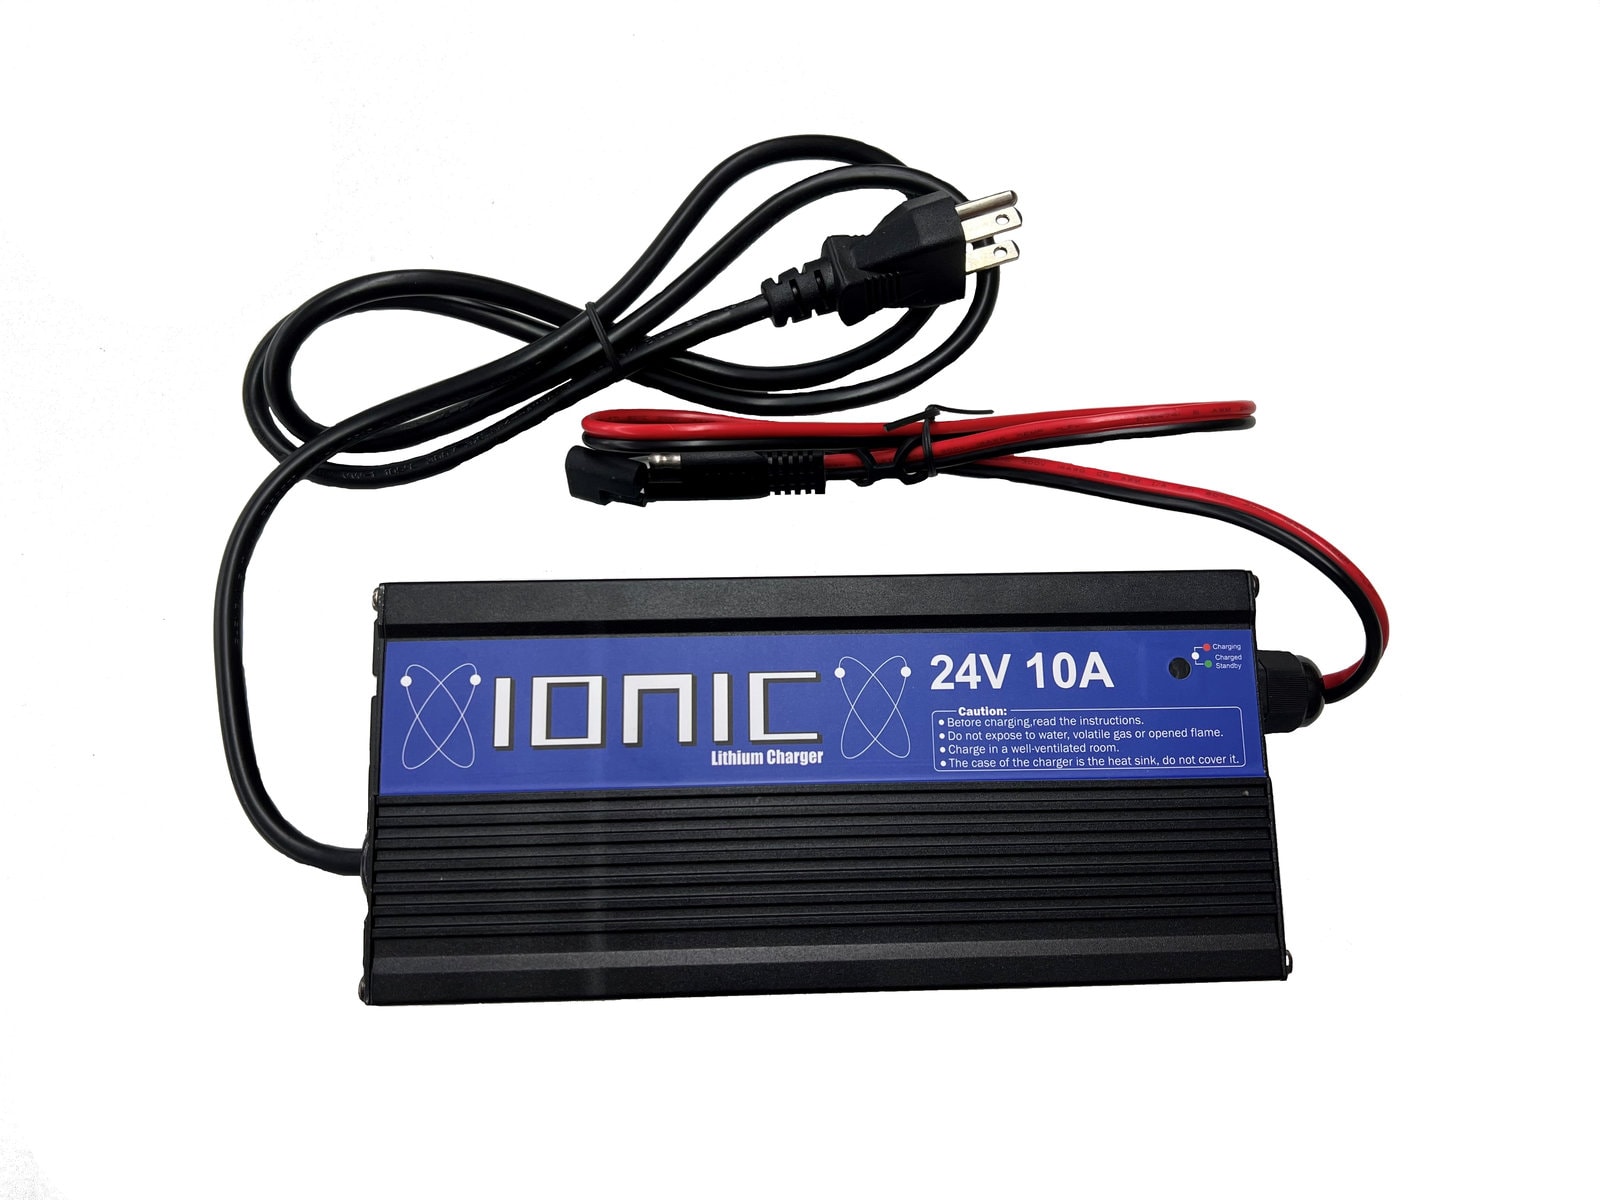
Upgrade for longer range on mini/adult scooters.
Ampere Time 24V 10Ah Lithium LiFePO4 Battery Lighter (6 lbs vs. 15 lbs SLA), 2000+ cycles, BMS protection.
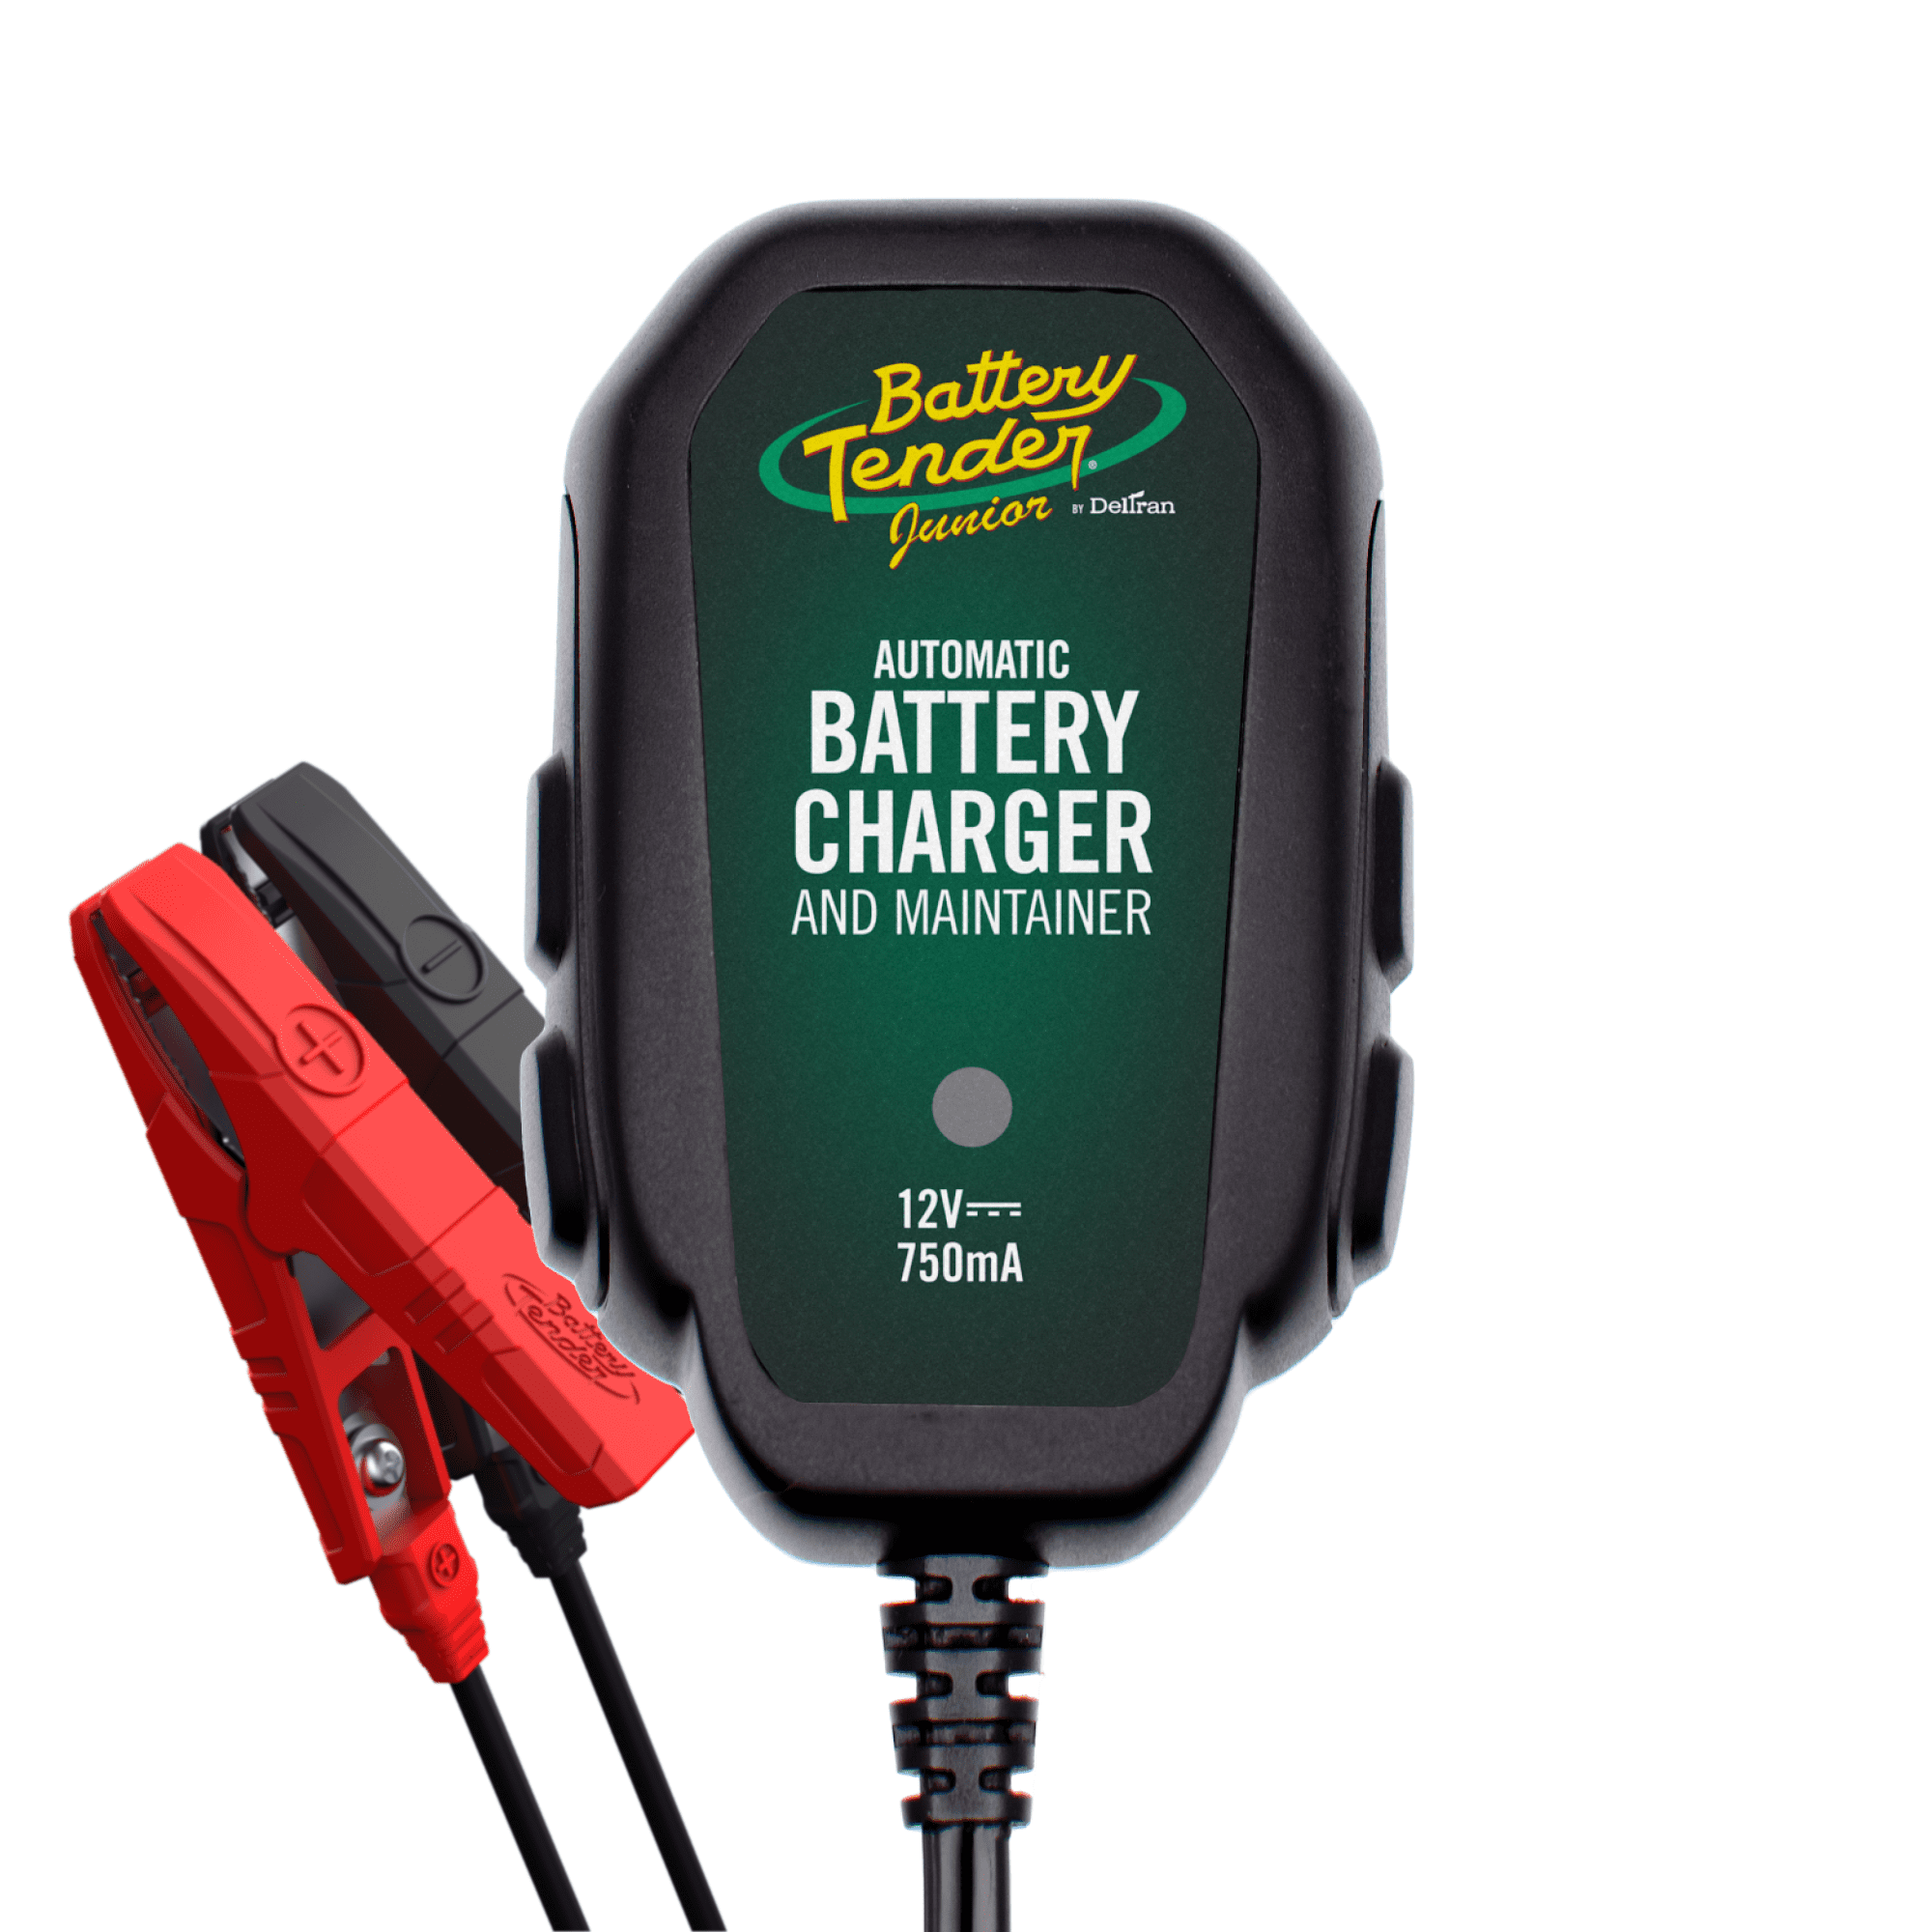
Off-season storage to extend battery life.
Battery Tender Junior 12V/24V Maintainer Trickle charges to maintain without overcharge; waterproof.