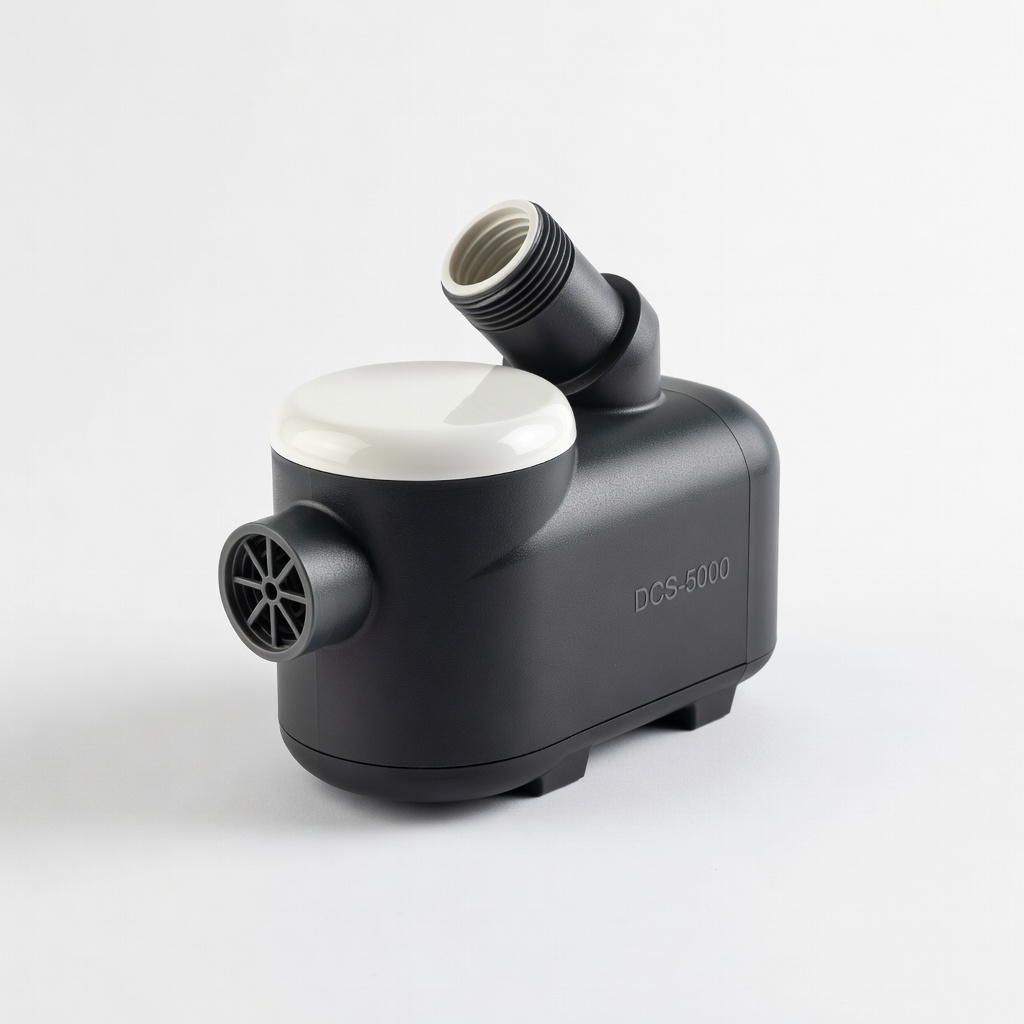
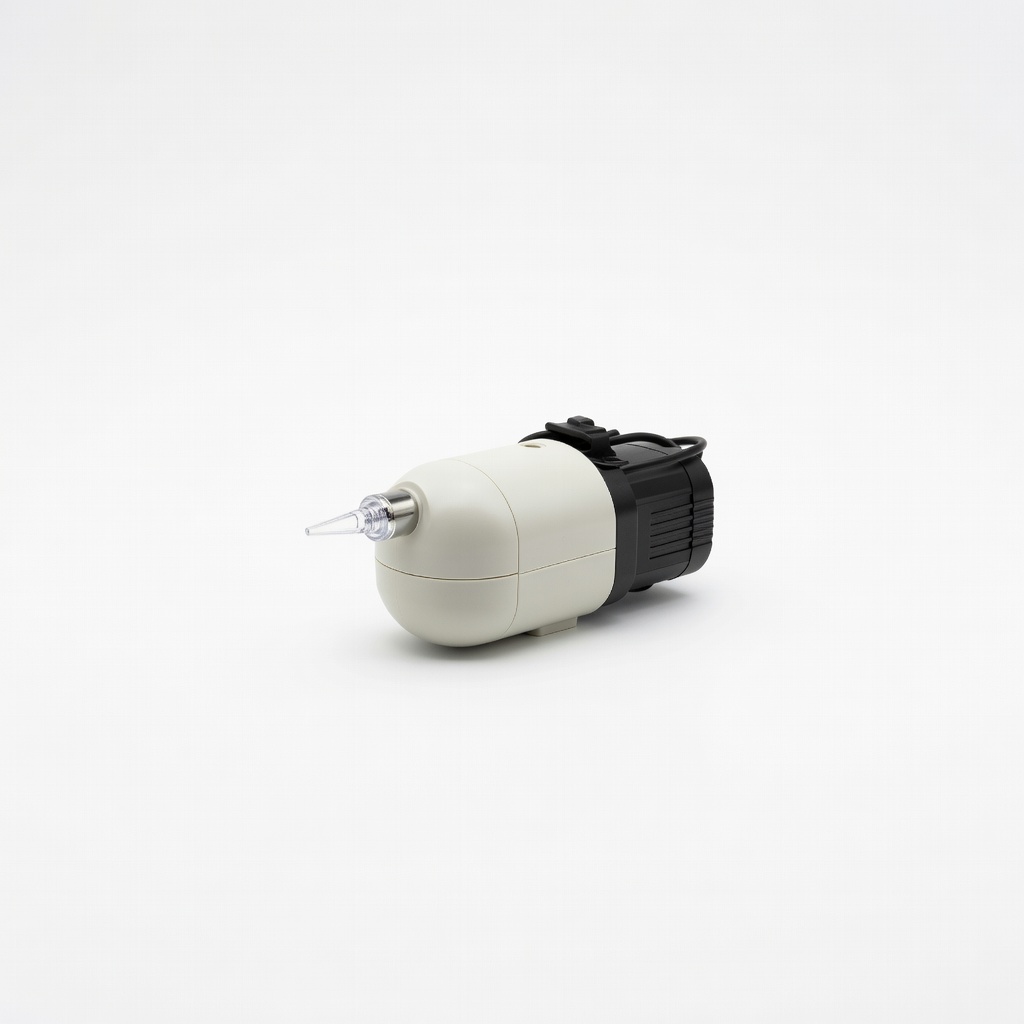
Jebao DCS-5000 Sine Wave Return Pump
Primary return pump for reliable 500GPH flow.
$90-$110
Jebao DCS-5000 Sine Wave Return Pump Quiet, programmable DC pump with flow sensor prevents dry-run; ideal for 100-200G tanks.
Get the App
Better experience on mobile
Transform your aquarium with a professional sump setup for crystal-clear water, massive biofiltration, and effortless maintenance in this advanced guide.
Struggling with noisy hang-on-back (HOB) filters that can't keep up with your growing reef or large freshwater tank? Upgrading to a sump filtration system solves common issues like limited water volume, frequent maintenance, and poor aesthetics by moving filtration below the tank for superior biological and mechanical cleaning.
In this step-by-step tutorial, you'll learn how to plan, install, and test a sump system tailored to your aquarium. We'll cover everything from drilling bulkheads to plumbing and leak-testing, ensuring a rock-solid upgrade. Expect advanced tasks like drilling glass and PVC fabrication—perfect for hobbyists with plumbing experience.
The process takes 6-10 hours over 1-2 days, depending on if you're DIY-ing the sump or using a pre-built one. By the end, your tank will have unlimited filtration potential and room for upgrades like a refugium.
Estimated Time: 6-10 hours over 1-2 days Difficulty: advanced
Start by measuring your stand/cabinet space and calculating sump volume (aim for 20-50% of display tank size for stability). Sketch plumbing: typically two drain lines (main + emergency) from tank to sump first chamber, return line from sump last chamber back to tank. Factor in sections for socks, skimmer, refugium, and return pump.
Why it matters: Proper planning prevents leaks and flow issues. Use online calculators for pump sizing (GPH = tank volume x 5-10). Success: A diagram showing all pipe runs, pump head loss accounted for (add 4-6ft for vertical lift).
Image description: Overhead diagram of tank-to-sump plumbing with labeled chambers and flow arrows.
💡 Tips:
⚠️ Warnings:
Safely relocate fish/livestock to a holding tank with aerator. Drain display tank completely using a pump or siphon. Remove old filter, clean sump area in cabinet, and inspect for levelness.
Why: Dry install prevents accidents. Expect: Empty tank ready for mods; save old media for transfer. Takes 1-2 hours.
Image description: Empty aquarium stand with tools laid out.
💡 Tips:
⚠️ Warnings:
Mark overflow/drain holes on tank bottom (rear corners, 1.5-inch for 1-inch PVC). Use masking tape, drill slow with diamond bit and water lube. Install bulkheads with silicone gasket, tighten nut from inside.
Why: Creates silent siphon drains. Success: Watertight bulkheads, no cracks. Pro skill: Practice on scrap glass.
Image description: Close-up of drilling aquarium glass with water spray.
💡 Tips:
⚠️ Warnings:
If DIY, cut acrylic baffles (3 chambers: socks, reactor/refugium, return). Glue with aquarium-safe solvent. For pre-built, inspect baffles and add filter sock holders.
Why: Baffles prevent cross-flow and microbubble traps. Success: Divided sump with 8-12 inch water height.
Image description: DIY sump with baffles installed.
💡 Tips:
Cut PVC to length, dry-fit unions/valves. Glue drain lines from tank bulkheads to sump chamber 1. Return line from sump chamber 3, add loc-line nozzle to tank.
Why: Unions allow easy maintenance. Success: All pipes aligned, valves for flow control.
Image description: Assembled PVC plumbing manifold.
💡 Tips:
Secure pump in sump last chamber with zip ties/bracket. Install skimmer, heater, media reactors. Wire to power strips.
Why: Pump height affects head pressure. Success: Pump primed, accessories fitted.
Image description: Sump interior with pump, skimmer, and media.
💡 Tips:
Place filter socks in chamber 1, bio-media/chaeto in 2, nothing in return chamber. Transfer old media to preserve bacteria.
Why: Maintains cycle. Success: Media secured, no blocks.
💡 Tips:
Fill sump first, check for leaks 24 hours. Then fill tank slowly, run pump dry then wet. Monitor overnight.
Why: Prevents disasters. Success: Zero leaks, steady flow.
Image description: Sump fill test with airline leak detection.
💡 Tips:
⚠️ Warnings:
Match salinity/temp, add livestock gradually. Tune valves for quiet drain, even flow. Test parameters daily.
Success: Stable tank, silent operation, clear water in days.
💡 Tips:
Problem: Leaks at bulkheads
Solution: Dry, re-silicone gaskets, tighten nut 1/4 turn. Retest.
Problem: Low flow or air locks
Solution: Prime pump, check valves open, clean socks.
Problem: Microbubbles in display
Solution: : Add baffle extensions or felt filter on return.
Problem: Sump overflows
Solution: Adjust drain valves, check pump fail-safe.
Problem: Cycle crash post-upgrade
Solution: Seed with old media/bacteria; test ammonia daily. Seek vet if persistent.
Quiet, programmable DC pump with flow sensor prevents dry-run; ideal for 100-200G tanks.
Best for: Primary return pump for reliable 500GPH flow.
Price Range: $90-$110
Pre-built with baffles, sock holder, and refugium chamber; leak-proof acrylic for pros.
Best for: Ready-to-plumb sump for 75-150G tanks.
Price Range: $250-$300
High-quality PVC with gaskets; easy install for multiple drains.
Best for: Tank and sump bulkhead installs.
Price Range: $15-$25 per kit
Reusable, fine 200-micron mesh traps debris early.
Best for: Mechanical filtration in sump chamber 1.
Price Range: $20 for 3-pack
Optical sensor prevents evaporation crashes; essential for sumps.
Best for: Auto top-off post-upgrade.
Price Range: $100-$130
Primary return pump for reliable 500GPH flow.
Jebao DCS-5000 Sine Wave Return Pump Quiet, programmable DC pump with flow sensor prevents dry-run; ideal for 100-200G tanks.
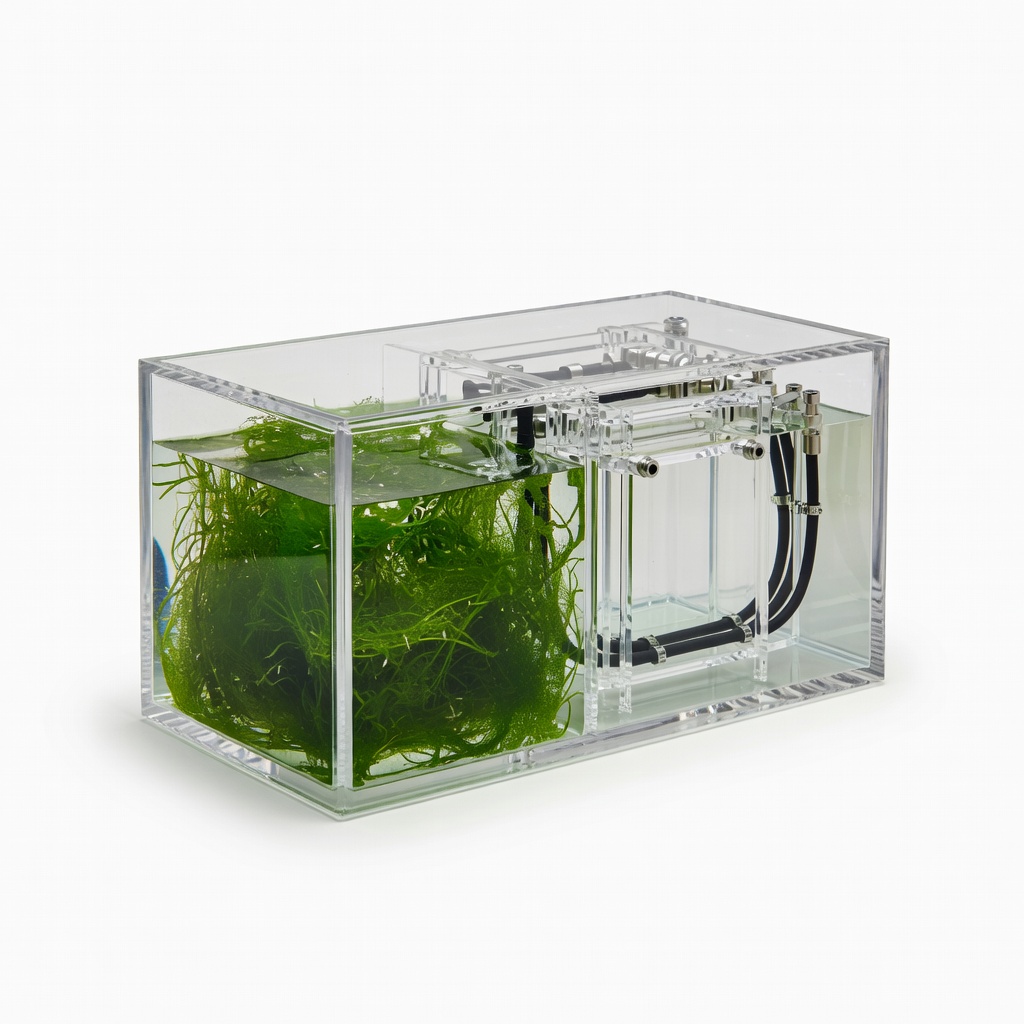
Ready-to-plumb sump for 75-150G tanks.
Trigger Systems Crystal 30 Refugium Sump Pre-built with baffles, sock holder, and refugium chamber; leak-proof acrylic for pros.
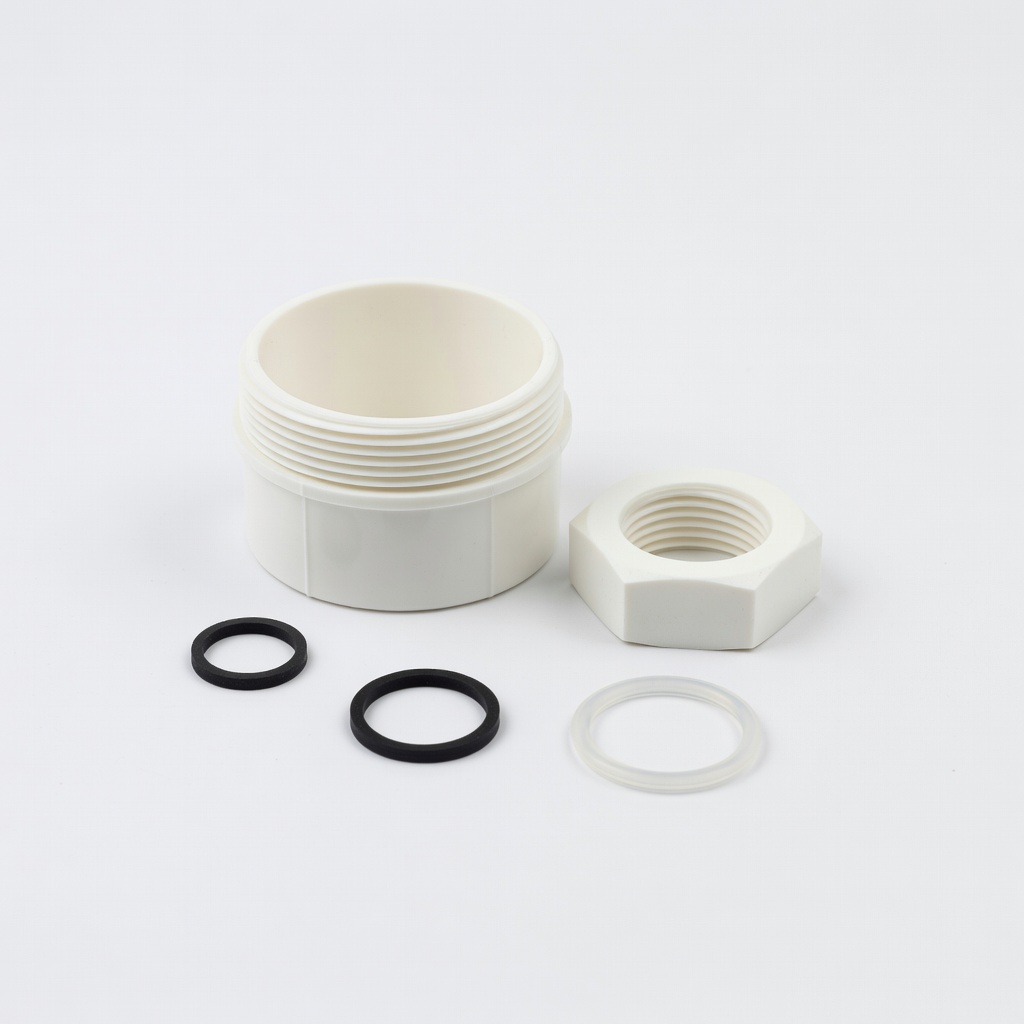
Tank and sump bulkhead installs.
AquaticLife Bulkhead Fitting Kit 1.5-inch High-quality PVC with gaskets; easy install for multiple drains.
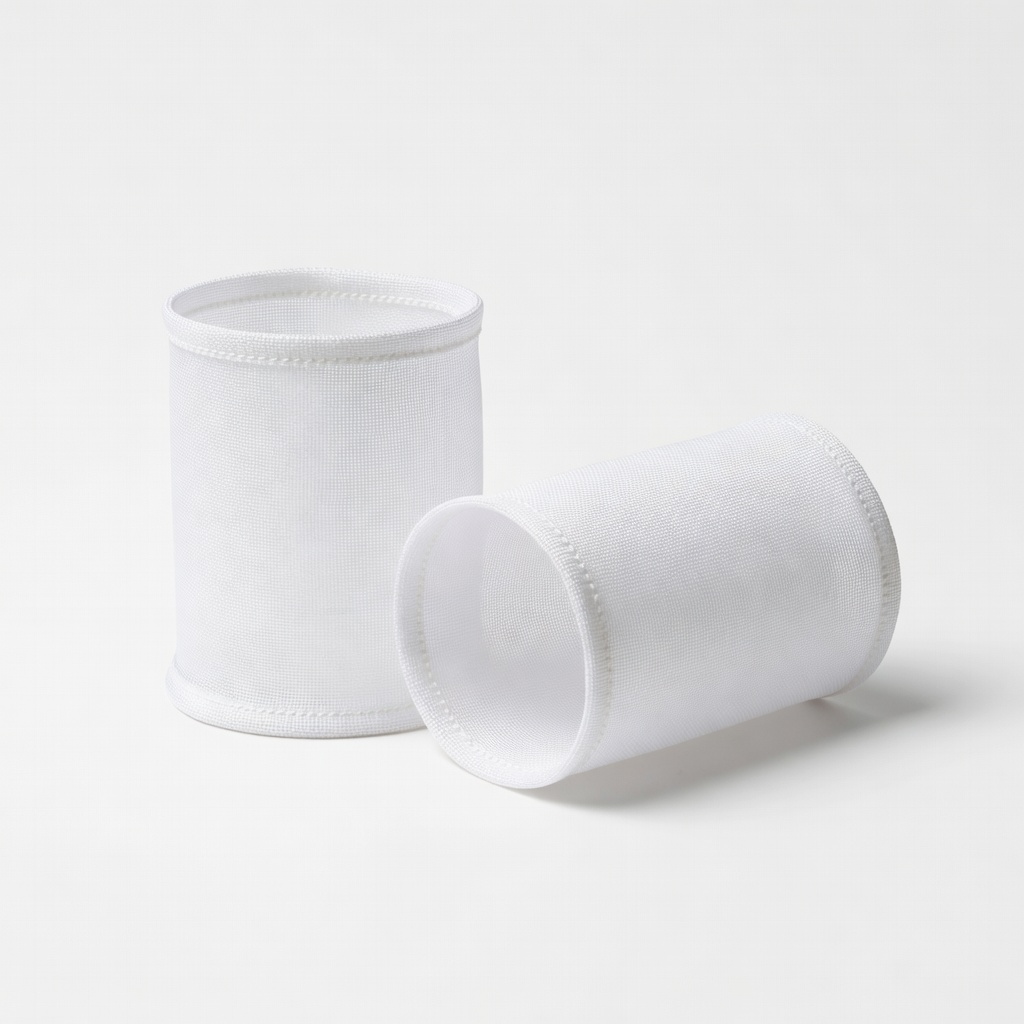
Mechanical filtration in sump chamber 1.
Fiji Cube Filter Socks 4-inch Reusable, fine 200-micron mesh traps debris early.
Auto top-off post-upgrade.
Tunze Osmolator Nano ATO Optical sensor prevents evaporation crashes; essential for sumps.