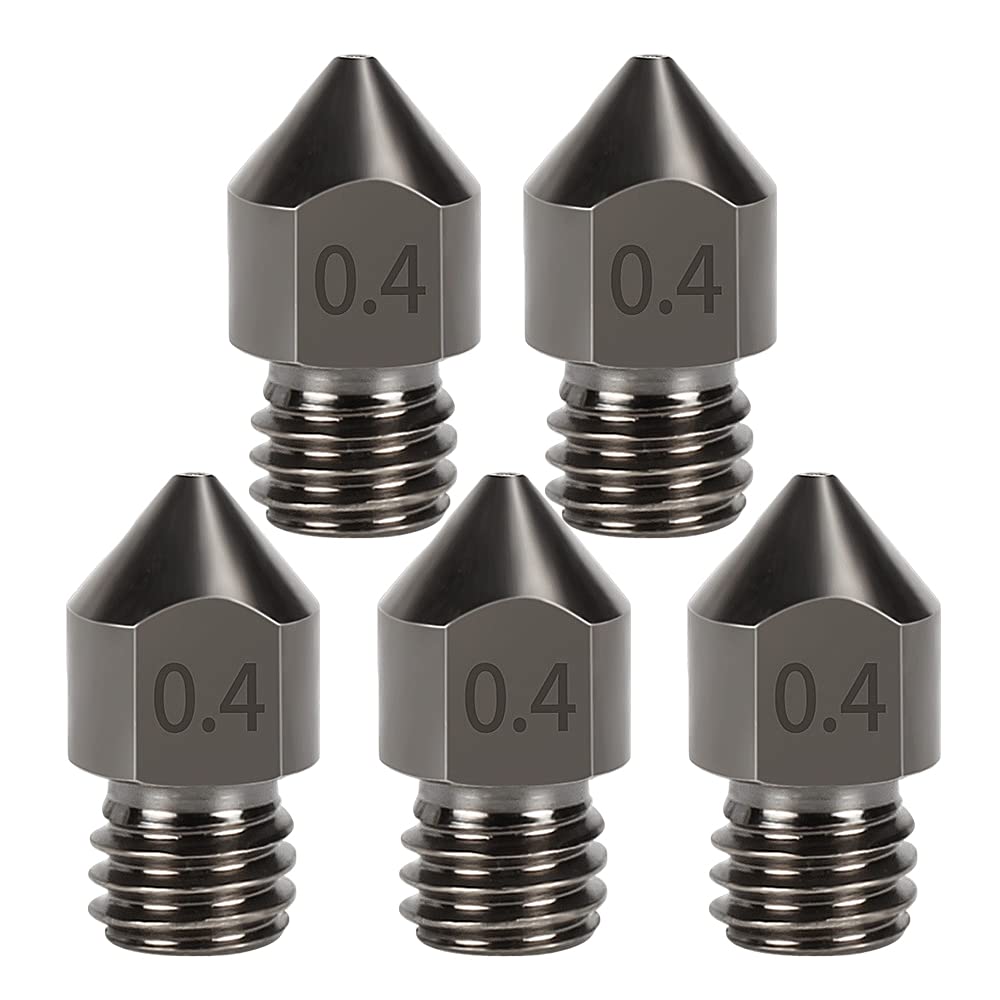
Creality Hardened Steel Nozzle 0.4mm (MK8)
Ender 3/CR-10 series for BASF Ultrafuse 316L starters.
$9.99-$12.99
Creality Hardened Steel Nozzle 0.4mm (MK8) Affordable entry-level hardened option resists abrasion up to 10x longer than brass.
Get the App
Better experience on mobile
Master the swap to a hardened nozzle and print abrasive metal filaments like Ultrafuse 316L without rapid wear or clogs in under 30 minutes.
Metal-infused filaments like BASF Ultrafuse or The Virtual Foundry's BASF Metal are game-changers for creating strong, functional parts at home. But standard brass nozzles wear out in hours, causing poor extrusion, clogs, and failed prints. Upgrading to a hardened nozzle (steel, stainless, or ruby-tipped) is essential for reliable metal printing.
This advanced guide walks you through the full process step-by-step, from prep to testing. You'll learn safe hotend disassembly, proper torque, and verification techniques used by pros. Expect 20-30 minutes total, assuming familiarity with your printer's hotend (e.g., E3D V6, Creality MK8). No prior nozzle swaps? Review hotend basics first.
By the end, you'll have a bulletproof setup for endless metal prints, saving time and filament waste.
Estimated Time: 20-30 minutes Difficulty: advanced
Clear a stable, well-lit workspace away from flammables. Power off your printer and unplug it. Don heat-resistant gloves to protect against 250°C+ surfaces.
Why it matters: Metal filament nozzles require high-heat swaps (220-280°C), risking burns or thread damage if rushed. Lay out all tools in sequence for efficiency.
Success: Tools organized, printer cold and unplugged. Expect 2-3 minutes.
💡 Tips:
⚠️ Warnings:
Power on the printer. Preheat the hotend to 240-260°C (check your filament's max; e.g., 250°C for PLA/PETG proxies). Use the touchscreen or G-code (M104 S250).
Why: Softens PTFE liner and eases nozzle removal without galling threads. For all-metal hotends, go to 280°C.
Success: Temperature stable for 2 minutes; hotend glowing orange. No filament loaded yet.
💡 Tips:
⚠️ Warnings:
Extrude any remaining filament at 220°C, then unload via menu (or G-code: M302 S0; G1 E-100 F300). Pull filament out with tweezers if stuck.
Why: Prevents contamination of the new nozzle or injury from molten plastic.
Success: Barrel empty, no oozing. Wipe extruder gears if needed.
💡 Tips:
Secure the heat block with pliers (wrap in cloth to avoid scratches). Insert wrench into nozzle flats; turn counterclockwise firmly but steadily.
Why: Brass nozzles pit from metal abrasion—inspect for wear (oval orifice = replace).
Success: Nozzle unscrews freely; threads intact. Expect slight resistance.
💡 Tips:
⚠️ Warnings:
While hot, push brass wire through orifice straight down. Wipe threads with alcohol cloth. Blow out debris.
Why: Residue causes leaks or poor flow in new nozzle.
Success: Threads shiny, no plastic buildup. Cool slightly if needed for detail work.
💡 Tips:
⚠️ Warnings:
Hand-thread the new nozzle clockwise into the block (hot, ~220°C). Tighten with wrench to 1.5-2Nm (snug + 1/4 turn; don't overdo).
Why: Ensures leak-free seal; hardened materials resist galling.
Success: No cross-threading; nozzle seats flush.
💡 Tips:
⚠️ Warnings:
Reheat to 250°C, extrude 10mm air/manual filament. Check for leaks/drips.
Why: Confirms proper torque and alignment.
Success: Smooth extrusion, no gaps.
💡 Tips:
Load metal filament per specs (dry it first: 70°C/4hrs). Slice a calibration cube at 220-240°C nozzle/60°C bed. Print and inspect.
Success: Clean lines, no wear after 1kg+ print.
💡 Tips:
⚠️ Warnings:
Problem: Leak at nozzle-block joint
Solution: Reheat, loosen 1/8 turn, retighten. Clean threads again.
Problem: Under-extrusion post-swap
Solution: Check seating depth (flush with block); PID tune hotend.
Problem: New nozzle wears fast
Solution: Verify it's hardened (magnet test: steel sticks); switch to ruby.
Problem: Filament won't load
Solution: Cold pull twice; ensure bowden tube is clear.
Affordable entry-level hardened option resists abrasion up to 10x longer than brass.
Best for: Ender 3/CR-10 series for BASF Ultrafuse 316L starters.
Price Range: $9.99-$12.99
Precision-machined for consistent flow; trusted by pros for high-volume metal printing.
Best for: E3D V6 or compatible hotends on Prusa/any V6 clone.
Price Range: $18.00-$25.00
Sapphire tip lasts 50,000+ prints; ideal for exotic metals like titanium-filled.
Best for: Production runs or highly abrasive filaments.
Price Range: $95.00-$110.00
Includes needles, wire, brush—essential for flawless threads during swaps.
Best for: Every nozzle change to prevent contamination.
Price Range: $8.99-$12.99
Dual-size (6mm/7mm) for secure grip without slipping.
Best for: Any bowden or direct drive hotend.
Price Range: $6.99-$9.99
Ender 3/CR-10 series for BASF Ultrafuse 316L starters.
Creality Hardened Steel Nozzle 0.4mm (MK8) Affordable entry-level hardened option resists abrasion up to 10x longer than brass.
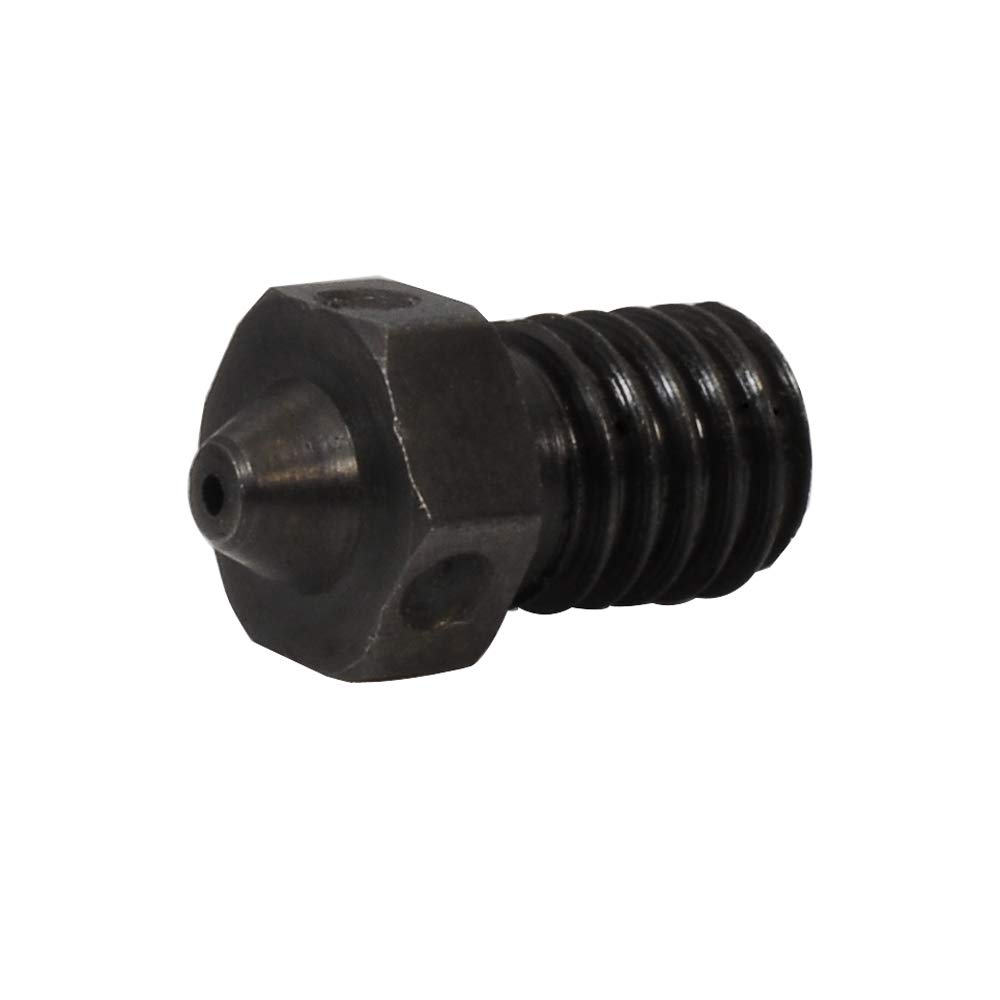
E3D V6 or compatible hotends on Prusa/any V6 clone.
E3D V6 Nozzle Hardened Steel 0.4mm Precision-machined for consistent flow; trusted by pros for high-volume metal printing.

Production runs or highly abrasive filaments.
Olsson Ruby Nozzle 0.4mm (V6) Sapphire tip lasts 50,000+ prints; ideal for exotic metals like titanium-filled.
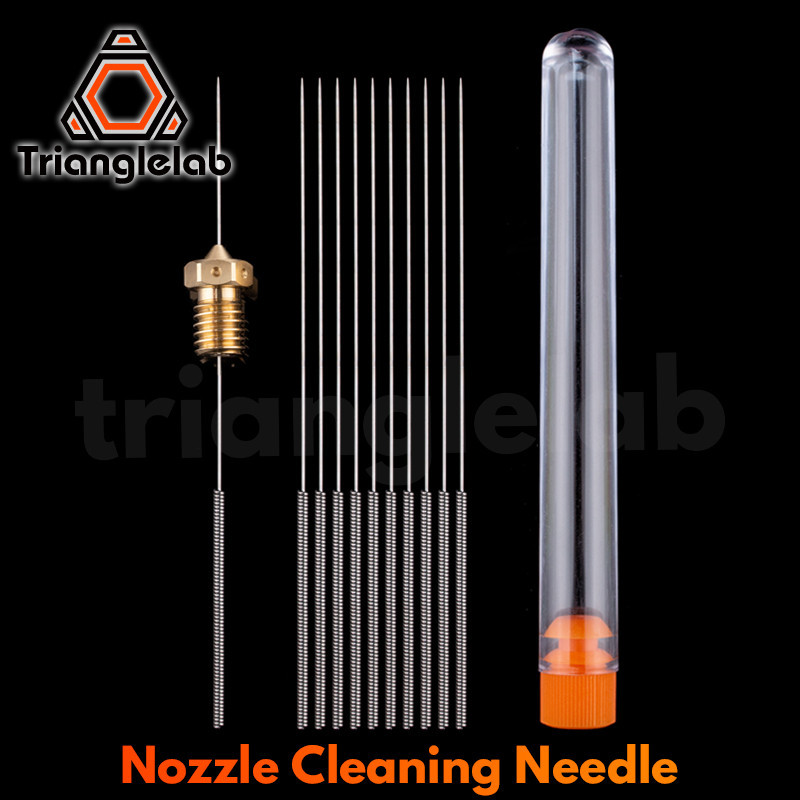
Every nozzle change to prevent contamination.
Trianglelab Nozzle Cleaning Kit Includes needles, wire, brush—essential for flawless threads during swaps.
Any bowden or direct drive hotend.
Gizmo Dorks Nozzle Wrench Set Dual-size (6mm/7mm) for secure grip without slipping.