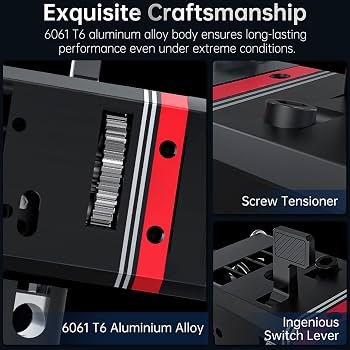
BIQU BZ3 Direct Drive Extruder Kit
Best for intermediate users wanting high torque without complexity.
$35-45
BIQU BZ3 Direct Drive Extruder Kit Compact, reliable dual-gear design with easy install for Ender 3; handles TPU excellently.
Get the App
Better experience on mobile
Transform your Ender 3 prints with better retraction and bridging in 1-2 hours using this step-by-step guide.
Struggling with stringing, poor overhangs, or inconsistent extrusion on your Ender 3? The stock Bowden tube setup forces filament to travel long distances, leading to these common issues. Upgrading to a direct drive extruder mounts the extruder motor right next to the hotend, slashing travel distance for sharper details and reliable prints.
In this guide, you'll learn to safely swap out the stock extruder for a direct drive kit like the popular BIQU or Creality Sprite. We'll cover disassembly, installation, wiring, and calibration—no prior mod experience needed beyond basic 3D printing knowledge.
Expect 1-2 hours of work for intermediate users. Tools are minimal, and success means smoother prints on flexible filaments like TPU right away.
Estimated Time: 1-2 hours Difficulty: intermediate
Unplug your Ender 3 from power and remove the filament. Work on a clean, well-lit surface with an anti-static mat if available. Disassemble the X-axis carriage by loosening the two M5 bolts holding the stock extruder bracket to the gantry.
Remove the extruder motor from the top bracket (two M3 screws) and set aside. This clears space for the direct drive install. Success: X carriage is bare, exposing the hotend mount.
Why? Prevents shorts and damage during modding.
💡 Tips:
⚠️ Warnings:
Unscrew the two M3 screws securing the stock hotend to the carriage. Gently pull the Bowden tube from the brass coupler (use pliers if stuck). Disconnect the Bowden tube clip from the extruder.
Clean the hotend threads and inspect for wear. Success: Hotend and tube are fully detached.
This step eliminates the long Bowden path causing retraction issues.
💡 Tips:
⚠️ Warnings:
Align the new direct drive bracket (from kit) with the X carriage holes. Secure with the original M5 bolts (or kit-provided). Torque to 2-3 Nm—snug but not over-tight.
Success: Bracket mounts flush, hotend holes aligned.
This positions the extruder motor directly above the hotend.
💡 Tips:
⚠️ Warnings:
Attach the extruder motor to the bracket using kit M3 screws. Slide the drive gear onto the motor shaft (flatten side aligned). Install the idler arm and tension spring per kit instructions.
Load a short test filament to check gear bite. Success: Gears mesh smoothly with adjustable tension.
Precise tension prevents grinding or slips.
💡 Tips:
⚠️ Warnings:
Thread the kit's PTFE tube (short, ~20mm) into the hotend if all-metal. Mount hotend to bracket with M3 screws. Ensure nozzle points down, no wobble.
Success: Hotend secure, gears aligned with filament path.
Short PTFE reduces resistance in direct drive.
💡 Tips:
⚠️ Warnings:
Route extruder motor wires along X gantry, securing with zip ties. Connect to mainboard J8 port (same as stock). Fan and thermistor wires stay identical.
Test continuity with multimeter. Success: No shorts, motor spins freely.
Proper routing prevents snags during prints.
💡 Tips:
⚠️ Warnings:
Reinstall carriage to printer. Power on, heat hotend to 200°C, load filament. Command G1 E100 F100 via terminal to extrude 100mm.
Measure extruded length—should match. Success: Smooth, consistent extrusion.
Confirms mechanical install.
💡 Tips:
⚠️ Warnings:
Use M92 E[calculated] (new_steps = old * (100/extruded)) then M500. Slice a retraction test print (e.g., retraction tower).
Success: No stringing, perfect bridges.
Firmware tweak optimizes for direct drive.
💡 Tips:
⚠️ Warnings:
Problem: Filament skipping or grinding
Solution: Loosen idler, check gear alignment, clean teeth. Recalibrate E-steps.
Problem: Motor not spinning
Solution: Check wiring polarity and connections. Test with M302 S0 for cold extrusion.
Problem: Stringing persists post-upgrade
Solution: Tune retraction (start 1.5mm @40mm/s), increase temp slightly.
Problem: Hotend leaks
Solution: Tighten fittings, replace PTFE tube, ensure proper seating.
Problem: X-axis binding
Solution: Re-level gantry, check belt tension.
Compact, reliable dual-gear design with easy install for Ender 3; handles TPU excellently.
Best for: Best for intermediate users wanting high torque without complexity.
Price Range: $35-45
Official Creality kit with integrated hotend; plug-and-play wiring.
Best for: Ideal for quick upgrade with minimal tools.
Price Range: $25-35
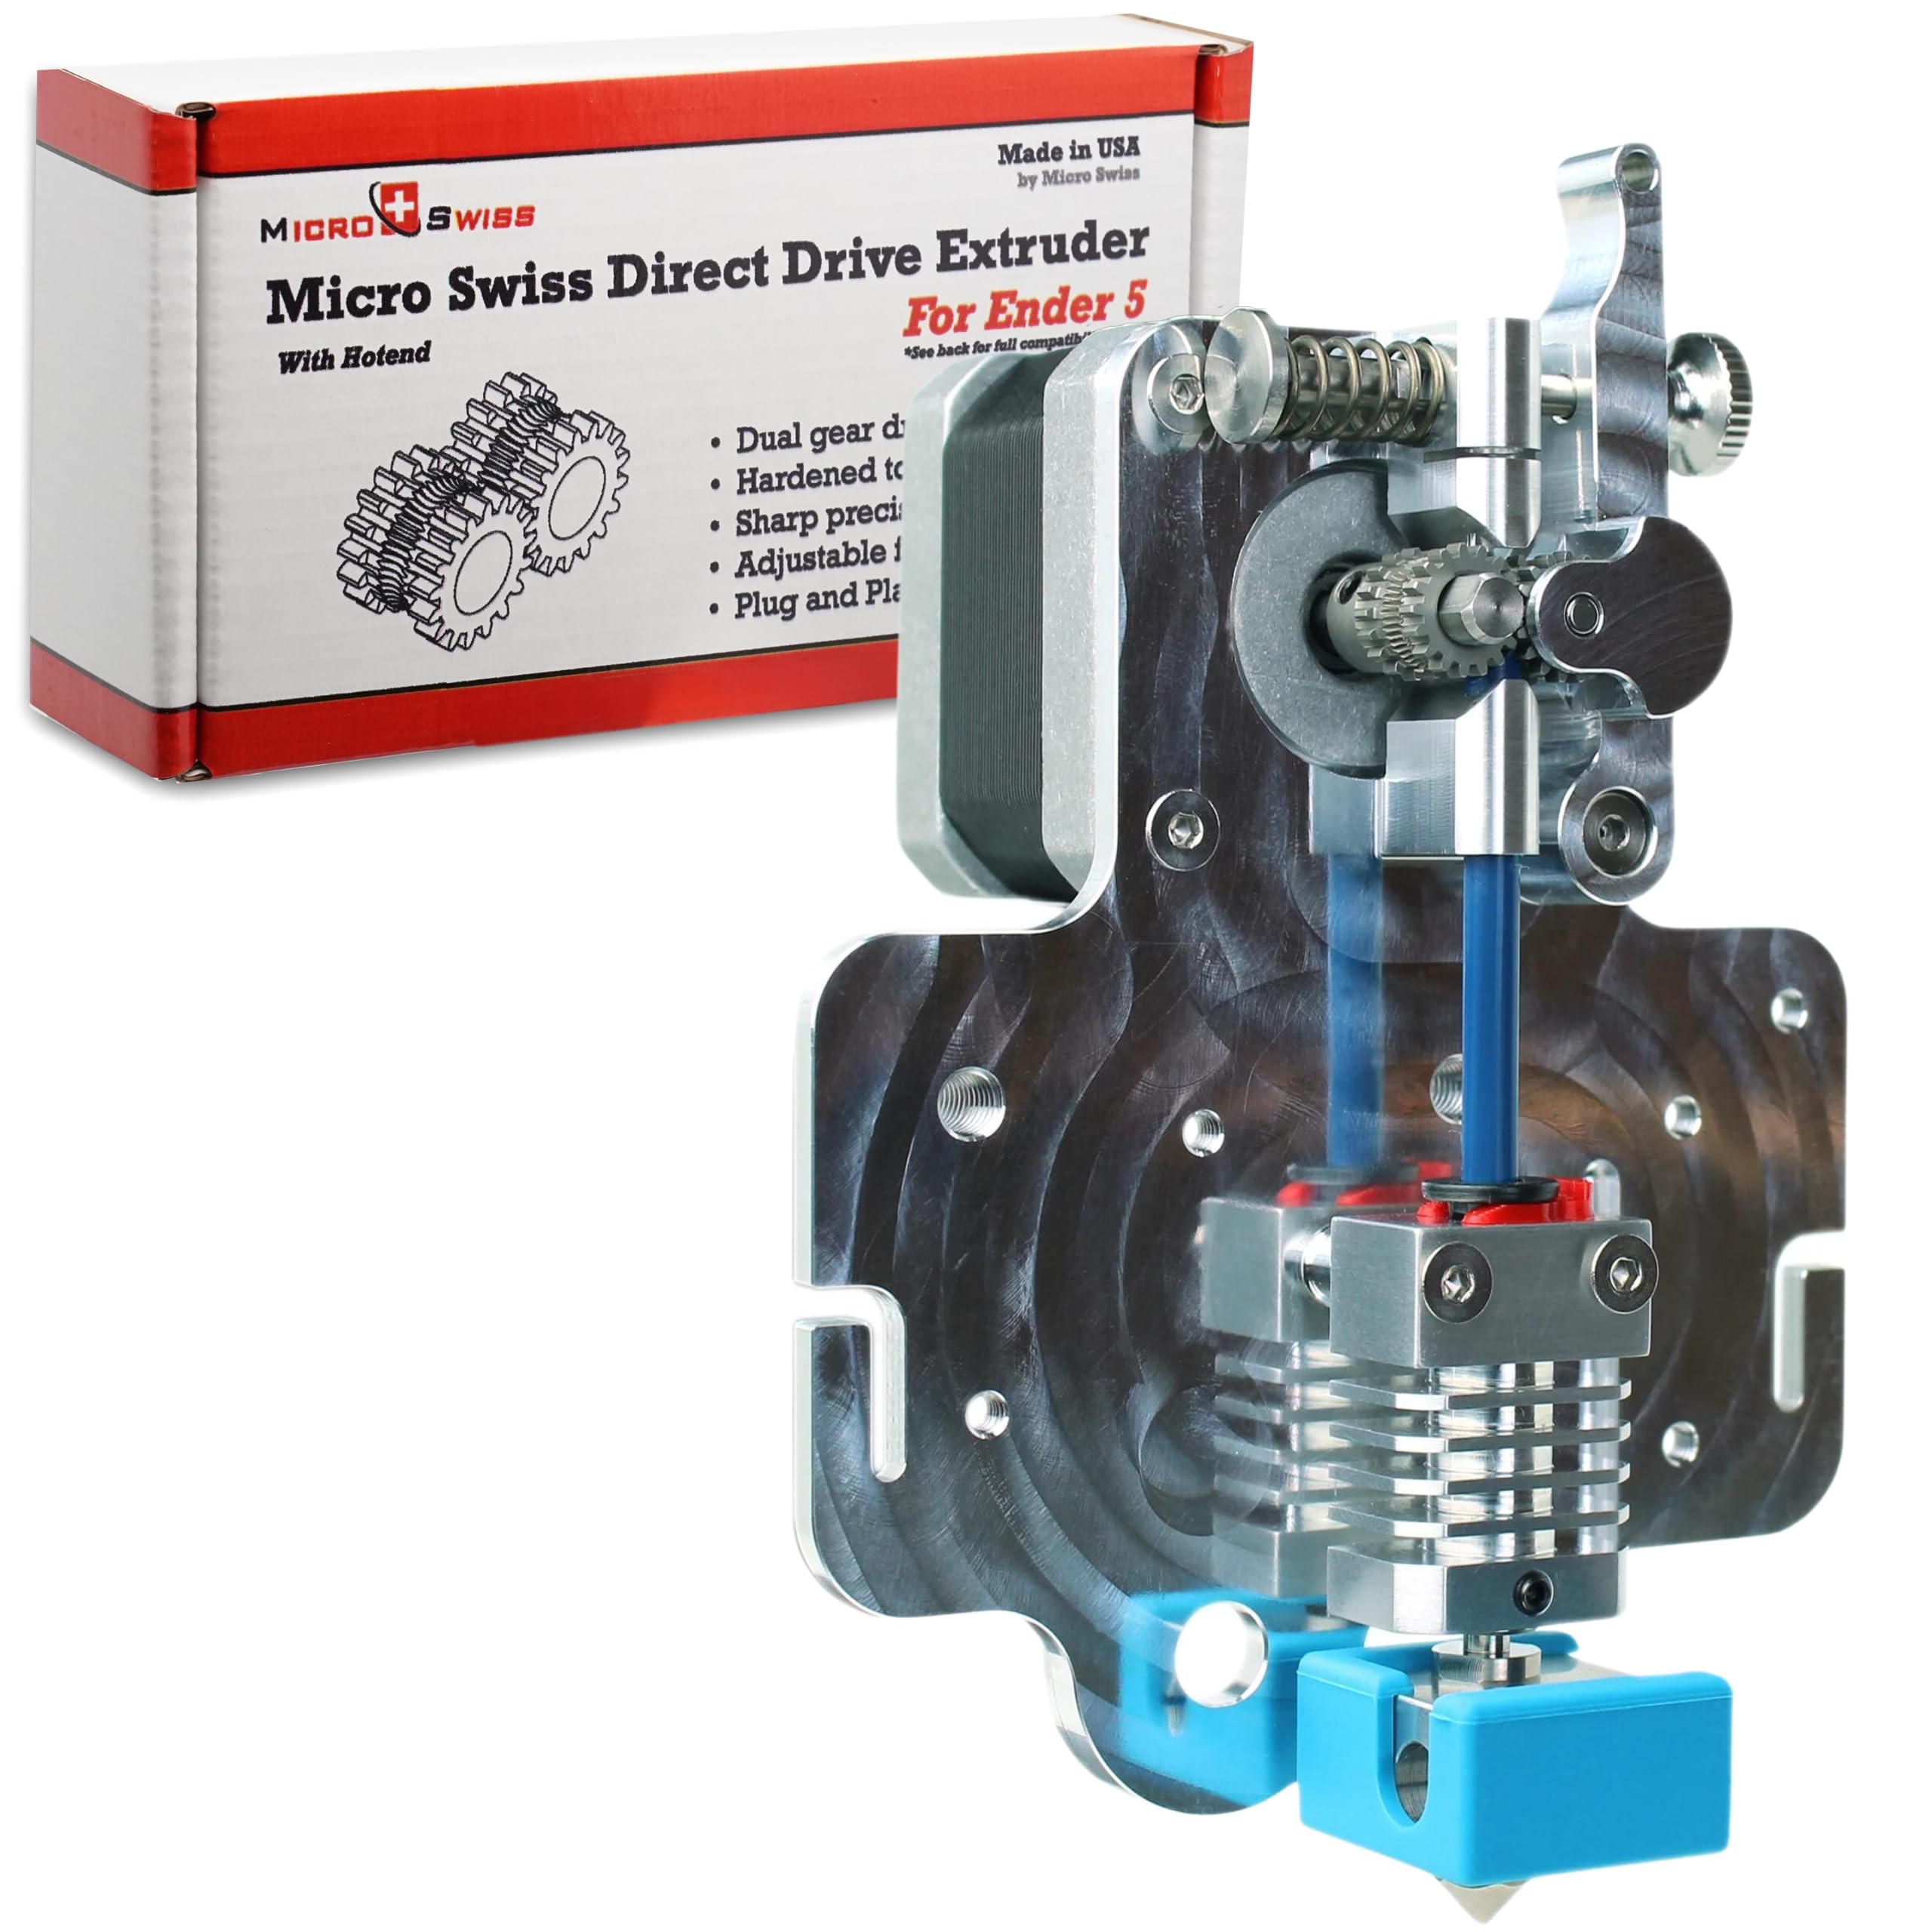
All-metal hotend included; superior for abrasive filaments like PETG.
Best for: Premium choice for print quality upgrades.
Price Range: $80-100
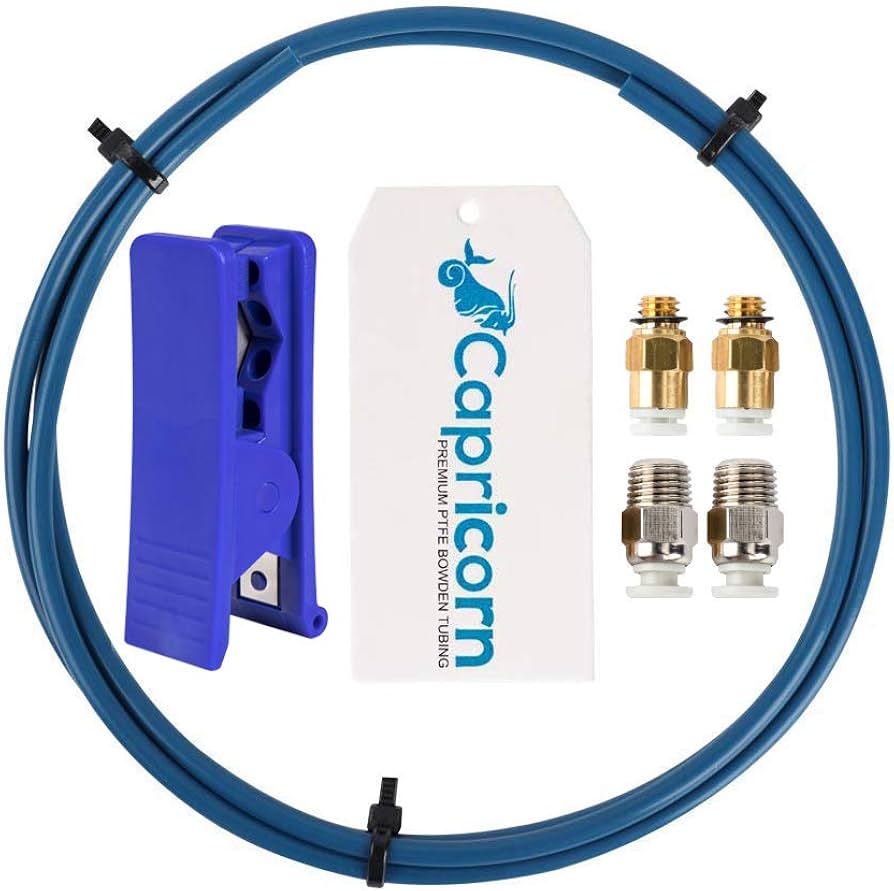
Lowest friction tubing essential for direct drive performance.
Best for: Replace stock tube during install.
Price Range: $10-15
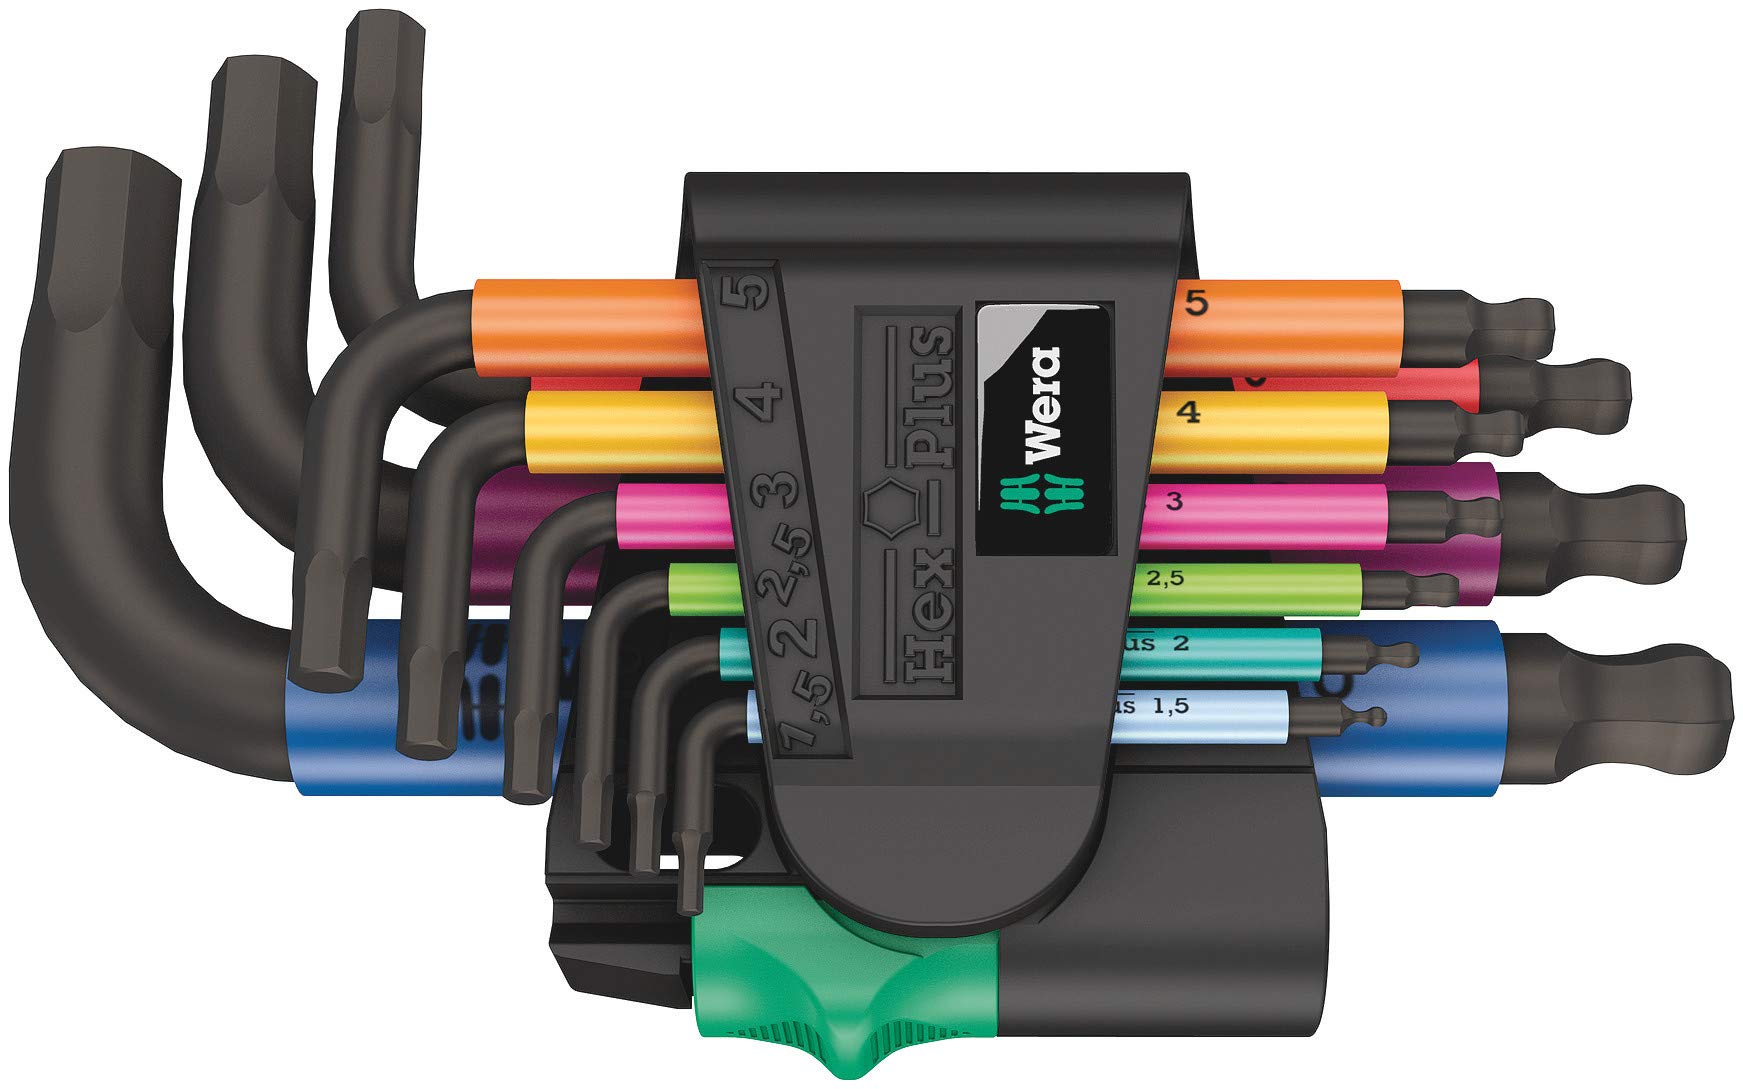
Precision-fit hex keys prevent stripping Ender 3 screws.
Best for: Any 3D printer maintenance.
Price Range: $20-30
Best for intermediate users wanting high torque without complexity.
BIQU BZ3 Direct Drive Extruder Kit Compact, reliable dual-gear design with easy install for Ender 3; handles TPU excellently.
Ideal for quick upgrade with minimal tools.
Creality Sprite Extruder Pro Kit Official Creality kit with integrated hotend; plug-and-play wiring.
Premium choice for print quality upgrades.
Micro Swiss Direct Drive Extruder All-metal hotend included; superior for abrasive filaments like PETG.
Replace stock tube during install.
Capricorn XS PTFE Tube 1M Lowest friction tubing essential for direct drive performance.
Any 3D printer maintenance.
Wera Allen Key Set Metric Precision-fit hex keys prevent stripping Ender 3 screws.