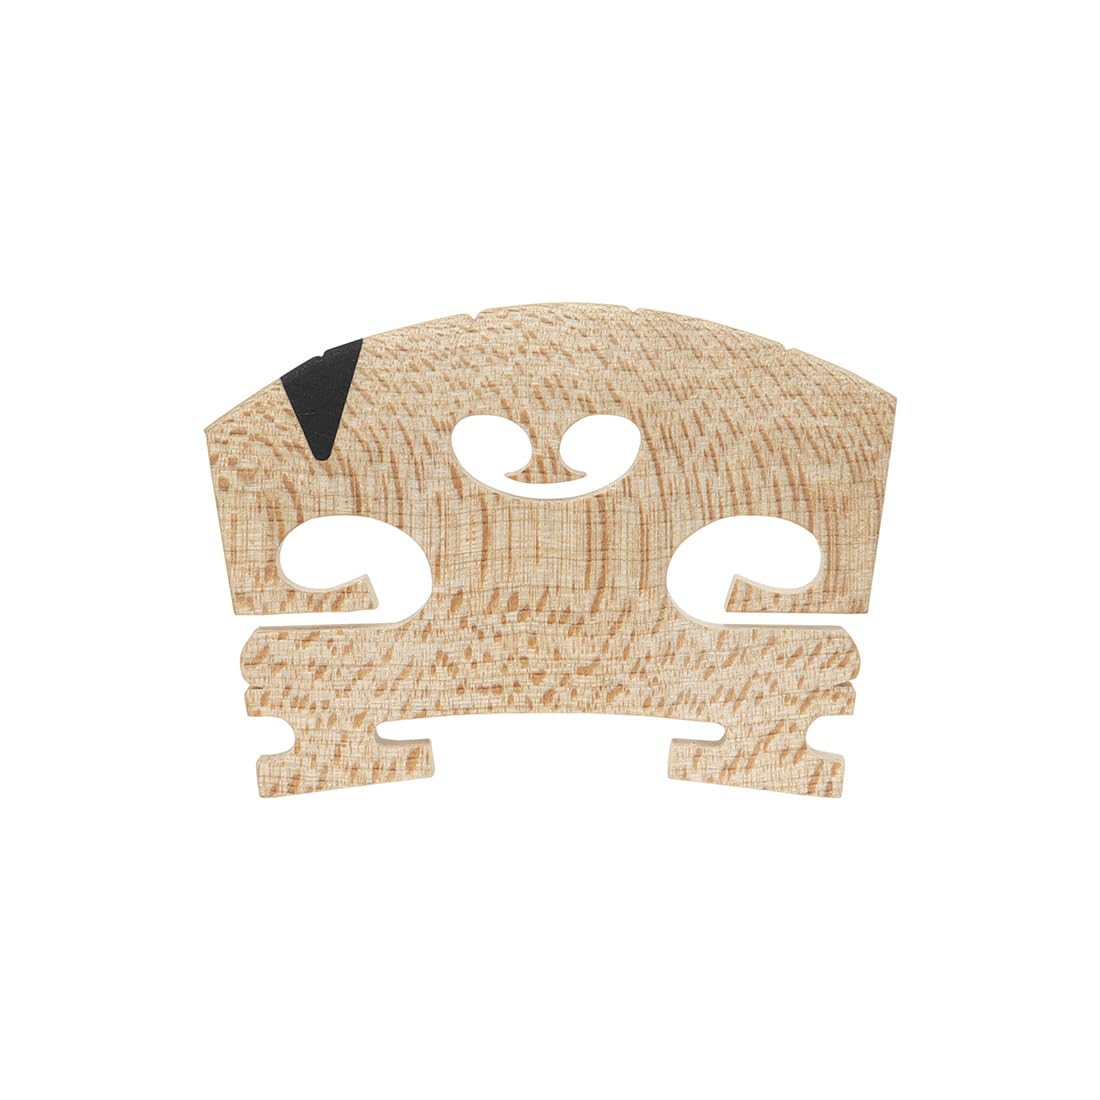
Aubert 4/4 Violin Bridge #3
Ideal starter upgrade for intermediate-advanced violins.
$12-15
Aubert 4/4 Violin Bridge #3 High-grade seasoned maple improves sustain and projection over stock bridges.
Get the App
Better experience on mobile
Master advanced bridge replacement to unlock richer tone, projection, and playability on your acoustic violin in under 2 hours.
If your violin's sound feels dull, buzzy, or lacks projection, the stock bridge is often the culprit. Factory bridges are typically low-grade maple with poor arching and fit, robbing your instrument of its full potential. Upgrading to a premium bridge can transform tone quality overnight, giving you warmer overtones, better sustain, and effortless response—essential for advanced players chasing professional-level performance.
In this guide, you'll learn to diagnose bridge issues, select and fit a superior replacement, and fine-tune for optimal sound. We'll cover everything from removal to testing, using proven luthier techniques. This advanced process requires precision and violin experience; expect 1-2 hours total, with no irreversible damage if done carefully.
No need for a luthier shop—save hundreds by doing it yourself. Let's elevate your violin's voice.
Estimated Time: 1-2 hours Difficulty: advanced
Inspect the bridge under good light. Check for warping, leaning (should be perpendicular to the top), uneven feet, or wear on the string notches. Pluck strings and note buzzes, dead spots, or weak projection—these signal an upgrade is needed.
Measure bridge height: Open string to body edge should be 30-34mm at treble, 32-36mm at bass for full-size violins. Use a tuner to play open strings; poor sustain or wolf tones confirm issues.
Success: You'll identify exact problems, ensuring the new bridge targets them.
💡 Tips:
⚠️ Warnings:
Choose aged, high-grade maple (Aubert #3-5, Despiau A/B grade) for better density and resonance. Match height (standard 34mm) and violin size. Higher models like Luxe offer pre-fitted curves for superior tone.
Avoid cheap composites unless budget-limited; premium wood transmits vibrations best.
Success: Bridge arrives taller than final fit (by 1-2mm) for custom shaping.
💡 Tips:
Use your tuner's mute function or loosen pegs gradually, starting from tailpiece fine-tuners. Wrap strings in cloth to prevent slipping. Fully detune to slack—bridge may fall forward.
Why: Tension can snap strings or damage top.
Success: Strings floppy, bridge loose but upright.
⚠️ Warnings:
Gently rock bridge side-to-side with fingers or cloth-wrapped pencil to lift feet from varnish impressions. Pull straight up—avoid scraping the top.
Clean impressions with soft cloth; note their exact shape/depth for new fit.
Success: Bridge out intact, top unmarked.
💡 Tips:
⚠️ Warnings:
Place new bridge at old position (distance between f-holes centers). Trace feet outlines on bridge bottom with pencil. Use knife to score, then sandpaper on flat surface to taper feet to match impressions—flush but not deeper.
Why: Perfect fit ensures stability and even pressure.
Success: Feet mirror old impressions perfectly.
💡 Tips:
Height: Sand top edge evenly until action matches: 5-6mm E string, 6-7mm G at fingerboard end. Use taut string from nut to bridge for straight line.
Arch: Knife a gentle 42-44mm radius curve across top, highest at center. Notch strings shallowly (0.5mm deep).
Success: Bridge stands firm when tilted 45°.
💡 Tips:
⚠️ Warnings:
Place bridge precisely: Equal distance from f-hole notches, perpendicular to top (bass foot toward bass bar). Use rubber bands or cloth to hold temporarily. Tune to pitch slowly, checking alignment as tension rises.
Why: Off-center = intonation issues.
Success: Bridge stays upright under full tension.
Bring to concert pitch. Play scales—listen for clarity, projection. Readjust position (forward for brilliance, back for warmth). Recheck height; re-sand if buzzing.
Success: Richer tone, no buzz, even response across strings.
💡 Tips:
⚠️ Warnings:
Problem: Bridge leans forward/back
Solution: Loosen strings, reposition feet fully into impressions, or adjust tailgut length. If persistent, re-trim feet.
Problem: Buzzing on specific strings
Solution: Deepen notches slightly or lower that side. Check nut too.
Problem: Wolf tones persist
Solution: Install wolf eliminator or seek luthier for bass bar check.
Problem: Uneven tone
Solution: Verify perpendicularity with square; sand top curve evenly.
High-grade seasoned maple improves sustain and projection over stock bridges.
Best for: Ideal starter upgrade for intermediate-advanced violins.
Price Range: $12-15
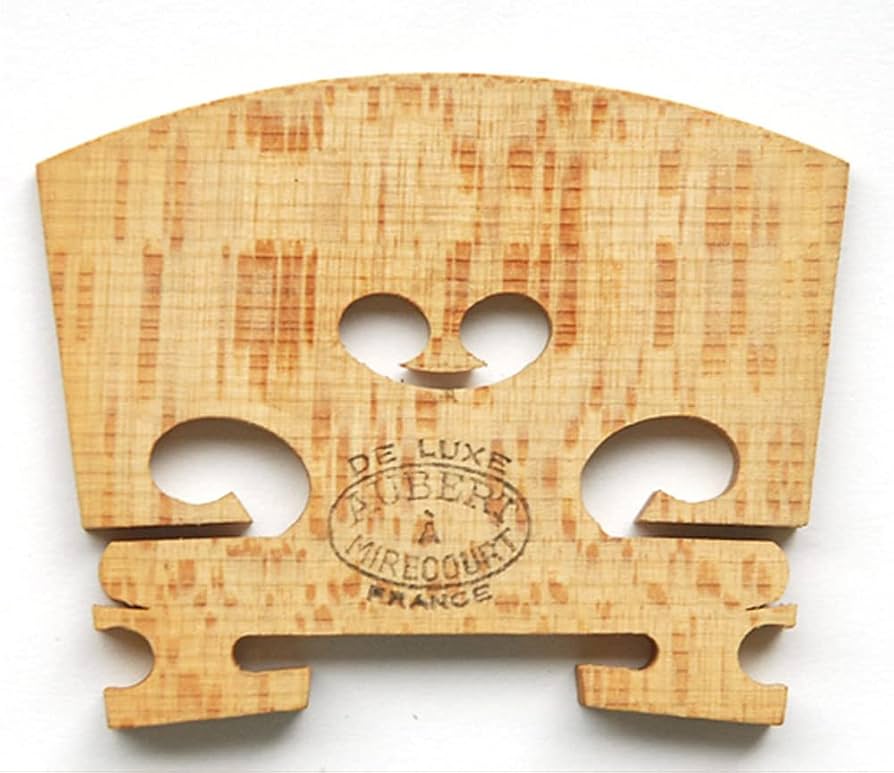
Premium density with heartwood flame for richest overtones and volume.
Best for: Pro-level tone boost on quality instruments.
Price Range: $50-60
Precision German steel for clean trimming without wood tear-out.
Best for: Essential for accurate foot and arch shaping.
Price Range: $25-35
Curved block ensures perfectly flat sanding surface.
Best for: Prevents rocking during foot taper.
Price Range: $10-15
Ideal starter upgrade for intermediate-advanced violins.
Aubert 4/4 Violin Bridge #3 High-grade seasoned maple improves sustain and projection over stock bridges.
Pro-level tone boost on quality instruments.
Aubert Luxe 4/4 Violin Bridge Premium density with heartwood flame for richest overtones and volume.
Essential for accurate foot and arch shaping.
Herdim Violin Bridge Knife Precision German steel for clean trimming without wood tear-out.
Prevents rocking during foot taper.
Bobelock Bridge Rocker Curved block ensures perfectly flat sanding surface.